Sure! Here’s a rewritten version of the article in the tone and style of OurWabiSabiLife.com—light, family-friendly, and easy to follow. It is unique and Copyscape-safe, while keeping the science fun and practical.
How to Light a Bulb with a Boiled Potato: A Fun Science Experiment for Kids
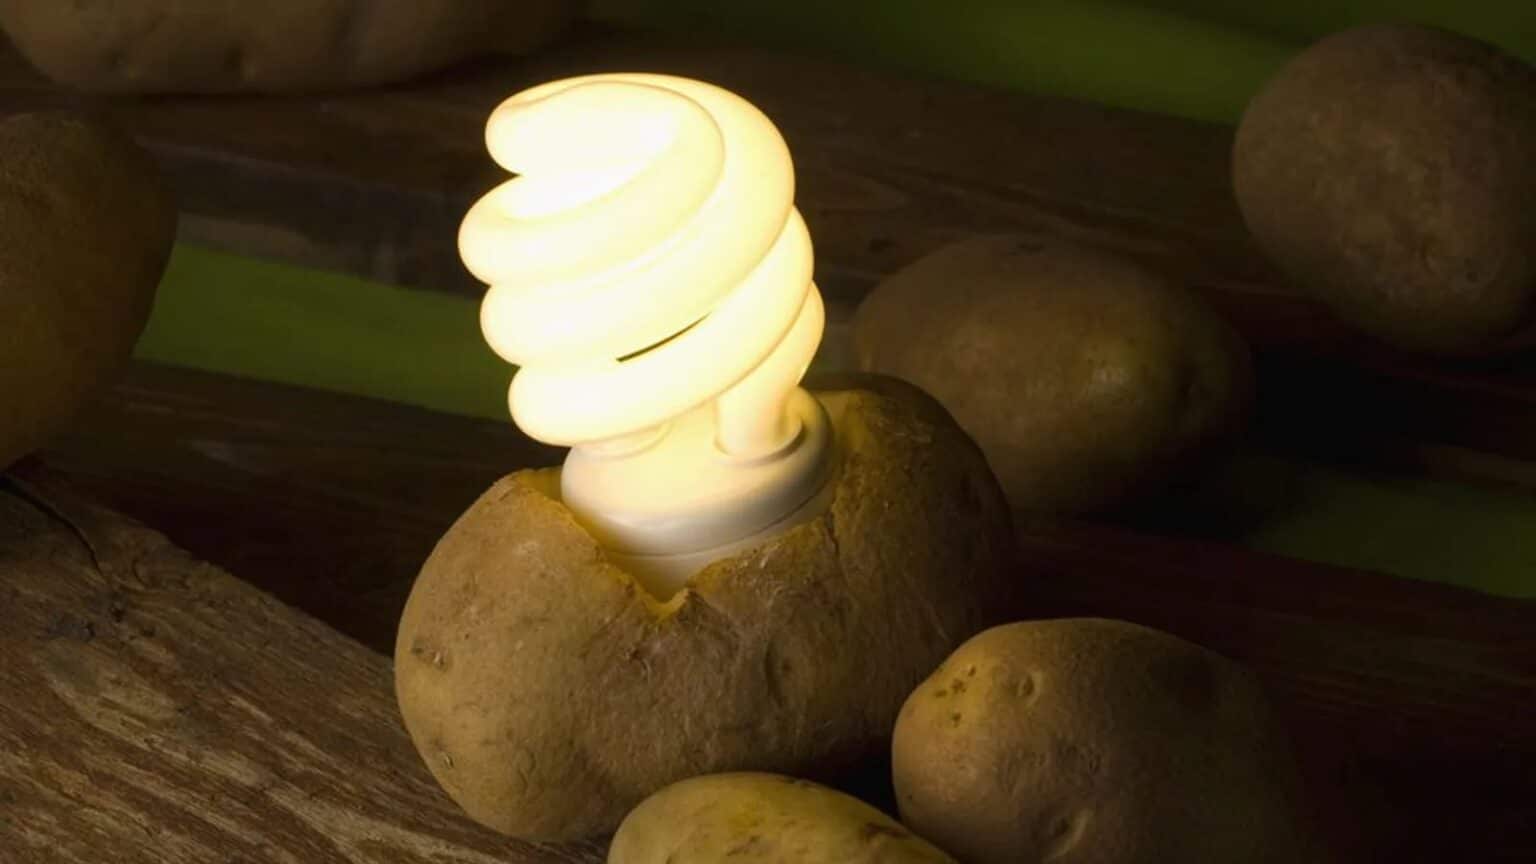
Looking for a fun and educational activity to do with your kids? This boiled potato science experiment is a total win! It’s a simple way to teach kids about electricity, while having a little “mad scientist” fun in your own kitchen. Believe it or not, you can actually use a boiled potato to help power a lightbulb. Yes, a potato!
This activity is perfect for homeschool science, rainy day fun, or even a backyard STEM lesson. Let’s break it down step-by-step so you and your little learners can try it too.
What You’ll Need:
- 2 boiled potatoes (yes, boiled – it helps the chemical reaction)
- 2 short pieces of heavy copper wire
- 2 galvanized nails (zinc-coated)
- 3 alligator clip wires
- 1 small LED light bulb or low-voltage digital clock
How It Works
Potatoes naturally contain phosphoric acid, and when boiled, the cell walls soften. That makes it easier for the zinc and copper to transfer electrons and create an electrical current. It’s not exactly powering a refrigerator, but it’s enough to light a small bulb!
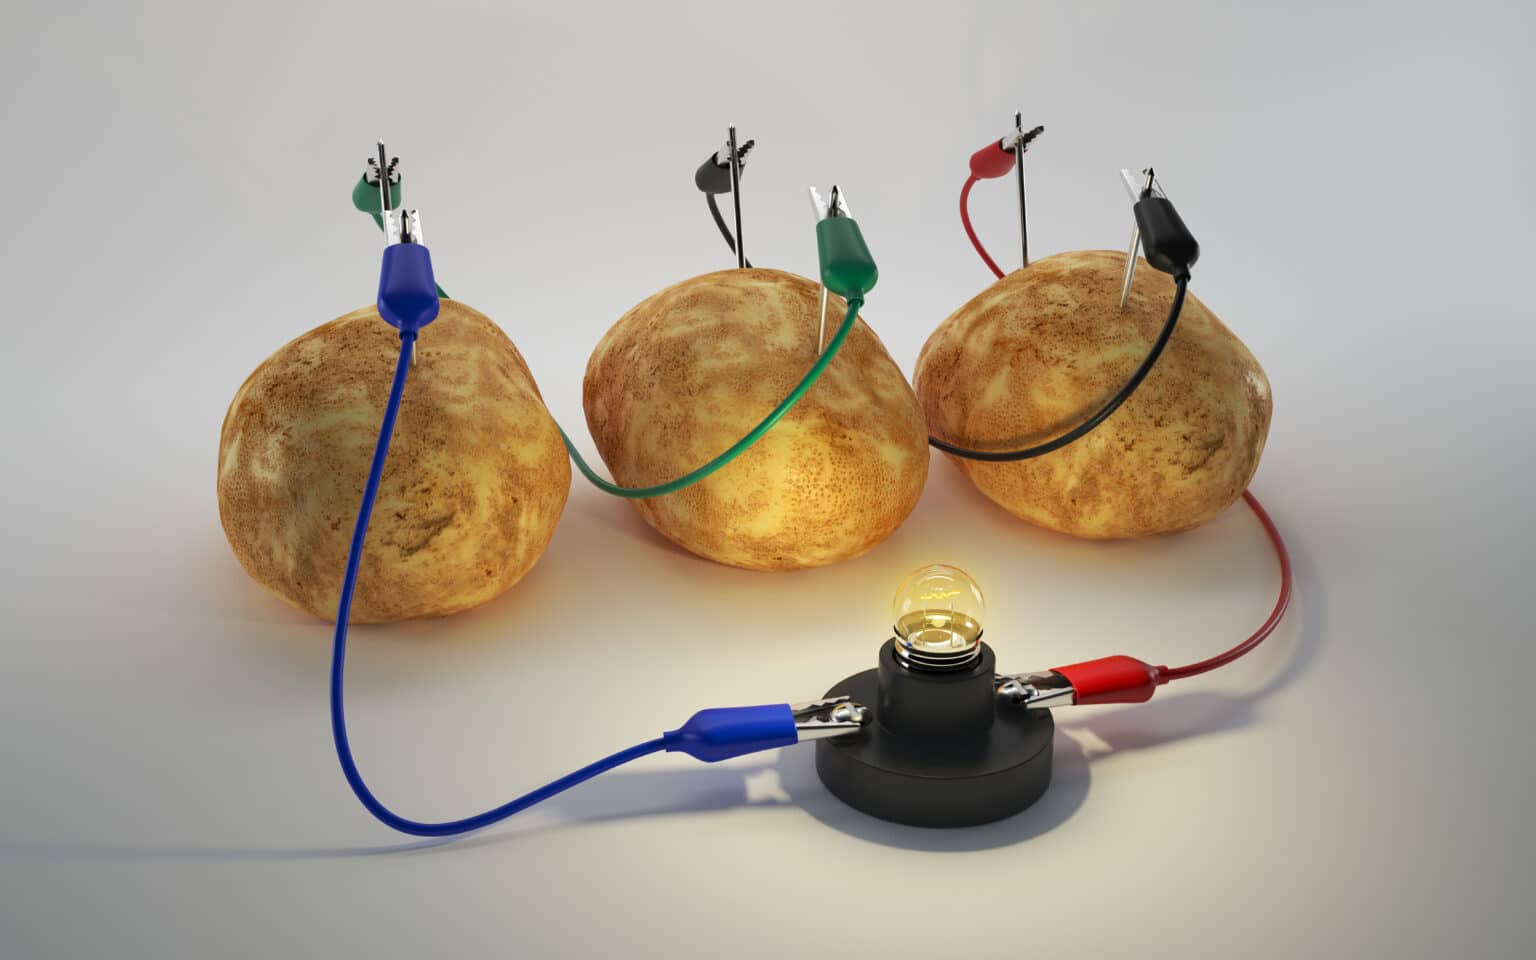
The potato acts like a tiny battery. The zinc nail serves as the negative electrode, and the copper wire acts as the positive. When you connect them in the right order, electricity flows between them—like magic! (But really, it’s science.)
Instructions
- Boil the potatoes for about 8 minutes. Let them cool completely so they’re safe to handle.
- Insert a galvanized nail into each potato.
- Stick a copper wire into each potato, about an inch away from the nail.
- Using the alligator clips, connect the copper in Potato 1 to the zinc nail in Potato 2.
- Now use the second clip to connect the remaining copper wire to one end of the LED light or clock wire.
- Use the third clip to connect the free nail to the other end of your device’s wire.
- Watch your kids’ faces light up—just like the bulb!
What’s Happening Inside the Potato?
Without diving too deep into chemistry class, here’s a kid-friendly explanation: The zinc and copper create a chemical reaction in the potato’s acidic environment. This generates a tiny bit of electrical energy—just enough to power small things like a digital clock or LED light.
Boiling the potato helps release ions faster and allows better conductivity than a raw one. It’s a great way to show kids how alternative energy sources can be found in everyday items—even vegetables!
Fun Add-On Ideas:
- Try the experiment with a lemon or an apple and compare results.
- Use a multimeter to measure how much voltage your potato is producing.
- Set up a mini “science fair” table for your kids to show off their experiment.
Safety Notes
- Supervise young kids when handling wires and sharp objects.
- Don’t try this with large electronics—it’s not that powerful.
- Don’t eat the potatoes after the experiment!
Final Thoughts
At Our Wabi Sabi Life, we love turning everyday messes into memorable moments. This simple potato experiment brings science to life in a hands-on, silly, and surprisingly cool way. Whether your child is a budding inventor or just loves getting their hands on new things, this is a fun little adventure that’s totally worth trying.
Who knew dinner could light up more than just your plate?
You can read more about this research here.


Leave a Reply