
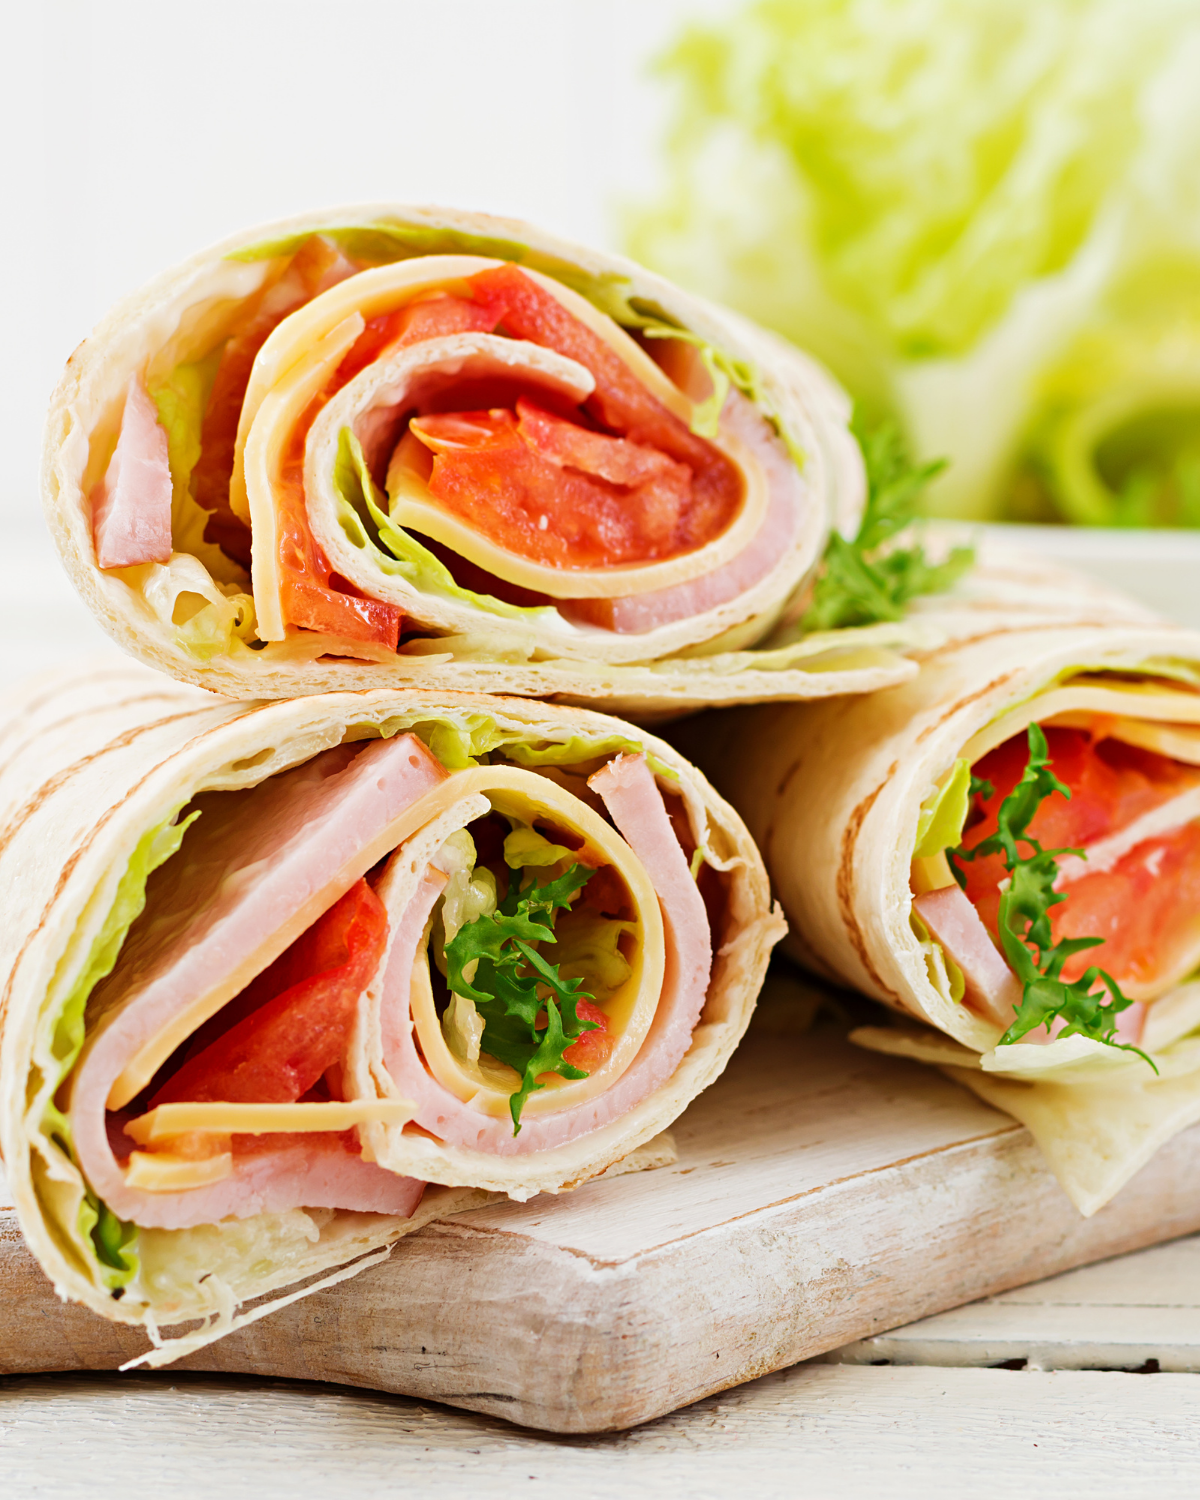
These ham and cheese roll ups for kids are made with flour tortillas, sliced ham, and shredded cheese. You can serve them warm, pack them cold, or add a few simple sides to make a complete lunch.
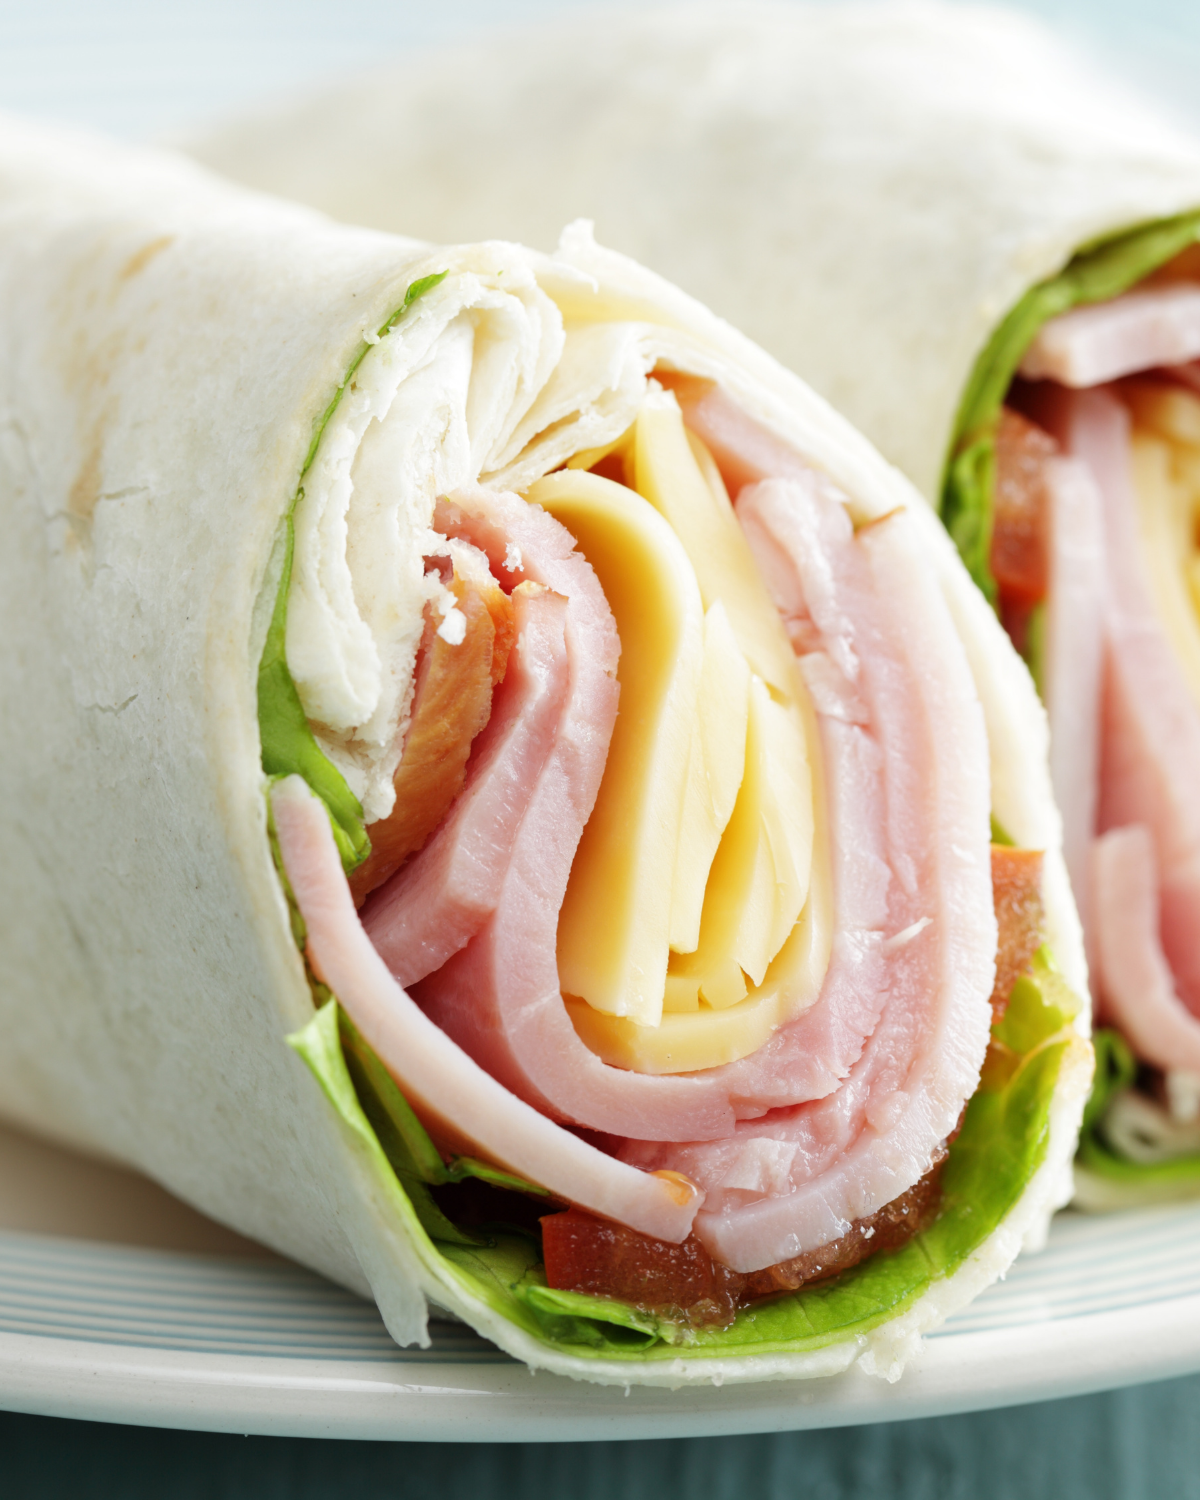
Why You’ll Love These Ham and Cheese Roll Ups
- They need only three basic ingredients.
- The prep takes about 5 minutes.
- They work for toddlers, preschoolers, and older kids.
- They can be served warm or cold.
- They’re easy to pack in a lunch box.
- You can change the filling to keep lunch interesting.
- They’re a nice break from the usual sandwich.
If you’re looking for easy foods to make for lunch, this recipe is a good one to keep handy. These ham and cheese roll ups for kids lunch are also simple enough to make on a busy school morning.
Ingredients
- 6-inch fajita flour tortillas
- Ham or your favorite lunch meat
- Cheese
I use 6-inch tortillas because they’re a good size for a young child. Once rolled and sliced in half, they fit nicely in a lunch box. Older kids and adults may want two or three whole roll ups.
For the cheese, cheddar, Monterey Jack, Colby Jack, or mozzarella all work well. Shredded cheese melts quickly, but you can also use thin slices of cheese if that’s what you have.
When buying ham for school lunches, choose thin, even slices without large pieces of fat. Honey-roasted ham adds a little sweetness, but deli ham, smoked ham, or lower-sodium ham can be used too.
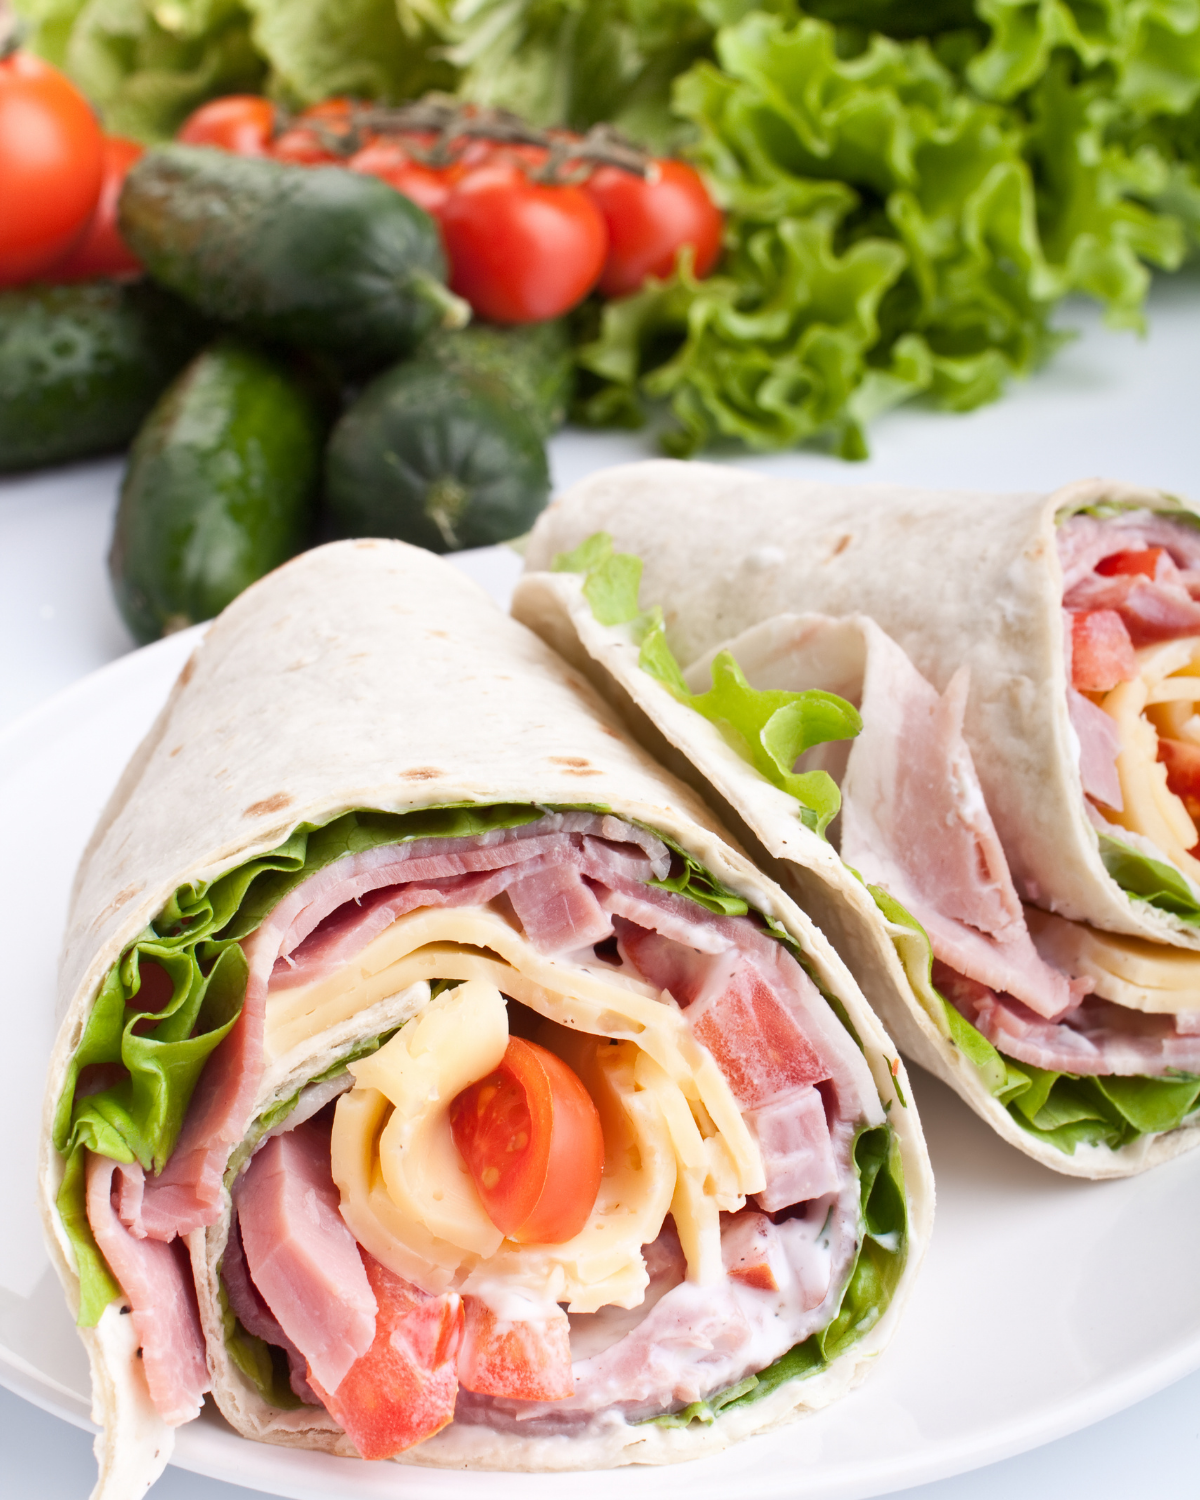
How to Make Ham and Cheese Roll Ups
Place one tortilla on a microwave-safe plate.
Add one slice of ham to the tortilla. Tear or fold the ham so it fits inside without hanging too far over the edge.
Sprinkle shredded cheese over the ham.
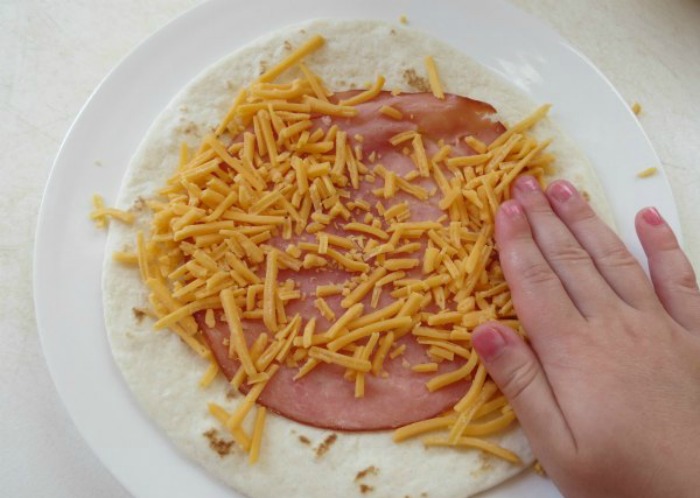
Microwave for 15 to 30 seconds, just until the cheese begins to melt.
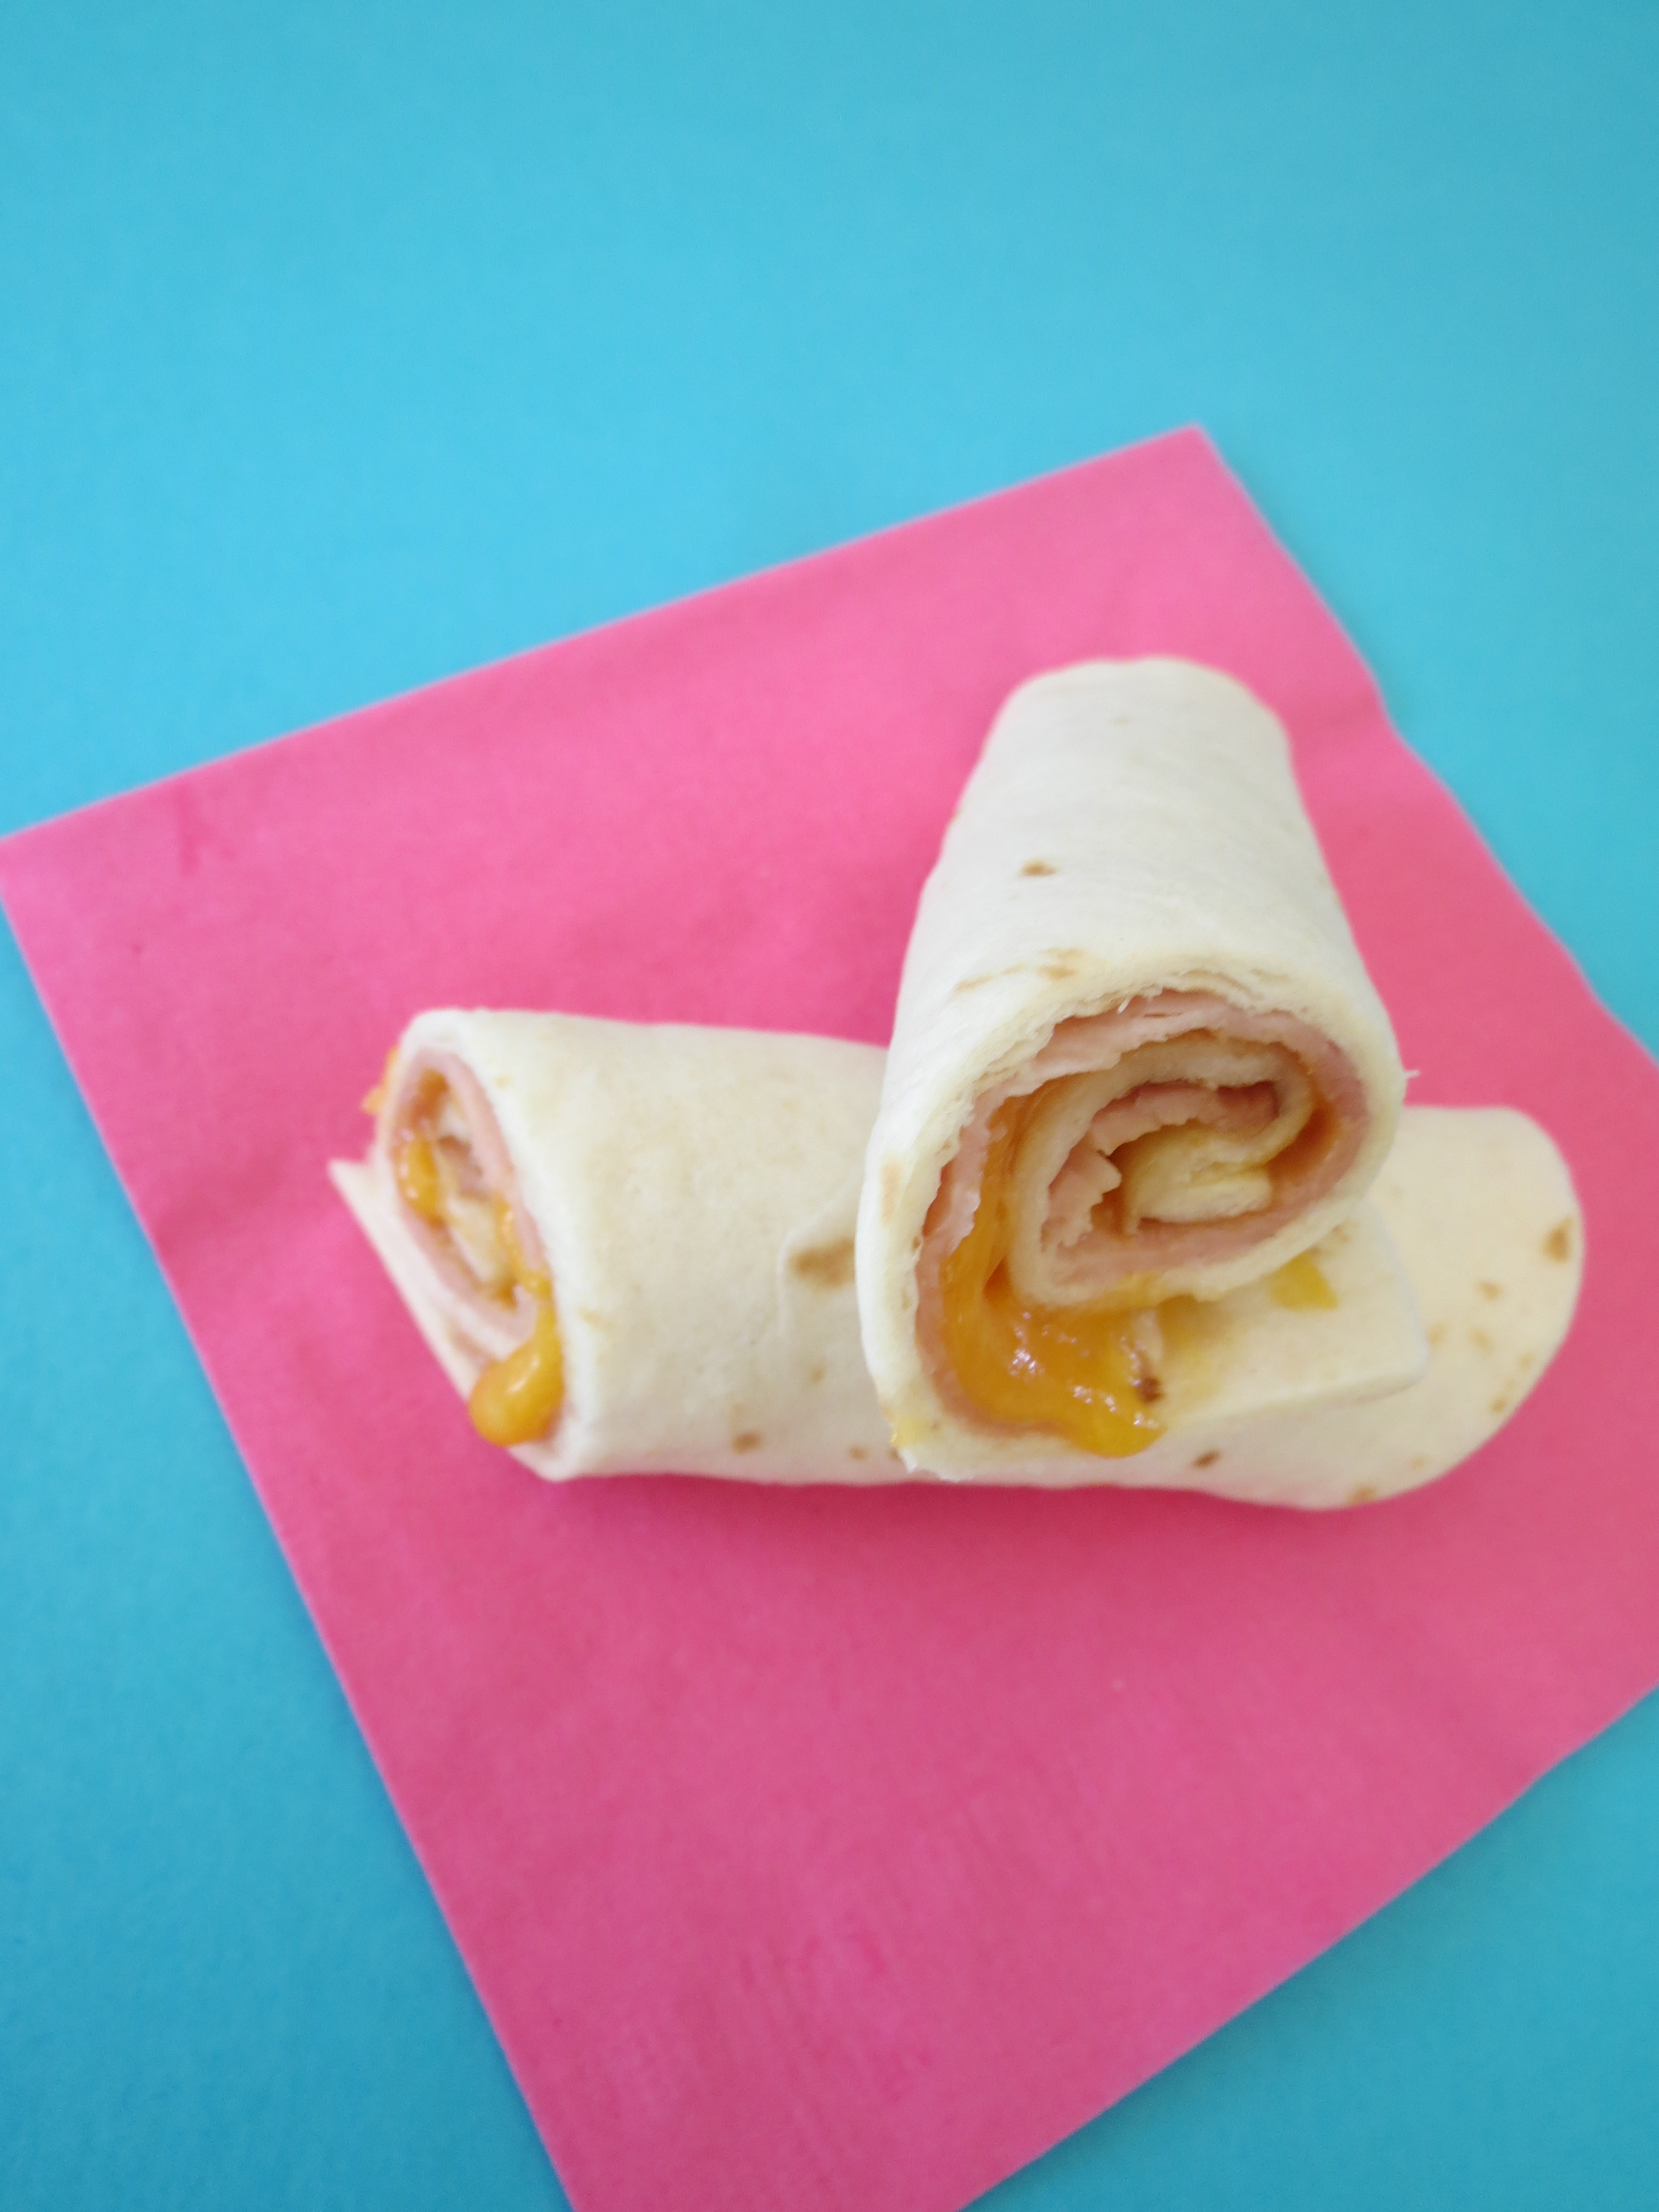
Carefully roll the tortilla while it’s still warm.
Let it cool for a minute, then slice it in half.
Be careful when you remove the tortilla from the microwave. The cheese can get very hot, and the tortilla may be warmer than it looks.
That’s it! You now have a quick ham and cheese roll up ready for lunch.
Ham and Cheese Roll Ups with Tortillas
Flour tortillas are soft, flexible, and easy to roll, which makes them a great choice for this recipe. These ham and cheese roll ups with tortillas are also less messy than many sandwiches because the filling stays tucked inside.
If your tortilla cracks when you roll it, warm it for a few seconds before adding the filling. A soft tortilla will roll much more easily. Don’t add too much cheese, either. A small amount melts nicely, while too much can spill out the sides.
For a fun lunch box shape, slice each roll up into three or four small pieces. They become little pinwheel-style bites that are easy to pick up. Some kids call these ham and cheese rippers because they can pull them apart one bite at a time.
You can also leave the tortilla whole and wrap it in parchment paper. This works well for older children who prefer a regular cheese and ham wrap.
Make Them Hot in the Oven
The microwave is the fastest method, but you can also bake these ham and cheese tortilla roll ups when you want a hot, crispier option.
Baked Ham and Cheese Tortilla Roll Ups
- Heat the oven to 375°F.
- Assemble the tortillas with ham and cheese.
- Roll each tortilla tightly and place it seam-side down on a baking sheet.
- Bake for 8 to 10 minutes, until the cheese melts and the edges are lightly crisp.
- Let the roll ups cool for a few minutes before serving.
These ham and cheese tortilla roll ups baked in the oven have a little more texture than the microwave version. They are best served hot at home because they can lose their crispness as they cool.
For an extra golden top, brush the tortillas with a small amount of melted butter before baking. This is optional, but it makes a tasty difference.
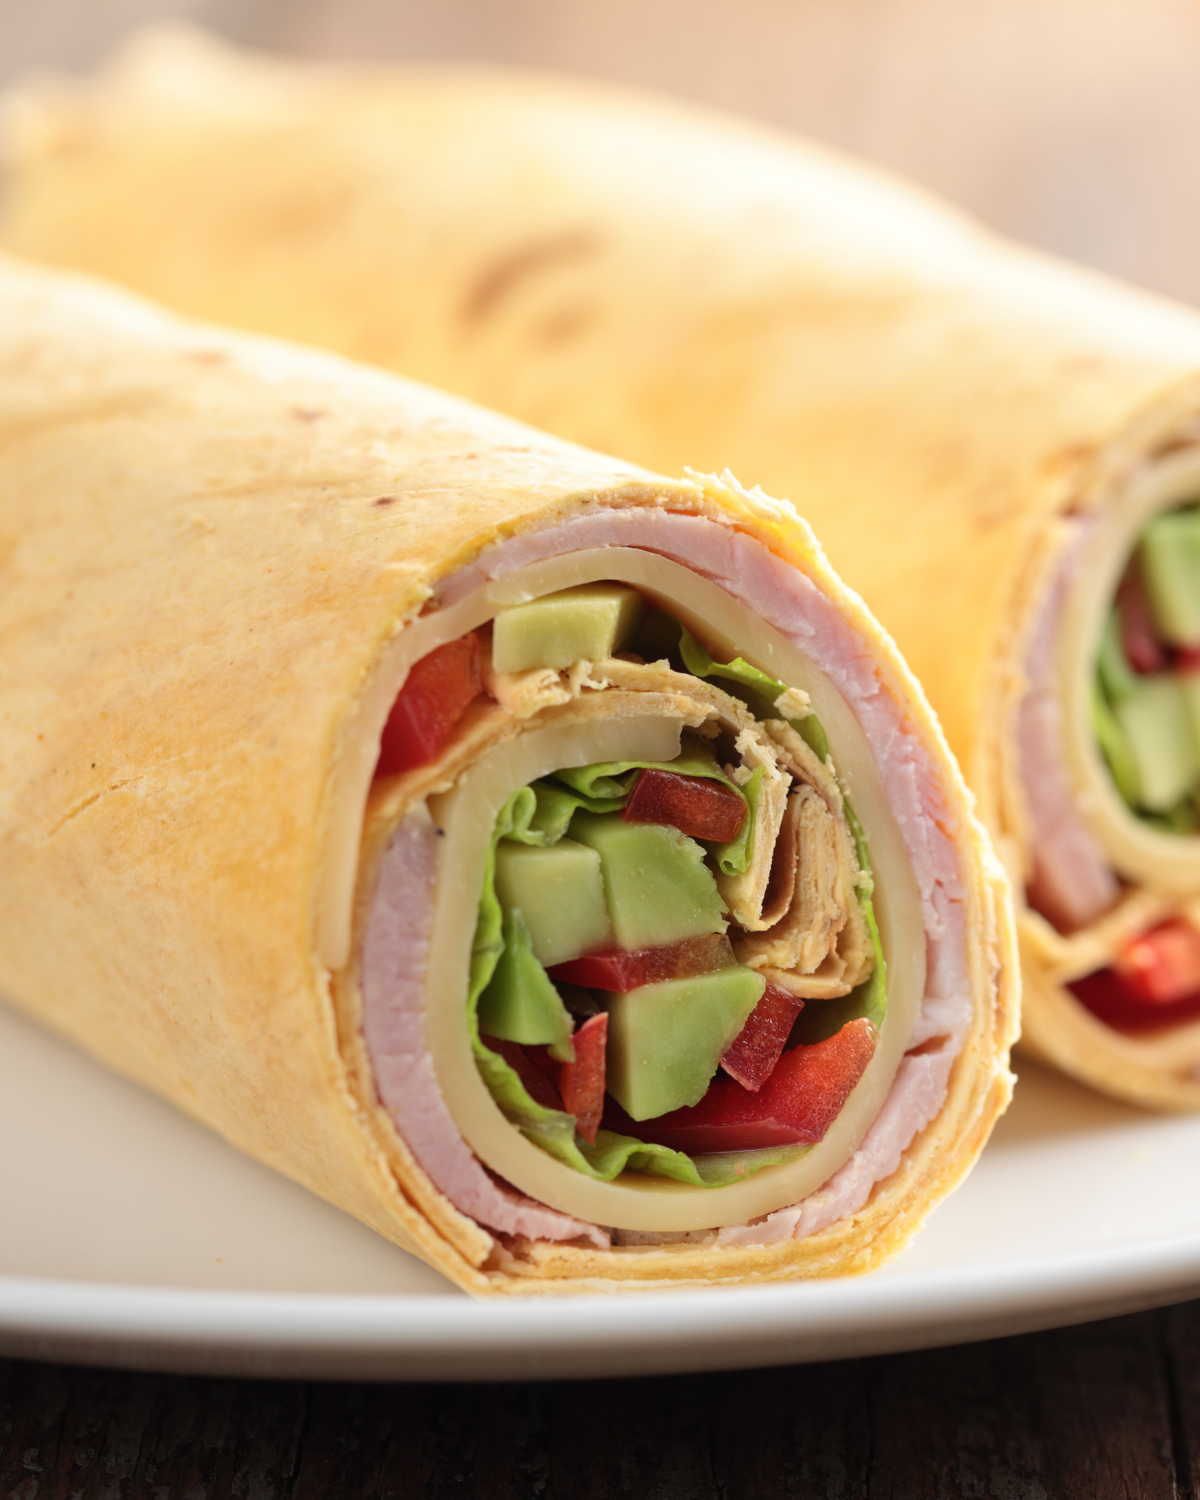
Warm or Cold Lunch Box Roll Ups
Schools don’t always have a microwave available, so it’s helpful to have a no-heat lunch option. For a cold lunch, prepare the roll ups as directed, let them cool completely, and then pack them in the lunch box.
Don’t put hot roll ups straight into a sealed lunch container. The steam can make the tortilla soggy. Letting them cool first helps the texture stay much better.
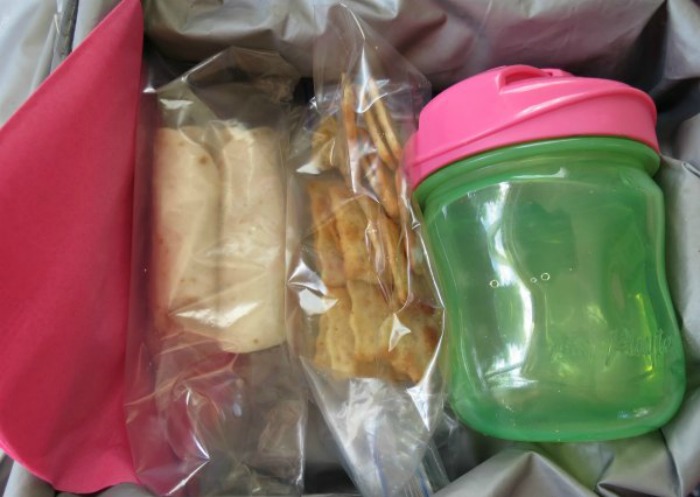
If your child prefers a warm lunch, heat the roll ups in the morning and place them in an insulated food container. For a cold lunch, add an ice pack to the lunch box. Bentgo and Rubbermaid lunch boxes both have sections that work well for roll ups, fruit, crackers, and small dipping cups.
What to Pack with Ham and Cheese Roll Ups
A roll up has protein and carbohydrates, but adding a couple of sides makes lunch more filling and balanced. Try serving them with:
- Apple slices, grapes, berries, or a banana
- A fruit pouch
- Baby carrots or cucumber slices
- A small container of veggie dip
- Whole-grain crackers
- Yogurt
- Applesauce
- Snap peas
- Water or milk
For a preschool lunch, one roll up cut in half may be enough with fruit and a vegetable. Older children may need two or three roll ups plus a side. Let your child’s appetite help guide the portion.
You can turn the recipe into a fun cheese roll school lunch by adding a few crackers and fruit in separate lunch box sections. For younger children, cut everything into sizes that are easy to manage.
Easy Variations for Kids
This basic recipe is easy to change, which is helpful when you’re packing lunches several days in a row.
Turkey and Cheese
Replace the ham with sliced turkey for a lighter-tasting wrap. Turkey and cheddar, turkey and Swiss, or turkey and mozzarella are all good combinations.
Roast Beef and Cheese
Thinly sliced roast beef pairs well with provolone or cheddar. Add a little mustard if your child likes stronger flavors.
Bacon, Ham, and Cheese
Cooked bacon adds a crunchy bite. Use a small amount so the tortilla still rolls easily. Make sure the bacon is fully cooked and cooled before assembling a cold lunch.
Ham and Cream Cheese
Spread a thin layer of cream cheese over the tortilla, then add ham and shredded cheese. The cream cheese helps hold everything together, but don’t spread it too thick or the tortilla may become difficult to roll.
Ranch Ham Roll Ups
Add a thin layer of ranch dressing or ranch-flavored cream cheese before adding the ham and cheese. This is a favorite option for kids who like ranch with everything.
Veggie Roll Ups
Add finely chopped spinach, grated carrot, or thin cucumber strips. Keep the vegetables in a small amount so the tortilla doesn’t become wet. A little veggie dip on the side can work better for picky eaters than hiding vegetables inside the roll up.
Pizza Roll Ups
Use ham, mozzarella, and a small amount of pizza sauce. Serve extra sauce on the side for dipping. This makes a fun cheesey roll up with a pizza flavor.
Simple Cheese Wrap
For children who don’t like ham, leave it out and make a plain cheese wrap kids can dip in salsa, ranch, or marinara sauce. You can also add turkey or chicken later when they’re ready to try something new.
Make Ahead Lunch Prep
These roll ups are helpful when one child needs to leave for school, another needs to go to daycare, and everyone seems to need something different at the same time. You can prepare them in a few ways.
Assemble the Night Before
Make the roll ups the night before, let them cool, and store them in an airtight container in the refrigerator. Wrap them in parchment paper or place them in a reusable sandwich bag before packing.
This is the easiest make-ahead option for busy mornings. Add an ice pack when packing the lunch box.
Prepare the Ingredients Ahead
If you prefer a fresher tortilla, prepare the ingredients on Sunday. Portion the ham and cheese into small containers, then assemble each morning. This takes just a few minutes and helps prevent the tortillas from becoming soft overnight.
Make Several at Once
Lay out several tortillas on the counter, add ham and cheese to each one, warm them in batches, and roll them while they’re soft. Once cooled, slice and store them in lunch-size portions.
This batch method works well when you’re preparing several children’s lunches. Give each child a different filling if needed, but use the same basic assembly process.
Can You Freeze Ham and Cheese Roll Ups?
Yes, you can freeze them, although the tortilla texture may be a little softer after thawing. For the best results, assemble the roll ups without vegetables or wet sauces.
Wrap each roll up in plastic wrap or parchment paper, then place them in a freezer bag. Label the bag with the date and freeze for up to 1 month for the best quality.
Move the roll ups to the refrigerator the night before you plan to use them. They can thaw overnight, then be packed cold in a lunch box. You can also warm them in the microwave at home, but let them cool before placing them in the lunch box.
Cream cheese, fresh vegetables, and sauces are better added after thawing. They can make the tortilla watery or change texture in the freezer.
Storage and Lunch Box Safety
Store prepared roll ups in the refrigerator until you’re ready to pack them. For the best texture, eat refrigerated roll ups within 3 to 4 days.
Use a cold pack when packing ham and cheese for school. If the lunch box will sit without refrigeration for several hours, an insulated lunch bag and ice pack are a good idea. Pack fruit, vegetables, crackers, and dips in separate sections so the tortilla stays dry.
If the tortilla smells unusual, feels slimy, or has been left warm for too long, throw it away. It’s better to make a fresh batch than take a chance with a child’s lunch.
Tips for Better Roll Ups
- Warm the tortilla briefly if it’s stiff or cracking.
- Use thin ham slices so the roll up is easy to bite.
- Don’t overfill the tortilla.
- Keep wet ingredients on the side.
- Roll while the cheese is still warm and soft.
- Let baked roll ups cool before packing.
- Use an ice pack for a cold lunch.
- Cut the roll ups into small pieces for toddlers and preschoolers.
- Try different cheeses and fillings so lunch doesn’t feel repetitive.
These tips help prevent the most common problems, including broken tortillas, cheese that doesn’t melt evenly, and soggy lunch box roll ups.
Frequently Asked Questions
How do you make ham and cheese roll ups?
Place ham and shredded cheese on a flour tortilla. Microwave for 15 to 30 seconds, roll the tortilla while warm, and slice it in half. You can also bake the assembled roll ups at 375°F for 8 to 10 minutes.
Are ham and cheese roll ups healthy?
They can be part of a balanced lunch. Ham and cheese provide protein, while the tortilla provides carbohydrates. Add fruit, vegetables, yogurt, or whole-grain crackers for more variety. Choose lower-sodium ham when possible and check the serving size for your child.
What kind of cheese is best for roll ups?
Cheddar, Colby Jack, Monterey Jack, mozzarella, and provolone all melt well. Mild cheese is often a good choice for younger children.
Can toddlers eat ham and cheese roll ups?
Yes, but cool the roll ups first and cut them into small, manageable pieces. Choose soft tortillas and thin ham slices. Always consider your child’s age, eating skills, and any food allergies.
These ham and cheese roll ups for toddlers are easiest to eat when sliced into small pinwheels instead of served whole.
Can I make these without a microwave?
Yes. Assemble the roll ups and bake them at 375°F for 8 to 10 minutes, or serve them cold. The cold version is a good choice for schools that don’t have a microwave.
How long will ham and cheese roll ups last?
Keep them refrigerated and use them within 3 to 4 days for the best quality. Pack them with an ice pack for school or daycare.
What goes well with ham roll ups?
Fruit pouches, apple slices, crackers, yogurt, carrots, cucumber, and veggie dips all pair well with these roll ups. A few simple sides turn them into a complete ham and cheese roll ups lunch.
More Easy Back to School Lunch Ideas
When the school year starts, I need recipes that are quick, simple, and likely to be eaten. These ham and cheese roll ups kids lunch portions fit all three requirements. They make a handy ham and cheese roll ups school lunch, and the filling can change depending on what you have in the refrigerator.
Whether you call them a cheese rollup, a cheese rollup for kids lunch, an easy ham and cheese wrap, or a cheese ham wrap, the idea is the same. Warm a tortilla, add a simple filling, roll it up, and pack it with a few favorite sides.
For the smallest lunch eaters, slice the roll ups into bite-size pieces. For older kids, pack a whole roll up with fruit and crackers. These ham and cheese roll ups kids can be made ahead, frozen for later, or assembled in just a few minutes when the morning is already running behind.
That makes them one of my favorite easy back to school recipes, and one more lunch decision I don’t have to worry about before the coffee is ready.
More Delicious Recipes
Ham and Cheese Roll Ups
Ingredients
- 6 inch fajita flour tortillas
- Shredded cheese
- Honey Roasted Ham or lunch meat of choice
Directions
- Making the ham and cheese roll up is super simple. Lay a tortilla out on a plate. You can use larger or smaller flour tortillas, but these 6 inch ones are the perfect size to slice in half for my grandson’s (who’s 4) lunch. Mom and Dad might want 2 or 3 though.
- Place a slice of ham on top of the tortilla and sprinkle some shredded cheese on top. Microwave for 15-30 seconds, just until the cheese starts to melt. Roll up the tortilla while it is still warm. BE CAREFUL – it will be HOT.
- Slice in half and place in a baggy in their lunch box. You can add some chips and fruit to round out their lunch. You can serve the roll up warm or cold. I would recommend including a lunch box ice pack to keep everything healthy.

Leave a Reply