Most of us have a battered shoebox hiding on a closet shelf, packed to the brim with vintage family photos. Those old snapshots capture everything from wild retro outfits to the familiar faces of our ancestors.
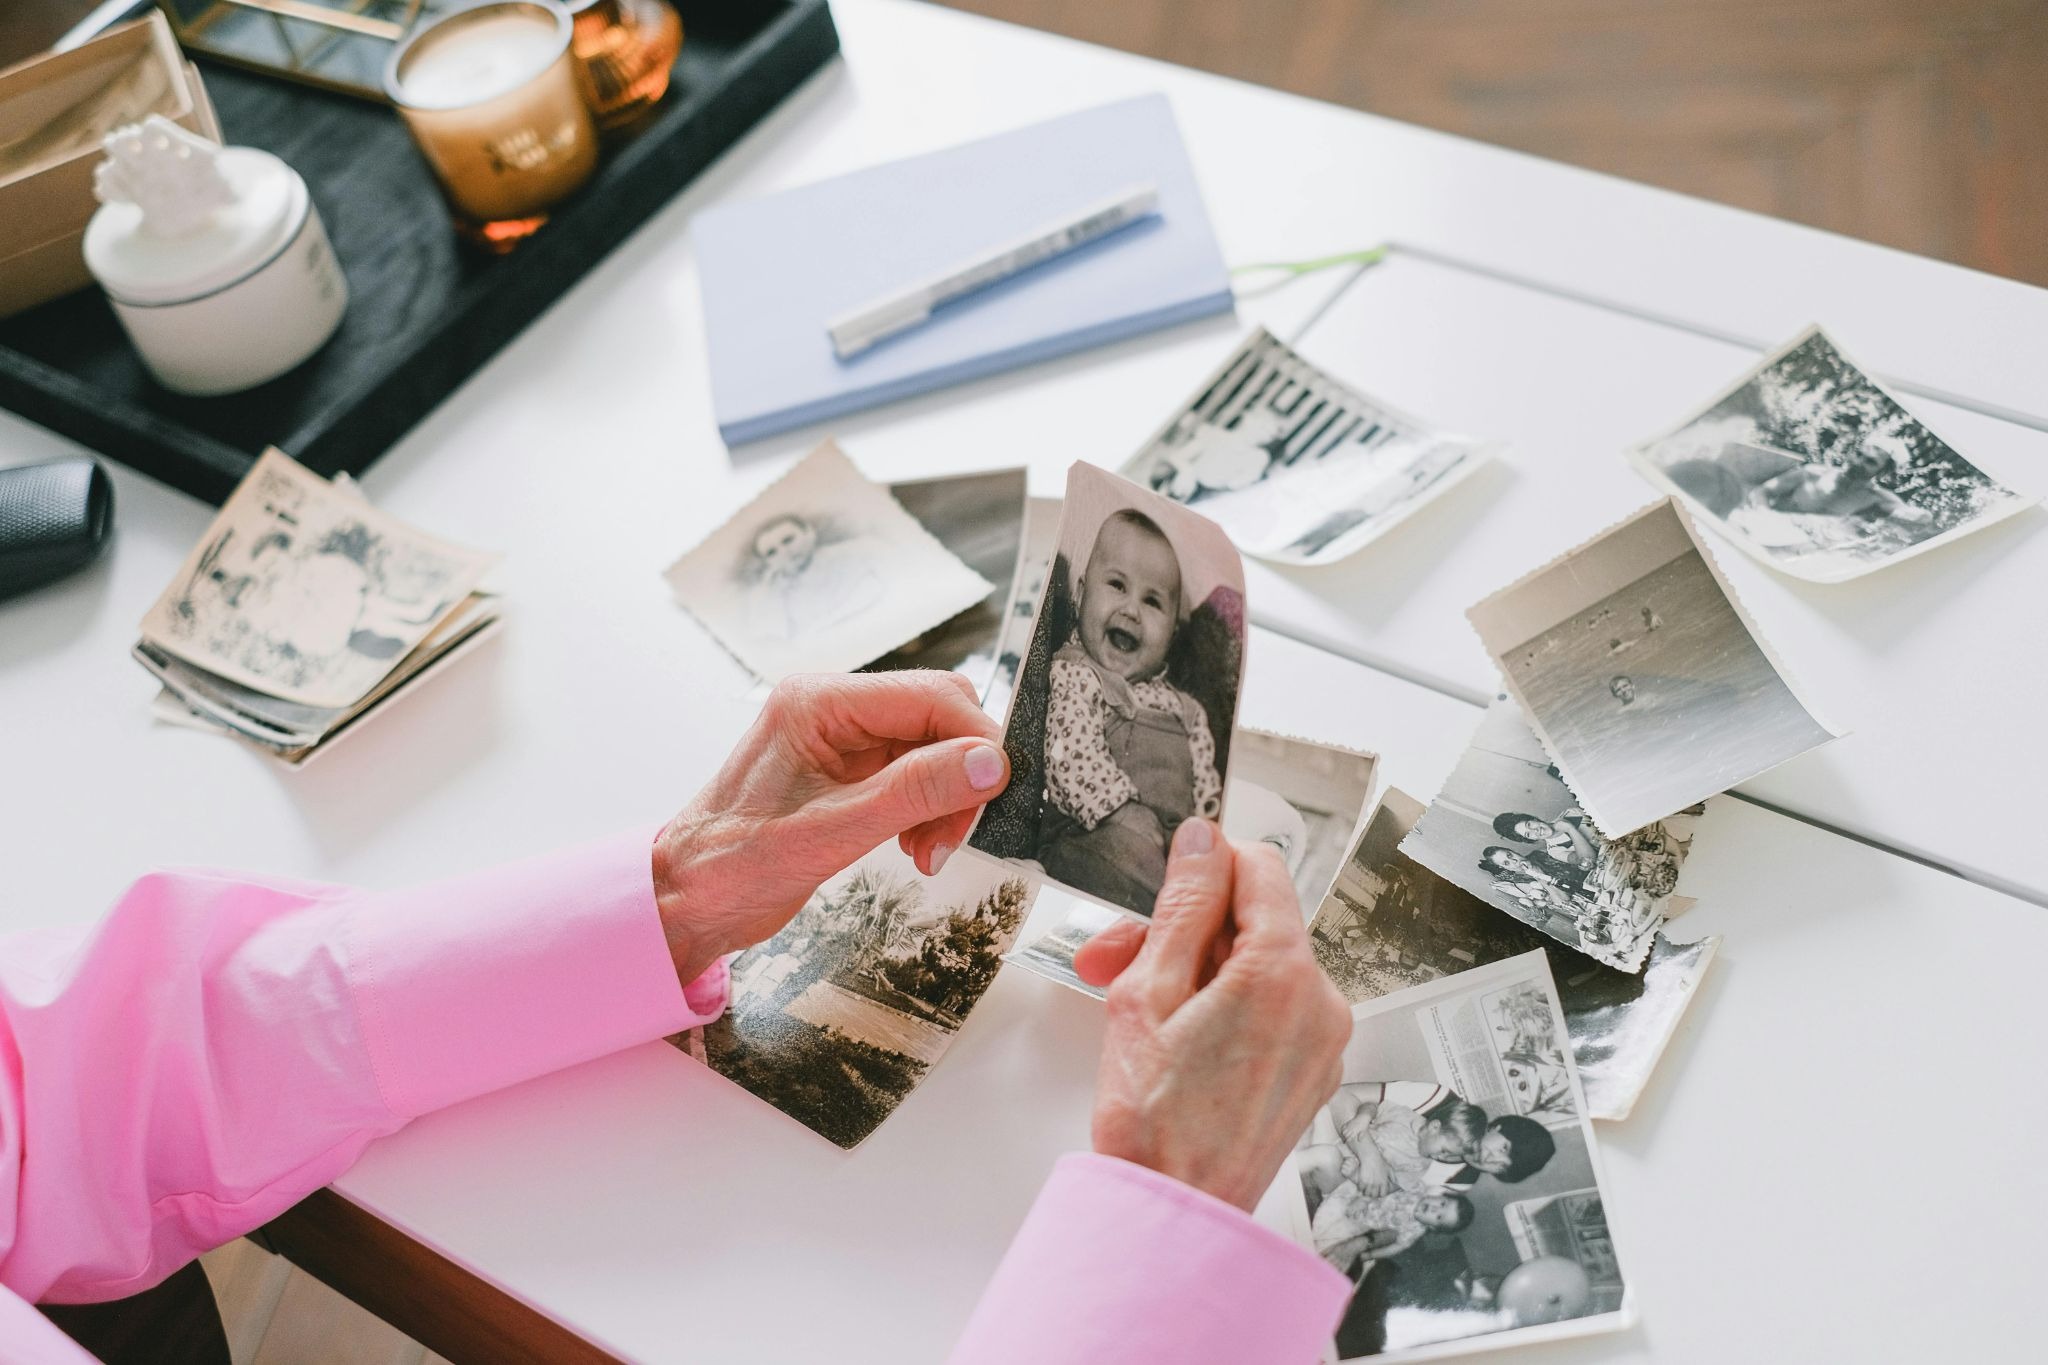
But keeping these treasures tucked away in the dark is a missed opportunity. Bringing these moments into your daily life adds instant warmth and soul to your living space. With a little hands-on creativity, you can easily turn these old prints into beautiful, tactile pieces for your home. If you’ve been searching for inspiration on what to do with old family photos, here are five creative ways to enjoy them every day.
1. Photo-Transfer Wooden Spoons
Add a personal touch to your kitchen by creating custom photo-transfer utensils. Transform an everyday tool into art by moving a laser-printed image of an ancestral cook or a vintage kitchen scene straight onto wood. It makes preparing a simple weekend meal feel like a connection to your heritage.
What You’ll Need:
- Unfinished wooden spoons
- Laser-printed photos
- Mod Podge
- A small brush
- A damp sponge
- A bit of fine-grit sandpaper
The How-to:
- Trim your image to match the width and length of the spoon handle.
- Coat both the wood and the photo face with Mod Podge.
- Press the photo face down onto the wood, and smooth out any bubbles.
- Let it dry for a full 8 hours. Once dry, gently rub the paper away with a damp sponge.
Wabi-Sabi Tip: If a little ink flakes off, don’t panic. That weathered, “lived-in” look is exactly what makes it feel authentic to the age of the photo.
2. Stitched Photo “Ribbons” for Gift Wrap
Why use mass-produced plastic bows when you can wrap a gift in a memory? This project uses strips of matte photo prints sewn together to create custom “ribbons.” The packaging becomes so beautiful and personal that the recipient might actually treasure the ribbon more than the gift inside.
What You’ll Need:
- Matte paper prints of old family photos
- Scissors or a paper trimmer
- A sewing machine or a needle for hand-sewing
- Contrasting thread
- Brown kraft paper
The How-to:
- Cut your photos into long strips about an inch wide.
- Overlap the ends slightly and sew them together in one long, continuous strand.
- Run a decorative stitch right down the middle of the paper strip (use a long stitch setting if using a machine).
- Wrap your box in simple brown paper and loop your photo chain around it.
Wabi-Sabi Tip: Let the edges of the paper fray naturally, especially if you are using high-texture paper stock. Slight imperfections in your stitching line only emphasize the handmade care behind the gift.
3. Wax-Sealed “Letter” Coasters

Transform your coffee table into a gallery of old correspondence. By layering photo snippets with pieces of old family letters and sealing them with a traditional wax stamp, you create a water-resistant spot for your morning mug.
What You’ll Need:
- Plain cork or wood coasters
- Small photo prints
- Snippets of old letters or photocopies
- Matte Mod Podge
- Sealing wax
- Metal wax stamp
The How-to:
- Arrange your photo and old letter pieces on the coaster.
- Glue them down and seal the entire top with a few coats of Mod Podge.
- Once dry, melt your wax and pour a small pool where the layers meet.
- Press your stamp into the hot wax and let it set for a few seconds.
Wabi-Sabi Tip: Let the wax overflow and take on an organic, messy shape. It’s supposed to look like a letter that traveled a thousand miles to get to you.
4. Vintage Photo “Memory Jars”
There is something magical about seeing an old photo through the curve of thick, antique glass. It distorts the image just enough to make it feel like a dream. Memory jars are a simple, effortless way to display loose snapshots while protecting them from dust and fingerprints.
What You’ll Need:
- Old glass bottles
- Photo prints
- Dried plants
- Chopsticks or tweezers
The How-to:
- Gently roll your photo and slide it into the jar.
- Use a chopstick to nudge it into place.
- Tuck a few dried botanicals behind the photo to hold it steady.
- Cluster a few finished jars together on a bookcase or a bright windowsill.
Wabi-Sabi Tip: Scour flea markets for jars with slight defects, air bubbles, or a colored tint. These natural flaws bend the light in ways that make the old images look even more authentic.
5. Photo “Rug” Under Glass
When you have a massive collection and are completely stuck on what to do with old pictures, why not display them all? This is a “living” collage—a spread of family moments protected right beneath a glass tabletop. It turns a desk or coffee table into an instant icebreaker for guests.
What You’ll Need:
- A collection of photos in various sizes
- A table with a removable glass top
- Removable double-sided tape
- Acid-free paper backing
The How-to:
- Wipe down the tabletop completely to remove any dust or grease.
- Spread out your backing paper or use the raw tabletop surface as your background.
- Layer the photos in an organic, overlapping layout.
- Tack down the corners with tiny pieces of removable tape.
- Lower the glass cover carefully onto the table surface to flatten the prints and protect them.
Wabi-Sabi Tip: Don’t try to fix the bent corners or the faded spots. A crowded, overlapping layout feels much more “alive” and human than a stiff, organized photo album.
If you find a cool way to honor your roots, those family stories will never fade. You could use old photos to make custom gift wrap or put them right under a glass tabletop—either way, these little pieces of history give your home real soul.
And if you need a bit more inspiration, have a look for some other ideas on what to do with old photos to get them out of a dark box and back into your life.
Still trying to figure out ? Honestly, the best project is just the one that gets them out of some dark box and back into your life, where you can actually see them. Happy crafting!


Leave a Reply