
Most beginners sit down with a fresh canvas, crack open a set of acrylic paints, and felt completely at sea within the first ten minutes. The numbered sections look straightforward. The colors seem obvious. And then somehow the finished result doesn’t match the photo on the box.
The truth is, paint by numbers has a short learning curve but a few common traps that trip up almost every first-timer. Avoid these five mistakes early, and your first project will look far better than you’d expect.
1. Starting with the Wrong Colors First
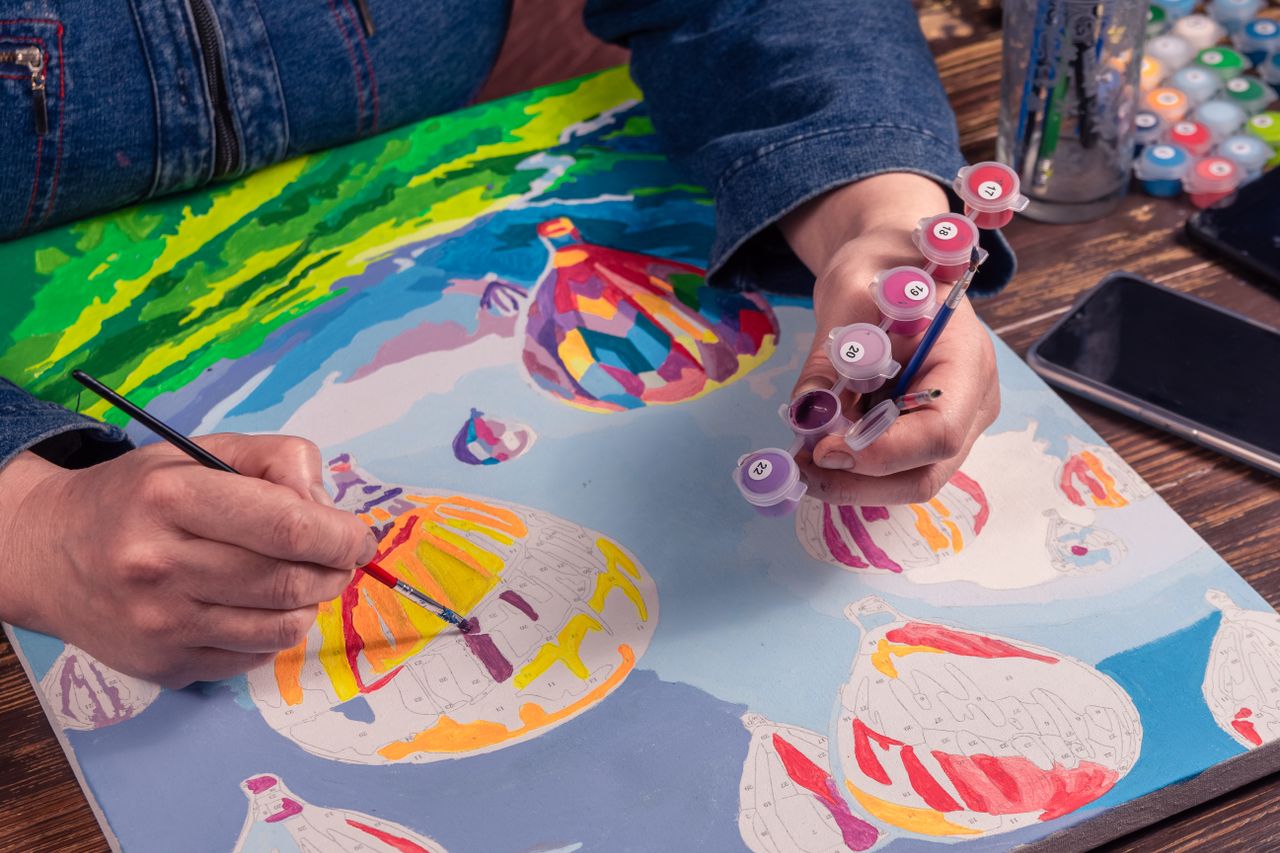
Figured’Art kits come with a sequenced canvas where the numbering itself hints at a logical paint order, but a lot of beginners ignore that and start with whatever color catches their eye first. That impulse makes sense. It doesn’t make for a clean finished painting, though. The standard rule is to start with the lightest colors and move toward the darker shades. Darker paints are more opaque and will cover accidental overlaps from lighter tones. If you paint a deep navy section first and then try to fill in a cream or pale yellow next to it, any slight smear will show through the lighter pigment. Acrylic paints are slightly translucent when thin, so lighter colors laid over dark ones often need two or three coats to fully hide the color beneath. Start light, then go dark, and you’ll deal with far fewer correction passes. Also, avoid skipping around the canvas randomly. Work one color across the entire canvas before switching to the next. That reduces how often you have to clean your brush and minimizes the risk of cross-contaminating colors.
2. Loading Too Much Paint on the Brush
Overloading the brush is one of the most consistent mistakes beginners make. A heavy, paint-laden brush sounds efficient. In reality, it bleeds across the printed black lines and dumps the wrong color into neighboring sections. Every numbered section on your canvas has defined boundaries, and those boundaries only hold when your brush carries a moderate, controlled amount of paint. Dip the brush, then wipe off the excess on the rim of the paint pot or a paper towel before you touch the canvas. The paint should feel slightly thick and workable, not runny, not globby. Acrylics dry fast, so there’s no need to rush. A thin, even coat covers more effectively than one thick smear, and it dries quicker too. If a section looks patchy after the first coat, let it dry completely and go back over it. That two-coat approach produces a smoother, more professional result than one heavy pass every time.
3. Skipping Drying Time Between Sections
Impatience wrecks clean results. Many beginners move straight from one section to an adjacent one before the first has dried, and the wet edges blur together. Acrylics dry quickly by artist standards – usually 10 to 20 minutes for a thin layer – but beginners often don’t give them even that. The fix isn’t complicated: after filling a section, jump to a non-adjacent part of the canvas and work there instead. You can paint several scattered sections and rotate through them while the others cure. This keeps your session moving without the smearing problem. Drying time matters between coats too. Apply a second coat too soon over a still-wet first layer and you’ll lift the paint rather than build on it. Touch the surface lightly with your fingertip; if it feels even slightly tacky, wait. Five extra minutes of patience regularly saves you 20 minutes of repairing a smear.
4. Ignoring the Printed Number System
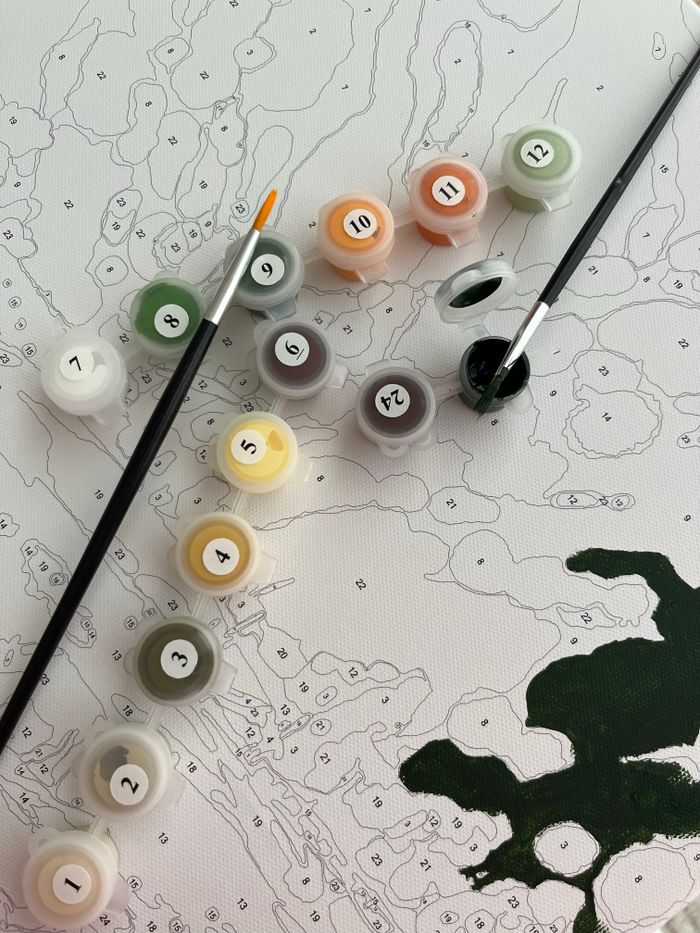
The number system on a paint by numbers canvas exists specifically to prevent color confusion. Beginners sometimes peel the pot labels off or mix up colors that look similar, and end up painting section “8” with the color intended for section “4.” Those two shades might look nearly identical in the pot but produce a noticeably wrong result on canvas. Before you crack open the first paint, match every number on the canvas to its corresponding pot and keep them organized in that order throughout the session. Line them up in a row, small numbers on the left, higher numbers to the right. If your kit includes a color chart, keep it beside the canvas the whole time. That sounds obvious, but color mix-ups are one of the most common reasons finished paintings look off. And once acrylic paint fully dries, correcting a wrong-color section means applying several coats of the right color, which costs real time.
5. Choosing a Canvas That’s Too Complex Too Soon
A paint by numbers kit’s difficulty comes down to two things: how many color sections it contains and how much detail the image carries. A beginner who picks a portrait with 40 or 50 distinct color areas and fine facial features will struggle, get frustrated, and possibly quit before the painting’s half done. A better entry point is a simple outdoor scene or a broad animal subject with wide color sections and clear boundaries. These designs give your brush room to move without demanding constant precision, and they teach you the core skills – consistent coverage, proper brush loading, and sequential color order – without overwhelming you. Once you’ve finished one or two simpler kits and those habits feel natural, a more complex image becomes genuinely enjoyable rather than stressful. The goal of your first project isn’t a masterpiece. It’s building the muscle memory and confidence that make harder kits manageable.
Conclusion
Paint by numbers is one of the most accessible creative hobbies out there, and most of its early frustrations trace back to a handful of repeatable mistakes. Start with light colors, control your brush load, respect drying time, follow the number system, and match your first kit to your current skill level. Get those five things right and your results will surprise you. The 5 paint by numbers mistakes beginners should avoid aren’t hard to fix, they just require a little awareness before you open that first paint pot.





Leave a Reply