
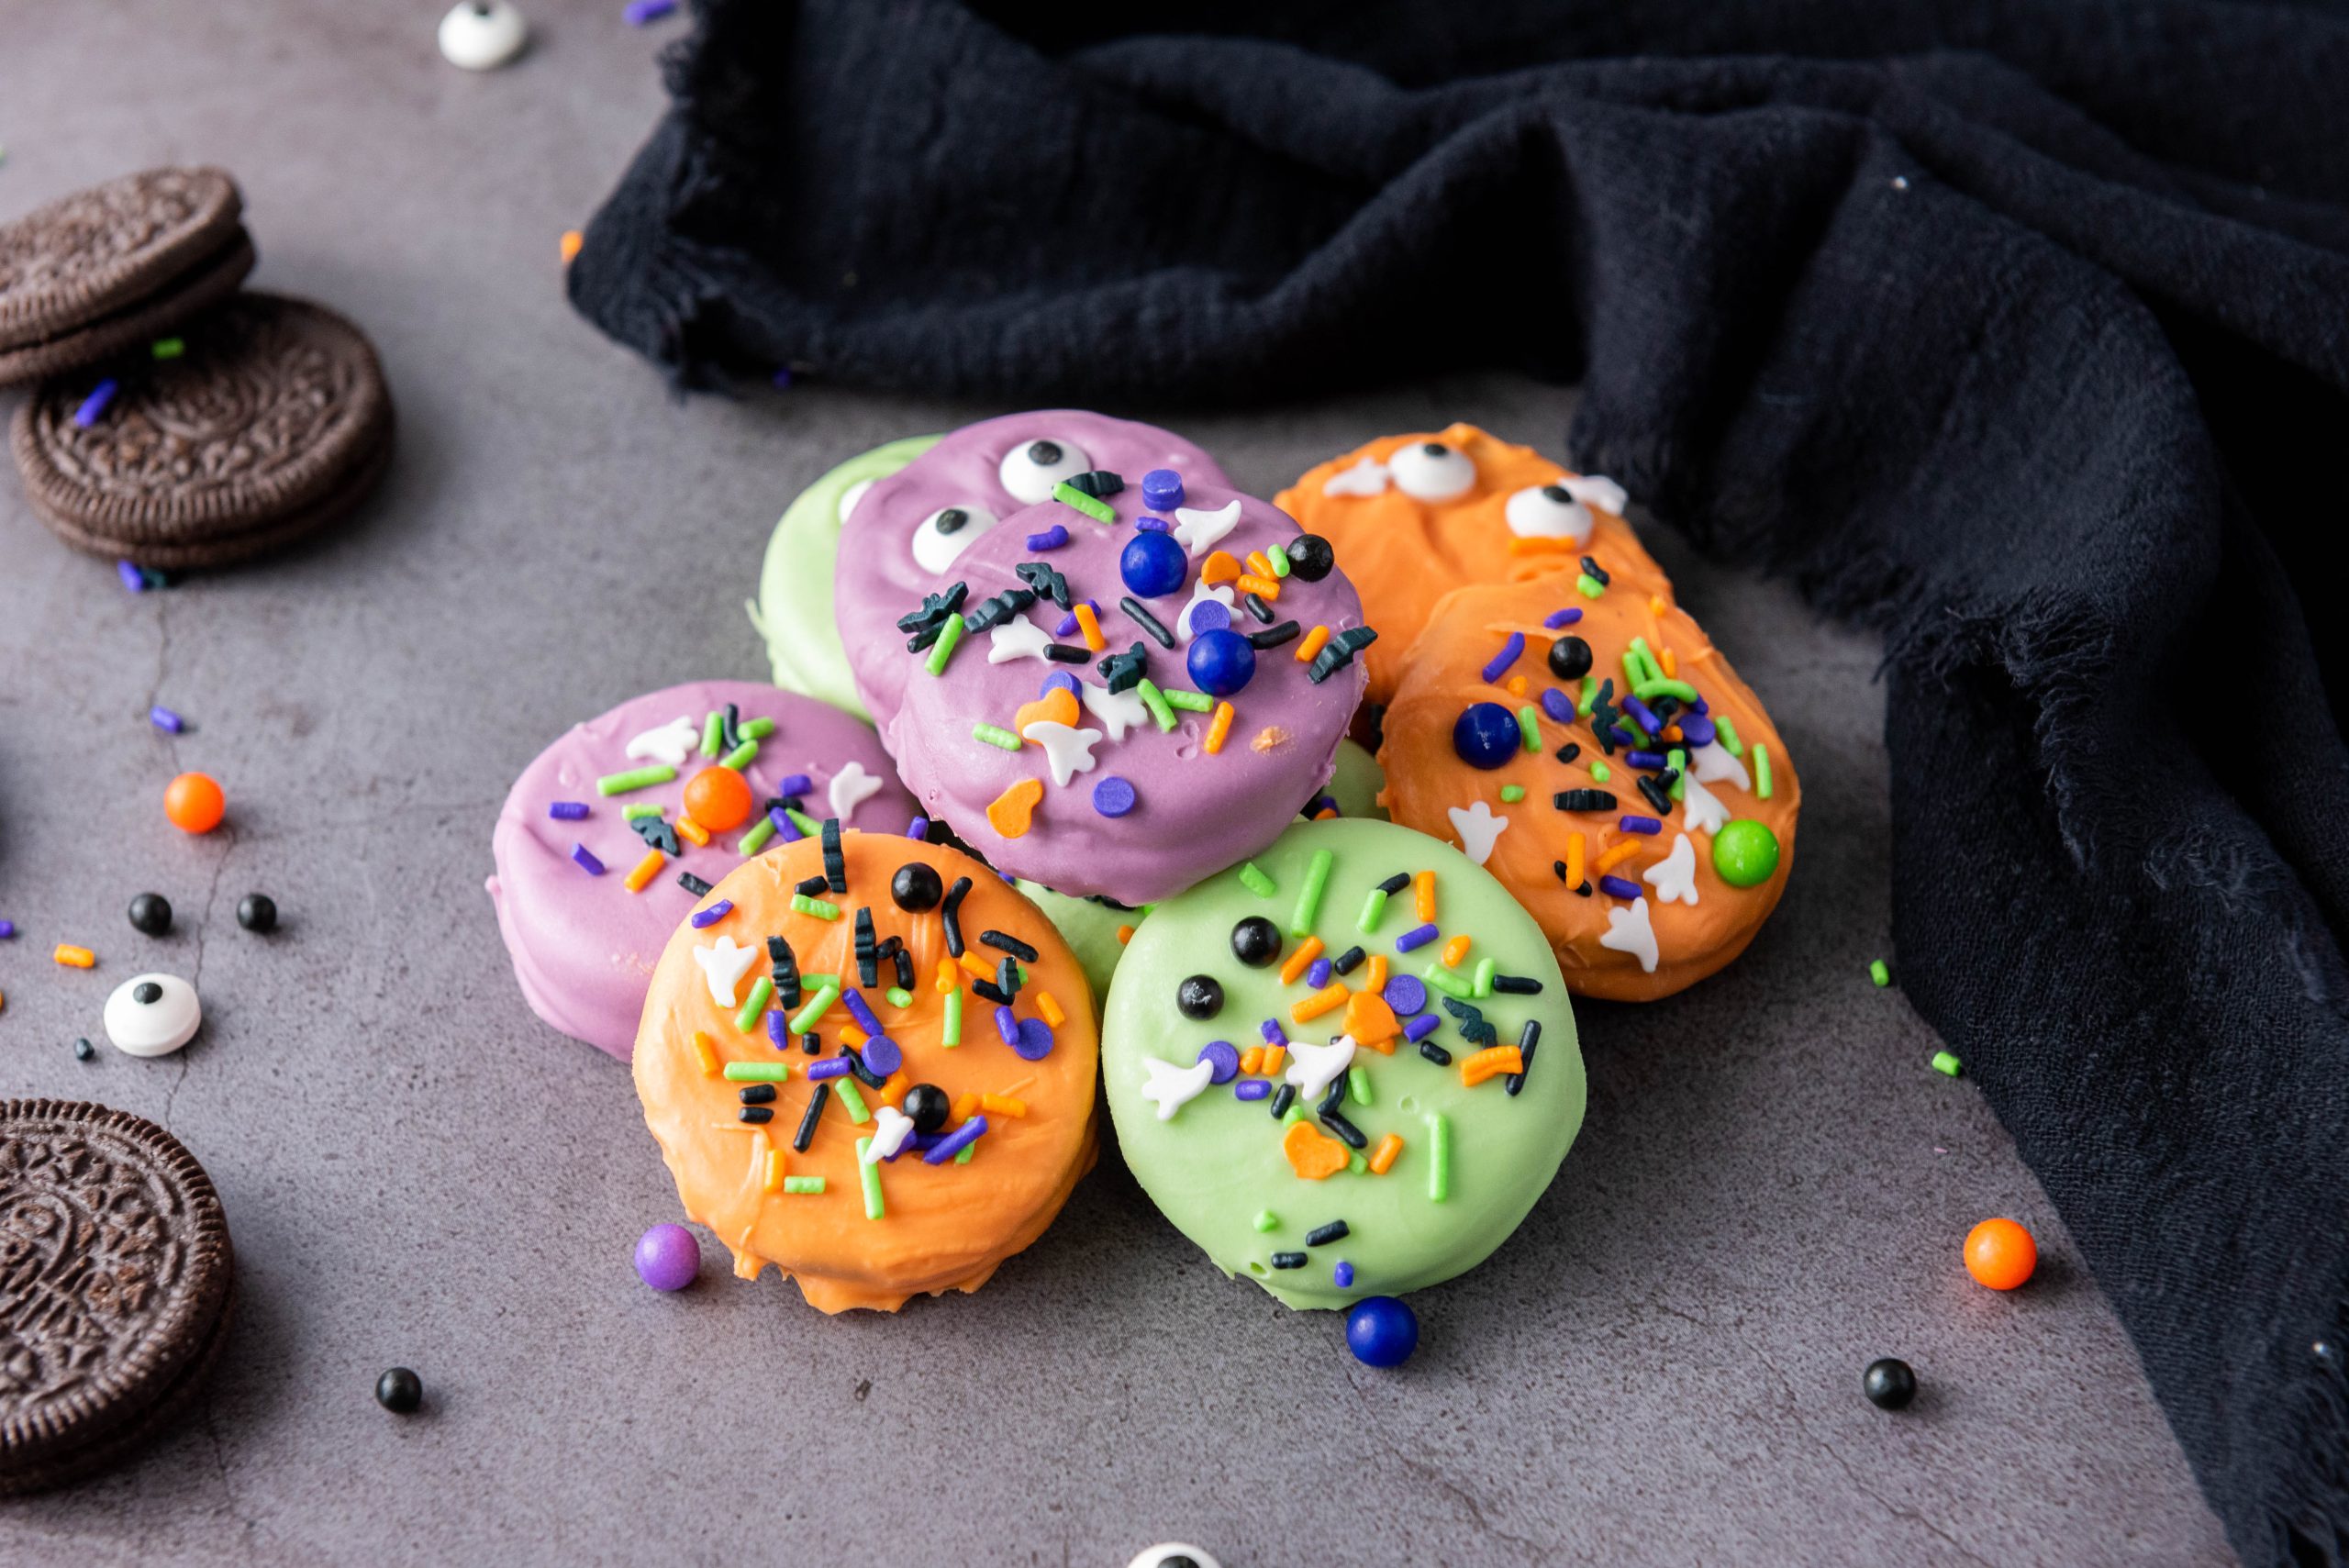
A Halloween party treat doesn’t need an oven, a fancy mold, or hours in the kitchen to be adorable. These Halloween Oreo Cookies are dipped in purple, green, and orange candy melts, then covered with spooky sprinkles for a batch of sweet little monsters.
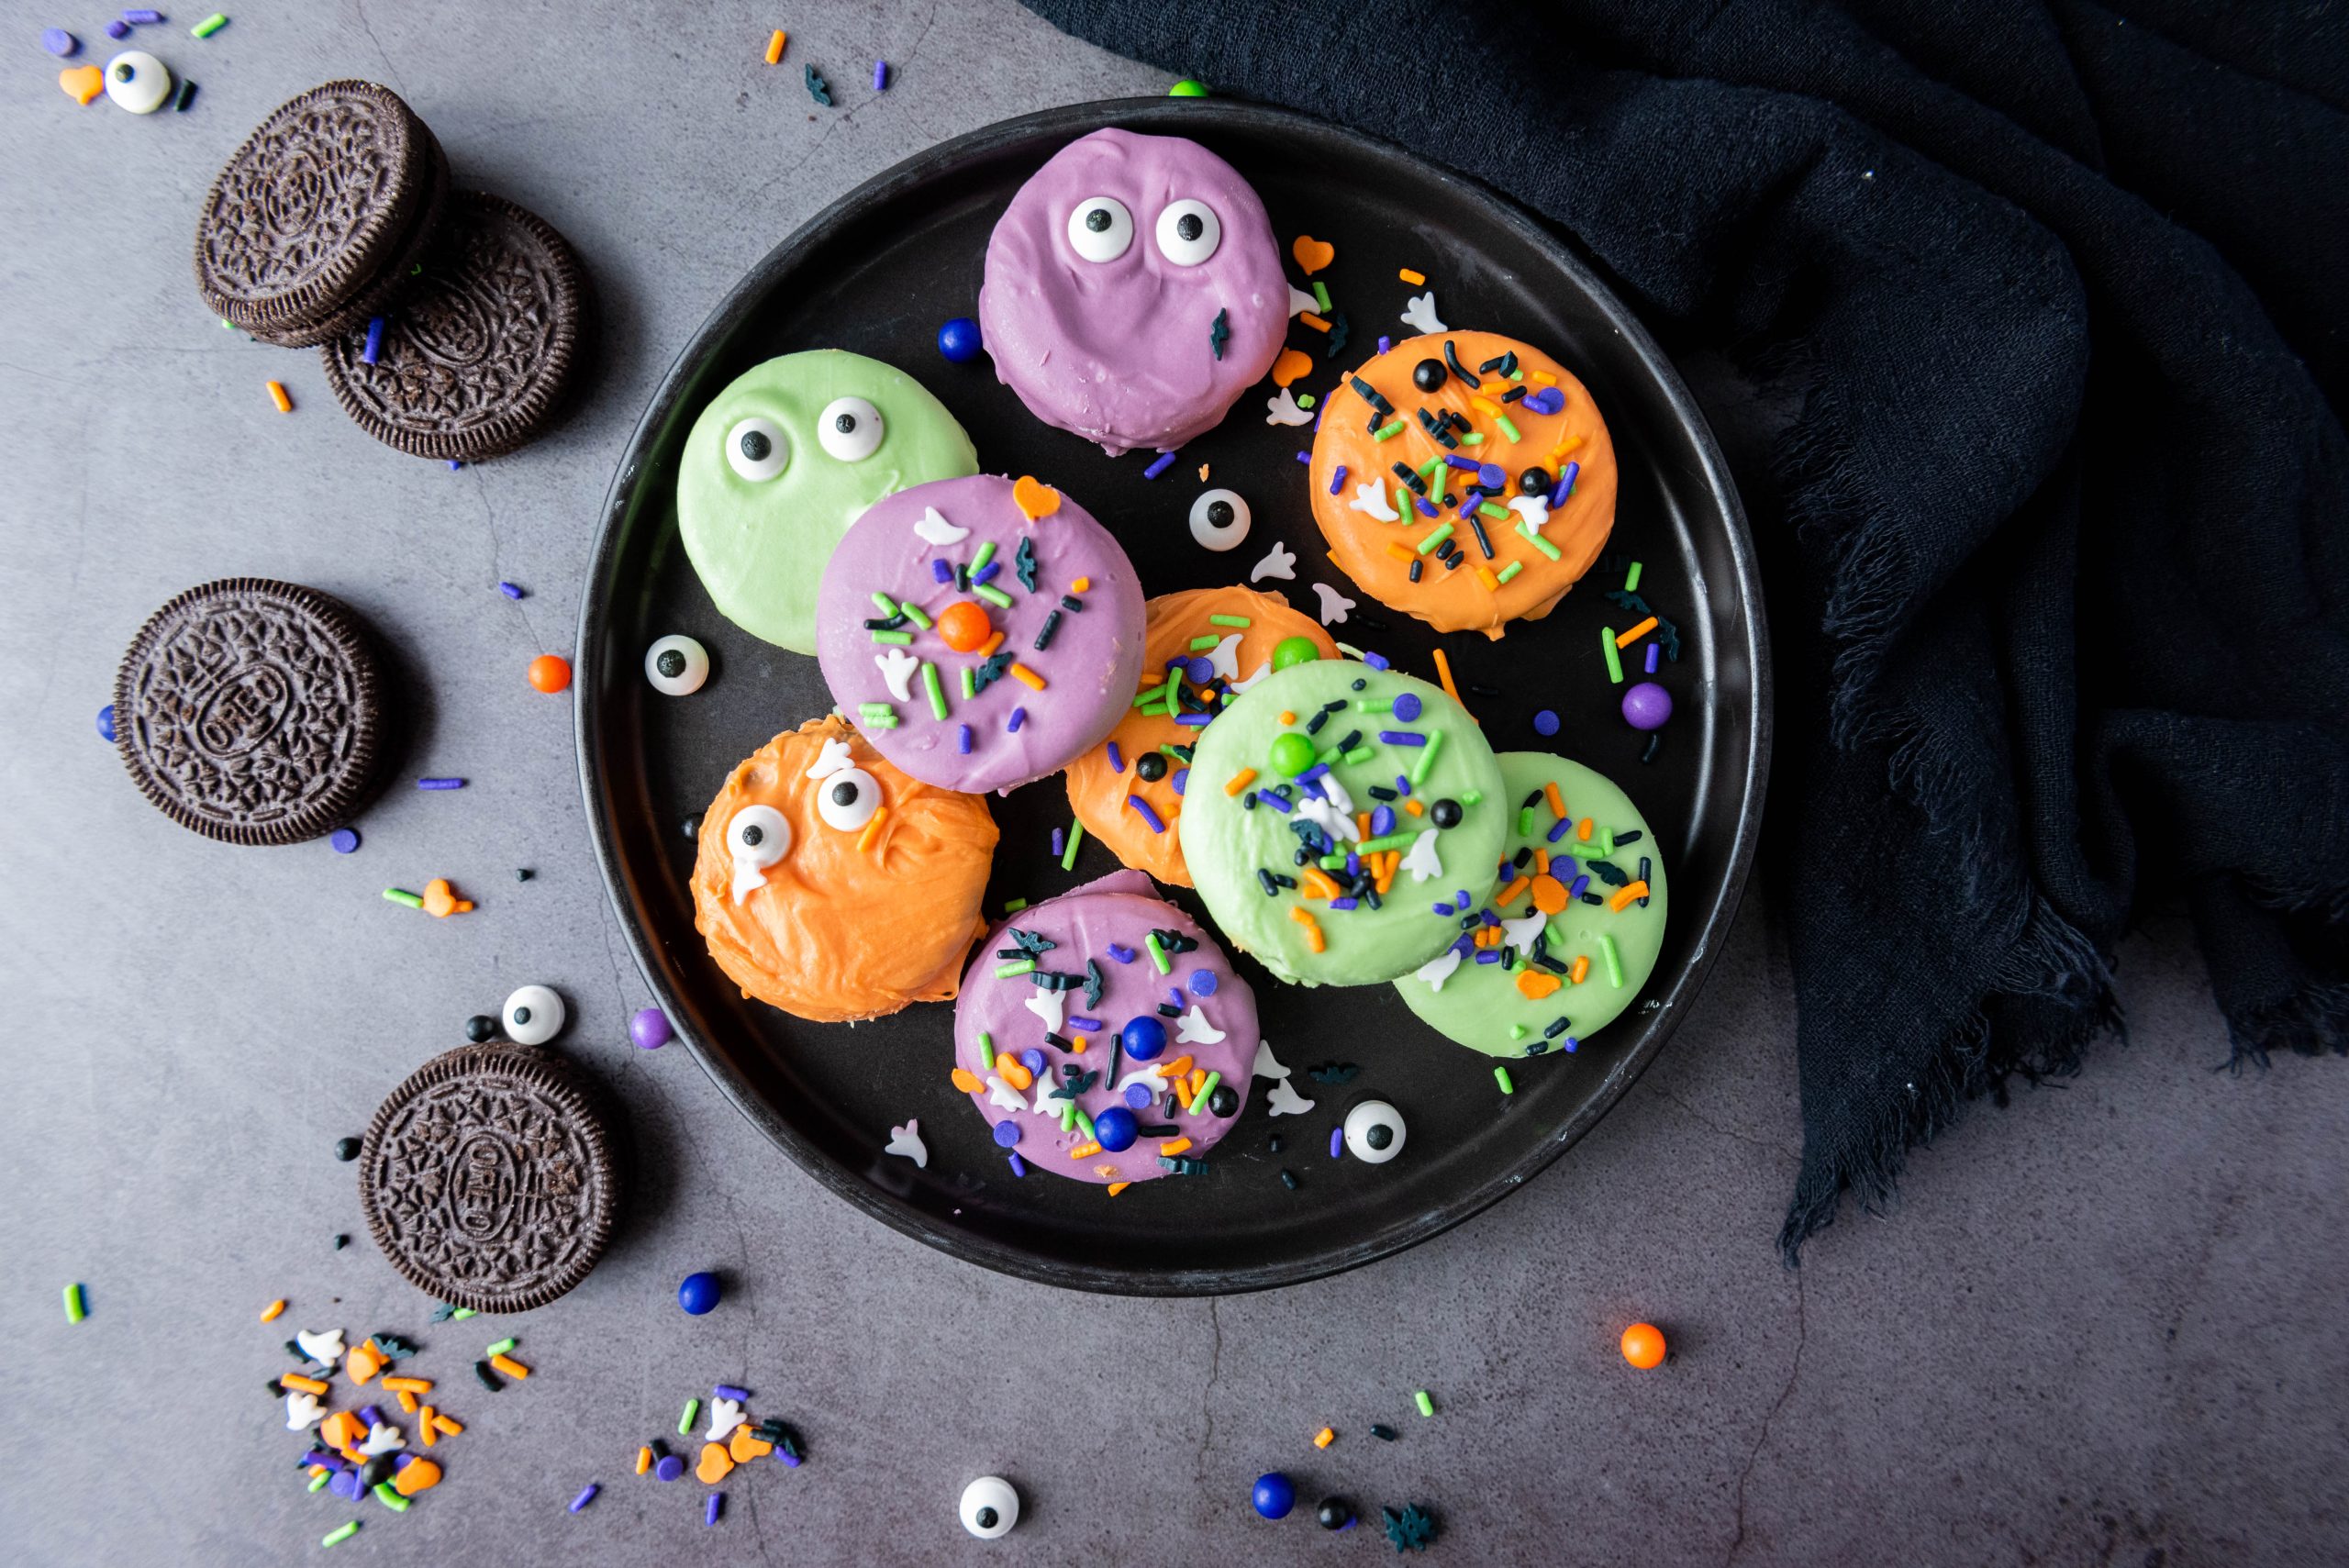
You need about 15 minutes to prep, 30 minutes for cooling, and 12 regular Oreos. They are perfect for classroom treats, bake sales, party platters, or a simple family decorating night.
Grab a few bowls and let the Halloween fun begin!

Halloween Oreo Cookies Need Just a Few Simple Ingredients
This recipe makes 12 colorful coated Oreos, with four cookies in each candy color. Everything is easy to find at a grocery store, craft store, or baking aisle.
Here is what you will need:
- Oreo cookies
- Purple candy melts
- Green candy melts
- Orange candy melts
- Halloween sprinkles, such as bats, pumpkins, ghosts, and spooky shapes

Use your favorite Oreo flavor if you want to switch things up. Regular chocolate Oreos look great, but Golden Oreos, mint Oreos, and seasonal flavors can be fun too.
Candy melts are handy because they come in bright colors and firm up nicely once cooled. Chocolate chips or another melting chocolate can work in a pinch, but they may not set as firmly without a little extra help.
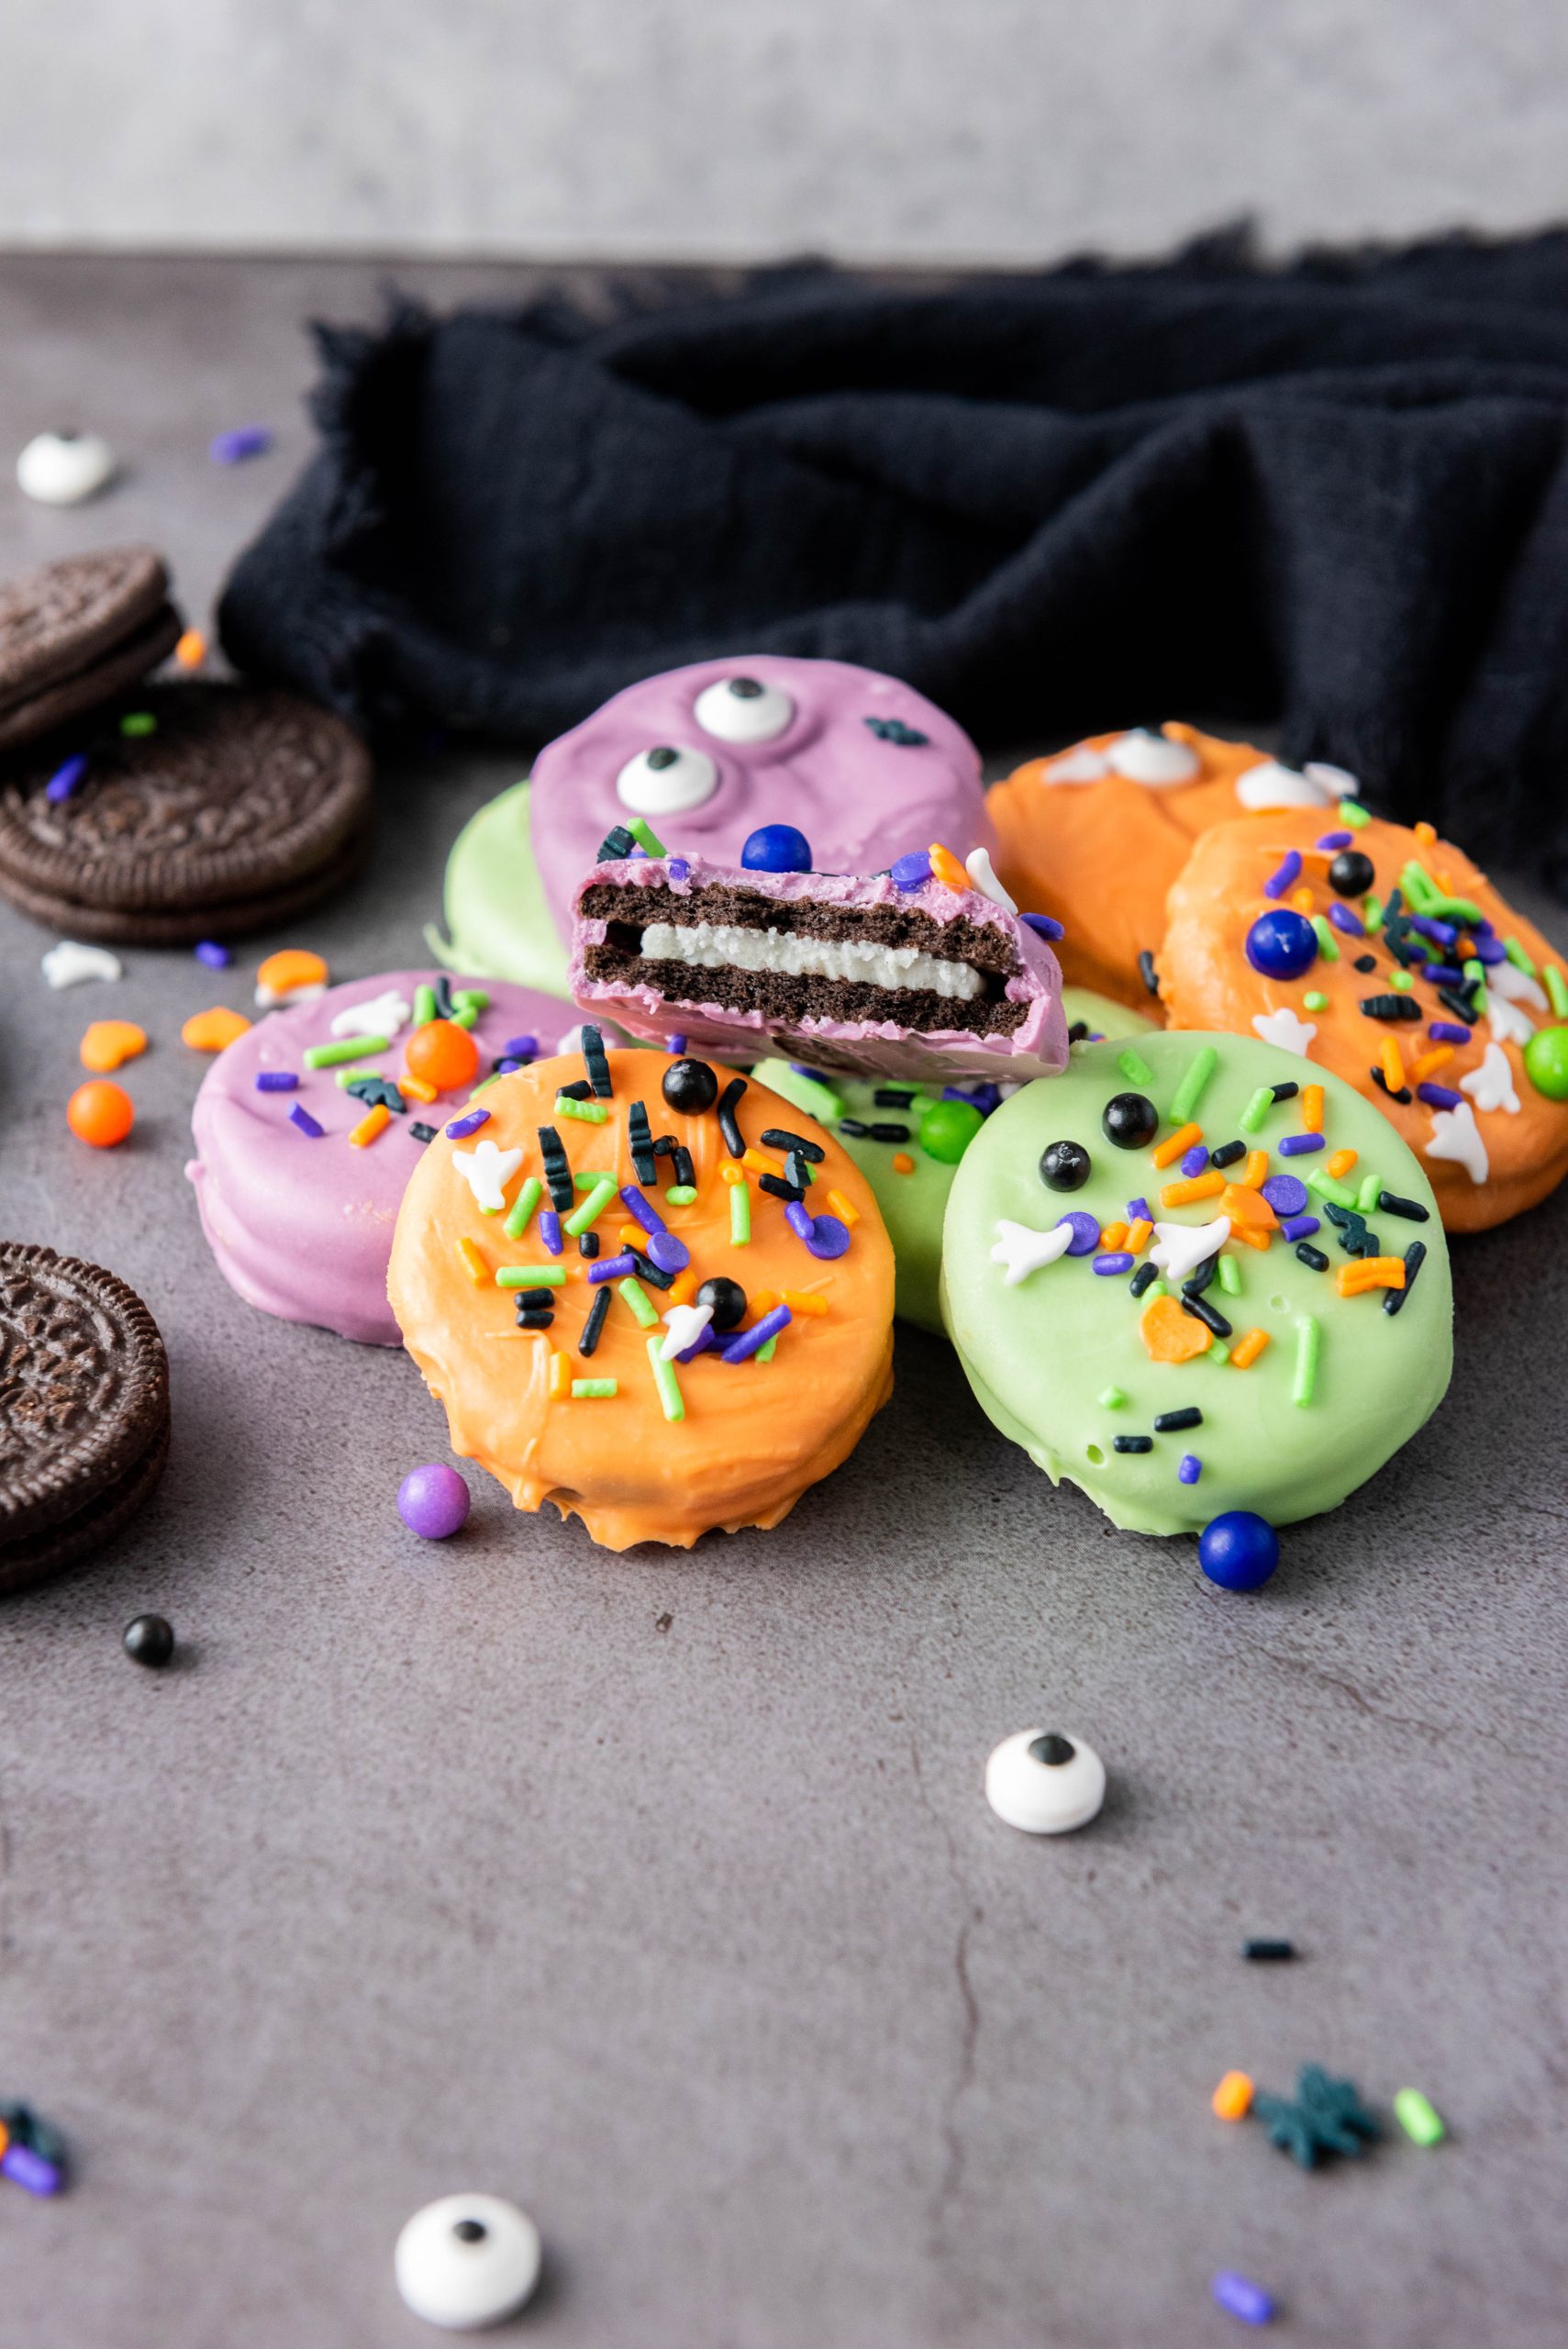
A Few Helpful Tools to Have Ready
Set yourself up before you melt anything. That way, you can decorate each cookie before the coating starts to harden.
You will need a baking sheet lined with parchment paper or a silicone baking mat. Grab three microwave-safe bowls, plus a fork or candy-dipping tool. Small bowls for the sprinkles are helpful too.
Candy eyes are optional, but they give these cookies a silly monster face in seconds. A few eyes stuck on crooked? Even better!
Prep the Tray and Melt the Candy Colors
The trick with this recipe is simple: get everything ready before the candy melts are warm and waiting. Once an Oreo is dipped, you want to decorate it right away.
Line the Baking Sheet and Sort the Sprinkles
Cover a baking sheet with parchment paper or a silicone baking mat. This keeps the candy coating from sticking and makes cleanup much easier.
Pour your Halloween sprinkles into separate little bowls. Put the bats in one, the pumpkins in another, and any candy eyes nearby. It feels a little like setting up an edible art station.
If you are making these with kids, this is a great job for them. They can sort colors, pick out ghost sprinkles, and decide which monster needs one eye or three.
Melt Each Color in Short Bursts
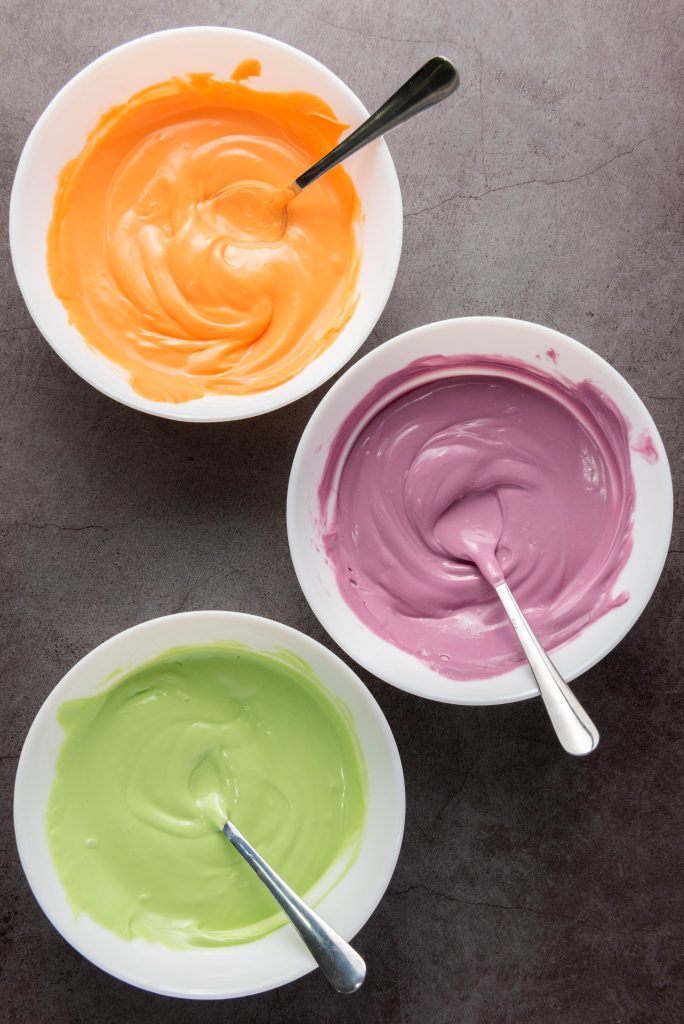
Place the purple, green, and orange candy melts in three separate microwave-safe bowls. Heat one bowl at a time for 30 seconds, then stir well.
Continue heating in 30-second intervals until the candy is smooth. The melts may look like they are holding their shape at first, but a good stir can finish the job.
Do not rush this part. Candy melts can scorch if they get too hot, and burnt candy has a thick, grainy texture that won’t coat cookies well.
A few unmelted pieces will often disappear after stirring. Give the warm candy a moment before sending it back to the microwave.
Keep the melted bowls close to your prepared baking sheet. Now the fun part starts.

Dip and Decorate the Halloween Oreo Cookies
A mold makes chocolate-covered Oreos neat and perfectly shaped. But for monster cookies? Skip the mold and let them look a little wild. Uneven coating, crooked eyes, and random sprinkles give every Oreo its own personality.
Coat Four Oreos in Each Candy Color
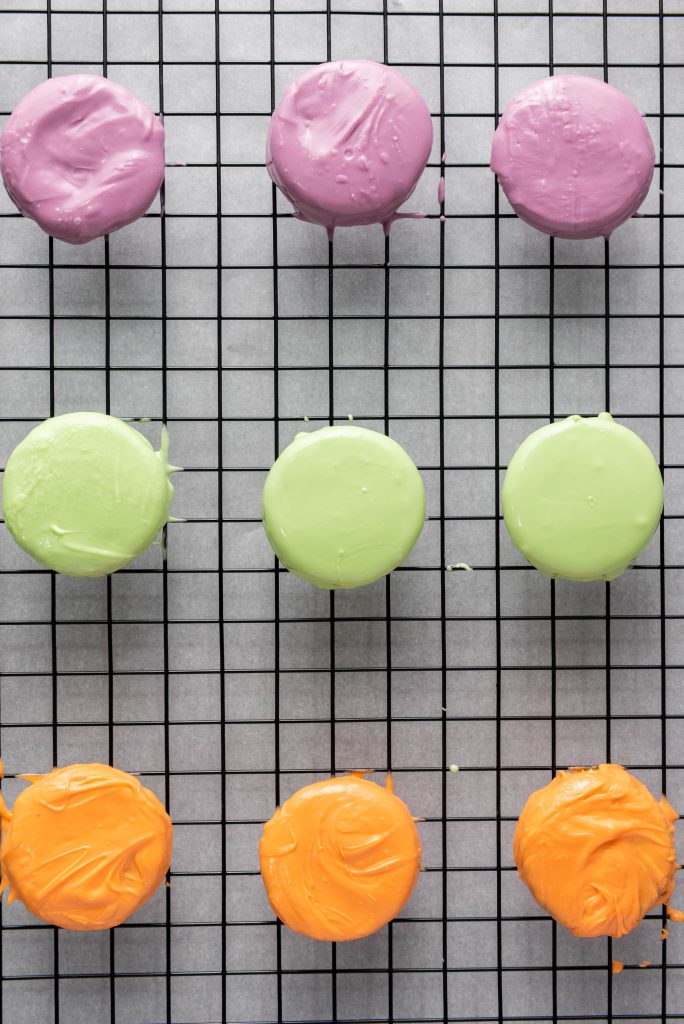
Use a fork or dipping tool to lower one Oreo into the melted candy. Turn it gently until the cookie is fully coated.
Lift the Oreo out with the fork. Let the extra candy drip back into the bowl for a few seconds, then place the cookie on the lined baking sheet.
Dip four cookies in purple, four in green, and four in orange. This gives you a bright assortment without needing a huge amount of each candy color.
Don’t worry if a little coating puddles around the cookie. These are not supposed to look polished and identical. The messy edges make them look like funny little Halloween monsters.

How to Get a Smooth Candy Coating
Dry bowls and utensils matter more than you might think. Even a little water can make melted candy thicken up or seize, so dry everything well before you begin.
Stir the candy often, especially after each microwave interval. If it seems almost melted, let the bowl sit for a few seconds and stir again. The remaining heat may finish melting the pieces without more microwave time.
Work with one color at a time if you are new to candy dipping. Use a fork to lift each Oreo, then tap the fork gently against the side of the bowl. That removes extra coating and helps prevent a thick candy puddle under the cookie.
If the candy starts to firm up, microwave it briefly and stir until it is fluid again.

When to Add Sprinkles and Candy Eyes
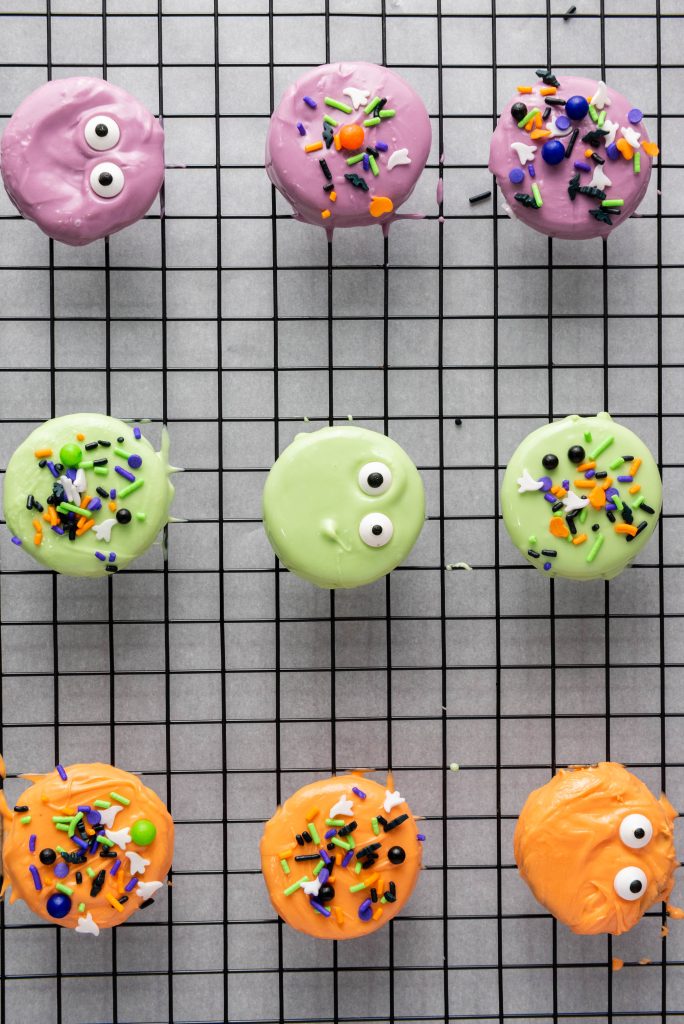
Decorate each Oreo while the coating is still wet. Once it hardens, the sprinkles will sit on top instead of sticking.
Sprinkle from above so the tiny shapes land across the whole cookie. For larger candy pieces, like pumpkins or candy eyes, gently press them into the soft coating.
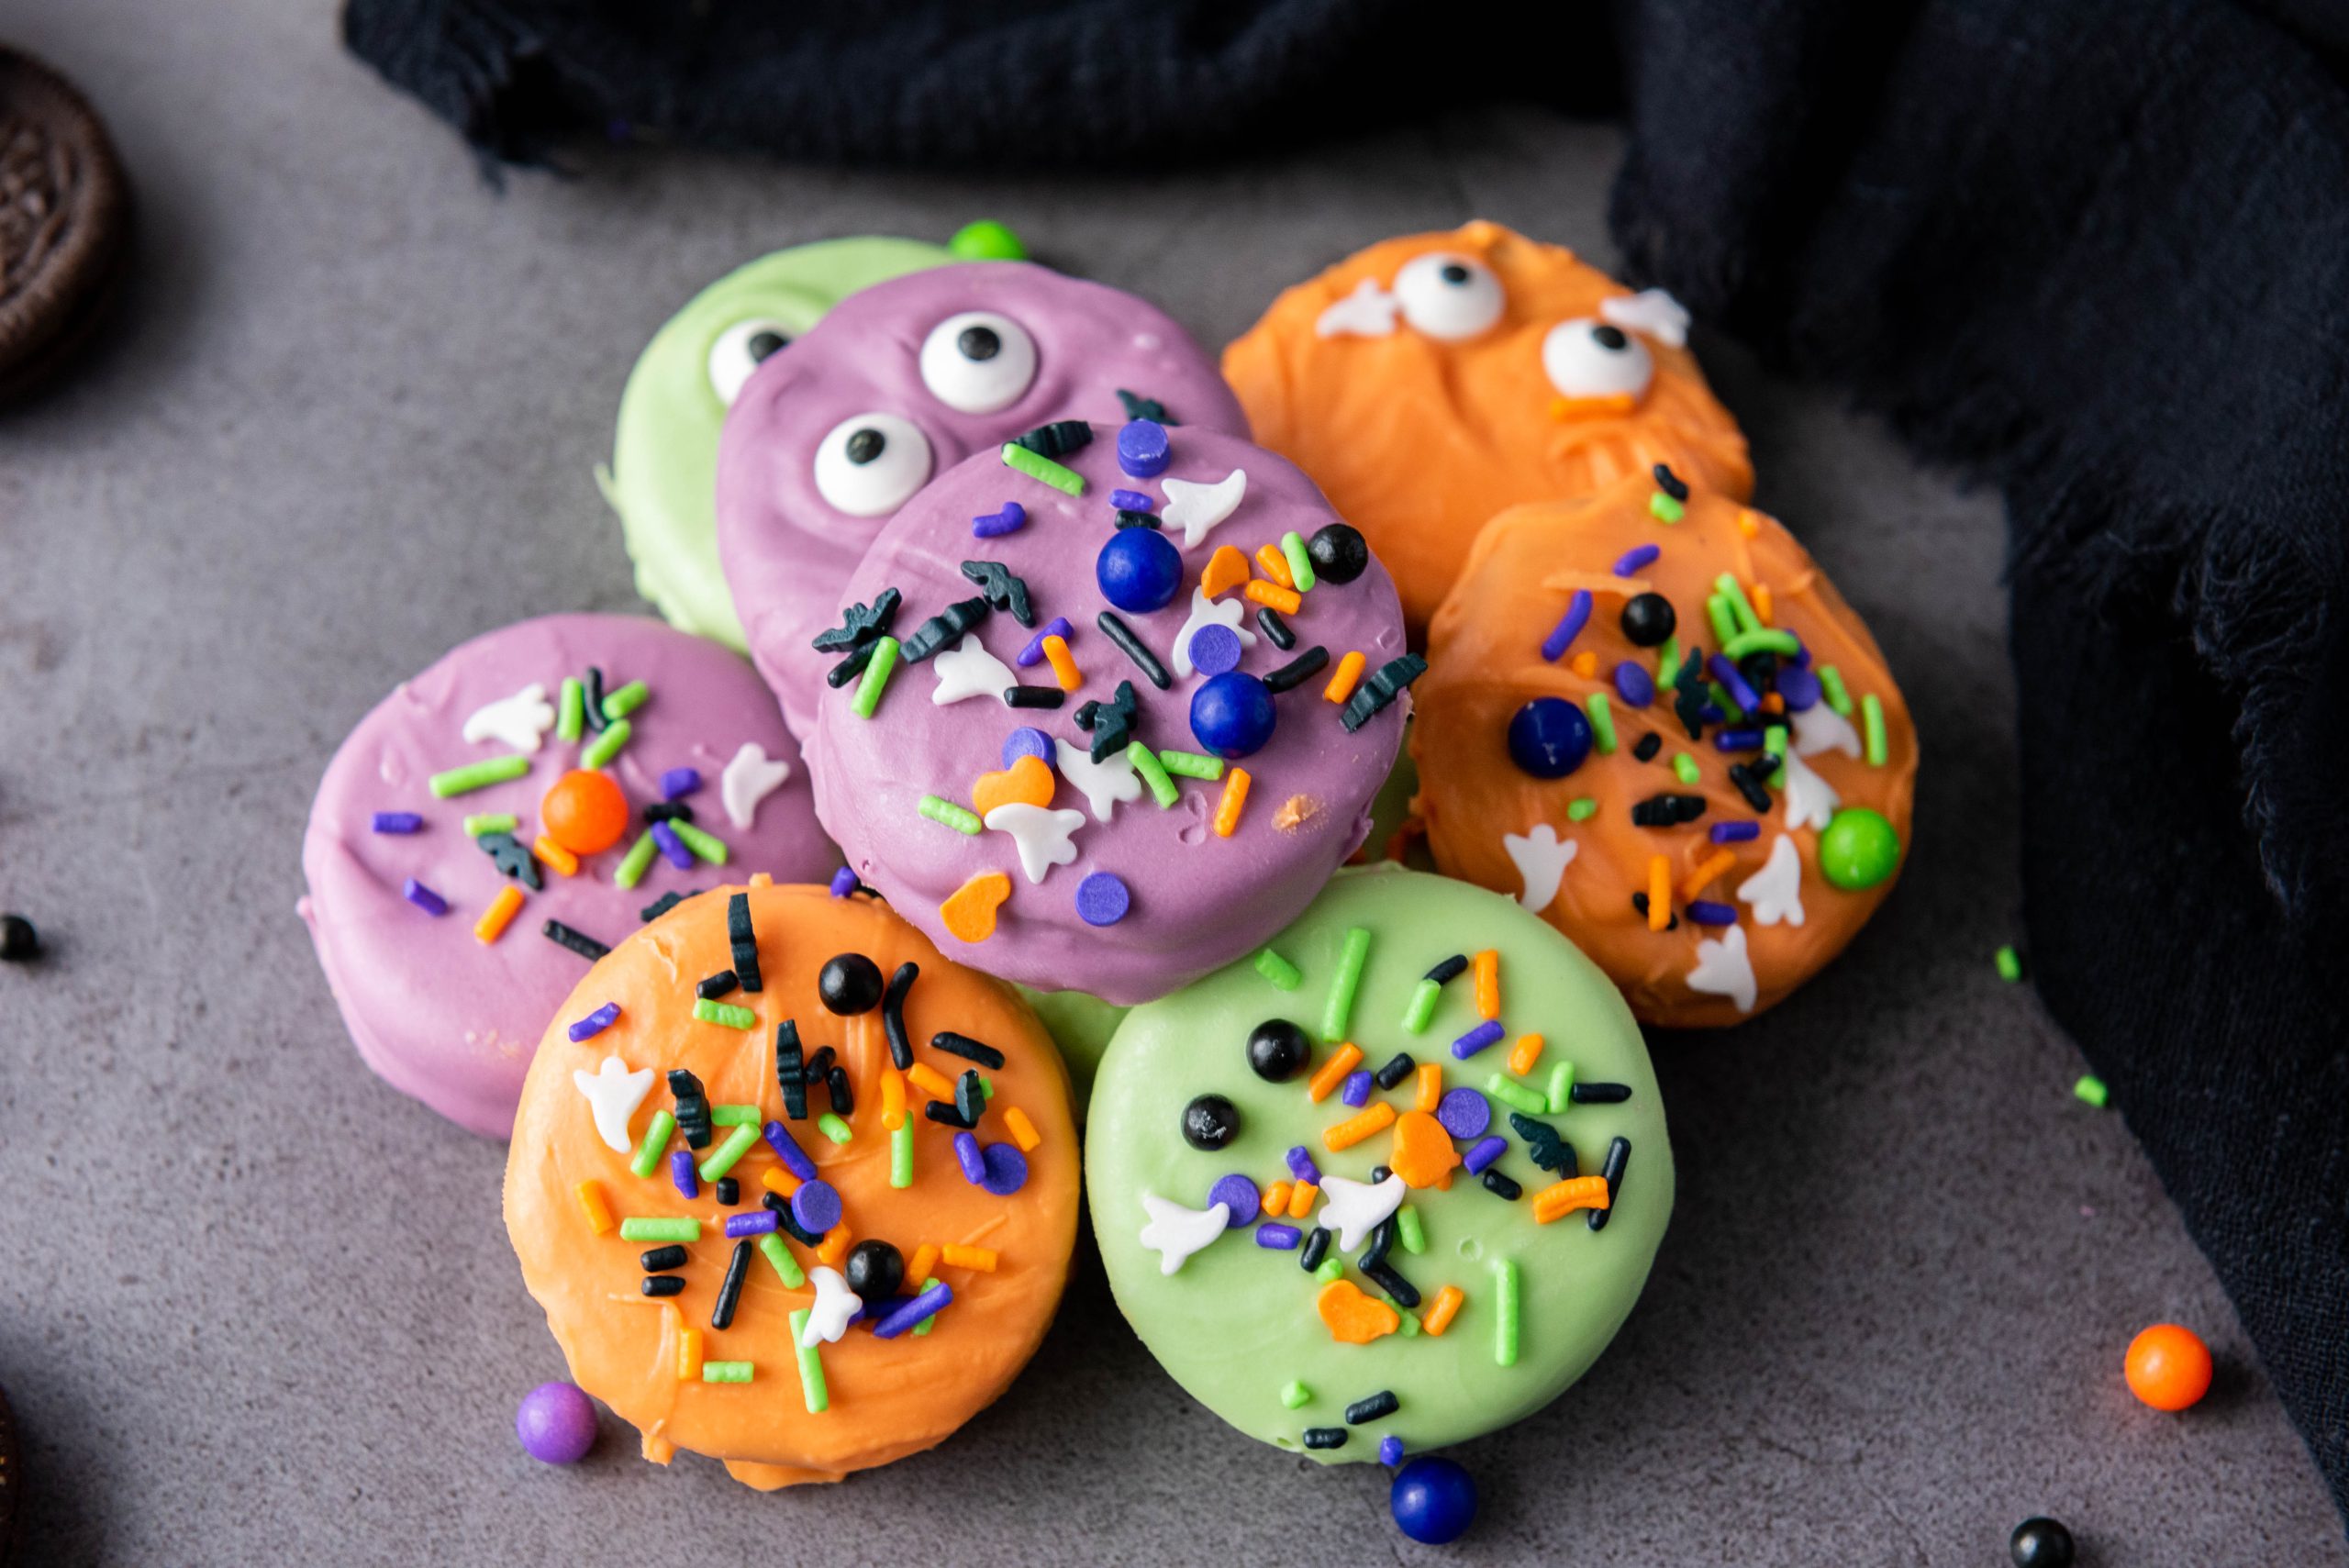
Mix up the designs. One green Oreo can have two candy eyes and black bats. Another can be covered with orange pumpkins and white ghosts. Purple, green, and orange all look great with black, white, yellow, and metallic Halloween decorations.
The more imperfect they look, the cuter they get.

Let the Candy Coating Set Before Serving
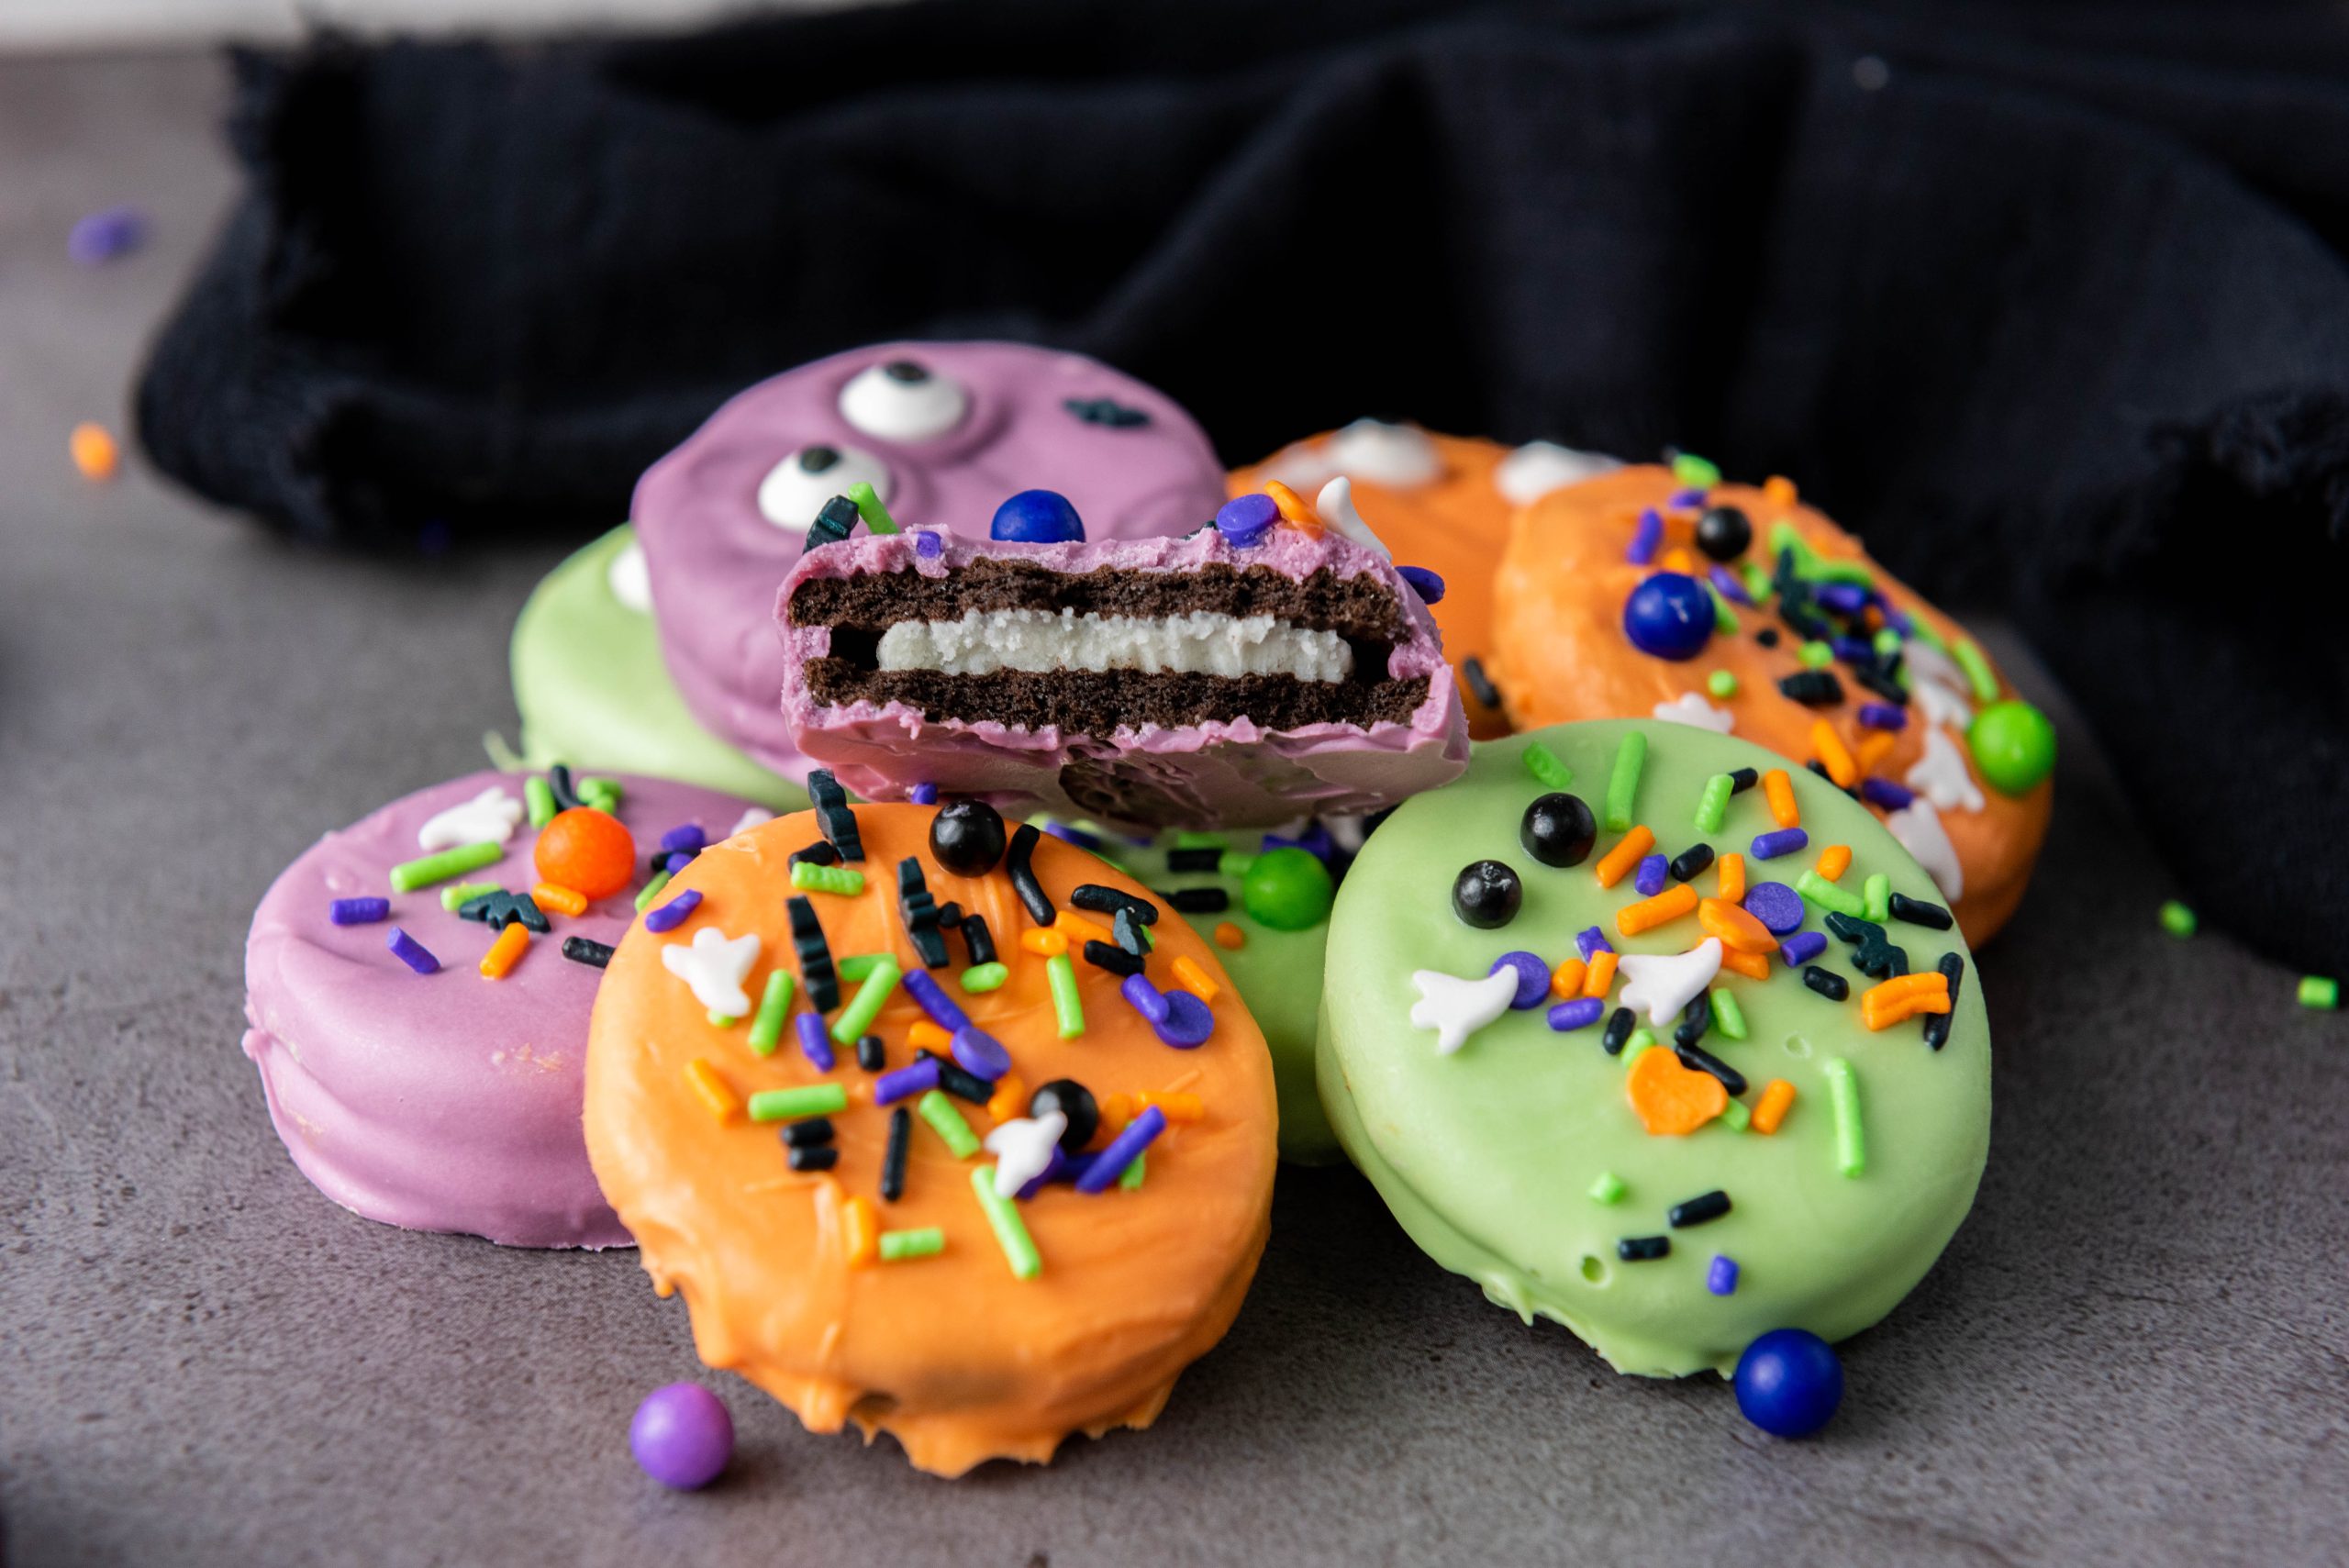
Once all 12 cookies are decorated, leave them on the baking sheet until the candy is firm to the touch. At room temperature, this usually takes 30 minutes to one hour.
Need them ready faster? Put the baking sheet in the refrigerator for about 15 minutes. Don’t leave the cookies uncovered in the fridge for a long time, though. Too much moisture can affect the candy coating.

Store Them in a Cool, Dry Place
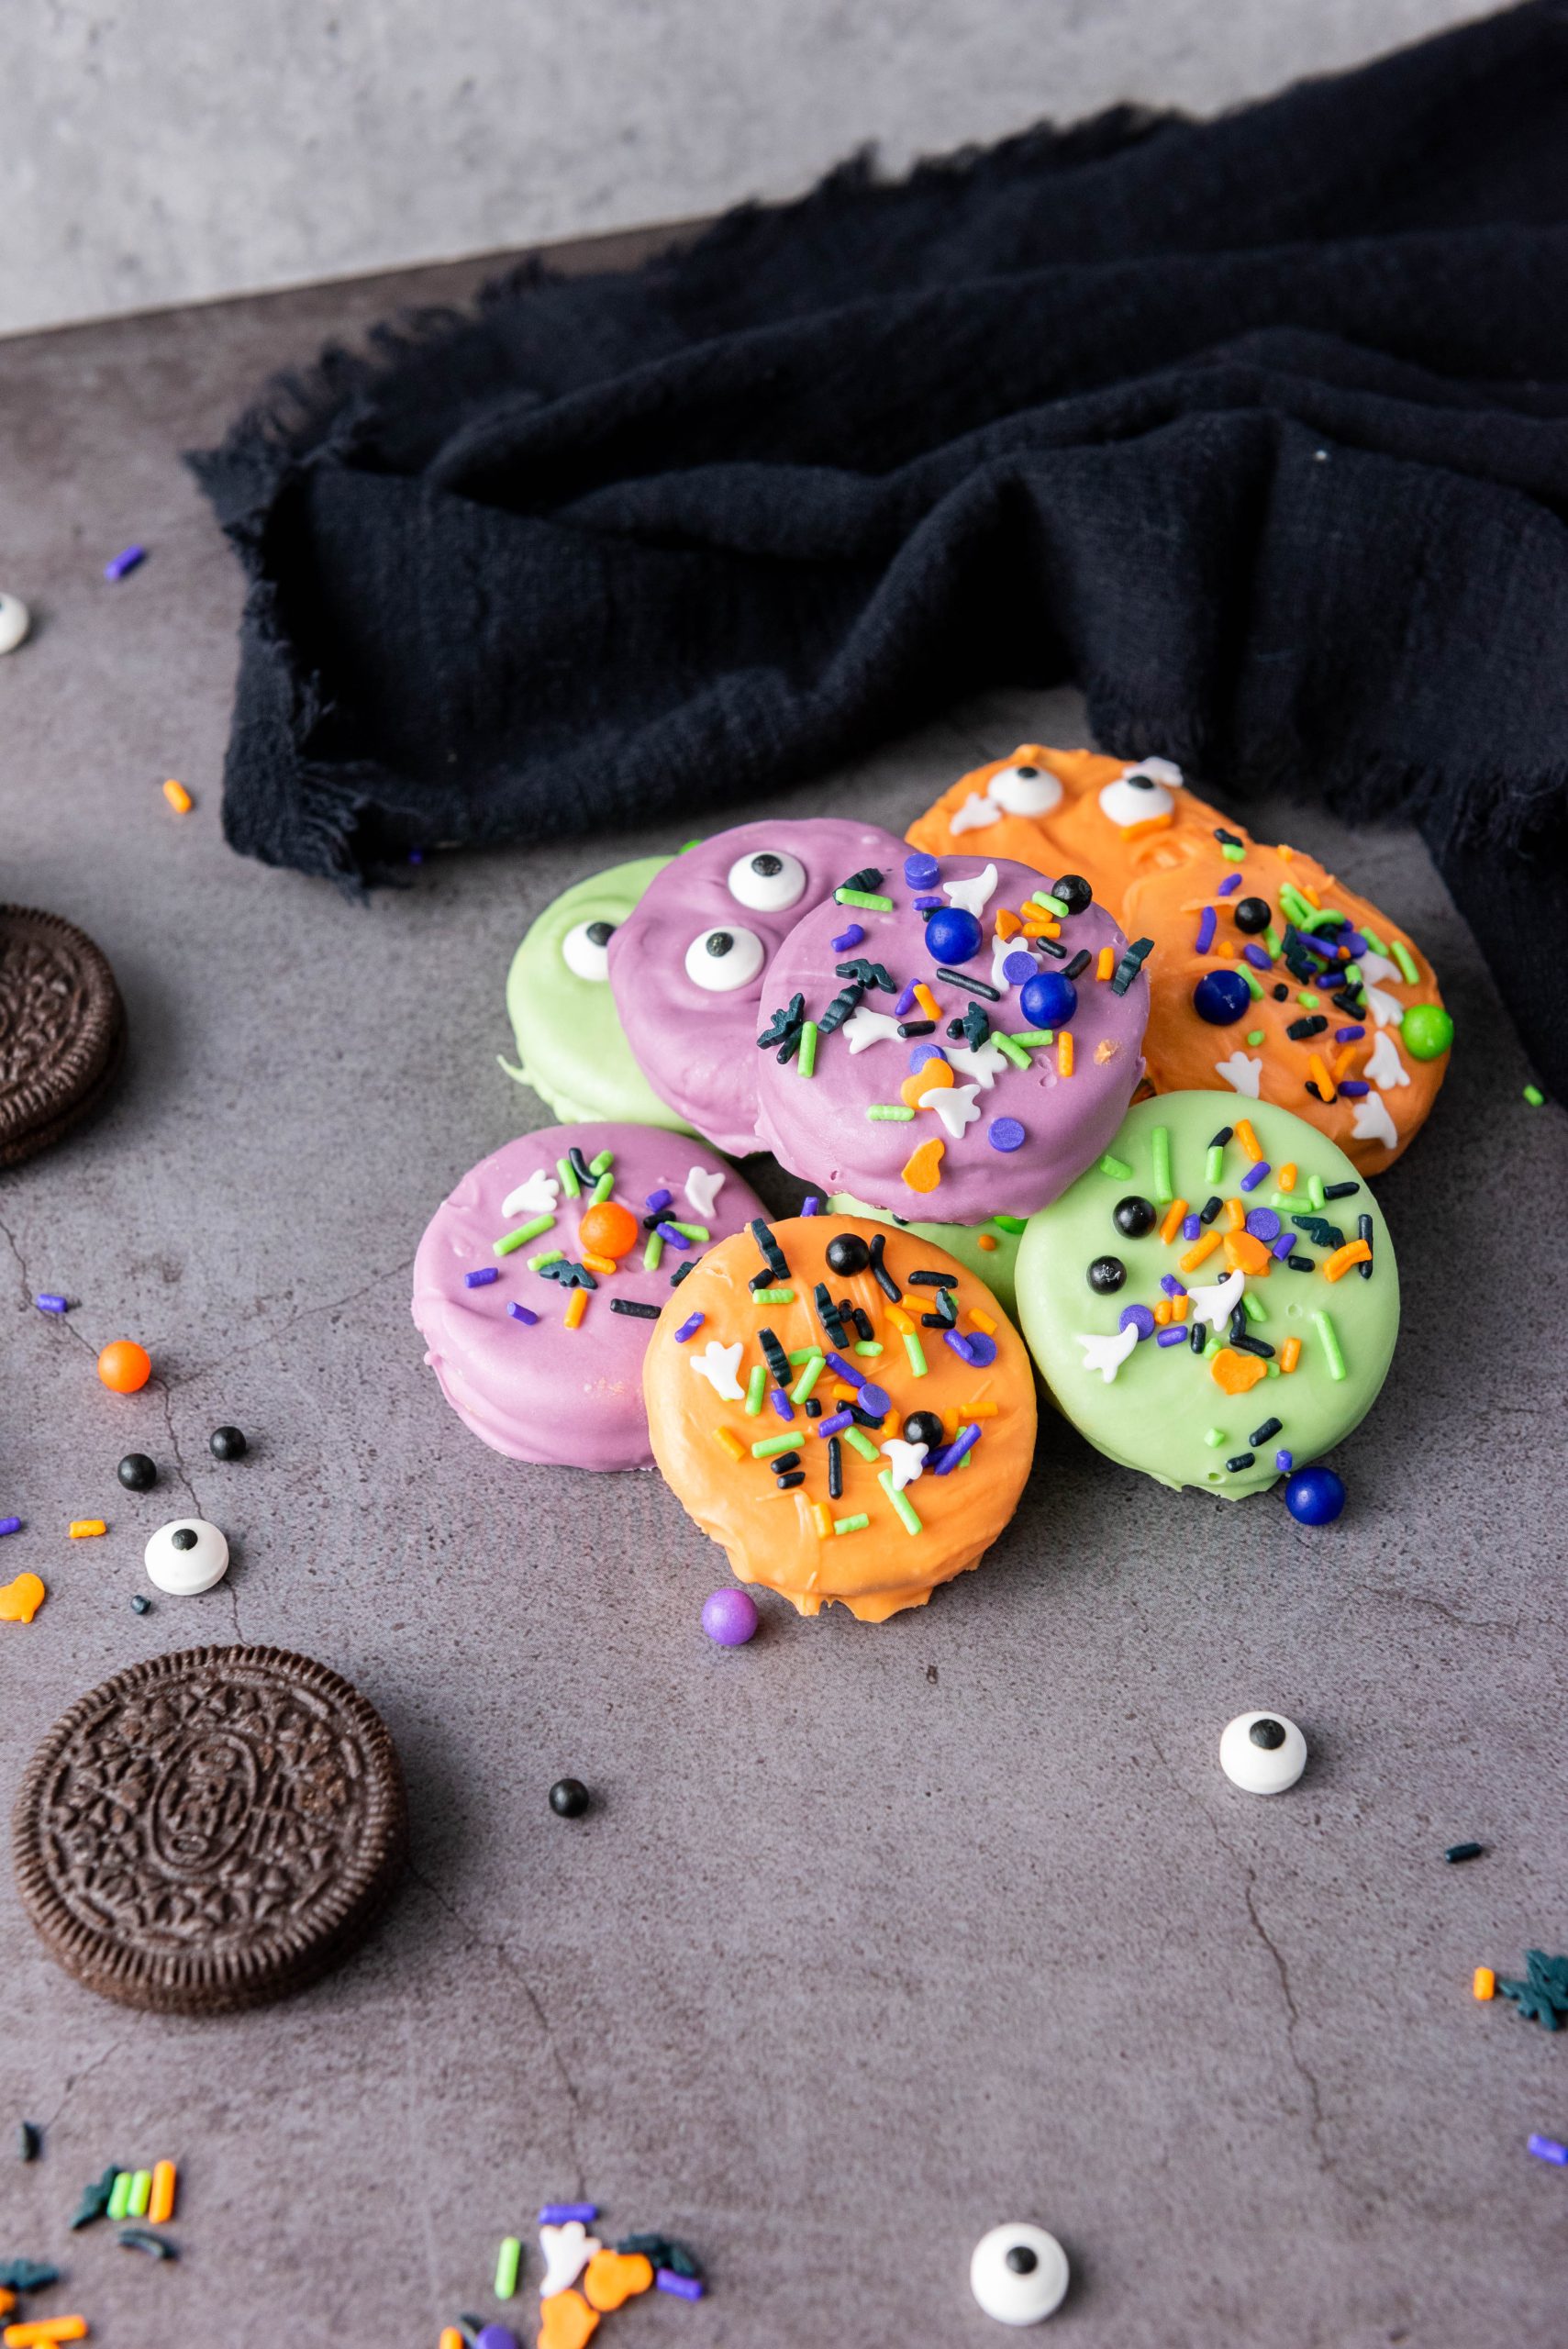
Once the Halloween Oreo Cookies have hardened, arrange them on a festive plate or tuck them into an airtight container. If you need to stack them, place a sheet of parchment paper between each layer.
Keep the container in a cool, dry place until serving time. They are easy to make ahead for a Halloween party, a school celebration, or a bake sale table.
The Oreos stay crisp under their candy shell, while the sprinkles keep their cheerful pop of color. That makes them a great treat to prepare the day before.
Nutrition Per Oreo Treat
Nutrition will vary depending on the Oreo variety, candy melts, and how generously you add sprinkles. For one decorated cookie, the estimated nutrition is:
| Nutrition | Amount Per Treat |
|---|---|
| Calories | 160 |
| Total fat | 7g |
| Carbohydrates | 22g |
| Sugar | 17g |
| Sodium | 90mg |
| Protein | 1g |
These treats are a small, festive dessert, which makes them easy to add to a larger party spread.
Easy Ways to Turn Coated Oreos Into Halloween Characters
The basic dipping method stays the same, but you can change the look with a few simple decorations. Kids love having choices, and you do not need fancy candy supplies to make something cute.
Make Silly Monster Oreos
Bright candy colors, uneven sprinkles, and candy eyes are all you need for monster cookies. Use one eye, two eyes, or a funny cluster of three.
Let the sprinkles land where they land. A crooked eye or a bumpy candy edge gives each one a goofy face. These are supposed to be playful, not perfect.
Try Mummies, Spiders, and Jack-o-Lanterns
For mummy cookies, dip Oreos in white candy melts. Once they set, drizzle thin white lines across the top to look like mummy bandages. Leave a little space for two candy eyes.
Spider cookies are easy too. Coat an Oreo with dark chocolate or black candy melts, then tuck short pieces of black licorice into the sides before the coating hardens. Add candy eyes to finish the spooky little spider.
Orange-coated Oreos become jack-o-lanterns with a few simple black icing lines. Add triangle eyes and a silly smile. For another fun Oreo idea, try these Halloween Oreo mummy balls, which are also great for parties.

Set Up a Halloween Oreo Decorating Station
Turn these cookies into a hands-on Halloween activity. Dip the Oreos ahead of time if you are working with young kids, then let everyone add their own sprinkles and candy eyes.
Keep Cleanup Easy and the Designs Fun
Cover the table with parchment paper or set out a large lined tray. Place sprinkles in small bowls with spoons, so little hands are not digging into every container.
Give each person a few cookies and let them choose a monster, mummy, spider, or pumpkin design. Different shapes and imperfect decorations add charm, especially when the cookies are meant to look spooky.
Serve the finished treats in colorful cupcake liners, arrange them by candy color on a platter, or slip individual cookies into small treat bags. They make sweet party favors and easy classroom treats.
A Sweet Halloween Treat With Plenty of Personality
These Halloween Oreo Cookies are quick, festive, and completely no-bake. Dip 12 Oreos in purple, green, and orange candy melts, decorate them while the coating is wet, then let them set before serving.
The silly monster look is part of the fun. Add candy eyes, make a few mummies or spiders, or turn orange cookies into tiny jack-o-lanterns.
A batch of Halloween Oreo Cookies brings plenty of color to a party, school event, or family decorating night.


Halloween Oreo Cookies for a Colorful No-Bake Treat
Ingredients
- 12 Oreo cookies
- ¼ cup Purple candy melts
- ¼ cup Green candy melts
- ¼ cup Orange candy melts
- Halloween sprinkles e.g., bats, pumpkins, ghosts, and other spooky shapes
Directions
Preparation:
- Line a baking sheet with parchment paper or a silicone baking mat.
- Separate the Halloween sprinkles into small bowls for easy access.
Melting the Candy:
- In three separate microwave-safe bowls, place the purple, green, and orange candy melts.
- Microwave each bowl one at a time, in 30-second intervals, stirring after each interval until the candy melts are fully melted and smooth.
Dipping the Oreos:
- Using a fork or dipping tool, dip each Oreo cookie into the melted candy until fully coated. Allow the excess candy to drip off before placing the cookie onto the prepared baking sheet.
- Dip 4 Oreos in purple, 4 in green, and 4 in orange candy melts for a colorful variety.
Decorating:
- While the candy coating is still wet, generously sprinkle the Halloween sprinkles over the top of each Oreo.
- Get creative with your sprinkles to make each Oreo unique and festive.
Setting the Candy:
- Allow the decorated Oreos to sit at room temperature until the candy coating has completely hardened. This can take about 30 minutes to an hour. If you’re in a hurry, you can place the baking sheet in the refrigerator for about 15 minutes to speed up the process.
Serving:
- Once the candy coating has set, arrange the Halloween Oreos on a festive plate or store them in an airtight container until ready to serve.
Nutrition


Leave a Reply