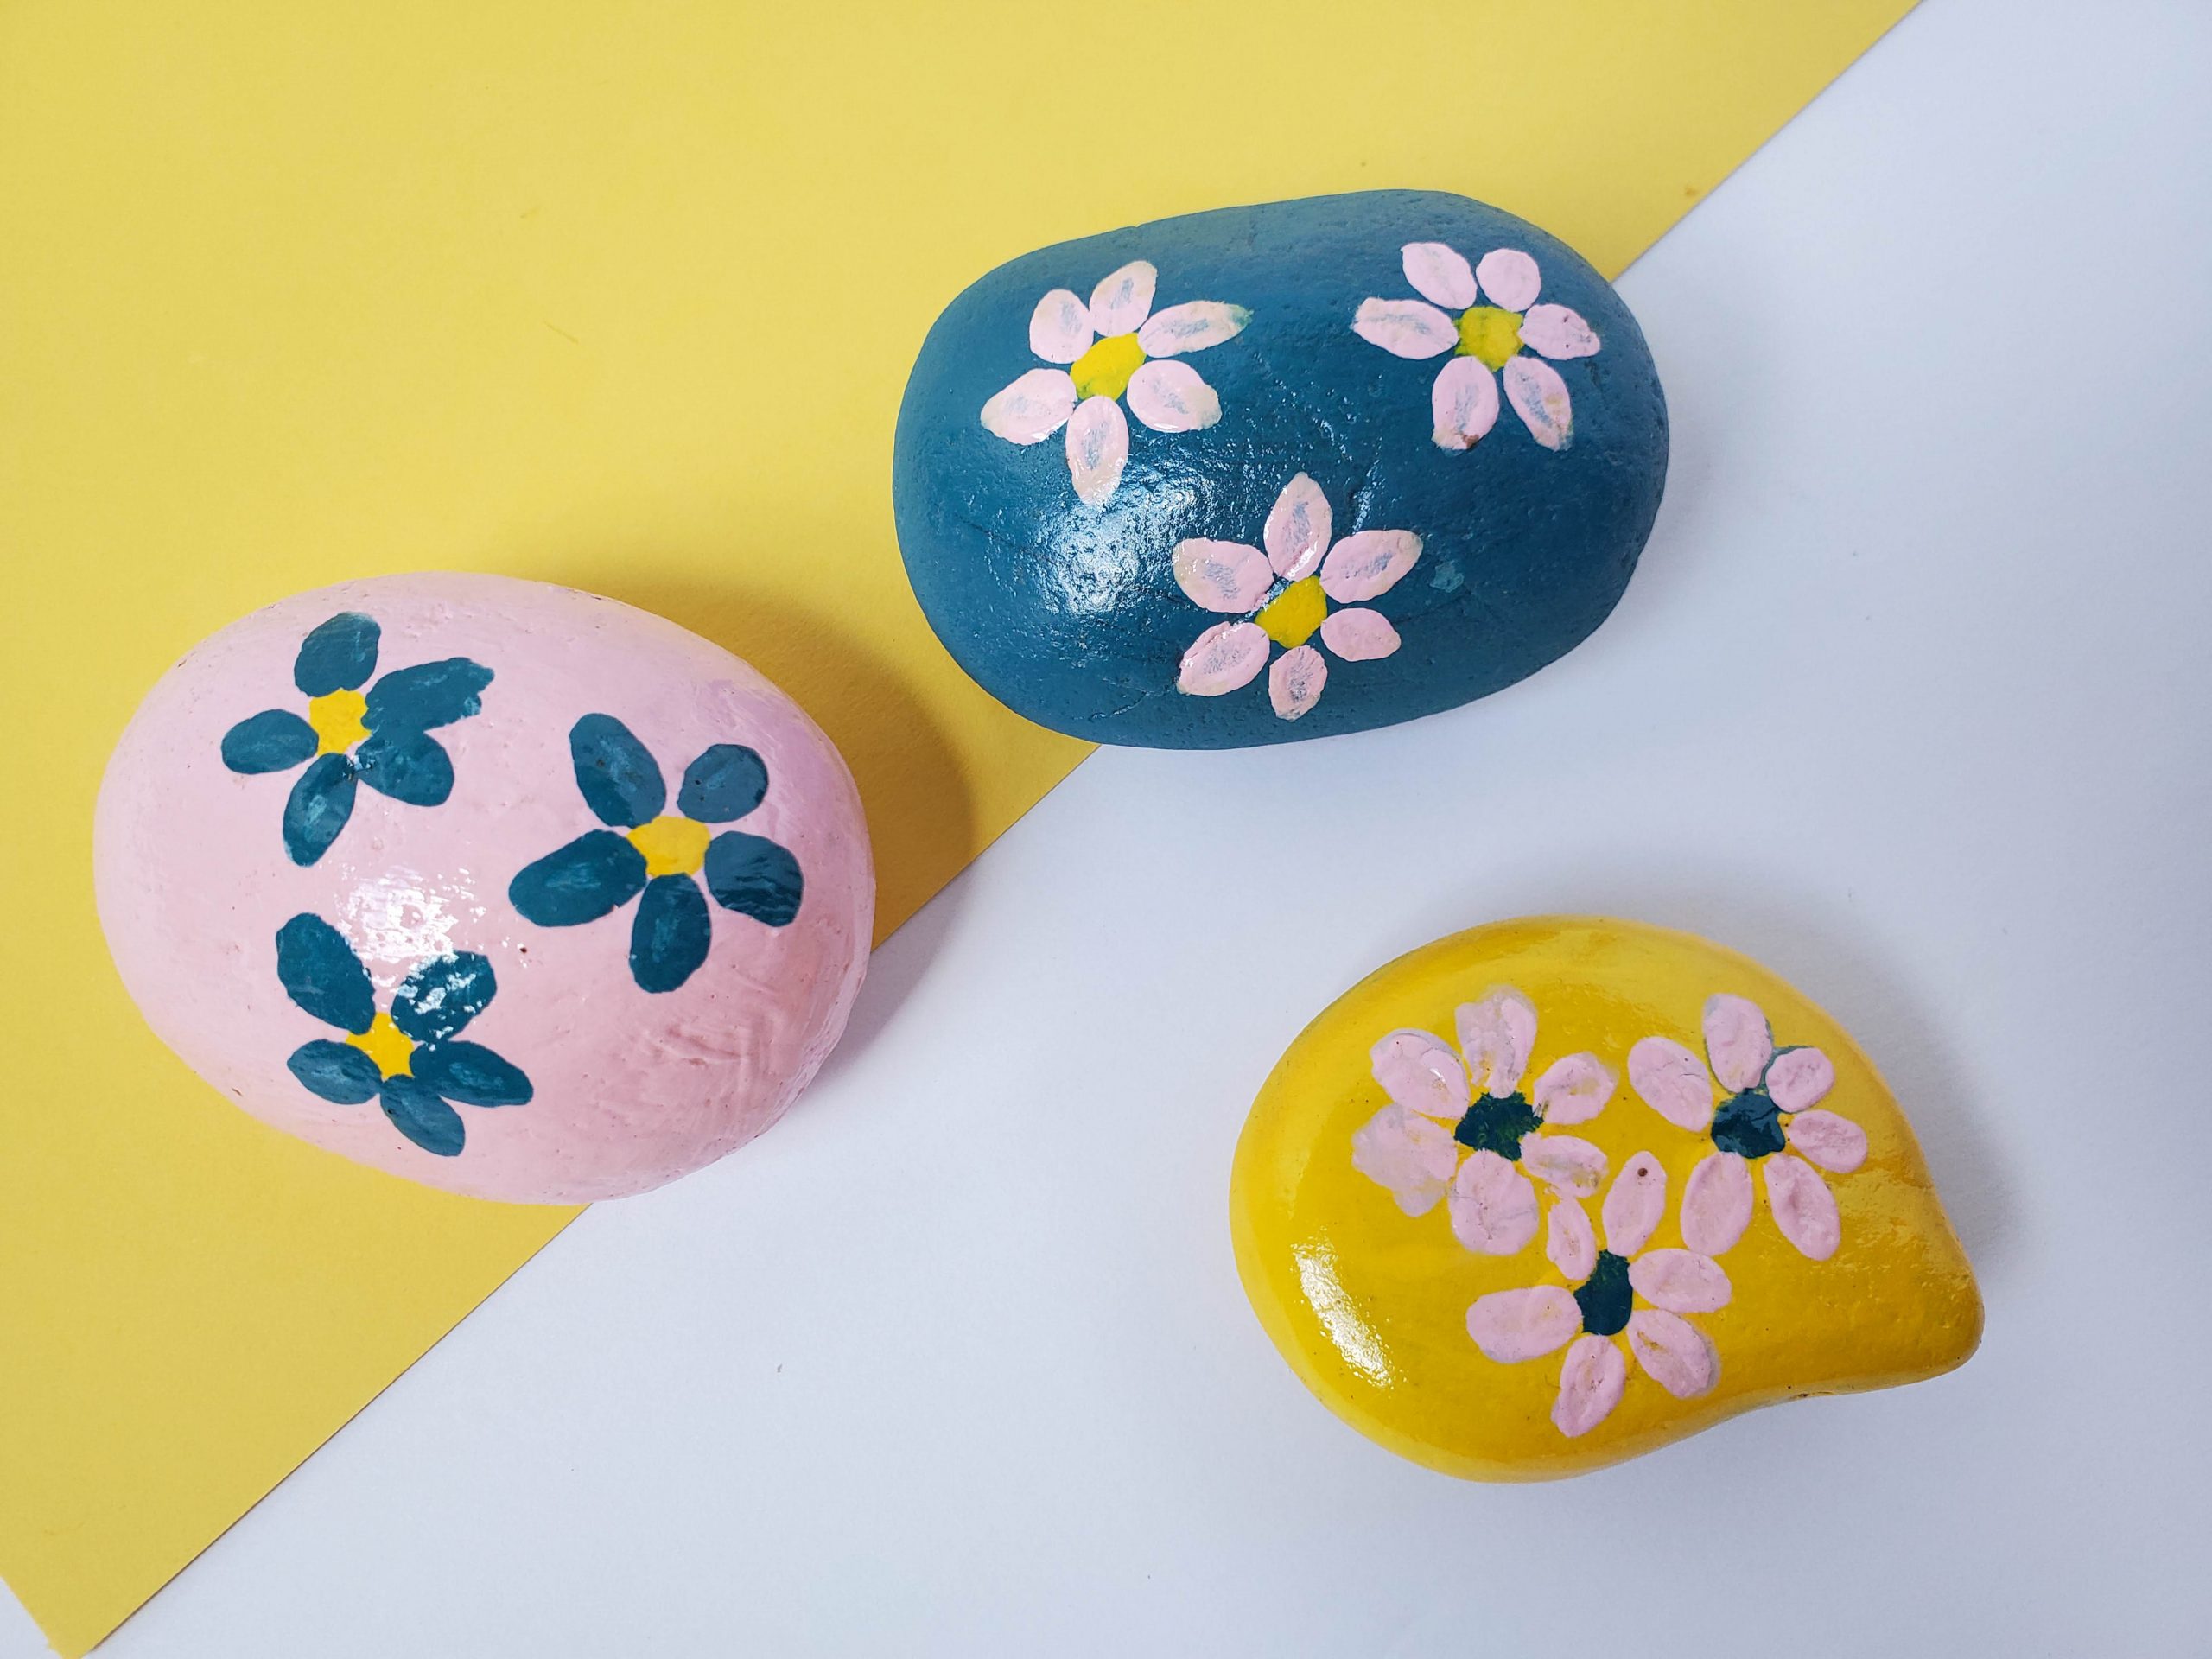
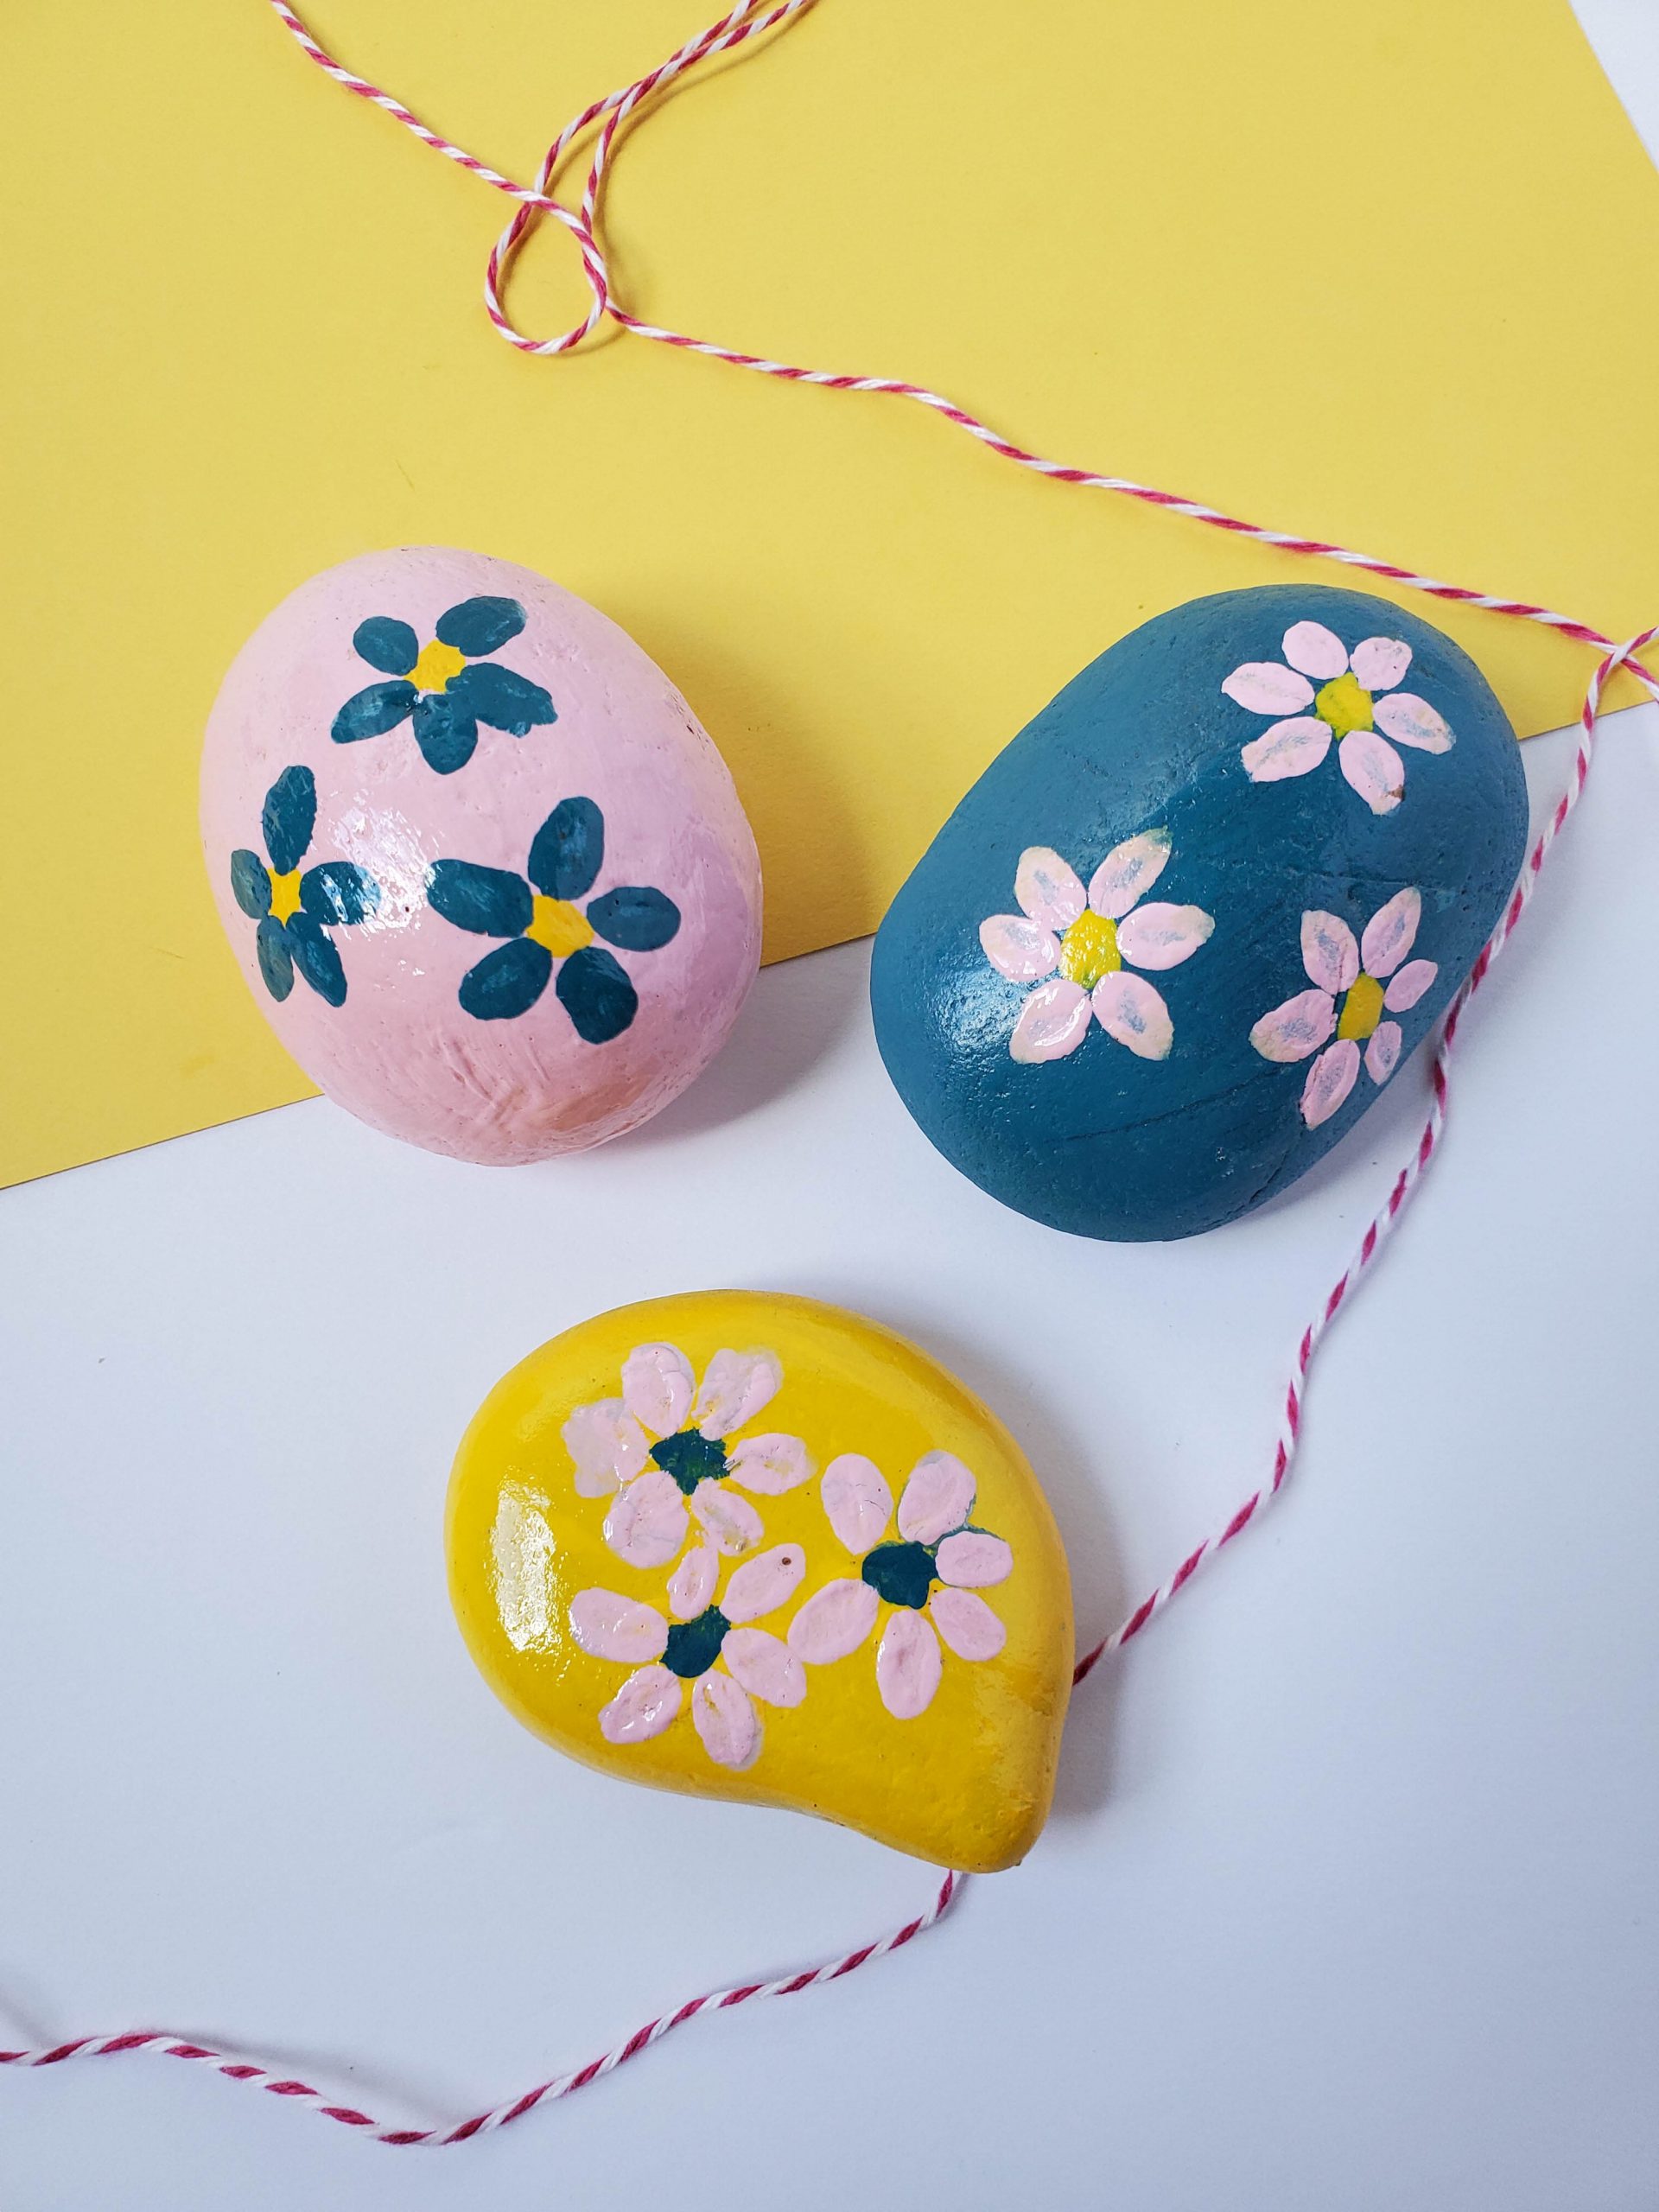
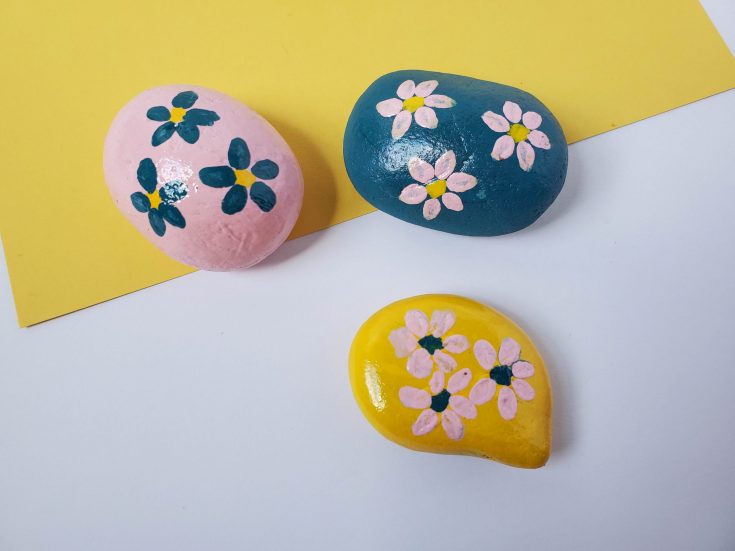
When you’re looking for a way to get your kids to do something creative, why not make this Flower Painted Rocks Project with them? It’s easy and they can use their imagination as they paint. These rocks are fun for an afternoon of rock painting or as a special gift for mom.
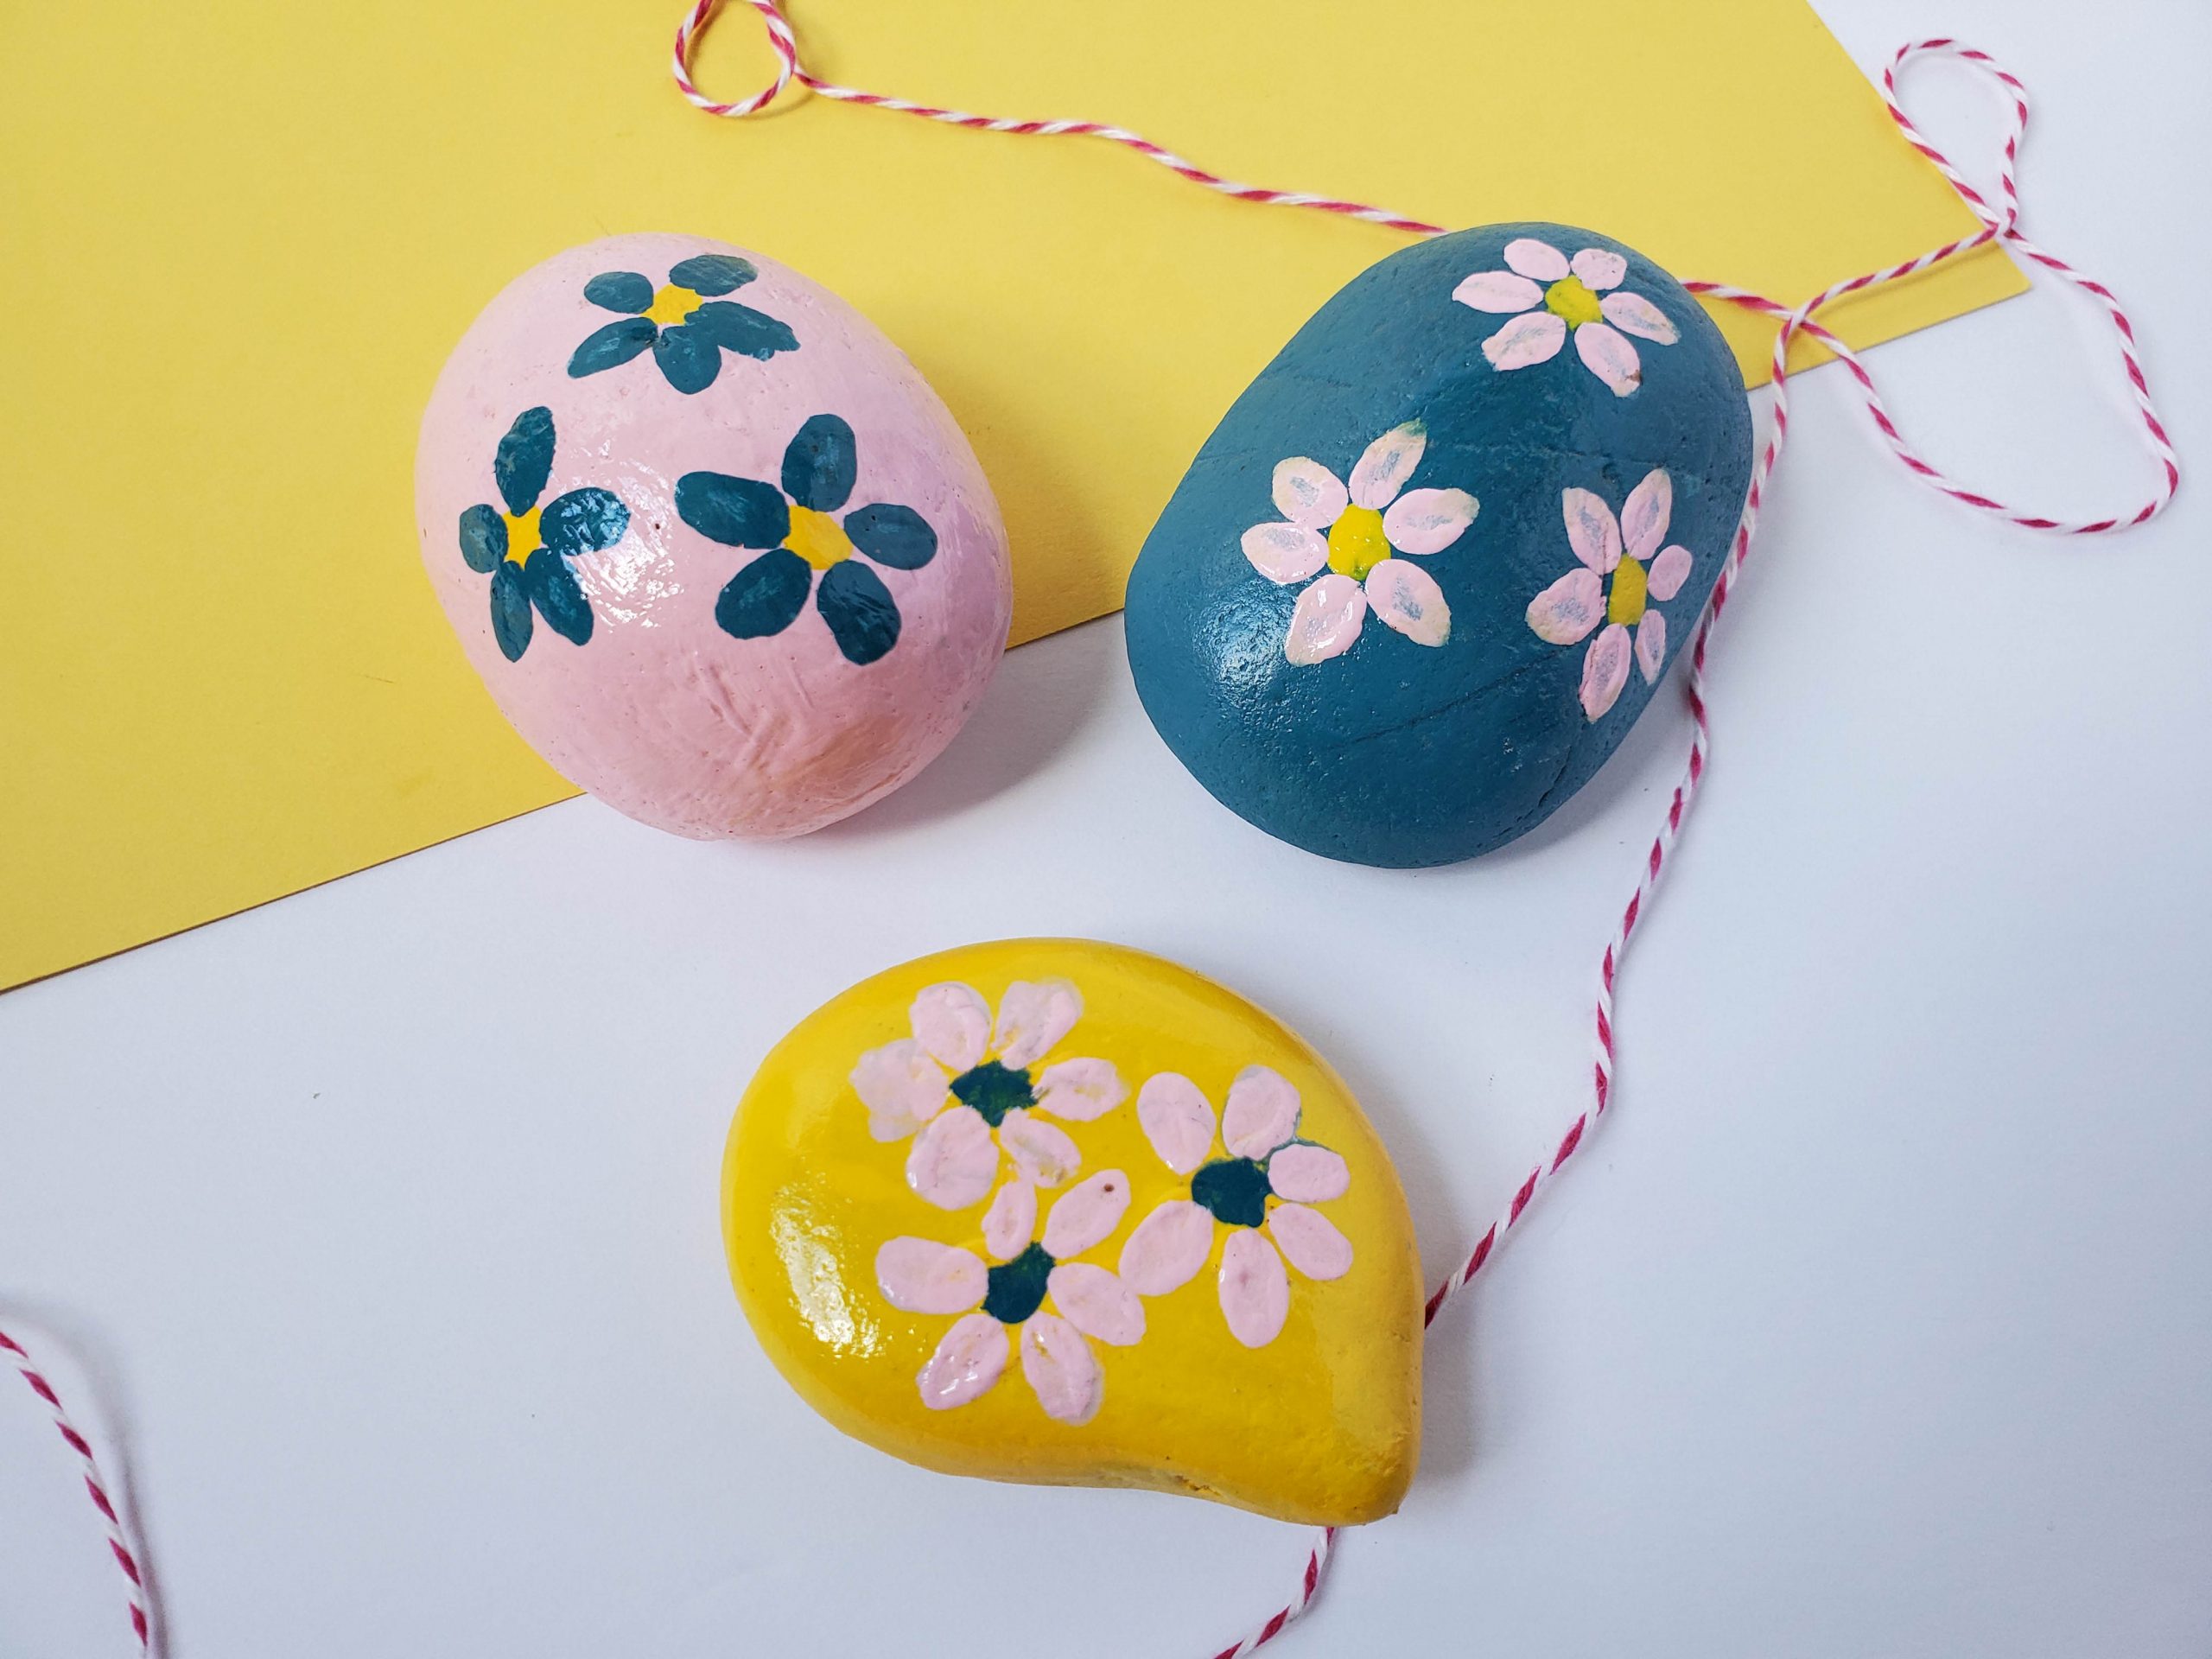
Mini Flower Painted Rocks
These Painted Rocks are super fun to make. You can create and design whatever you want on a rock. You can paint your rock and keep it for yourself or give it as a simple and adorable gift to someone you love. One of the most fascinating games you can play with these rocks is hiding the rock. You can hide your rock and ask people to find it and hide it where ever they want to.
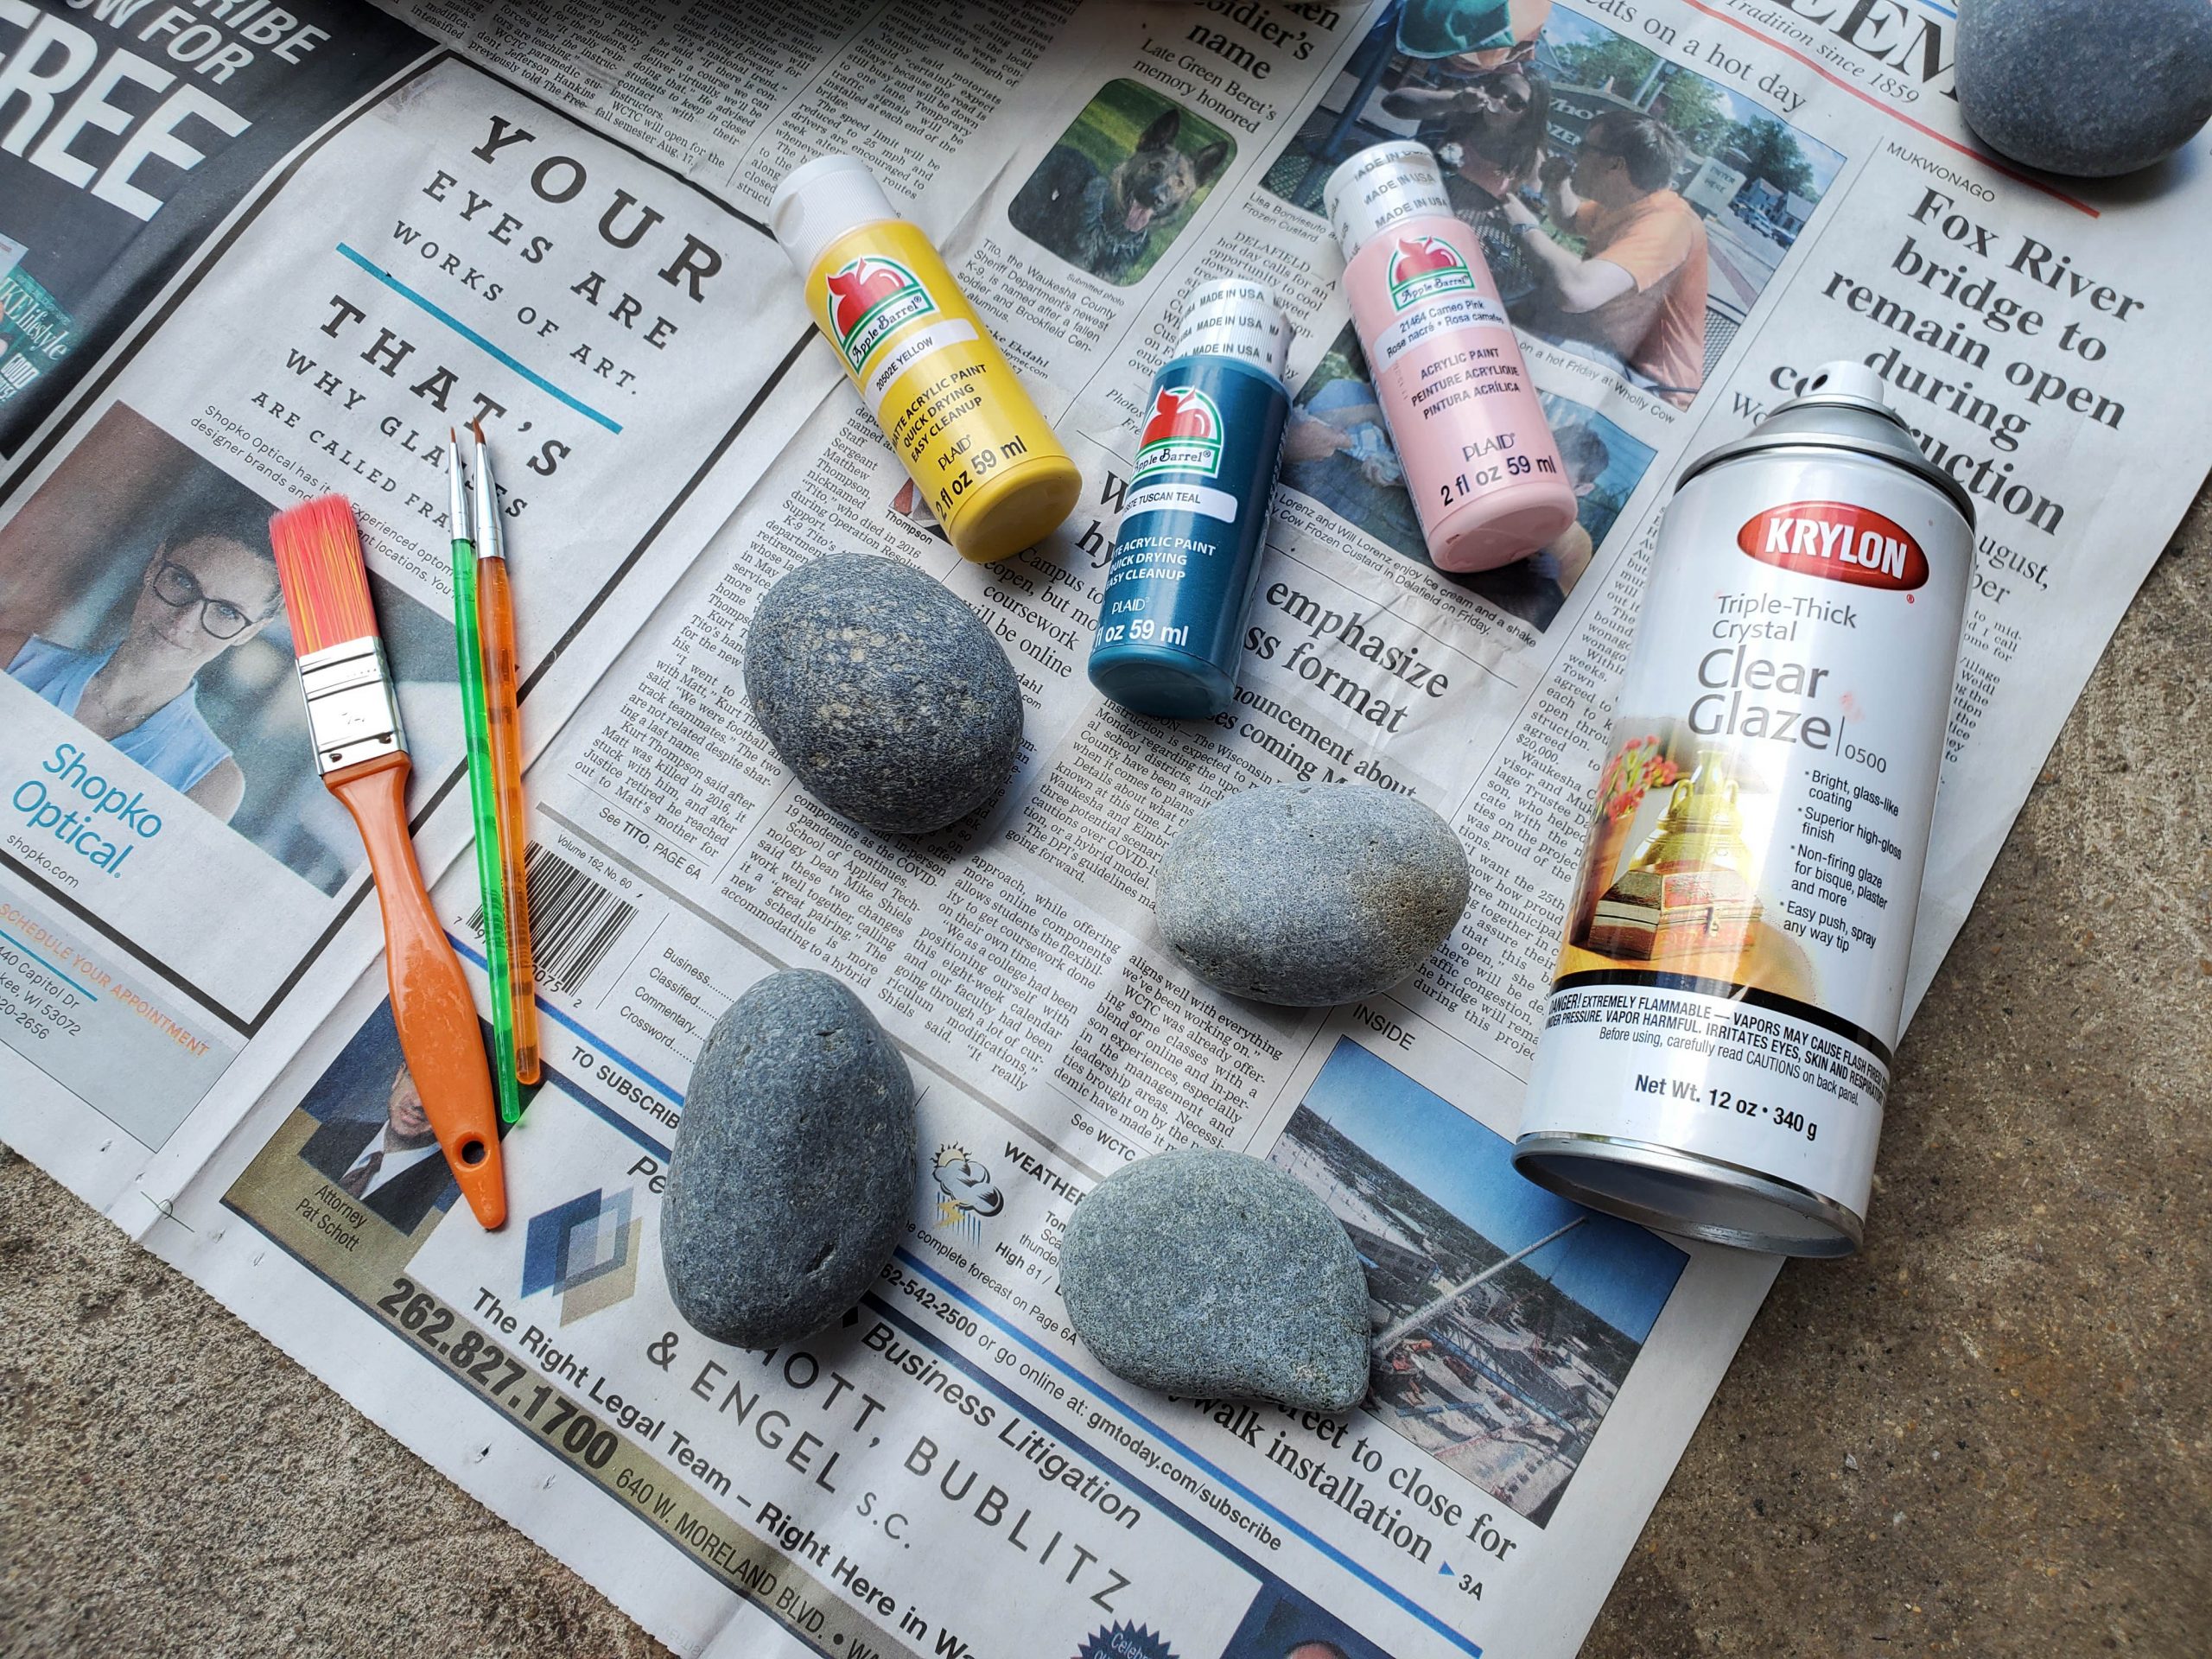
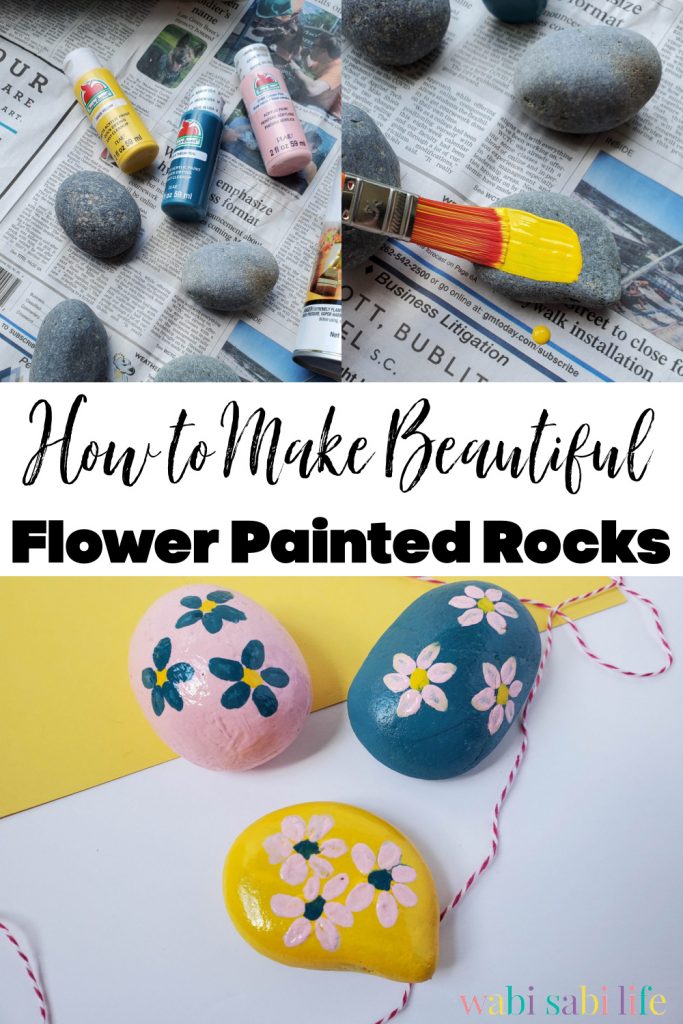
Supplies:
- River Rocks– You will want smooth and round rocks to color.
- Acrylic Craft Paint- You will need yellow, blue, and pink paint.
- Paintbrushes- You will need a 1-in and slanted paintbrush to paint your designs.
- Pointed tip paintbrush- This is an (optional) paintbrush to use.
- Krylon Clear Glaze– This will be used to seal in your design.
- Newspaper- This will be used to keep your work area clean.
How to Make Mini Flower Painted Rocks:
Cover your work area with a newspaper.
Paint your rocks a solid color using the 1-inch paintbrush. Each rock should be a different color.
Let each rock dry on one side completely before flipping over and painting the other side.
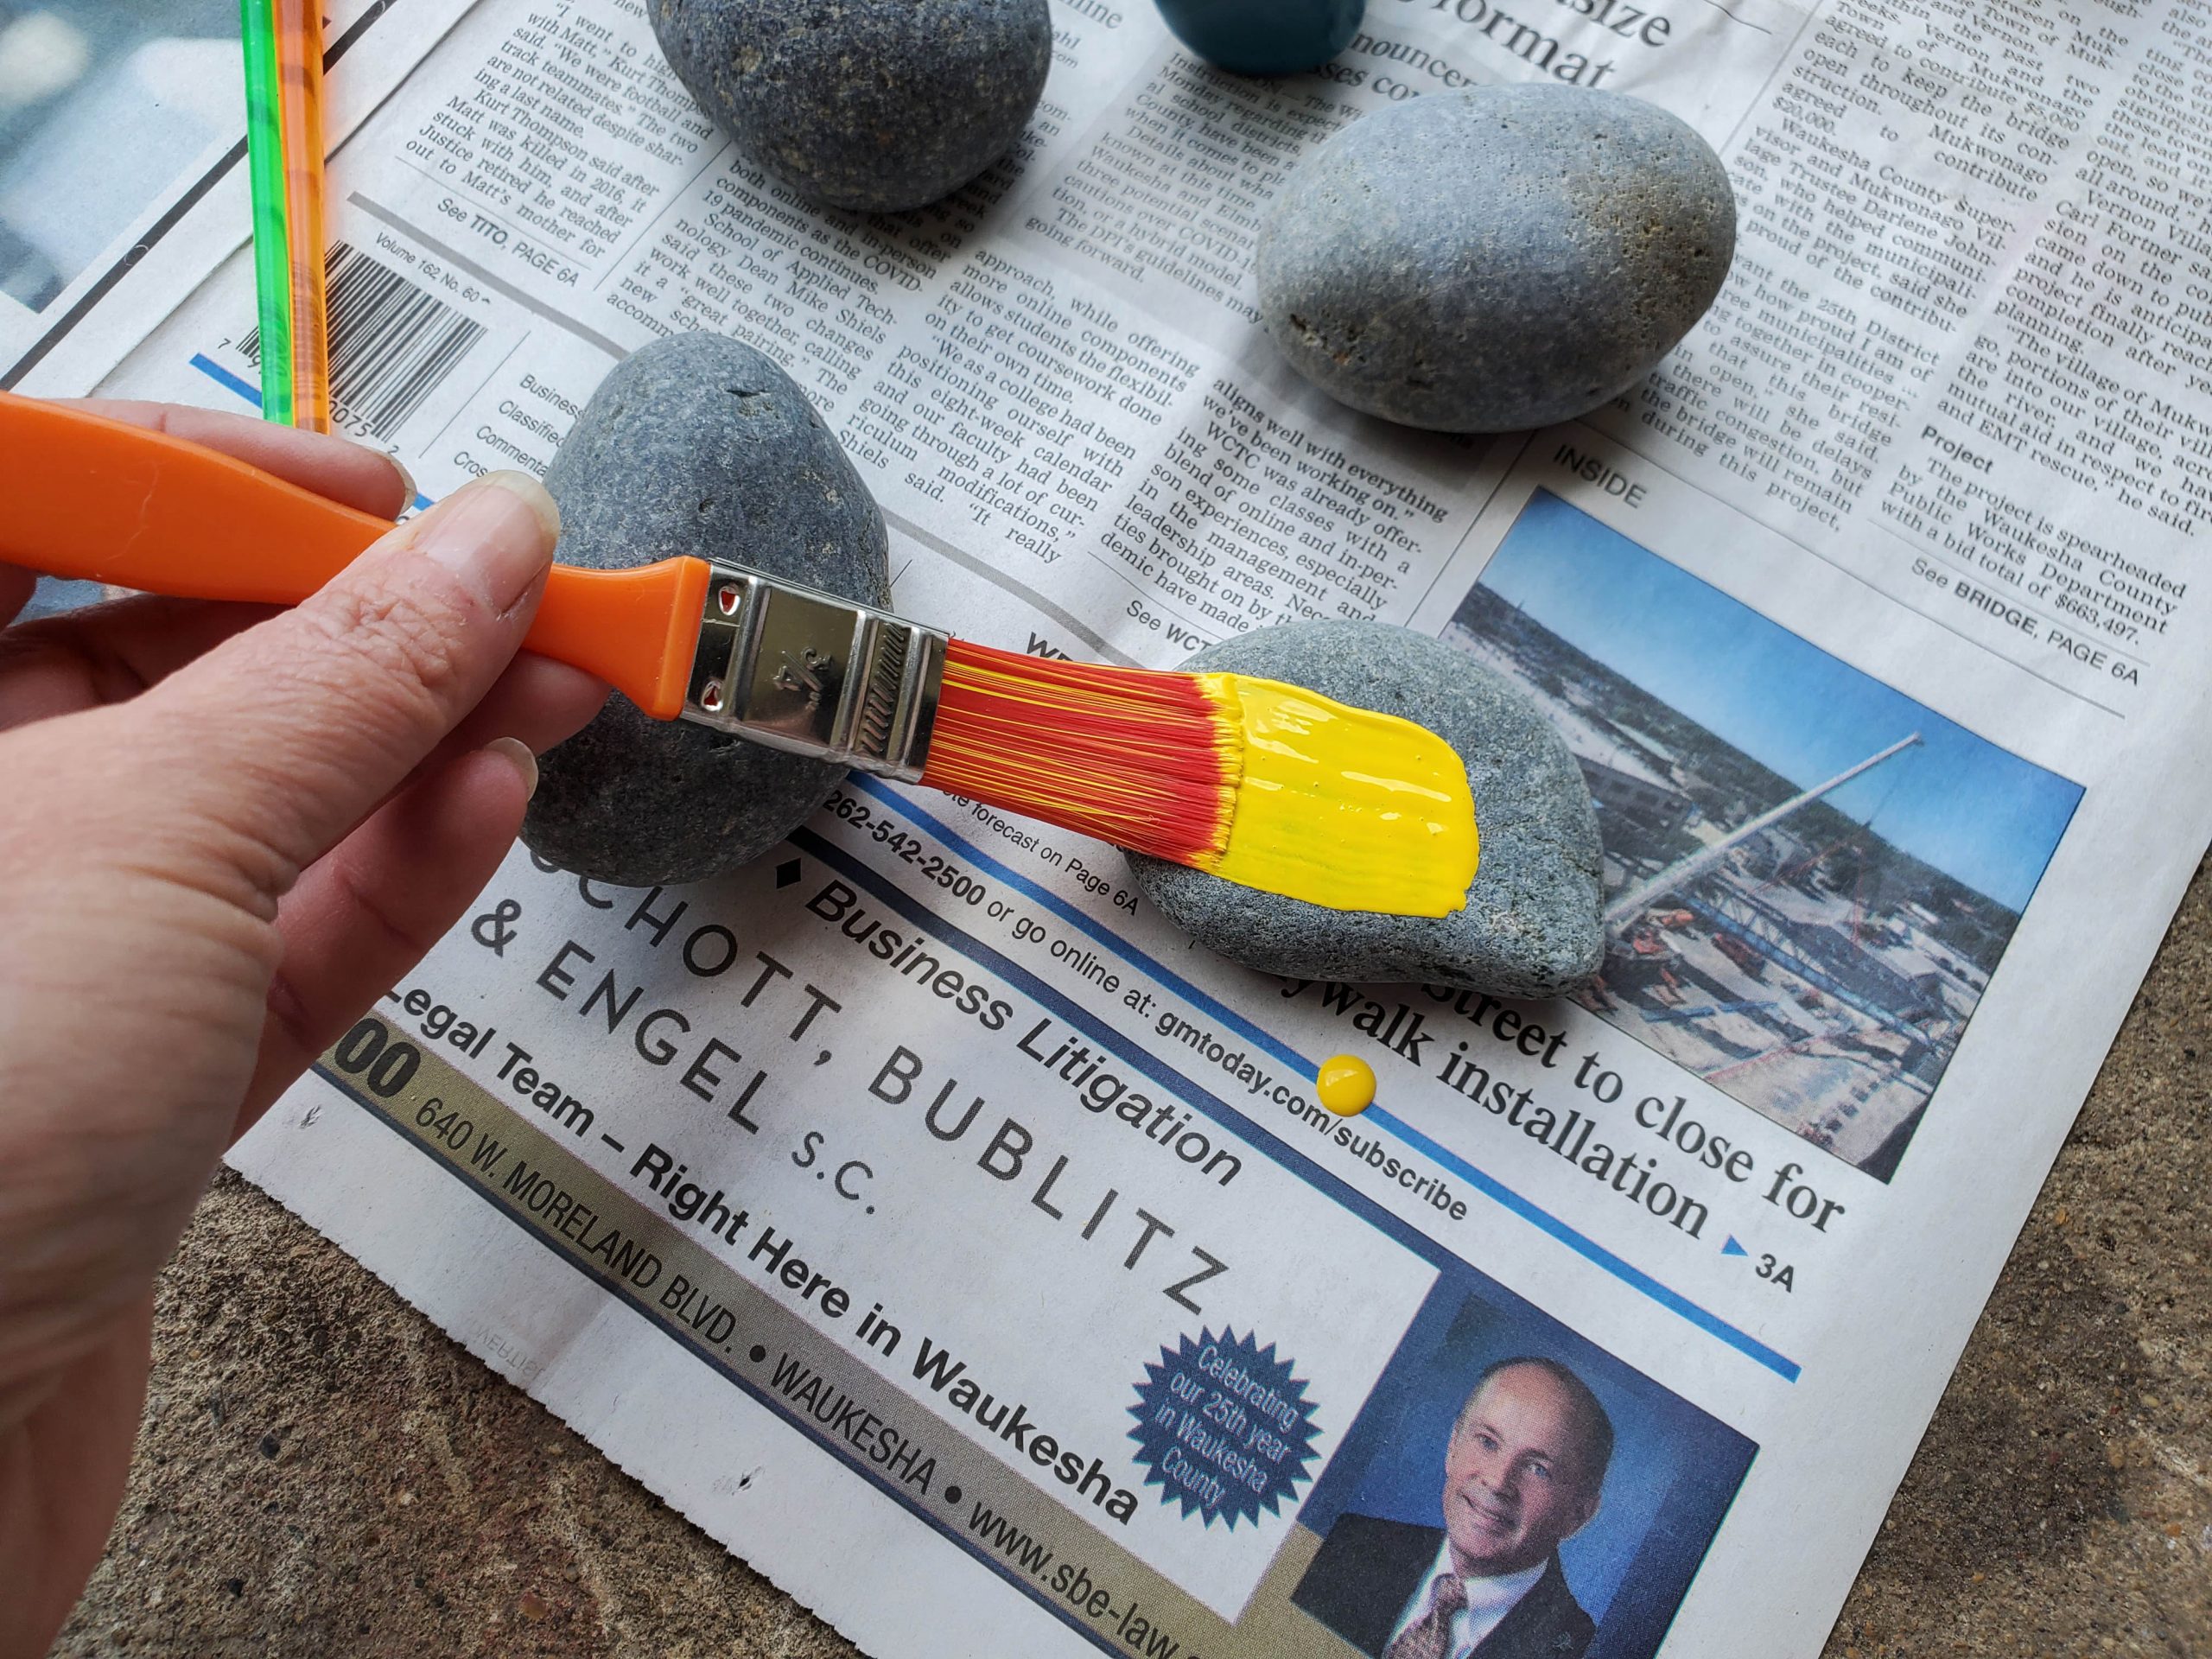
About 2-3 coats will work per rock to have the best solid color.
Once they are completely dry, begin painting the flower.
Gently dip the slanted paintbrush into the paint and begin making dots on the rock, just about 1/2 inch from the sides.
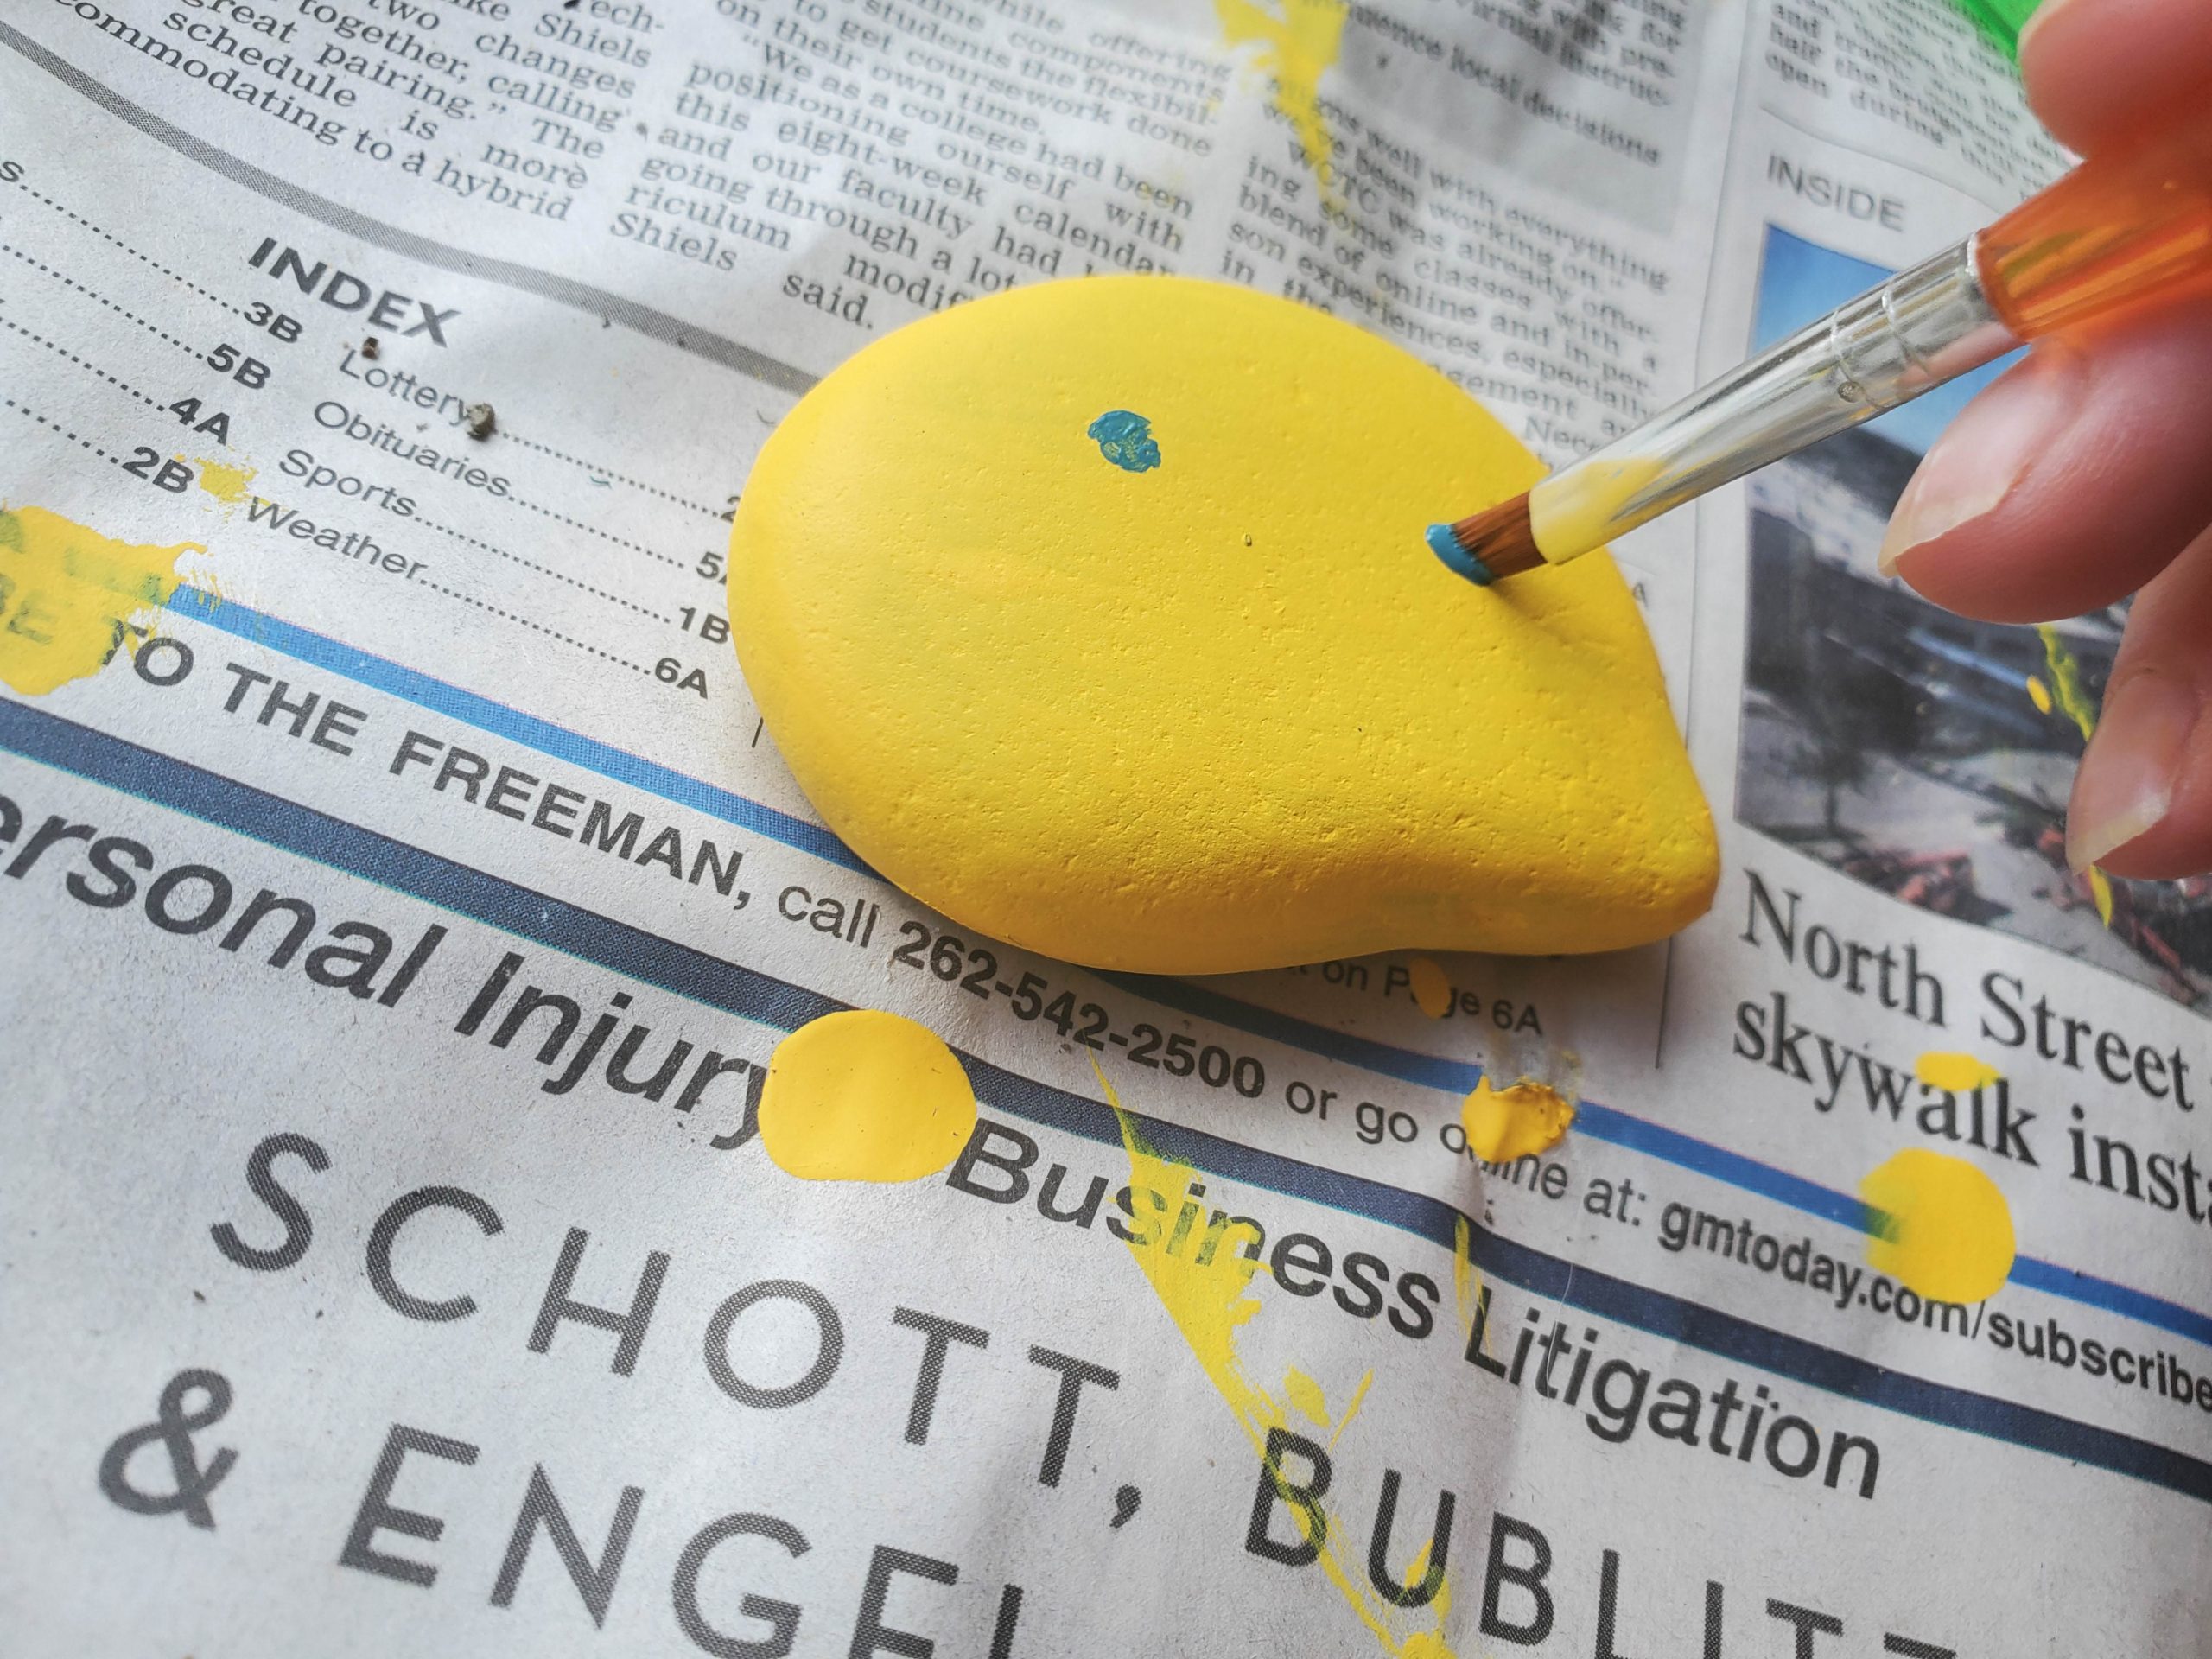
Then, in a swirling motion, go over the dot to create the center of the flower. Repeat until all the flower centers are on each rock. You should have a nice circle on each.
Dip your brush in water and wipe on the newspaper to clean. Dip the brush into a different color and with the longer edge of the brush, press from the edge of the circle and out to make the petals.
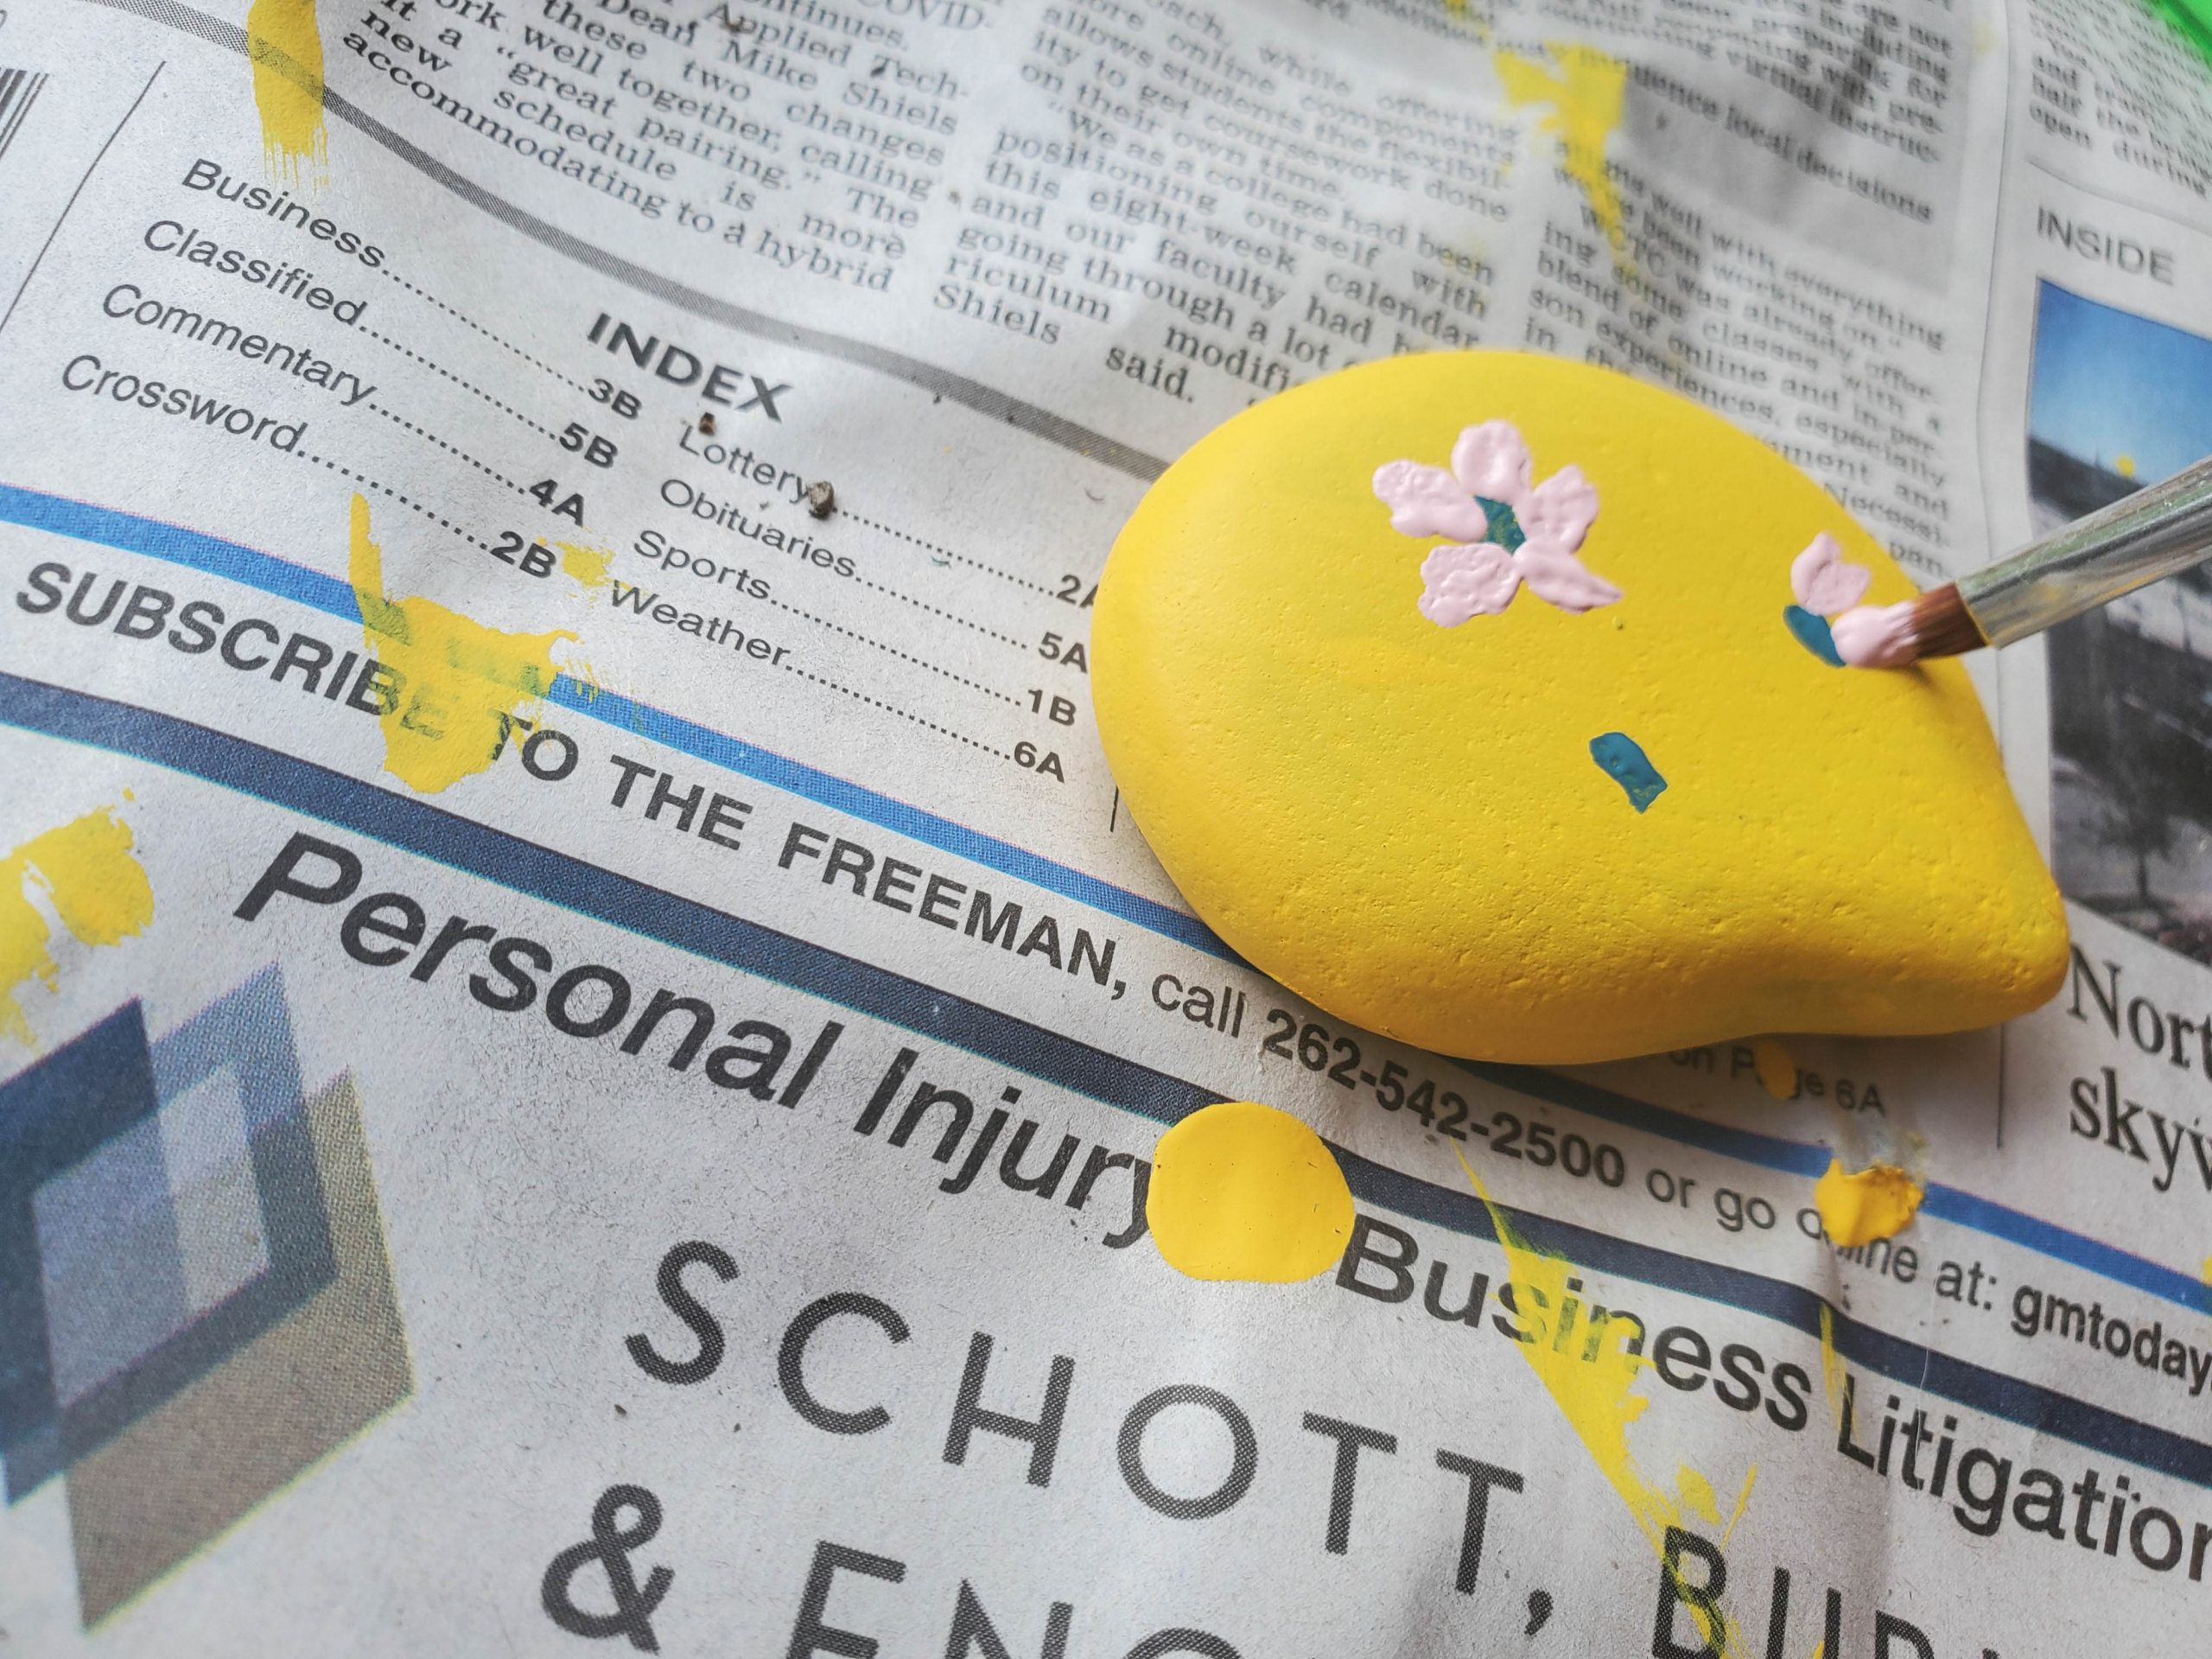
You can fill in any open spaces or freehand the petals for another option.
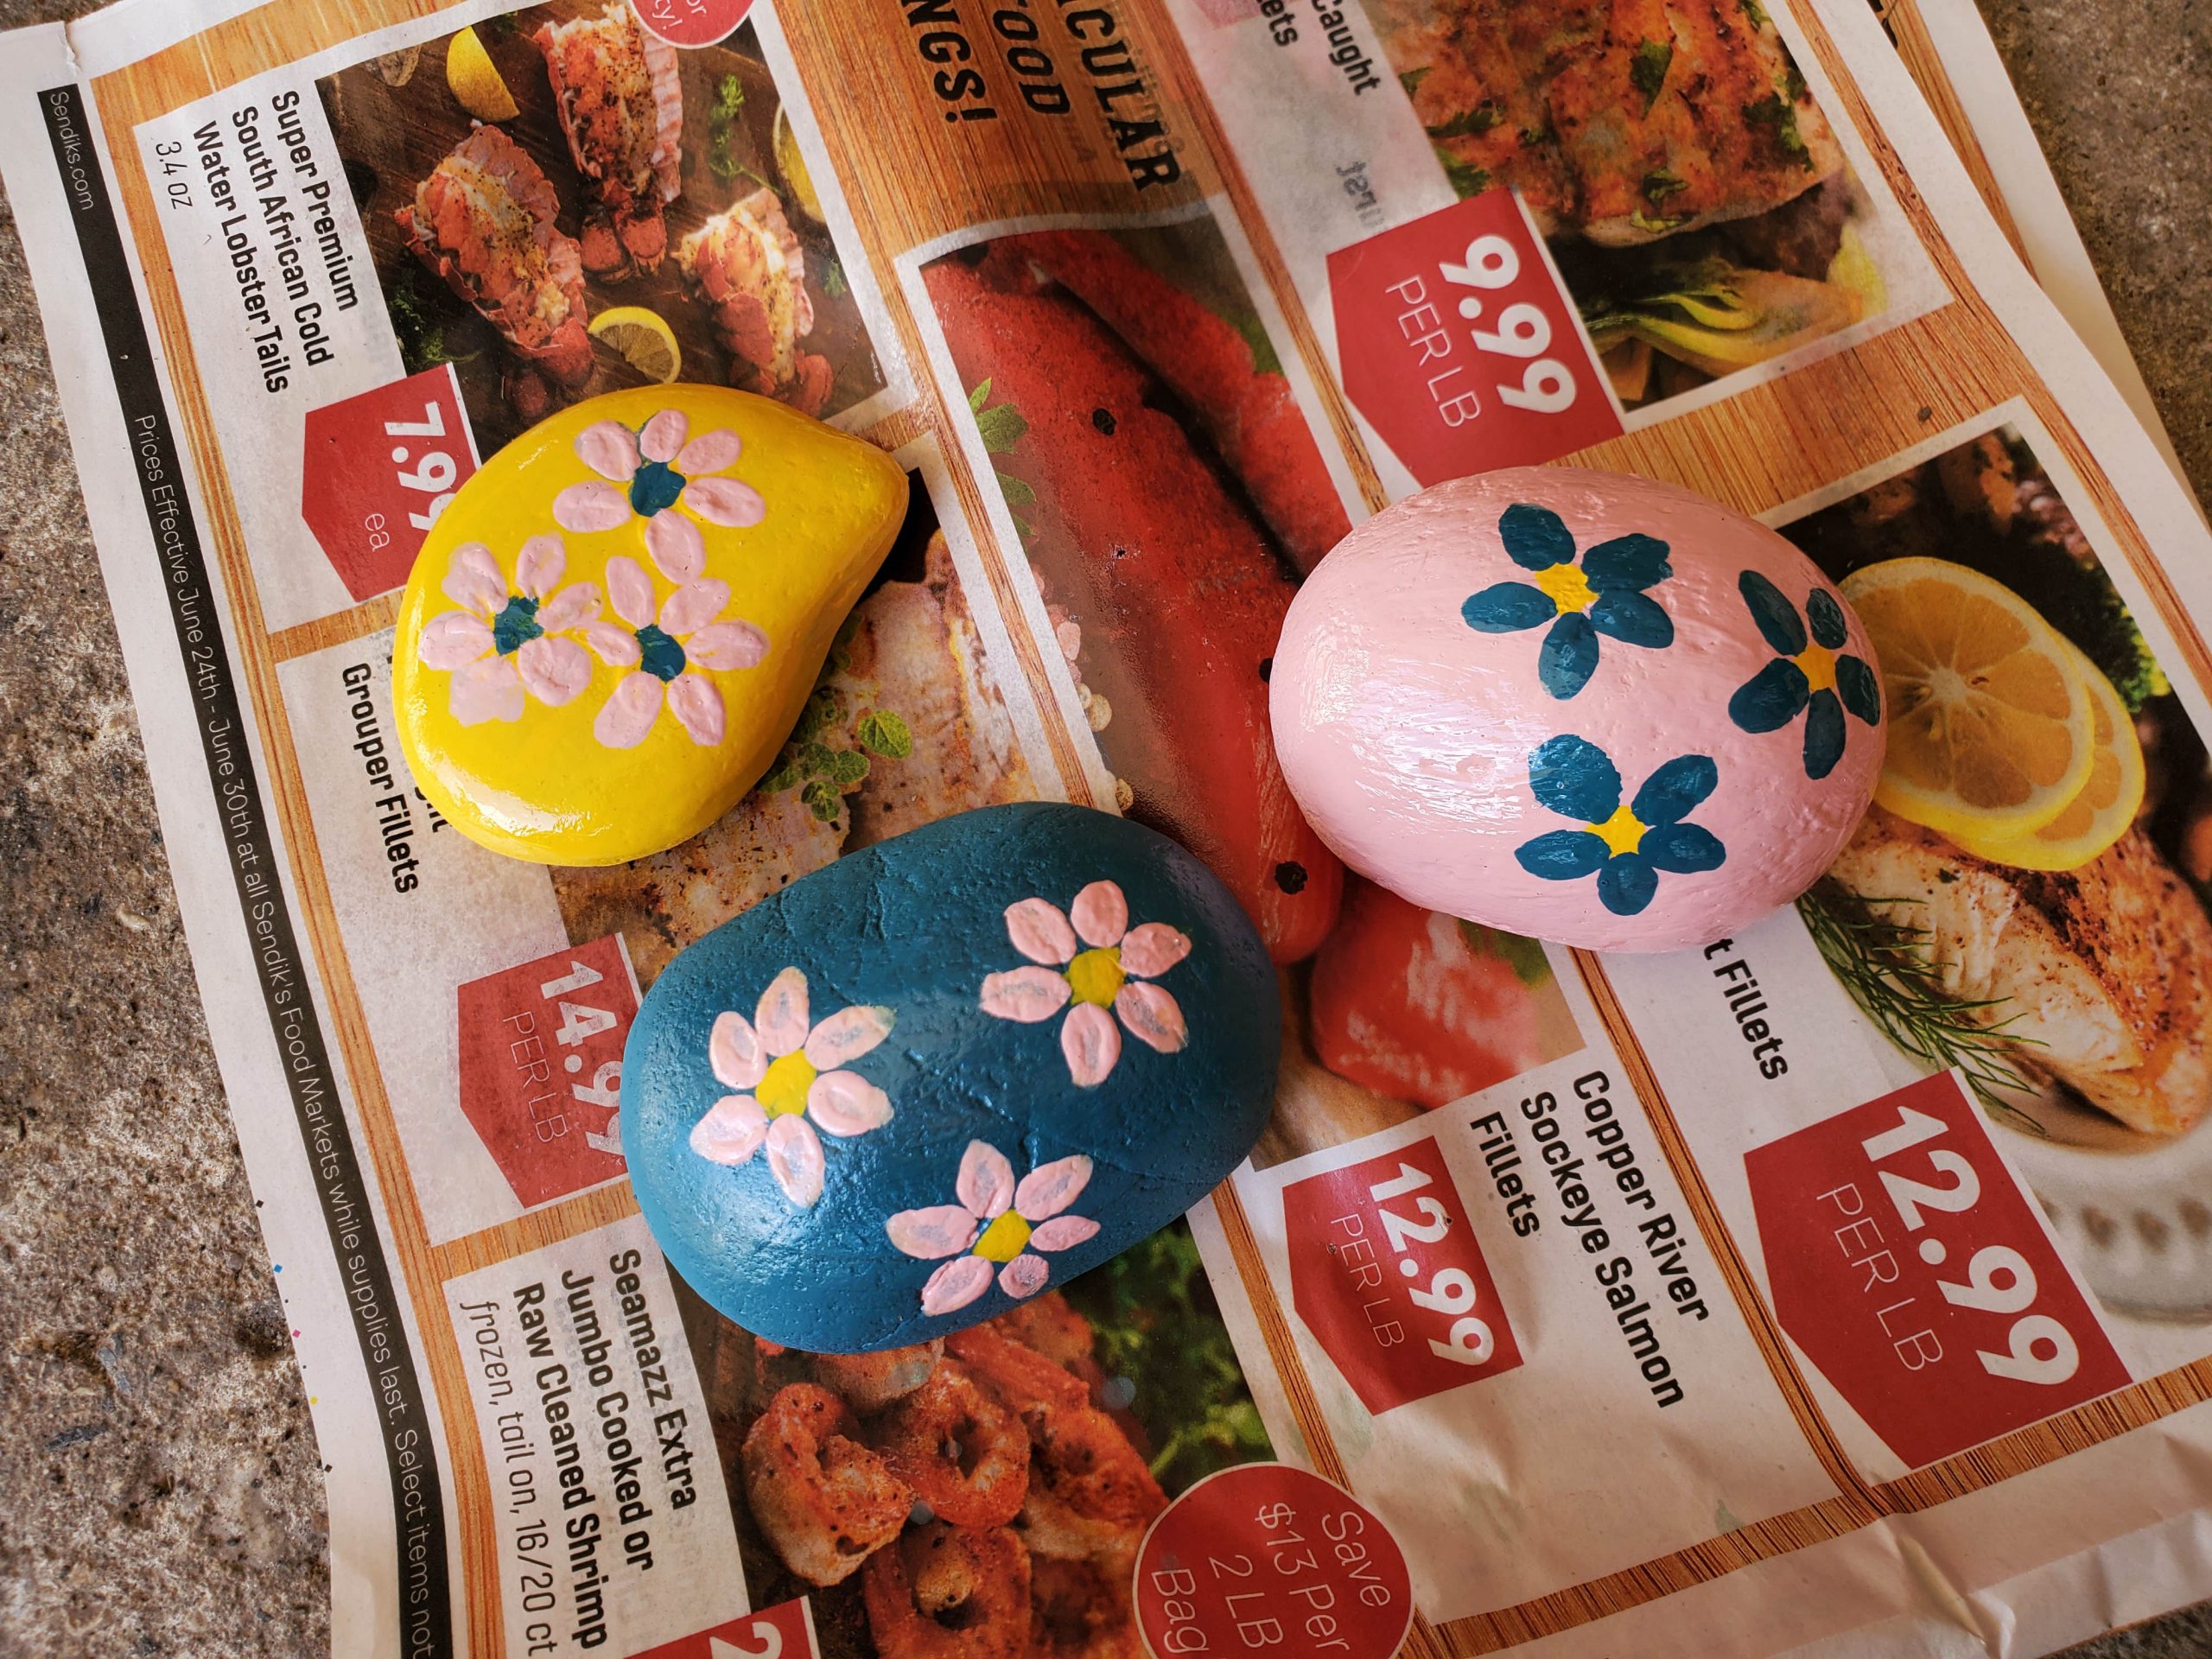
Let the rocks dry out completely.
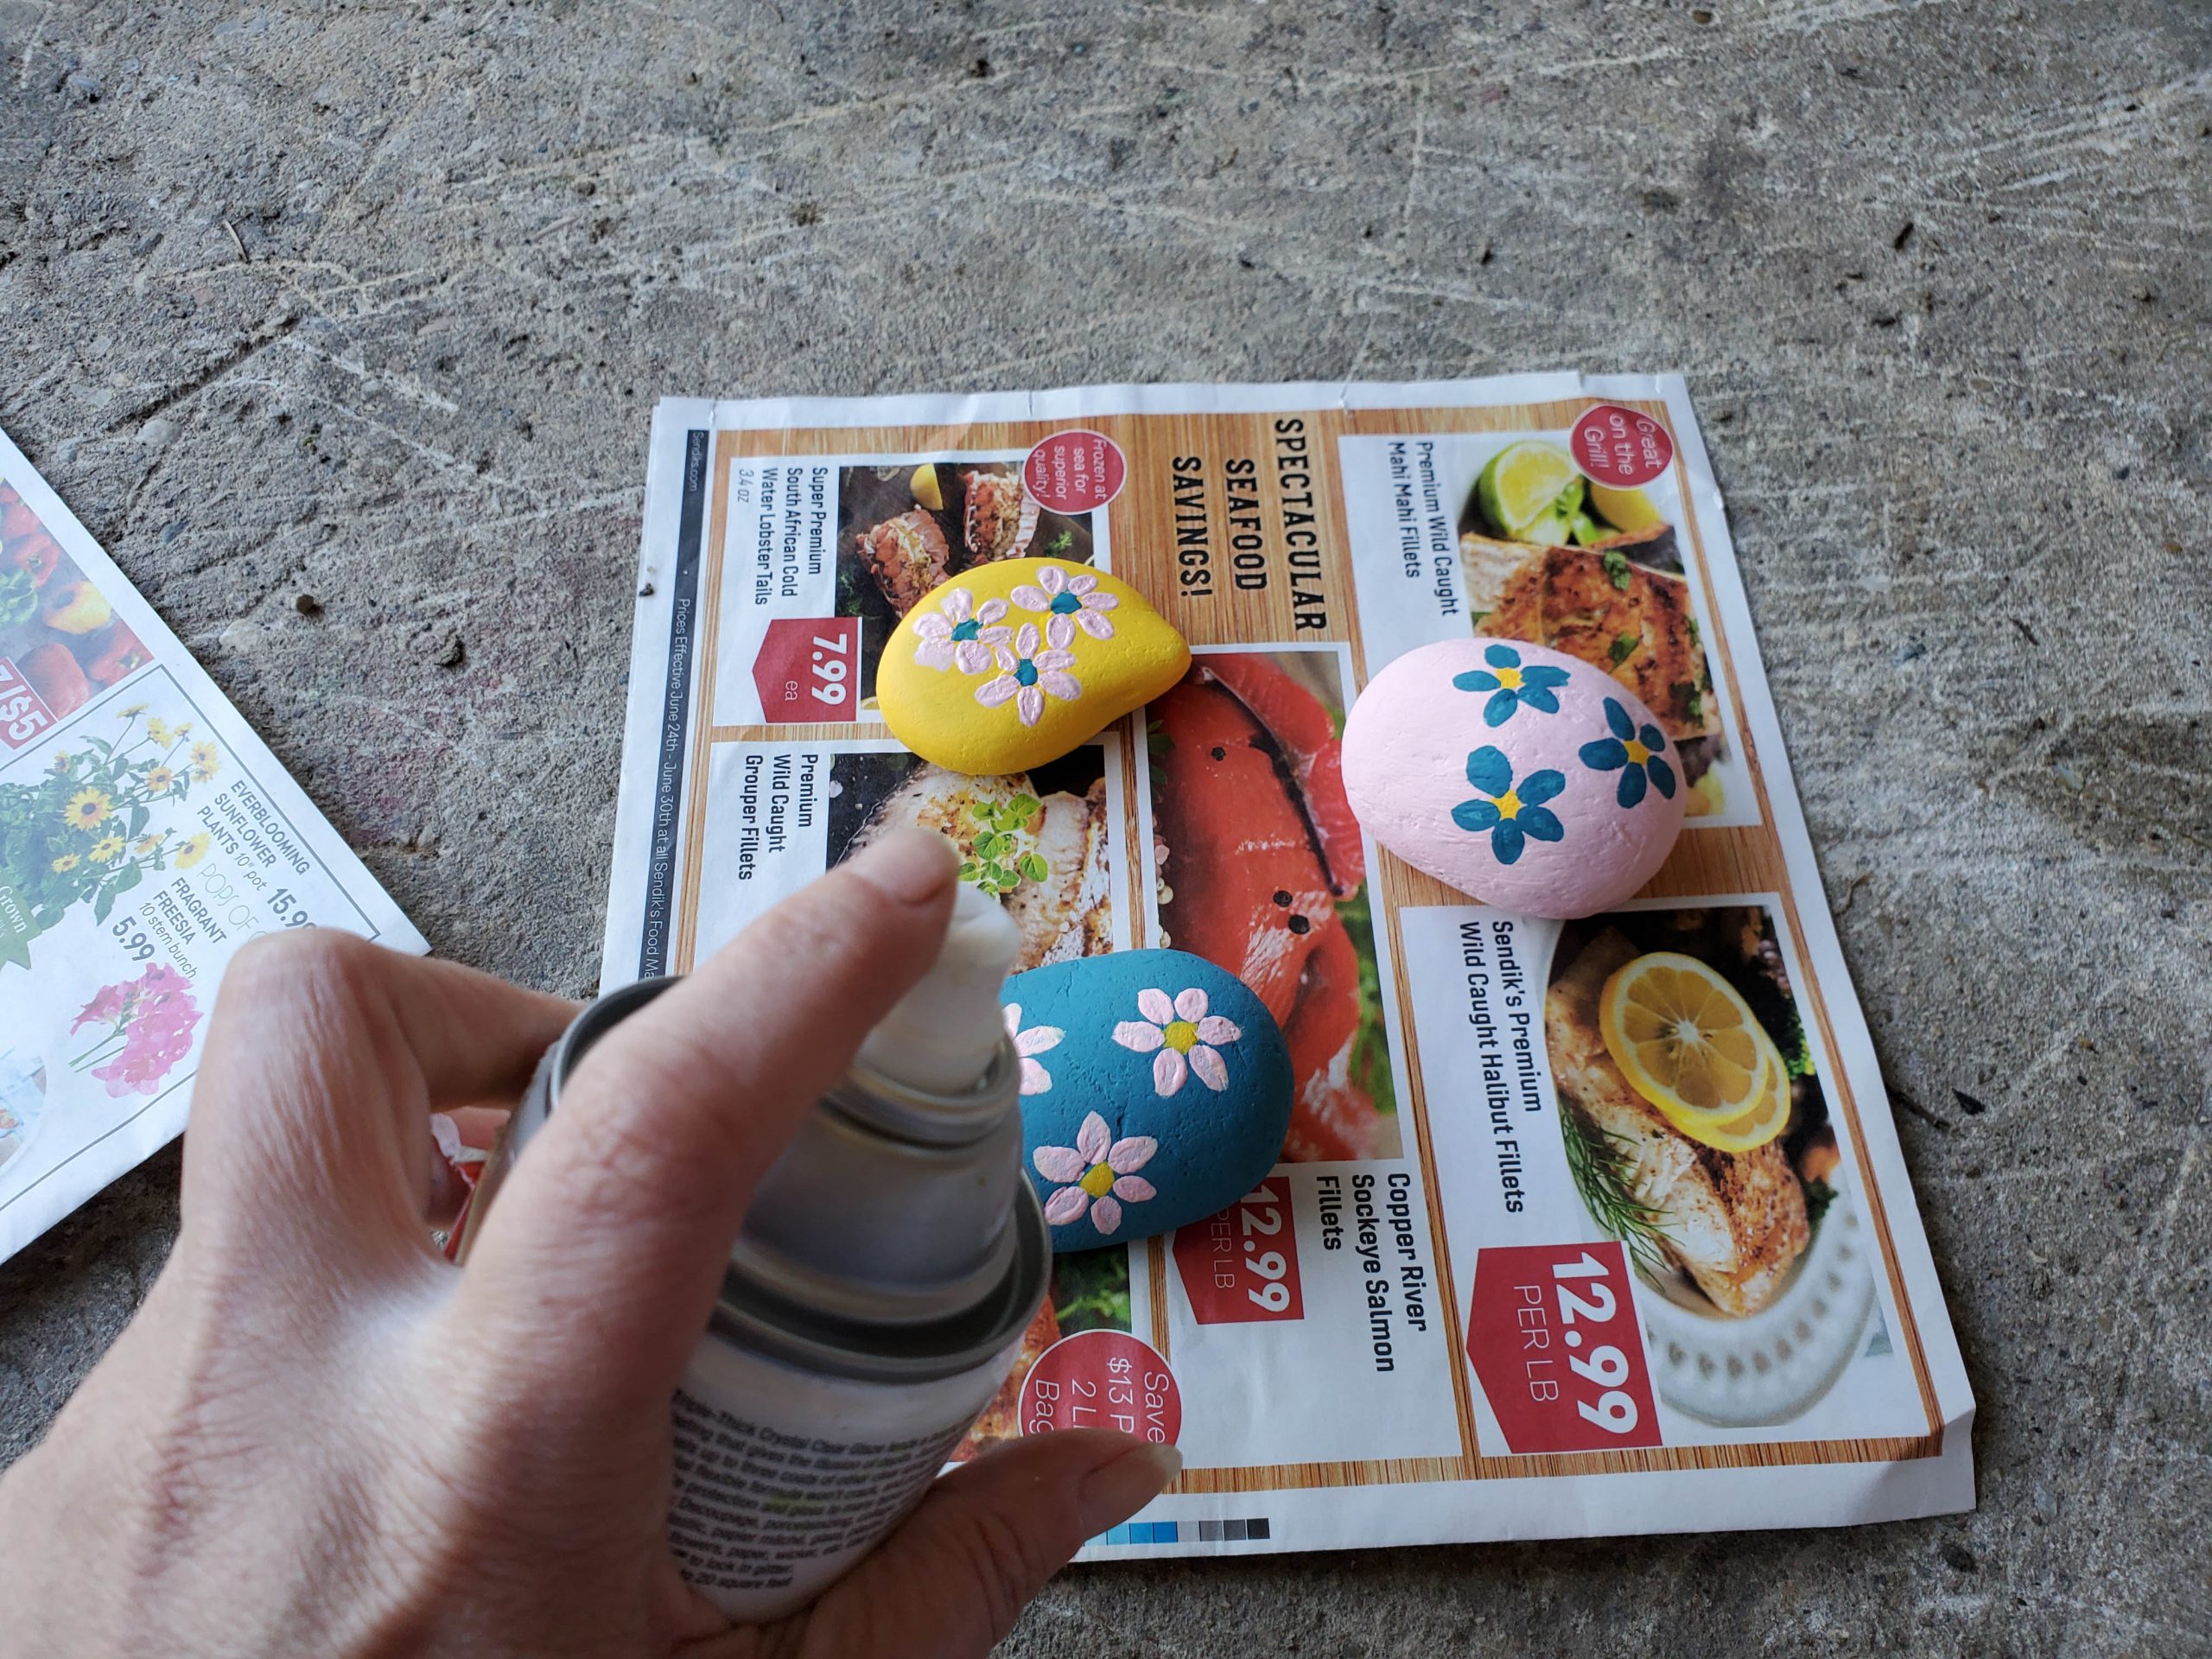
Using the Clear Glaze, spray all of the rocks until completely coated and allow them to sit and dry.
Can You Use Sharpie Markers on Rocks?
Yes, you can use a sharpie on rocks. Using sharpie allows for a more permanent design on your rocks too. It will not come off as easily as certain markers.
Where Can I Find Rocks to Paint?
You can find rocks to paint everywhere. They are available at the store where they have simple kits for people who want to paint rocks. A mini adventure to walk outside gives you the chance to collect a ton of rocks. You will want to find cleaner rocks, so when you come home, you can clean them a bit more without there being too much dirt to remove. River rocks are also available online. There is a link in the supplies section.
Do Painted Rocks Need to Be Sealed?
Yes, you will need to have the painted rocks sealed. Sealing your rocks will help keep your paintwork on the rock better. If you don’t use permanent markers, that’s just another reason while sealing is important. If you do not need painted rocks, the paint will wear off and the design will fade.
How to Use These Painted Flower Rocks?
You can use the painted flower rocks for many things or you can place these cute little rocks in your garden if you have one. You can use the rocks as paper holders or you can do this fun activity of hiding your rock somewhere and leave your details on the back and watch as people find them and hide your rock, then you can see how far your rock has traveled.
Join Our Easy Budget Crafts Group to get even more great ideas and connect with others who love to craft.
More Simple Garden Crafts
- Flower Pot DIY Bird Bath Craft
- Lady Bug Golf Ball Garden Decoration
- Unicorn Planter With a Cactus Horn | A Crafty Way to Show Off Your Plants
- Making a Terra Cotta Turtle Garden Decorations
How to Make Beautiful Flower Painted Rocks
Materials
- River Rocks
- Arcylic Craft Paint
- Paintbrushes
- Krylon Clear Glaze
- Newspaper
Instructions
- Cover your work area with a newspaper.
- Paint your rocks a solid color using the 1-inch paintbrush. Each rock should
be a different color. - Let each rock dry on one side completely before flipping over and painting
the other side. - About 2-3 coats will work per rock to have the best solid color.
- Once they are completely dry, begin painting the flower.
- Gently dip the slanted paintbrush into the paint and begin making dots on
the rock, just about 1/2 inch from the sides. - Then, in a swirling motion, go over the dot to create the center of the
flower. Repeat until all the flower centers are on each rock. You should have a
nice circle on each. - Dip your brush in water and wipe on the newspaper to clean. Dip the brush
into a different color and with the longer edge of the brush, press from the
edge of the circle and out to make the petals. - You can fill in any open spaces or freehand the petals for another option.
- Let the rocks dry out completely.
- Using the Clear Glaze, spray all of the
rocks until completely coated and allow them to sit and dry.


Leave a Reply