Whipped chocolate milk is like upgrading your usual chocolate drink with a cool, frothy top. It’s super creamy and makes drinking it fun. It’s a simple treat for when you’re craving something sweet but don’t want to make a whole dessert.
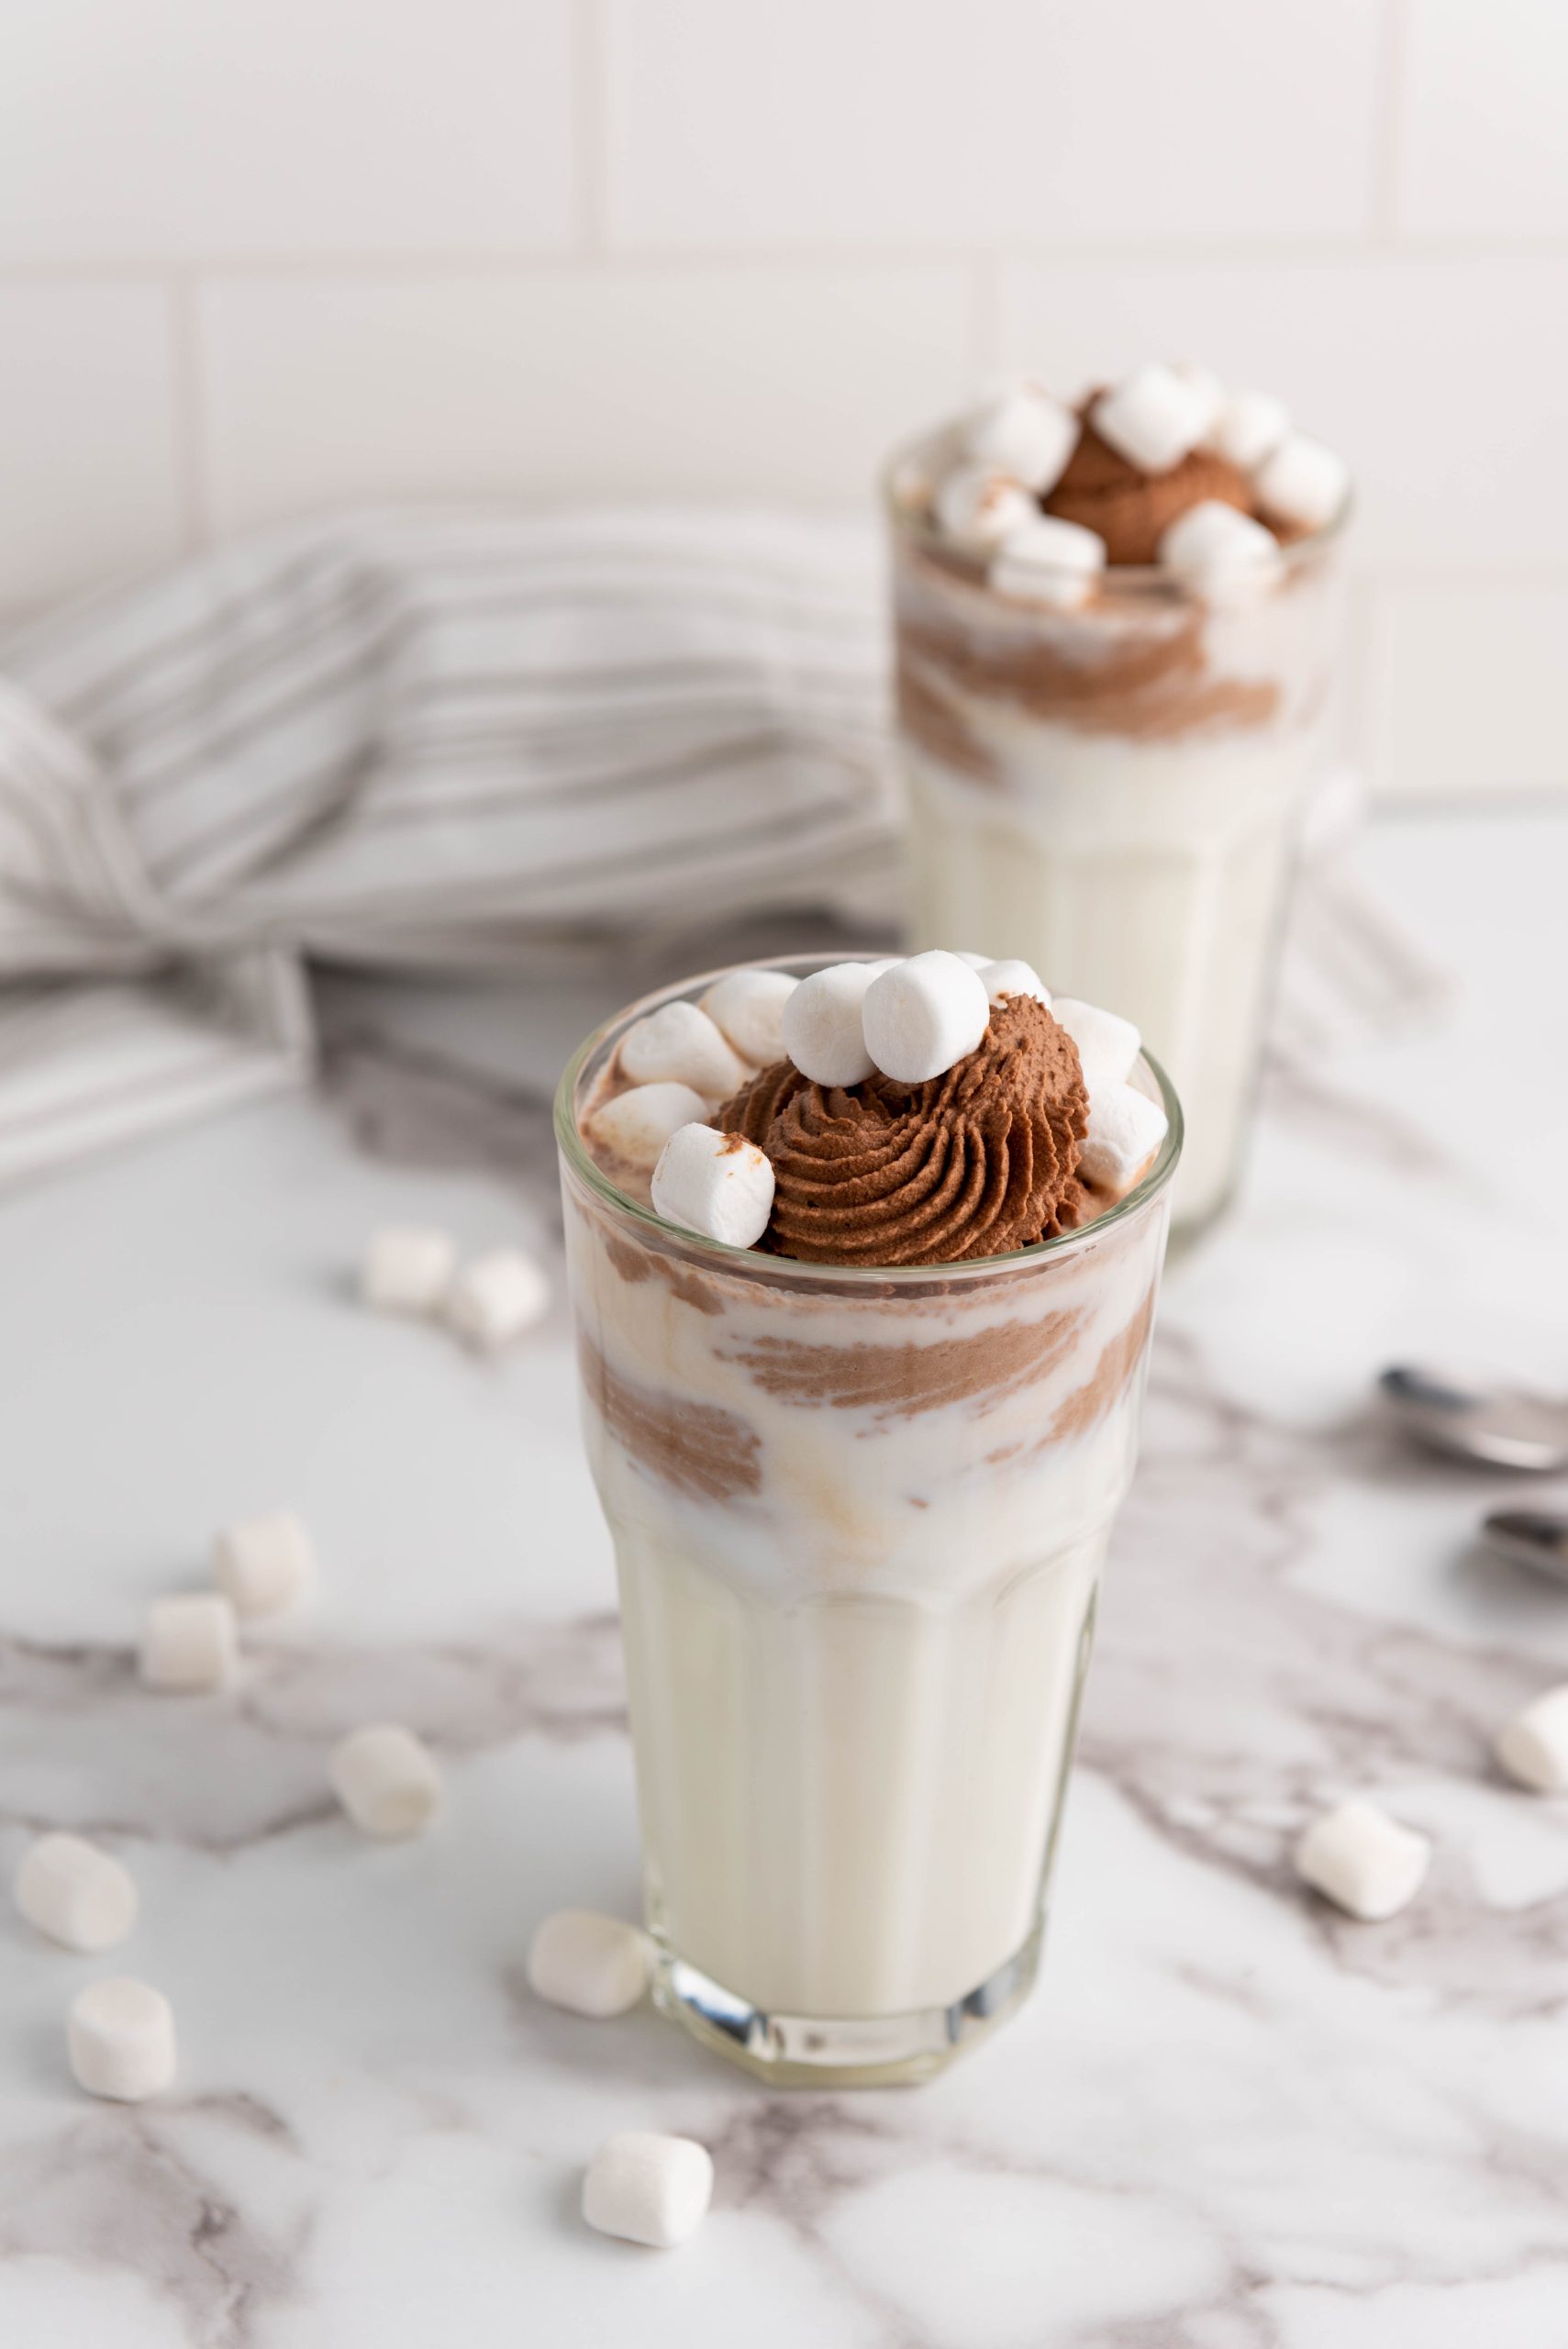
❤️ Why You’ll Love Whipped Chocolate Milk
- Easy to Make: Whipped chocolate milk can be prepared in just a few minutes with ingredients likely already in your pantry.
- Inexpensive: There’s no need to spend money on fancy coffee shop drinks when you can create this delicious treat at home.
- Versatile: You can customize it to your taste by adjusting the amount of chocolate or type of milk used.
- Fun for All Ages: It’s a hit with both kids and adults, making it perfect for family gatherings or a special treat for yourself.
🧾 Simple Ingredients
Get the full list of ingredients, with measurements, and step-by-step instructions at the bottom of the post in the printable recipe card.
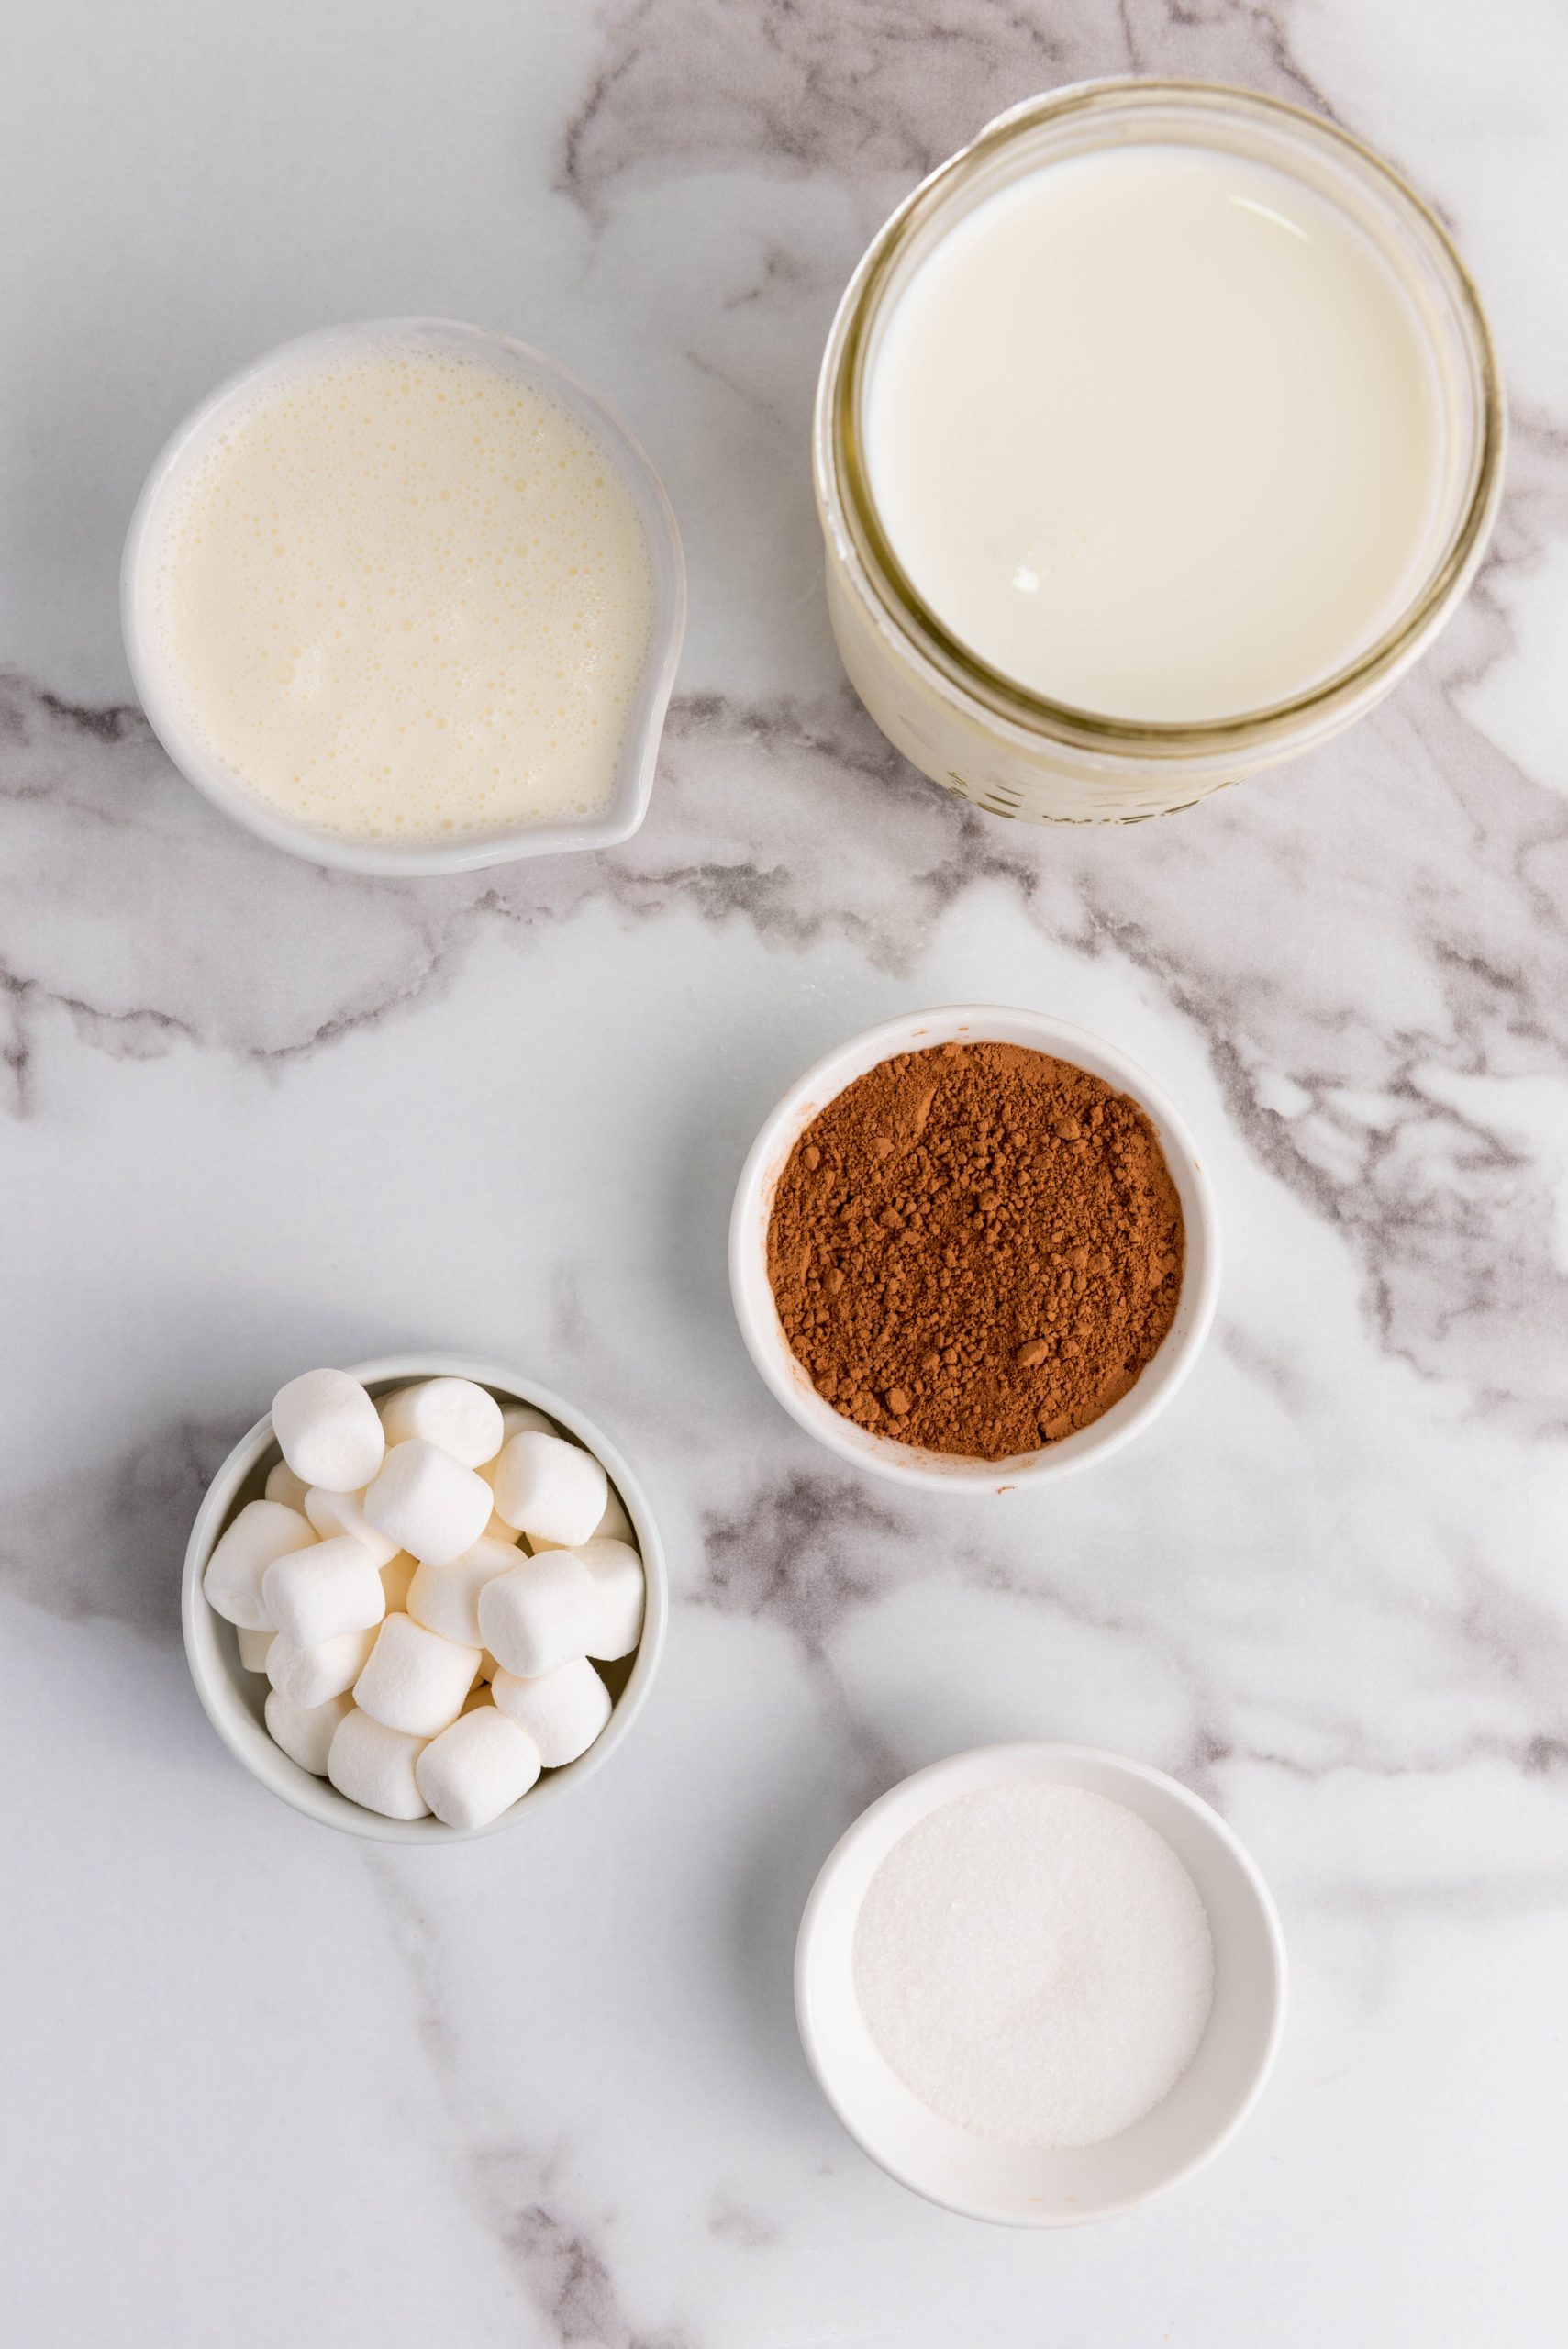
- Cold Milk
- Whipping cream
- Hershey Unsweetened cocoa powder
- Sugar
- Mini marshmallows
Don’t have unsweetened cocoa on hand? You can use Nesquik cocoa powder or hot cocoa mix. If the hot chocolate mix is sweetened, remove the sugar from the recipe.
🍳 How to Make Whipped Chocolate Milk
Get the full list of ingredients, with measurements, and step-by-step instructions at the bottom of the post in the printable recipe card.
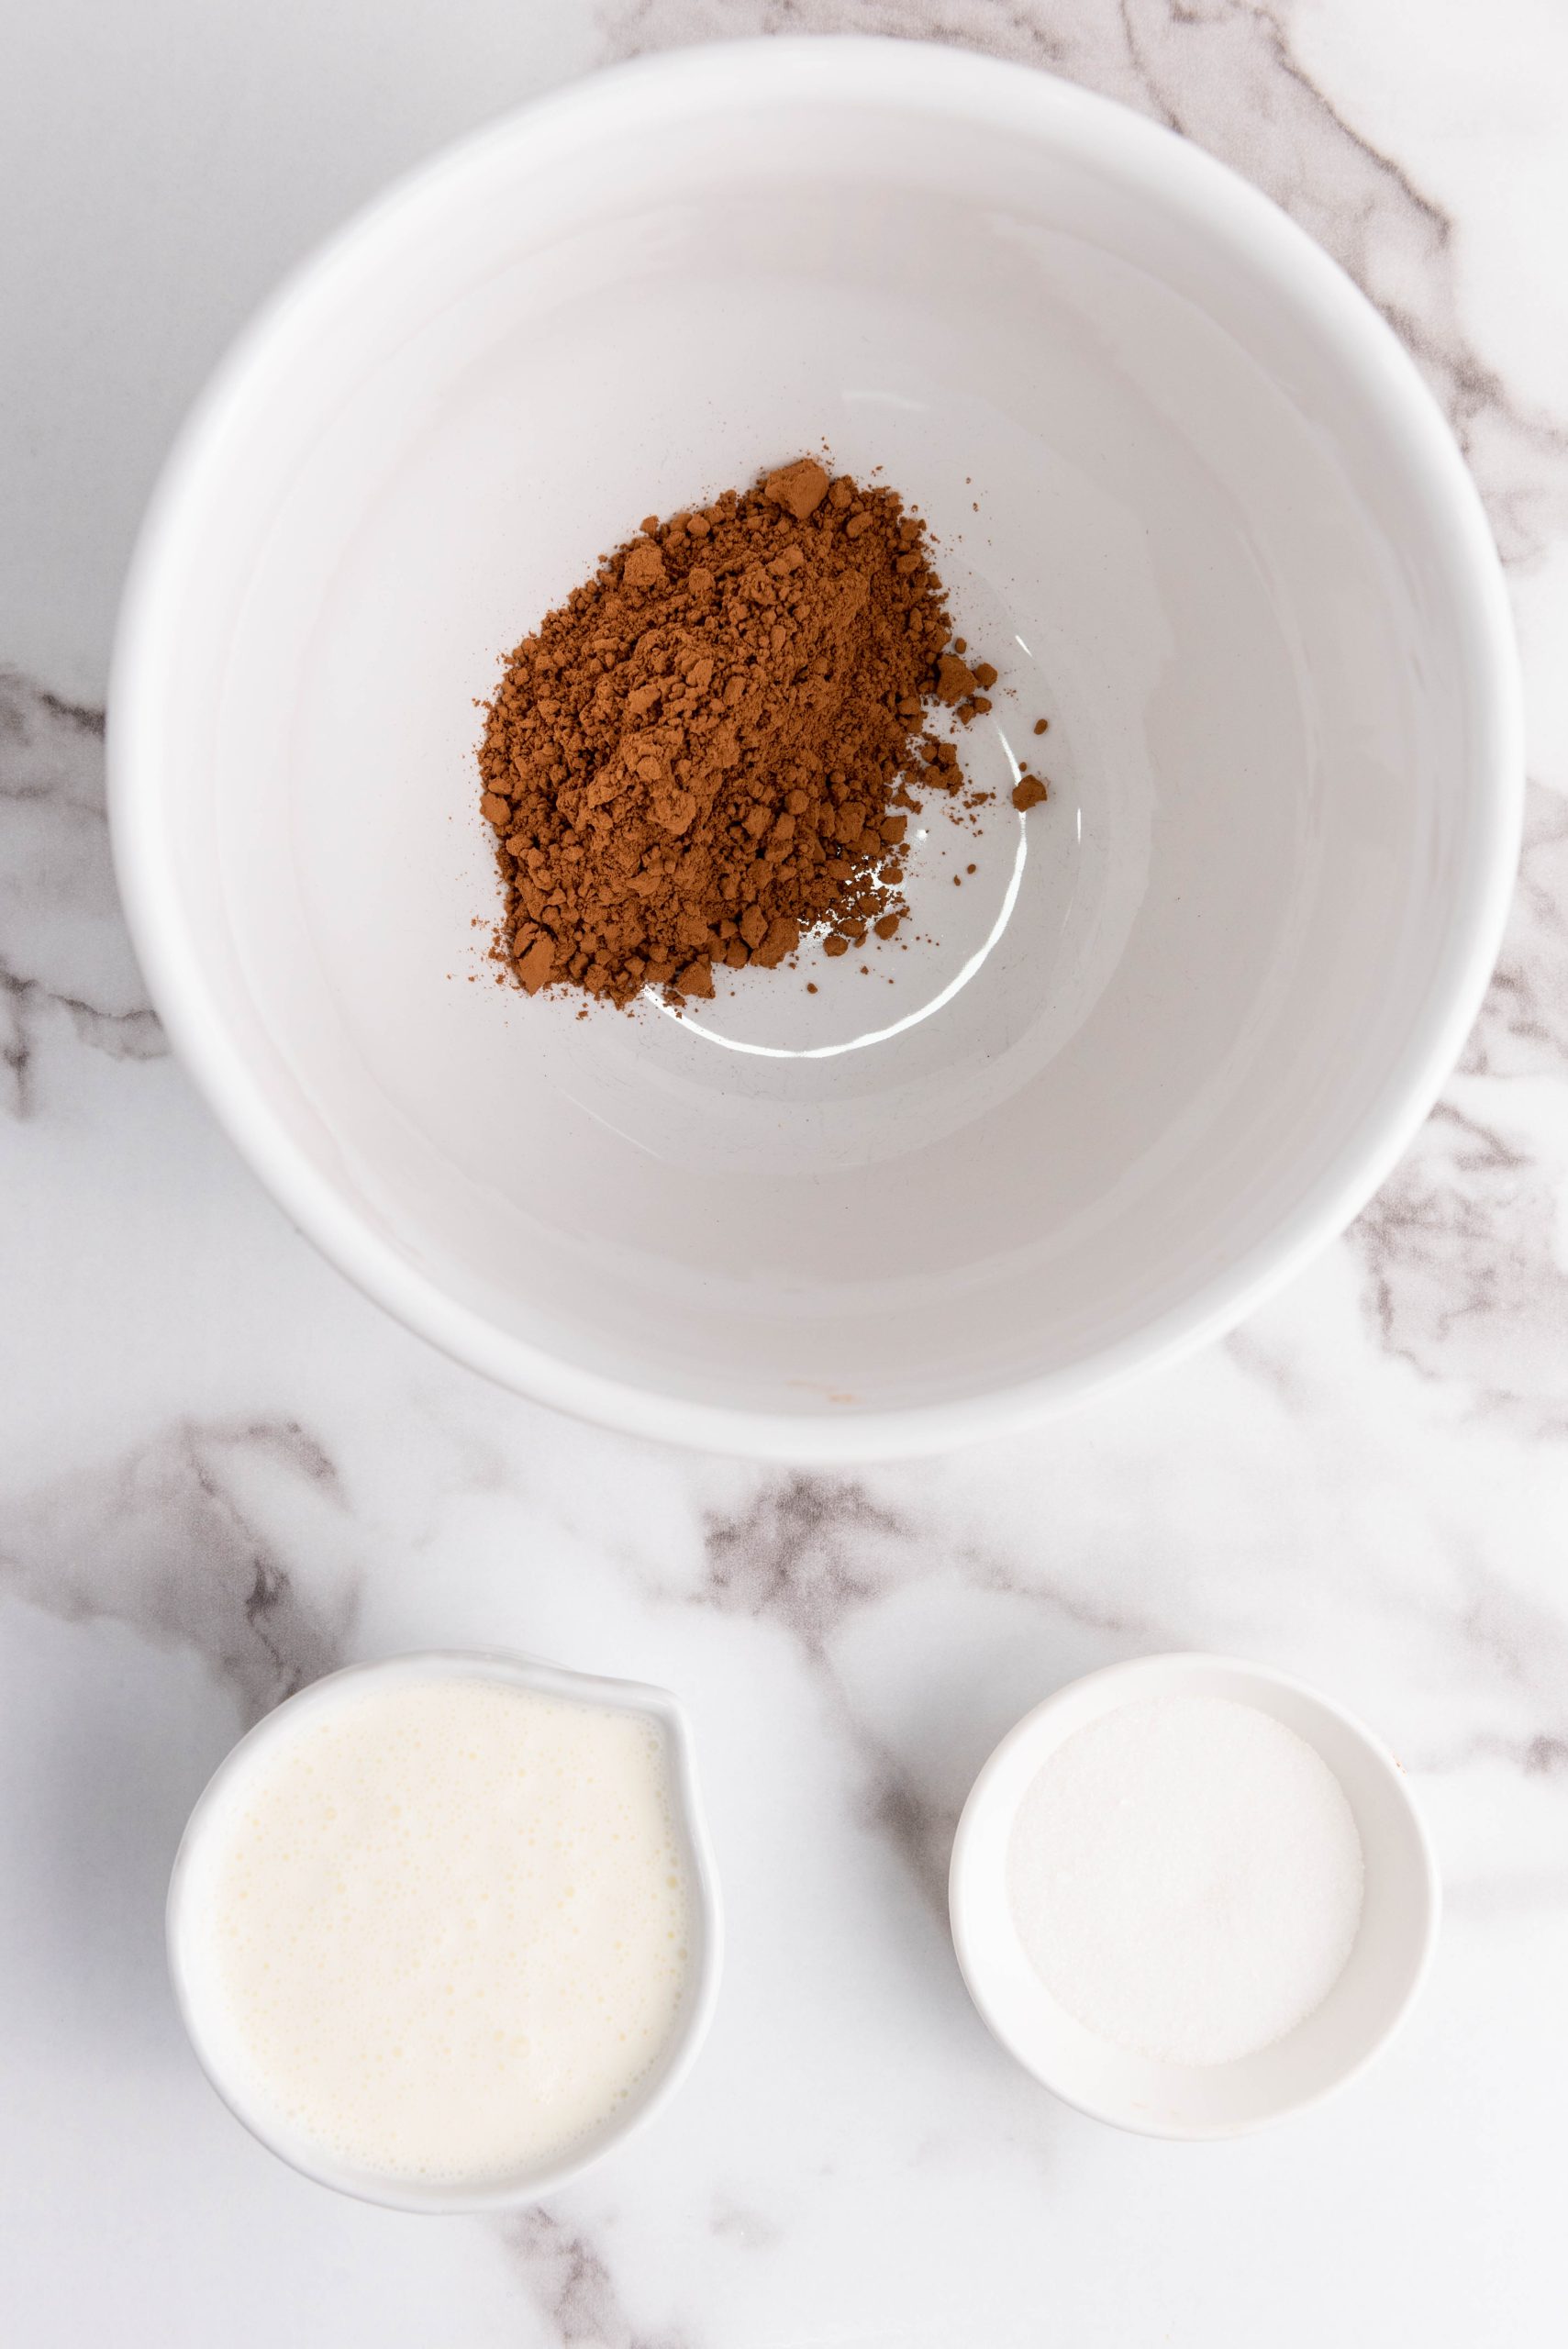
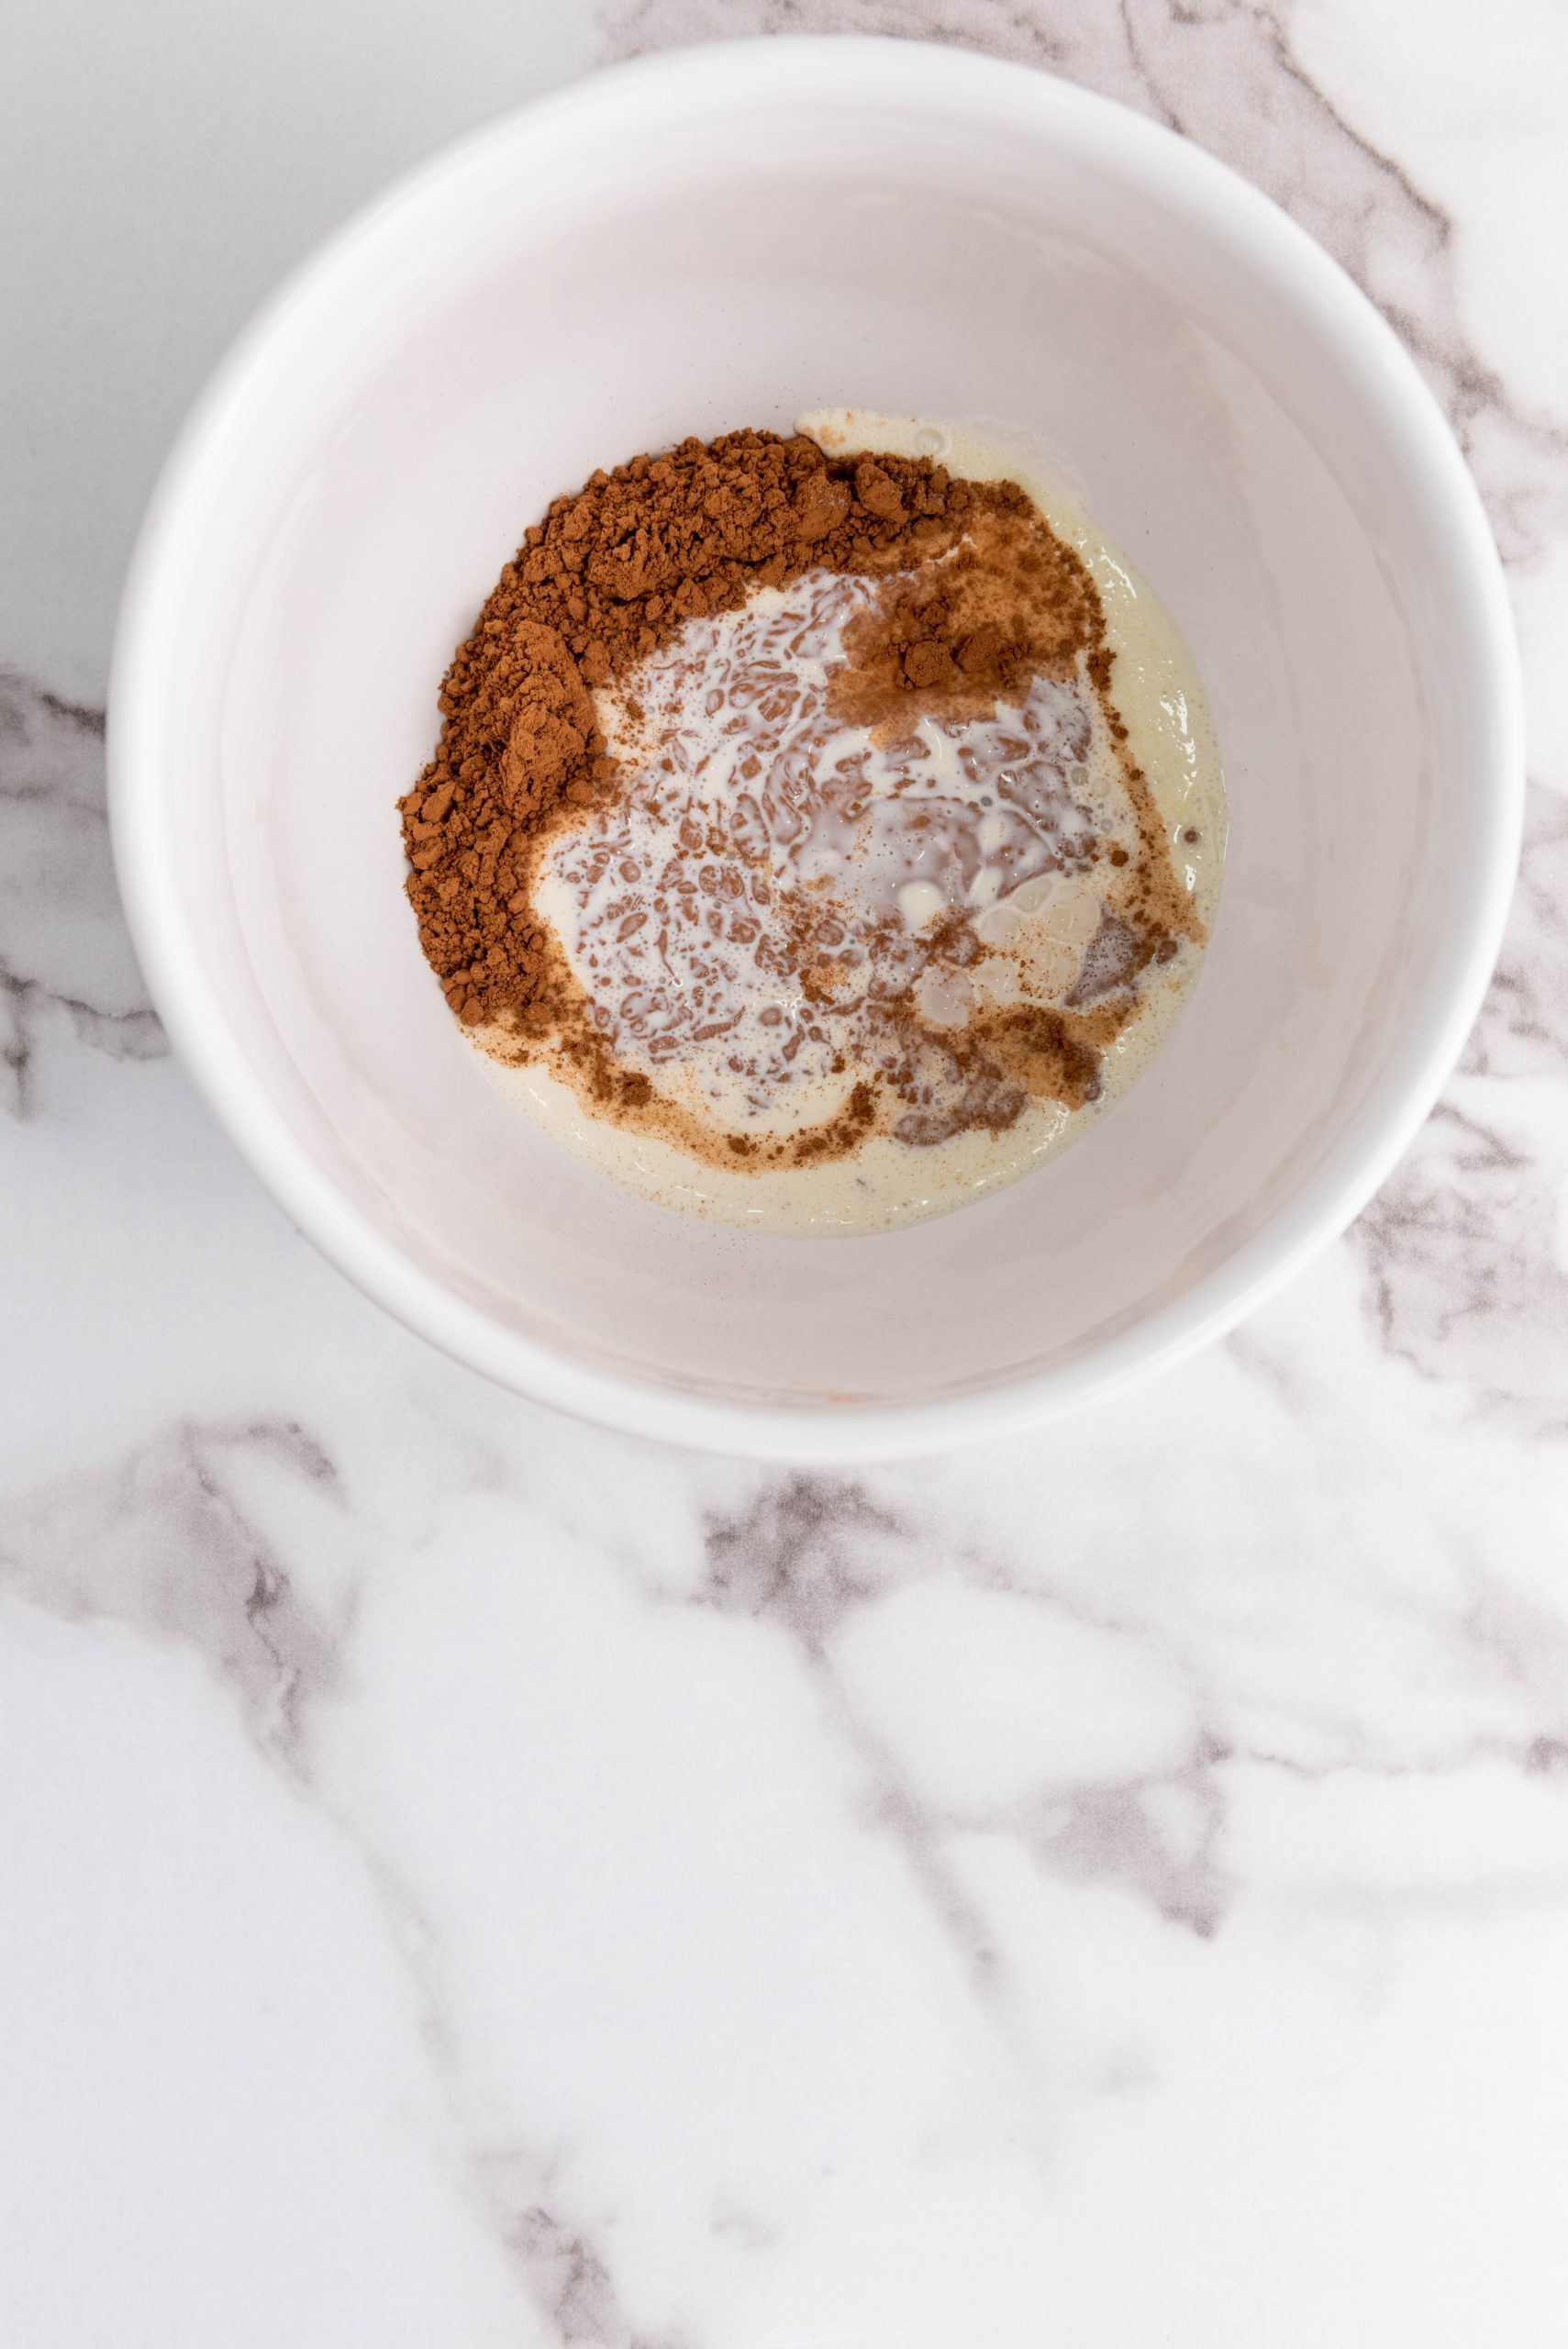
Prepare the Whipped Chocolate Cream: In a mixing bowl, add the sugar, cocoa powder, and heavy cream.
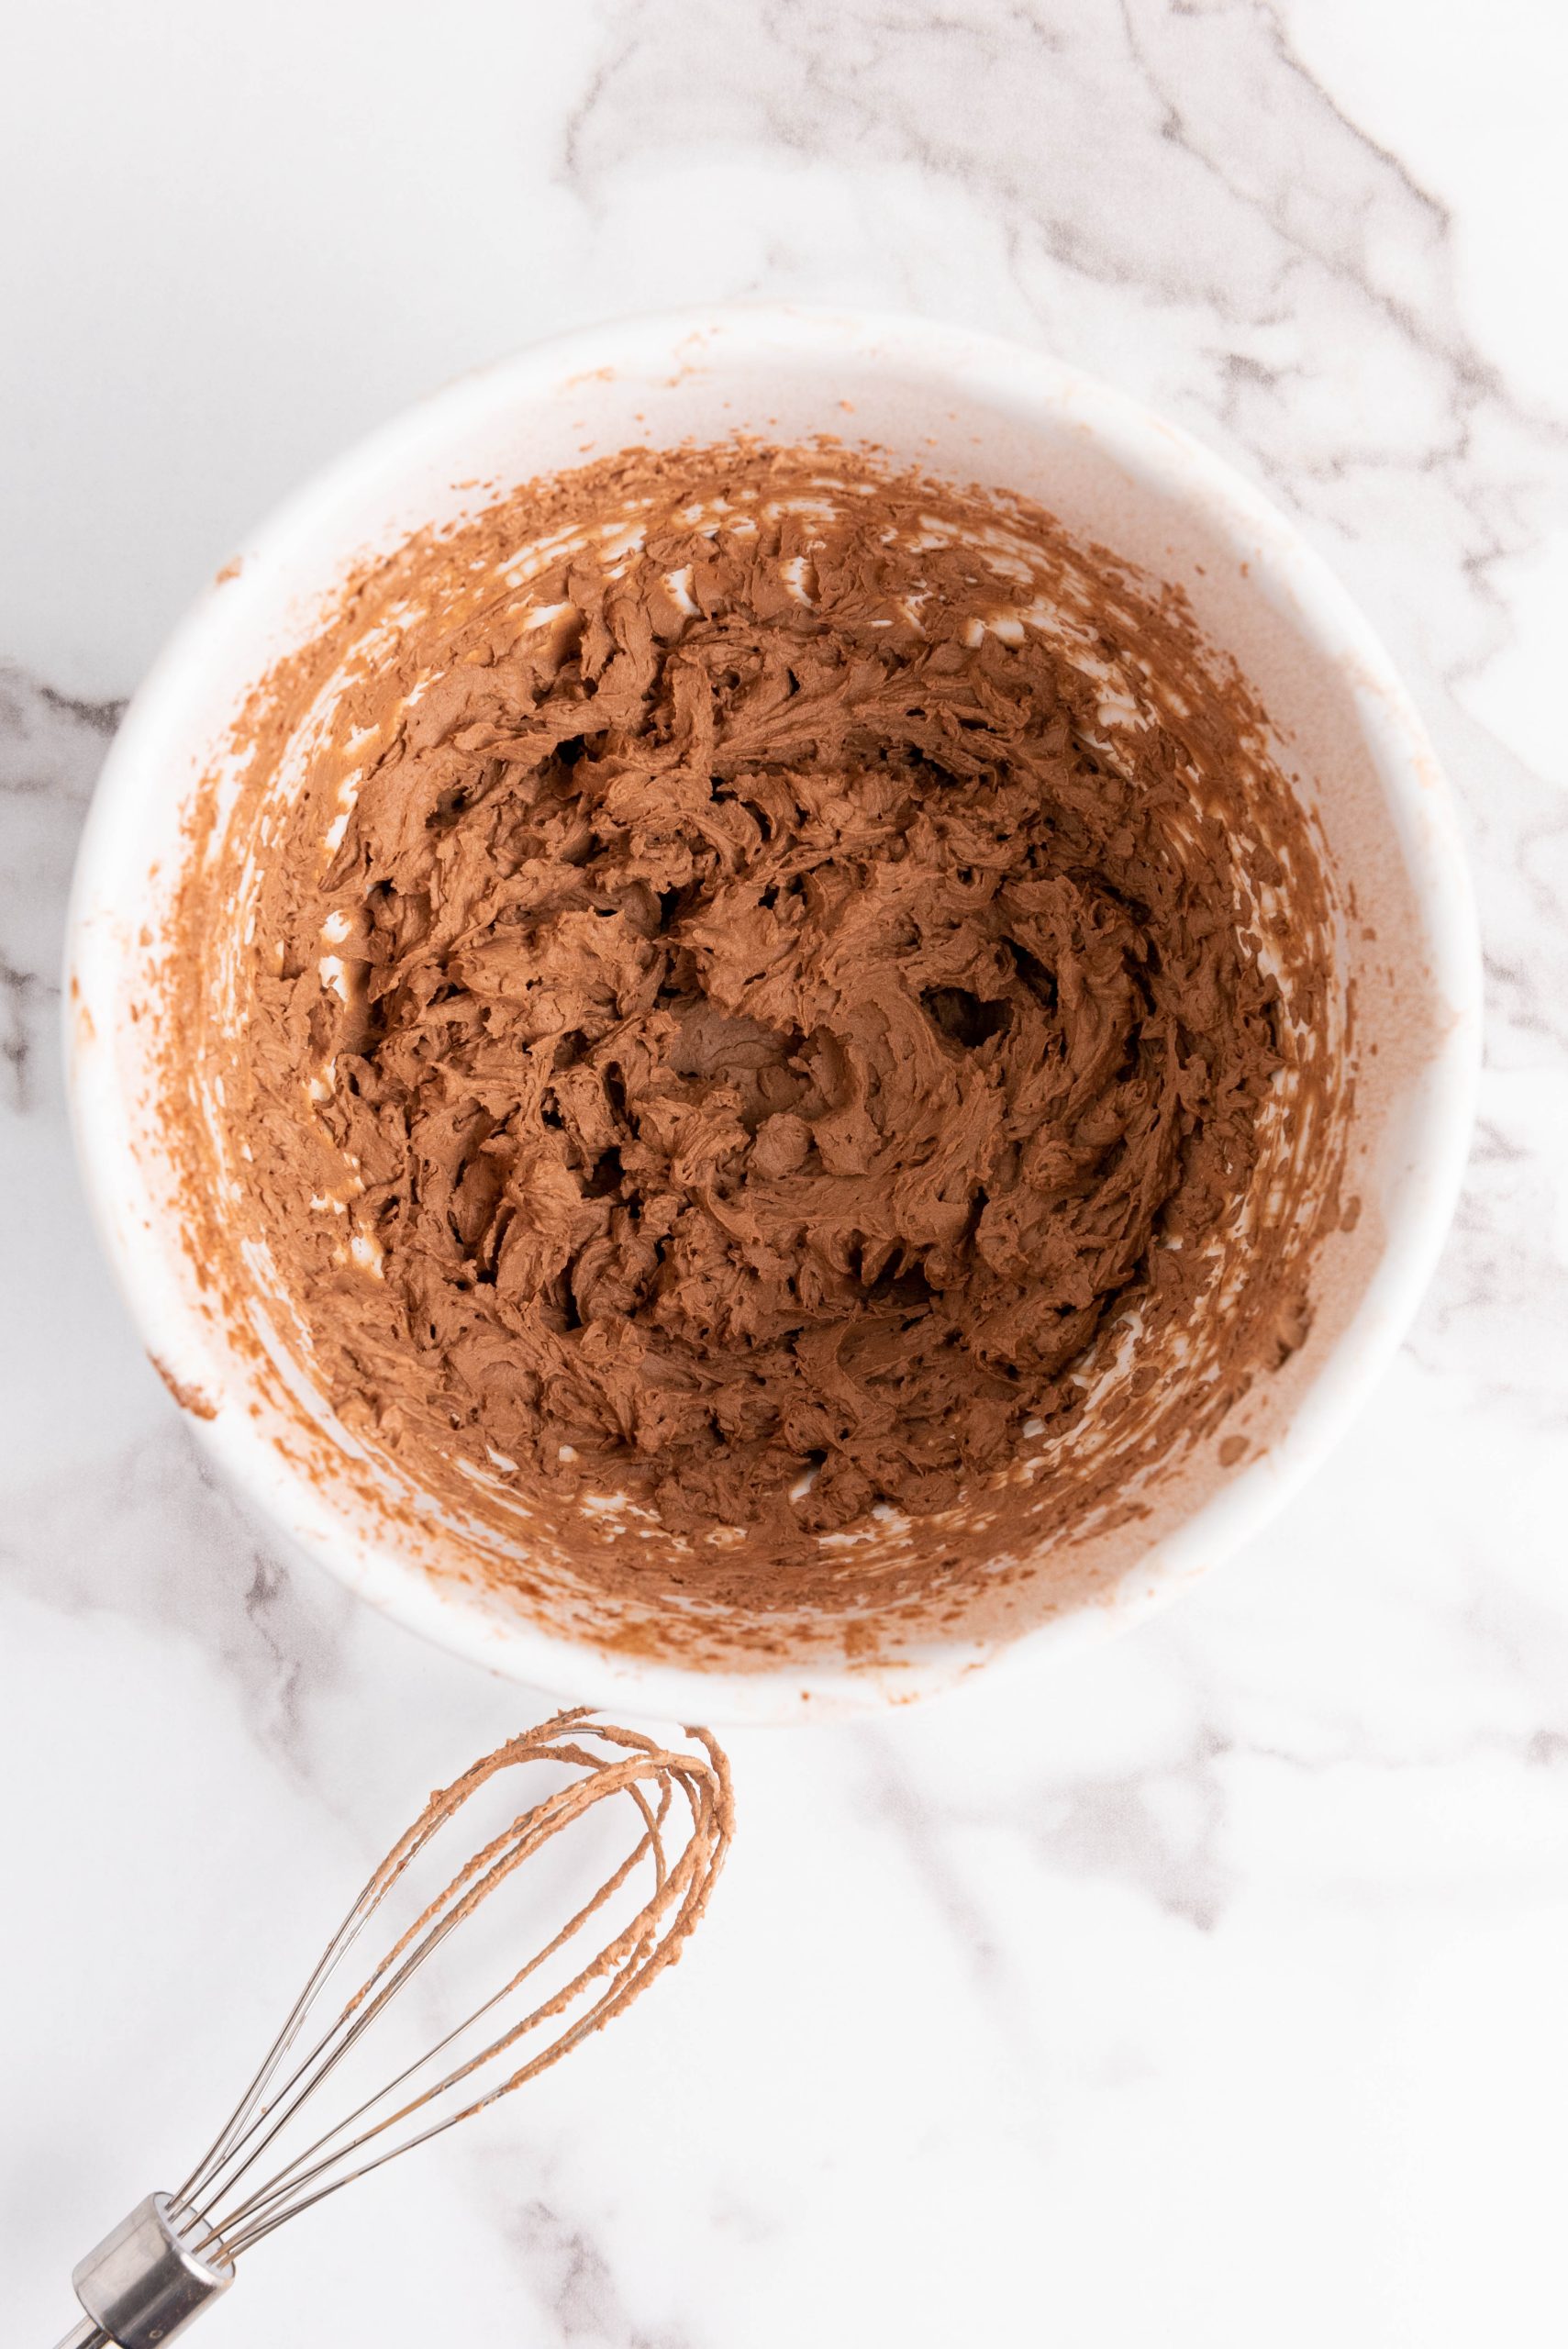
Whip the Mixture: Using a stand mixer, hand mixer, immersion blender or a whisk, beat the mixture until it reaches stiff peaks. This may take a few minutes. Be patient; the creamy, chocolatey goodness will be worth it!
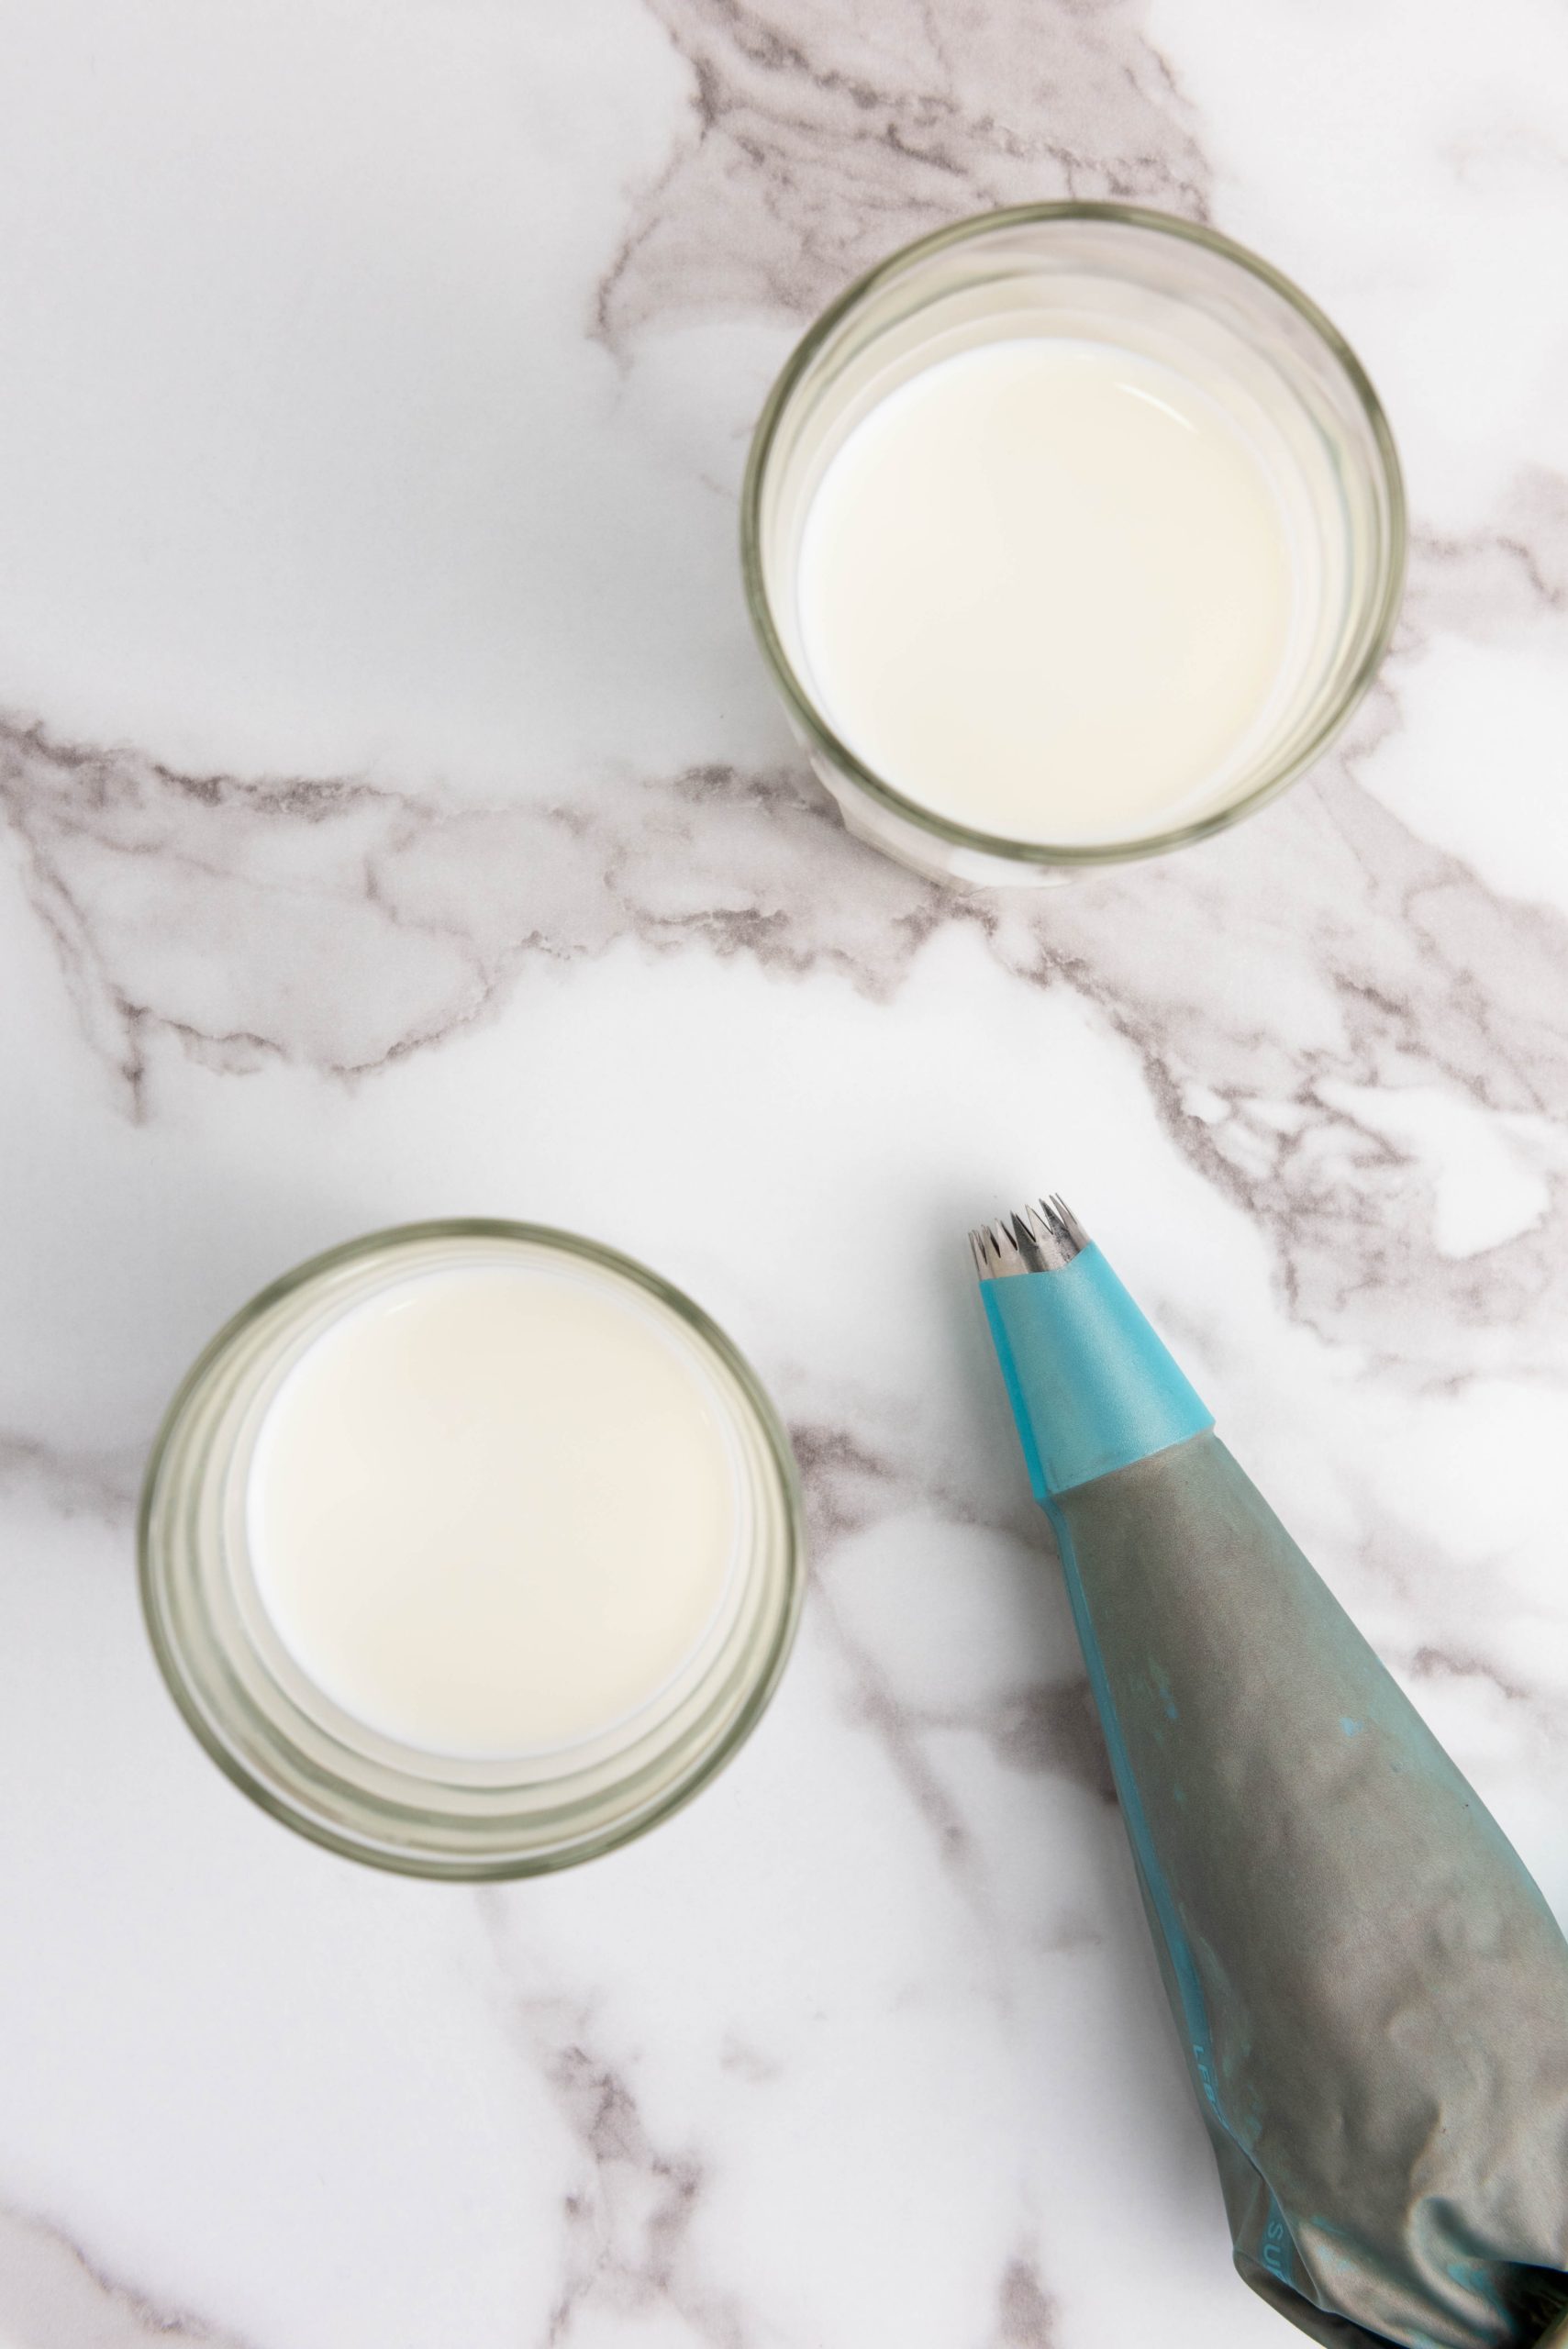
Prepare the Milk: Divide the 2 cups of milk equally between two serving glasses to make the bottom of the layered hot chocolate.
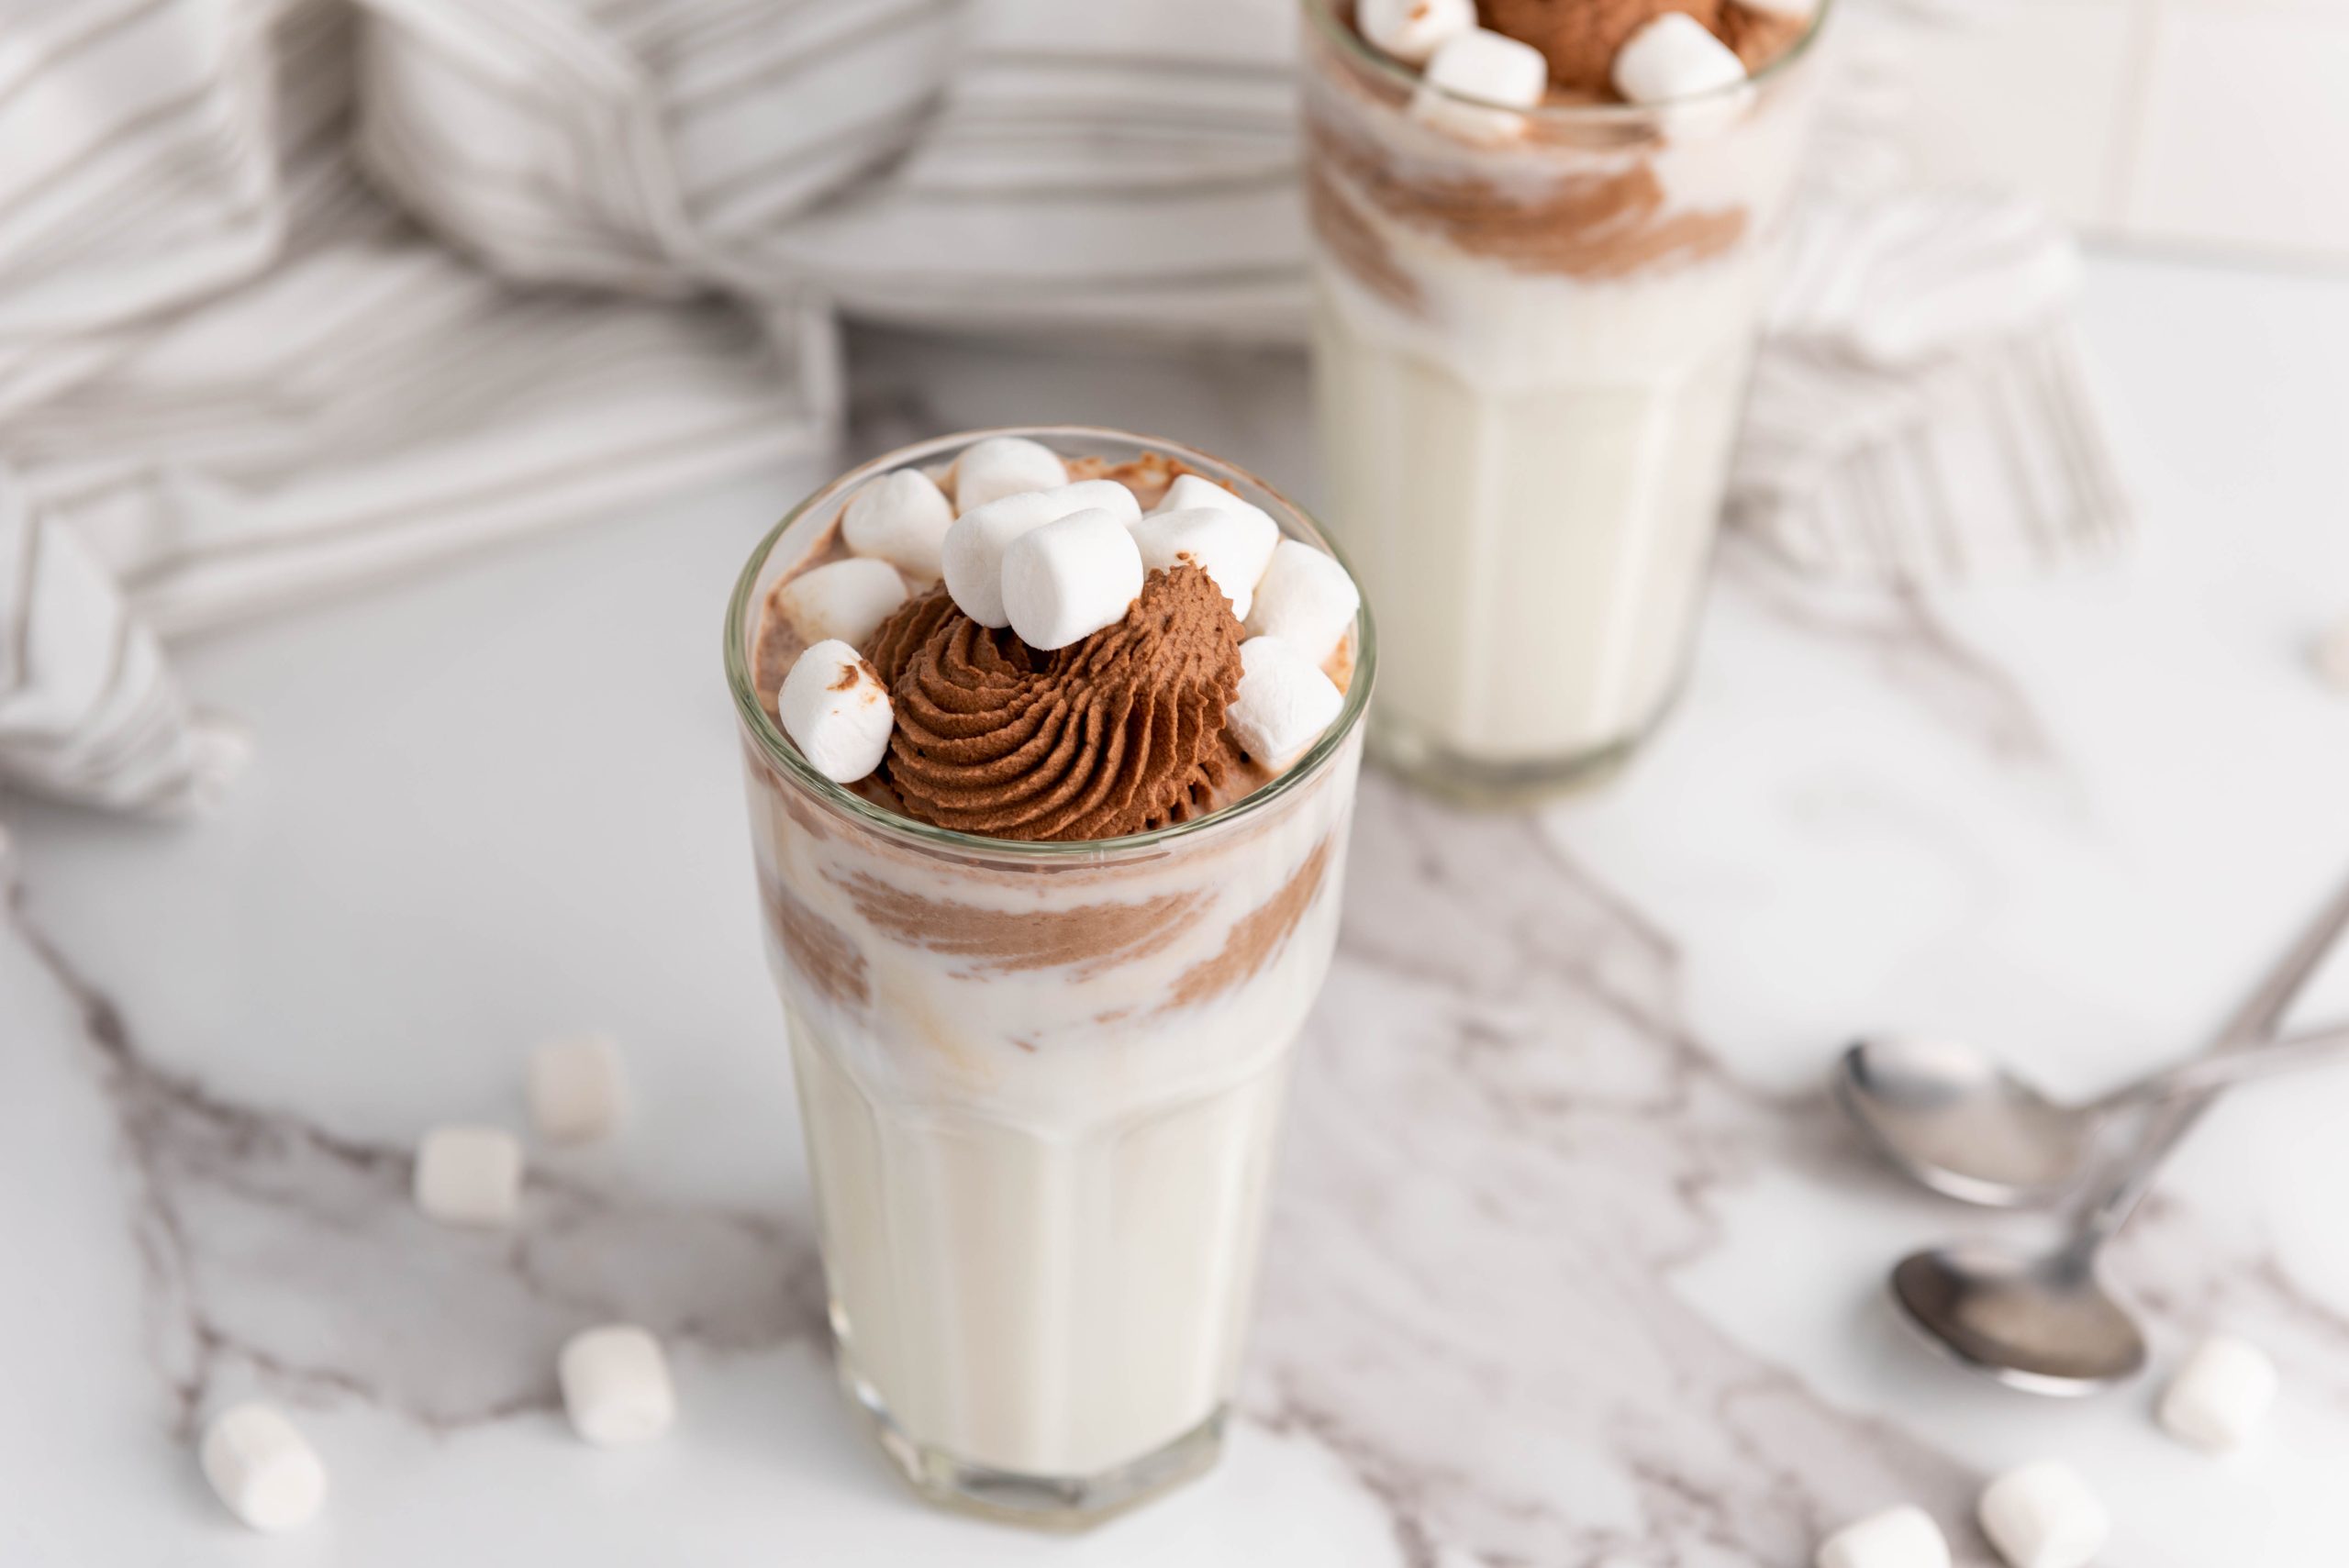
Add the Foamy Chocolate Milk Topper. Transfer the whipped chocolate cream to a piping bag fitted with a decorative tip of your choice. If you don’t have a piping bag, you can also use a zip-top bag and snip off a corner.
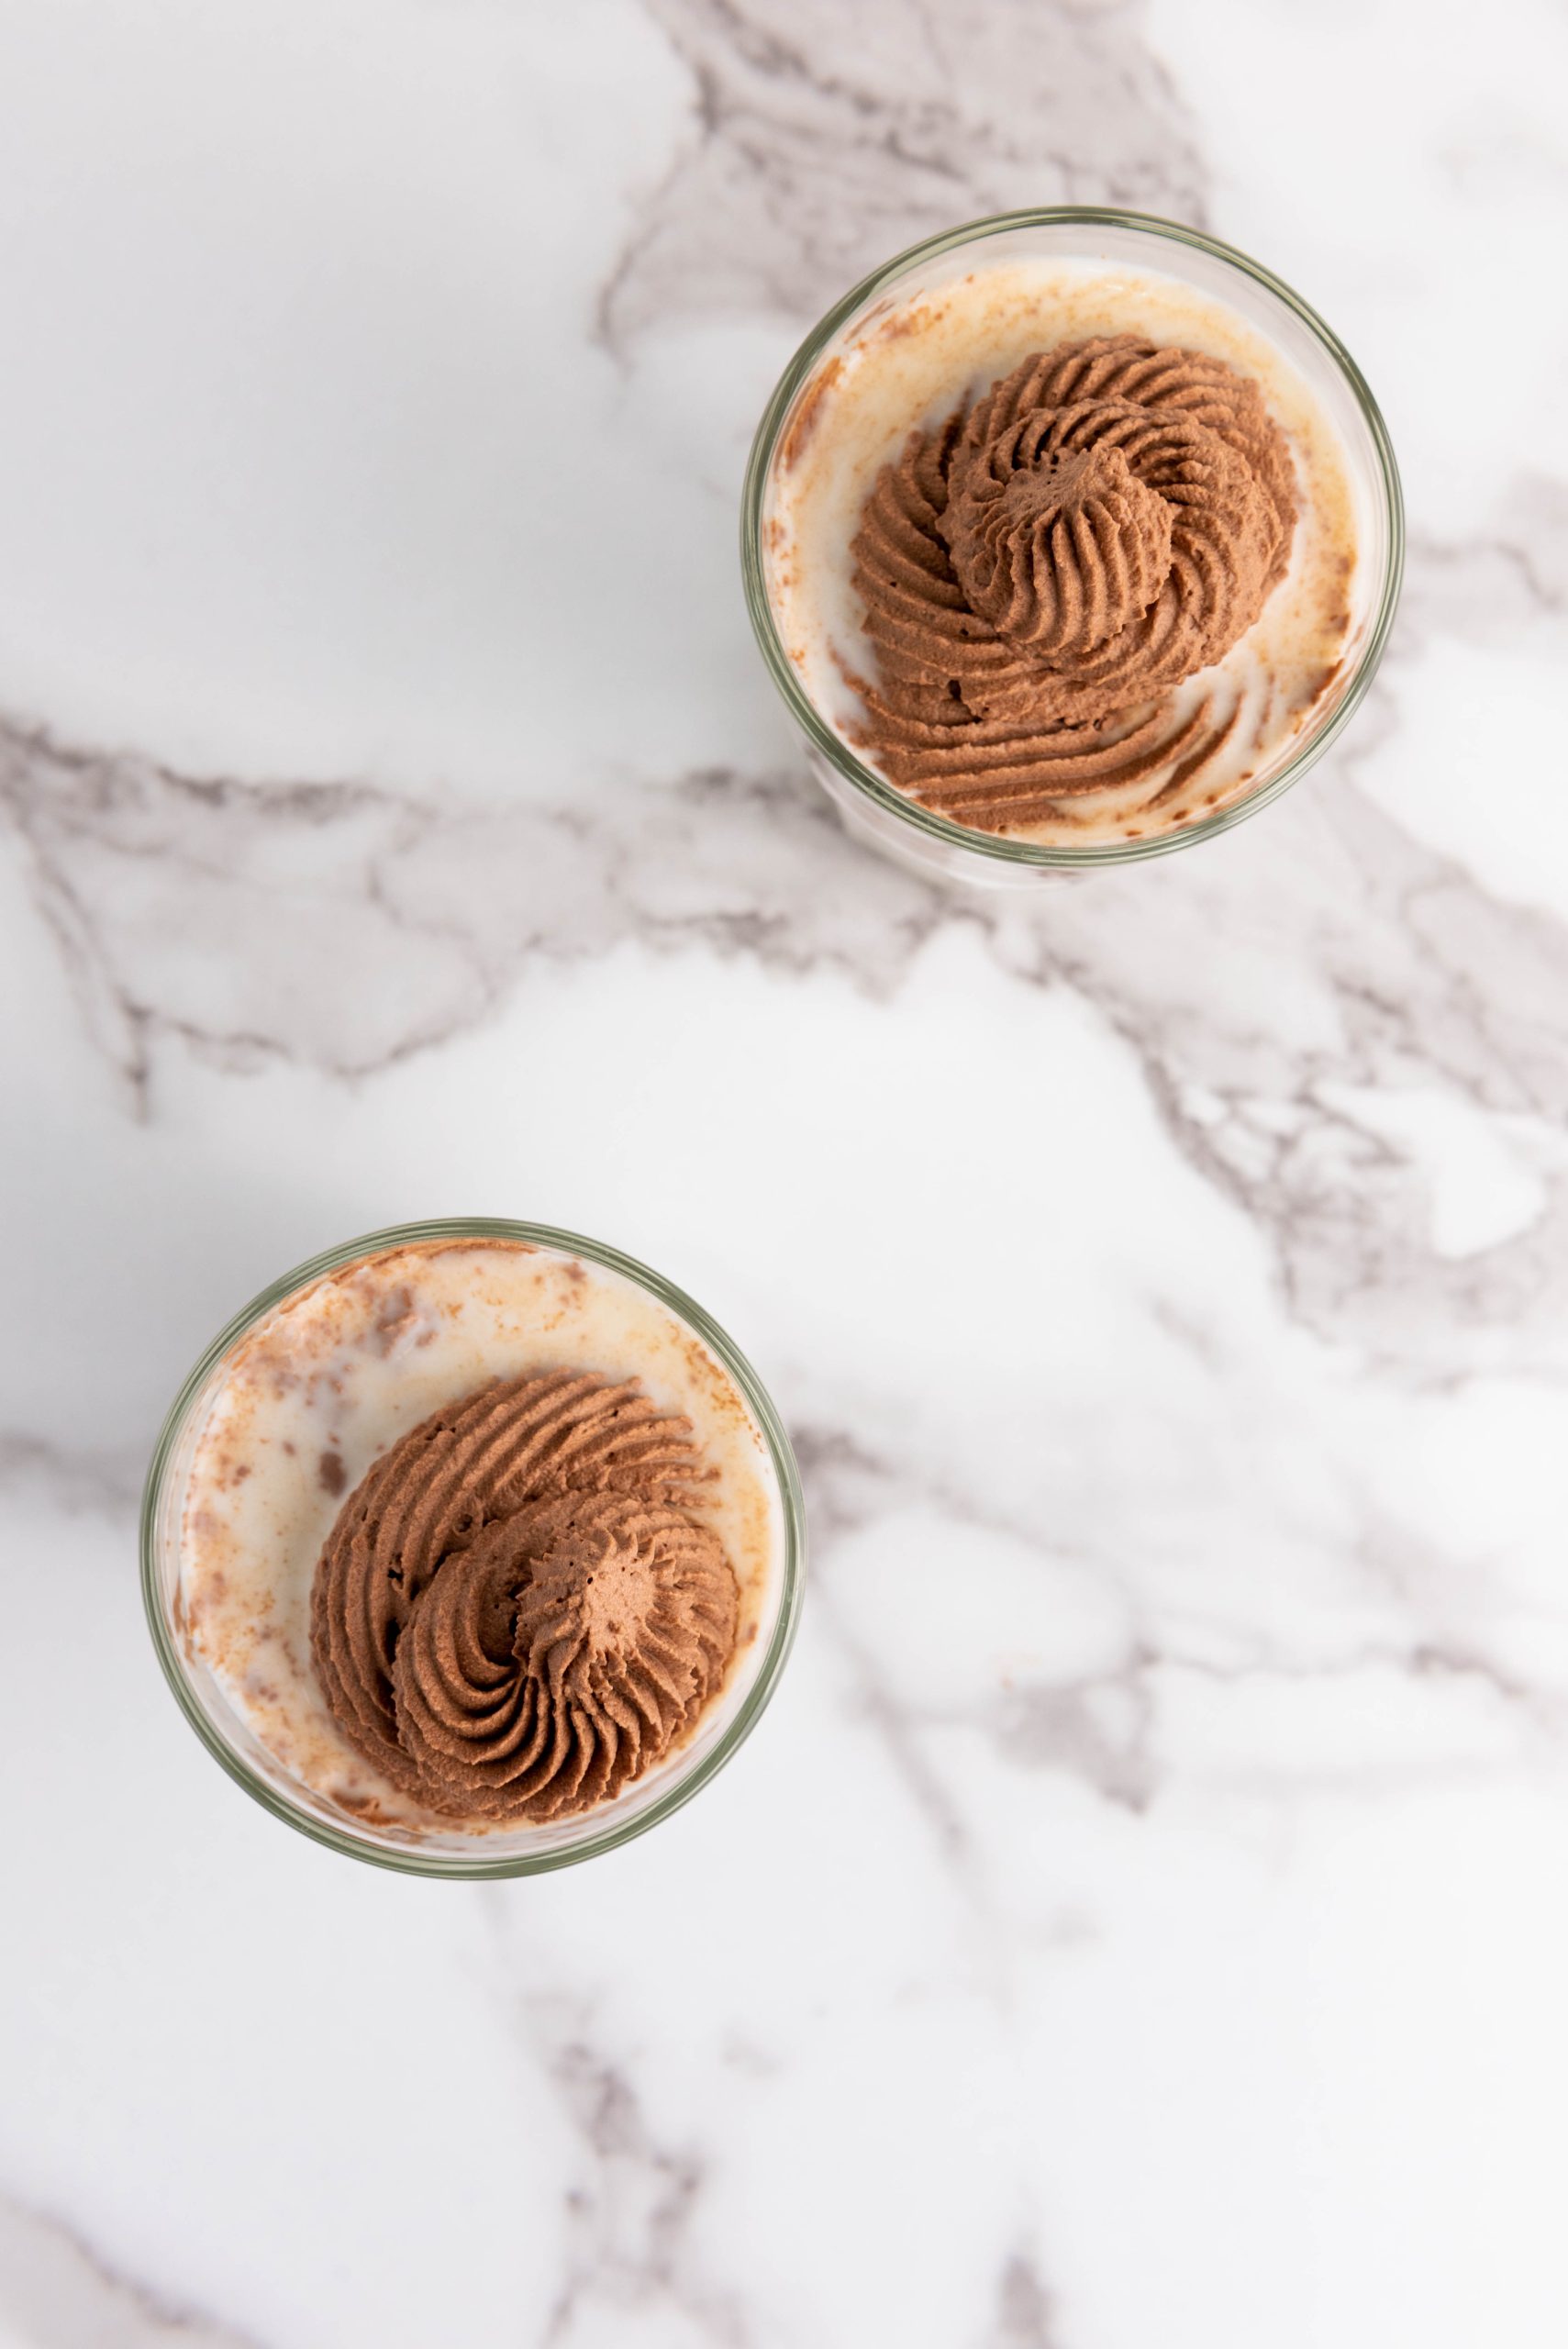
Pipe a generous swirl of the whipped chocolate cream on top of each glass of milk. You can make it as fancy or as rustic as you like.
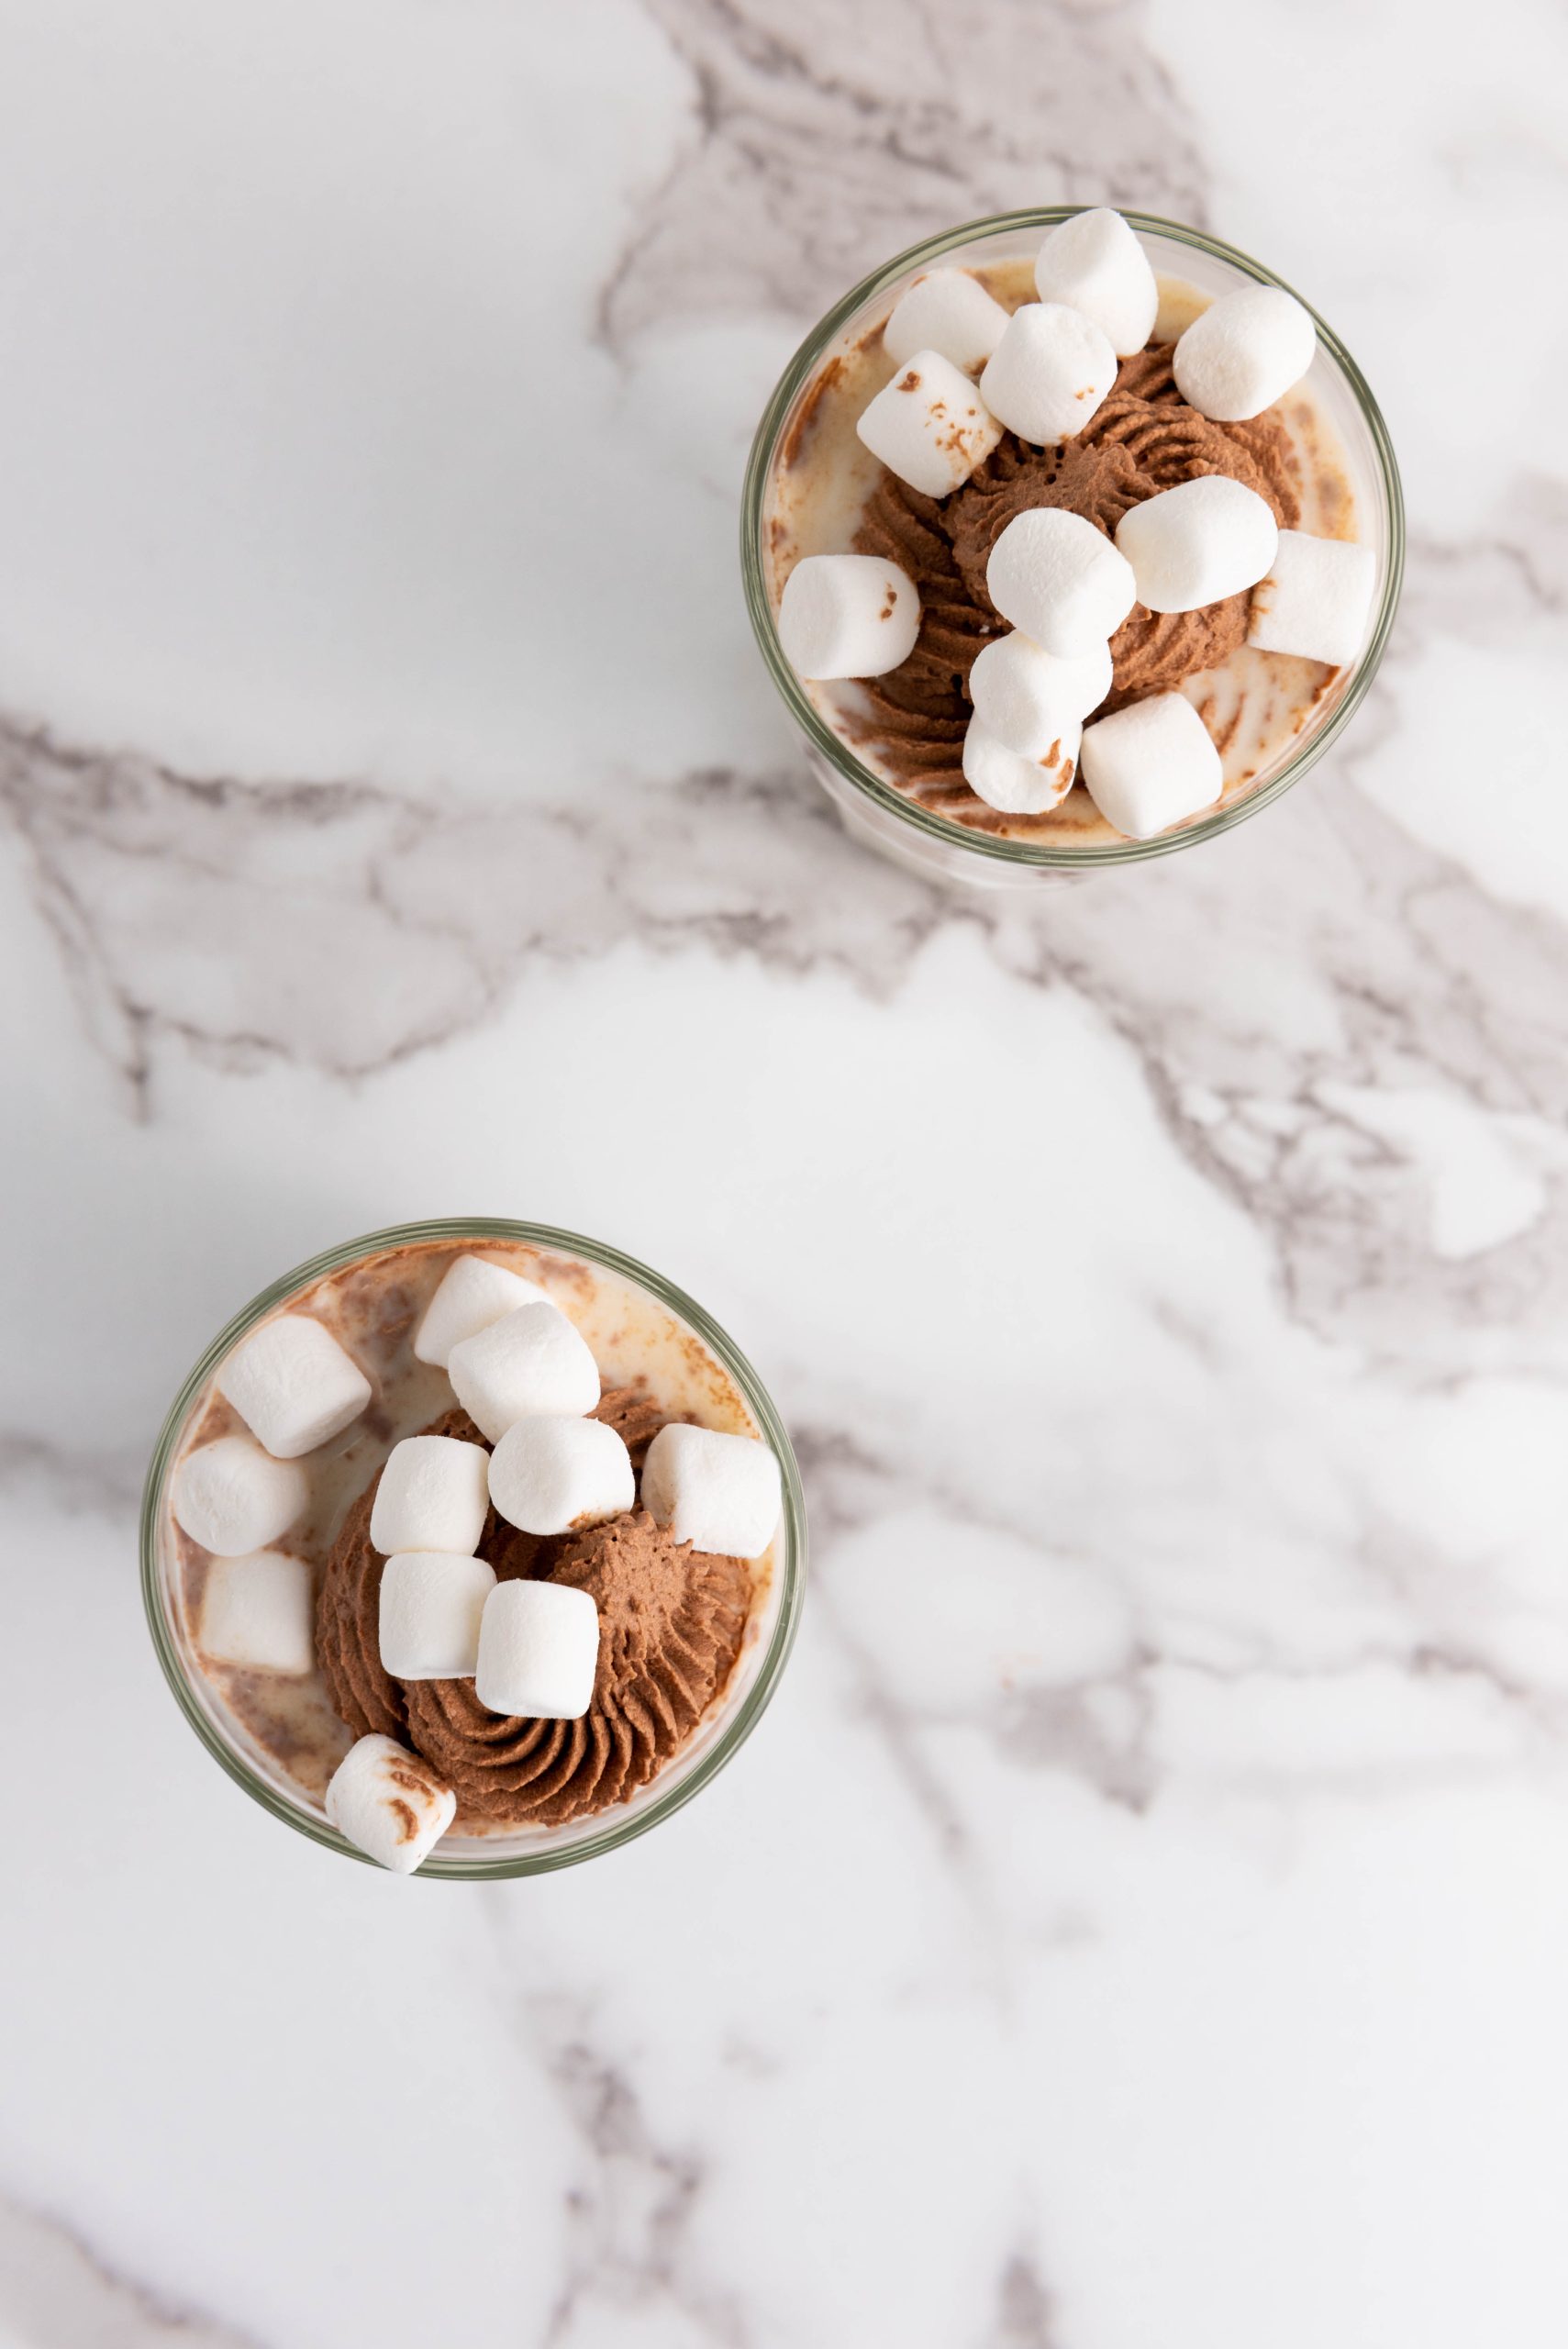
Garnish: Finish your whipped chocolate milk by garnishing it with mini marshmallows. You can sprinkle a few on top of the whipped cream for that extra touch of sweetness and texture.

🥄 Fun Twist Variations
- Strawberry Milk: This same recipe can be used with strawberry milk instead of chocolate.
- Mocha Delight: Add a shot of espresso or strong brewed coffee to the milk before whipping it up for a caffeine kick.
- Peppermint Twist: Mix in a few drops of peppermint extract to the chocolate mixture for a refreshing, minty version.
- Spice It Up: Introduce a pinch of cinnamon or chili powder to the mix for a warm spice that complements the chocolate.
- Sweet Toppings: Garnish your whipped chocolate milk with marshmallows, chocolate shavings, or a drizzle of caramel sauce for extra sweetness.
🍫 Decadent Pairings
- Cookies: Enjoy your whipped chocolate milk with some freshly baked cookies for the ultimate indulgence.
- Fruit: Serve alongside a bowl of fresh berries or sliced fruit to balance out the richness of the drink.
- Ice Cream: For an extra decadent treat, top your whipped chocolate milk with a scoop of your favorite ice cream.
🎉 Serve it Up
- Caffeine Fix: Enjoy a frothy cup of whipped chocolate milk as an alternative to your morning coffee or afternoon pick-me-up.
- Dessert Delight: Serve this dessert drink at parties, gatherings, or simply as a special treat after dinner.
- Relaxing Treat: Make yourself a cup of whipped chocolate milk, curl up with a book or movie, and indulge in some self-care.
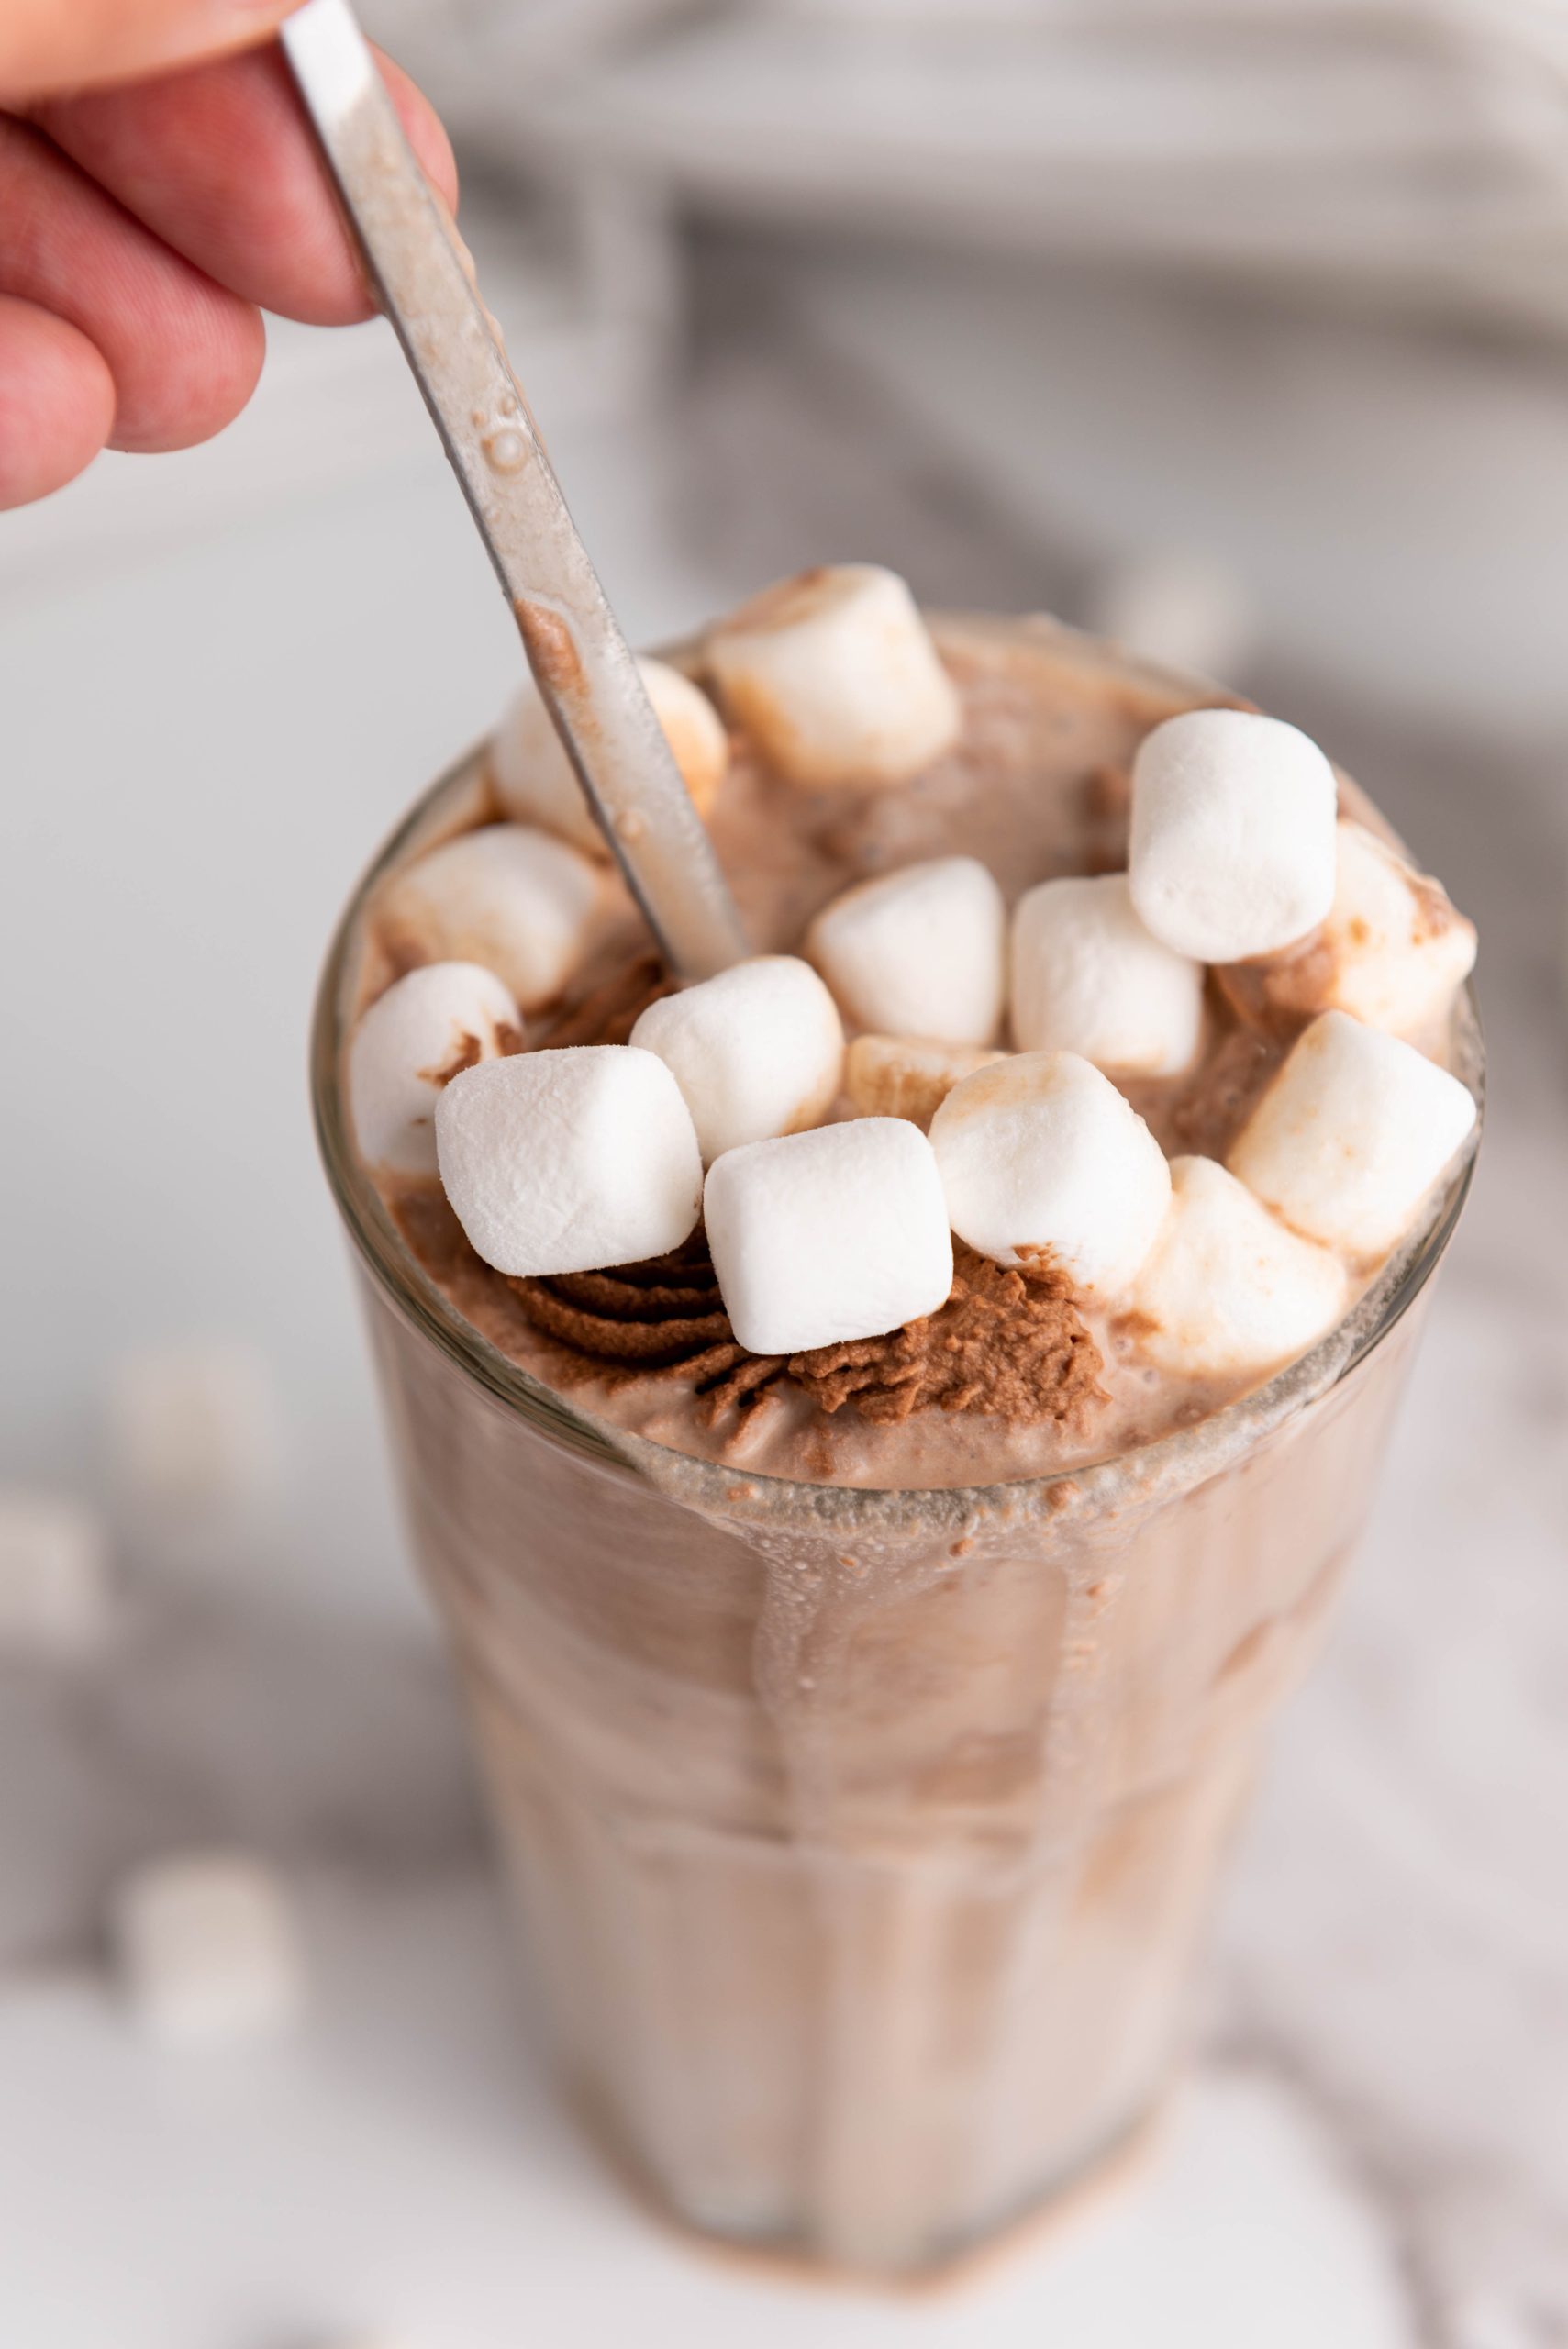
🌡️ Hot or Cold for Dalgona Chocolate Milk
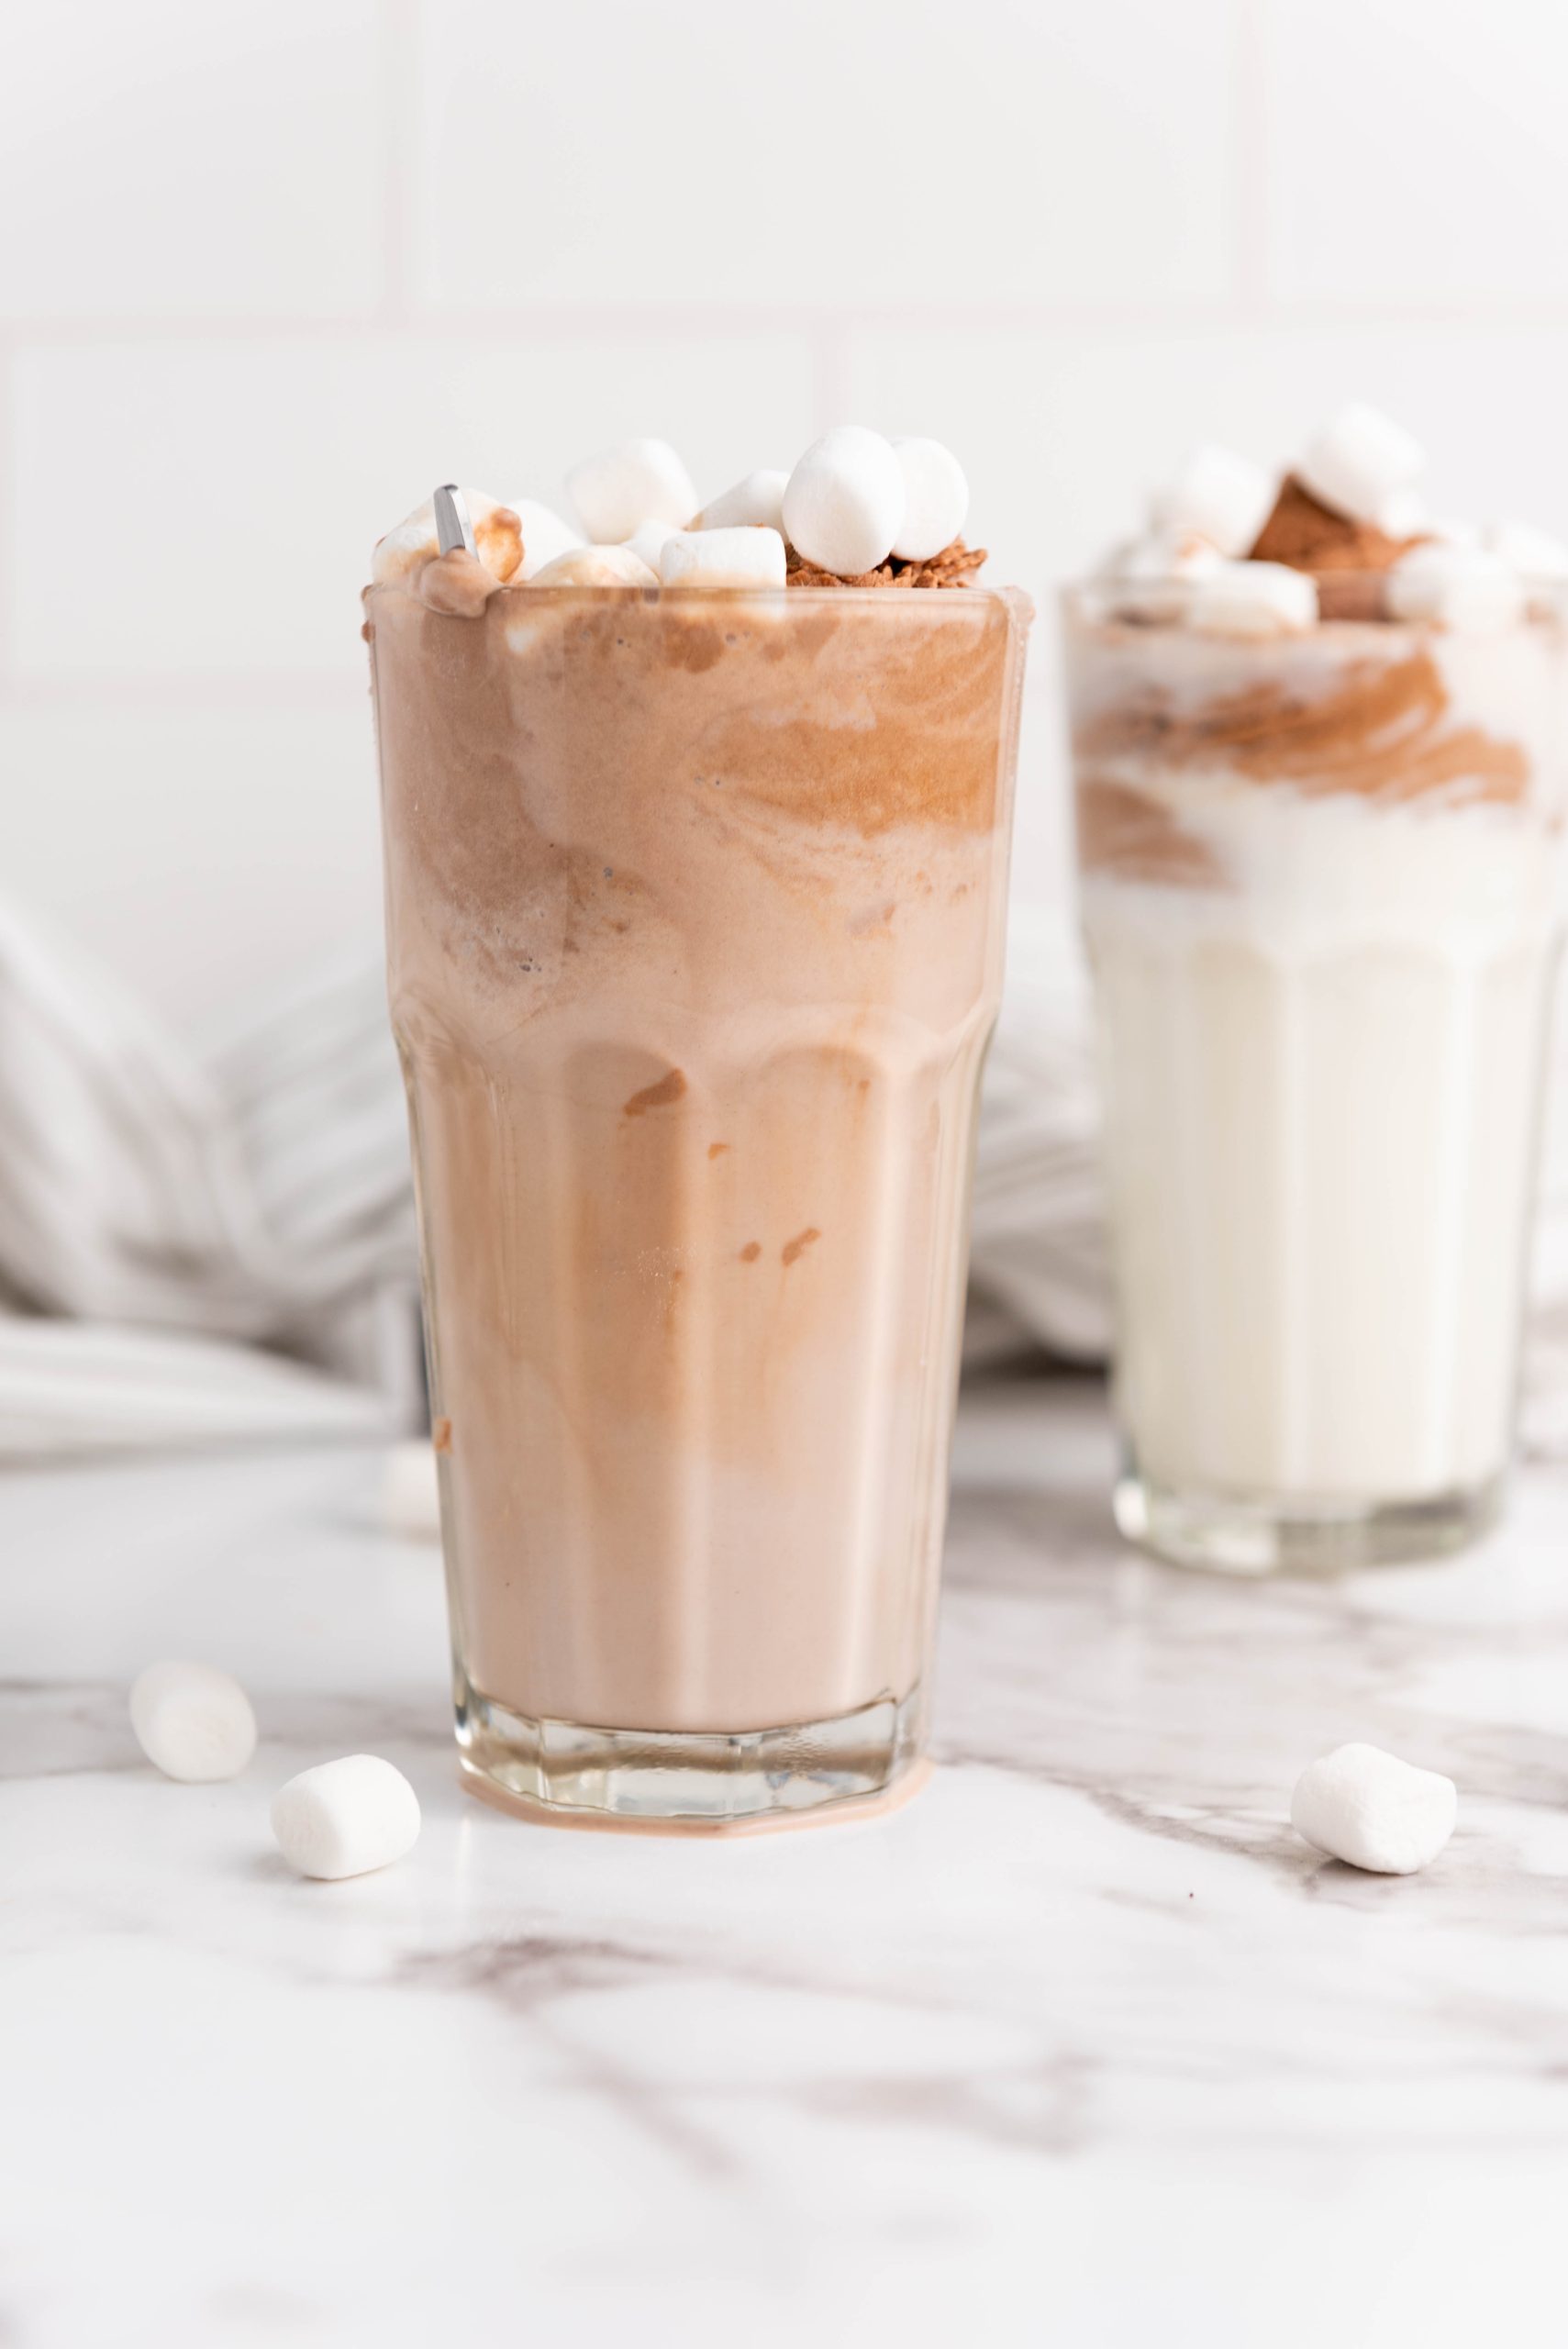
Hot Cocoa Alternative: The whipped hot chocolate recipe is made almost the same way but warm the milk for a frothy alternative to a traditional hot chocolate recipe.
Iced Whipped Chocolate Milk: For a refreshing summer treat, pour your whipped chocolate milk over ice cubes and top with whipped cream.
Frozen Drink: Blend together ice, whipped chocolate milk, and your favorite toppings for a frozen drink that will satisfy any sweet tooth.
Tip for Making the Perfect Whipped Chocolate Milk
Consistency is Key: To achieve the perfect frothiness, blend your mixture until it reaches a smooth, airy consistency. Avoid over-mixing, as it can lead to a denser texture that might detract from the lightness that makes whipped chocolate milk so delightful.
Adjust to Taste: Feel free to tweak the amount of sugar or chocolate according to your preference. The beauty of making whipped chocolate milk at home is the ability to customize it exactly to your liking.
Chill Your Tools: For an extra fluffy result, chill your mixing bowl and beaters in the freezer for about 15 minutes before you start. This trick helps in stabilizing the mixture faster, leading to an even more satisfying texture.
❔FAQs
Absolutely! If you do not have an electric mixer, you can use a whisk and a bit of elbow grease. The process may take longer, but it’s definitely possible to achieve a fluffy texture manually. Alternatively, a hand-held milk frother can also be a handy tool to whip up your chocolate milk.
Yes, with the right ingredients. To make a vegan-friendly version, simply use plant-based milk such as almond, soy milk, or coconut milk. Use coconut cream for whipping cream. For the chocolate part, ensure your cocoa powder or chocolate syrup is dairy-free. Sweeten with a vegan-friendly option if necessary.
Whipped chocolate milk is best enjoyed immediately after preparation to savor its frothy texture. However, if you find yourself with leftovers, you can store it in the refrigerator for up to 24 hours. Keep in mind, it may separate or lose some of its fluffiness, so a quick whisk or blend can help revive it.
📖More Recipes
Need to change the number of servings? You can click on the number of servings and change the number. This will adjust the ingredient measurements to what you need.
If you love this recipe, come back and give it 5 stars! ⭐️⭐️⭐️⭐️⭐️
Whipped Chocolate Milk
Ingredients
Directions
- Prepare the Whipped Chocolate Cream: In a mixing bowl, add the sugar, cocoa powder, and whipping cream.
- Whip the Mixture: Using a hand mixer or a whisk, beat the mixture until it reaches stiff peaks. This may take a few minutes. Be patient; the creamy, chocolatey goodness will be worth it!
- Prepare the Milk: Divide the 2 cups of milk equally between two serving glasses.
Add the Whipped Chocolate:
- Transfer the whipped chocolate cream to a piping bag fitted with a decorative tip of your choice. If you don’t have a piping bag, you can also use a zip-top bag and snip off a corner.
- Pipe a generous swirl of the whipped chocolate cream on top of each glass of milk. You can make it as fancy or as rustic as you like.
- Garnish: Finish your whipped chocolate milk by garnishing it with mini marshmallows. You can sprinkle a few on top of the whipped cream for that extra touch of sweetness and texture.



Leave a Reply