I love creating crafts out of items we have in our home. There is nothing better than making a craft our of reusable things we have around the house. Our super cute Toilet Paper Roll Tiger is adorable and a fun DIY to make with your kids!
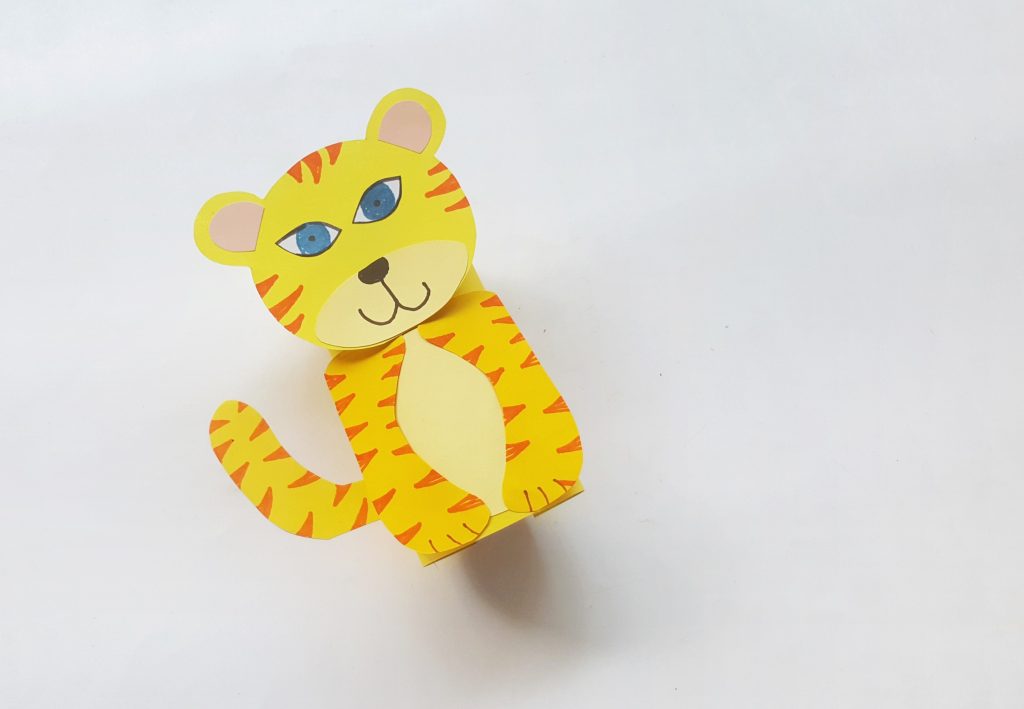
TOILET PAPER ROLL TIGER
Crafts are a great way to teach your little ones about math and science and help inspire their creativity.
This Tiger craft goes together quickly and is kid-friendly. They will love helping you make this paper craft.
If you enjoy doing DIYs with your kids, here are a few other ideas that your family might enjoy. My Homemade Glitter Slime is actually very easy to create and if your little ones love slime, then this is a craft they must make. If you are heading to beach or went there over vacation, then you know you need to do something with all of those shells. How about a Shell Covered Frame? Of course, if you have a little Unicorn fan, then you must make them a horn.
Before you get started on this craft, here are a few tips and suggestions.
WHAT SUPPLIES ARE NEEDED TO MAKE THIS CRAFT FROM RECYCABLE TOILET PAPER ROLLS
- Tissue Paper Roll – the main component for the craft.
- Colorful craft paper – any colors are fine. It’s totally up to you.
- Scissors – if the kids are using the scissors, make sure to use blunt-tip ones.
- Craft Glue – any type is fine.
- Pencil
- Ruler
- Marker Pens – any colors are fine.
ARE TOILET PAPER ROLLS UNSANITARY?
No, not really. There is shouldn’t be anything on the rolls and if they are soiled then you should throw the soiled ones away and use a clean one.
MORE CRAFT TUTORIALS
READY TO MAKE THIS CARDBOARD TIGER ROLL?
You can get the full printable tutorial as well as the supplies list below. Here are in-process photos as well as the steps in case you’d rather not print anything out.
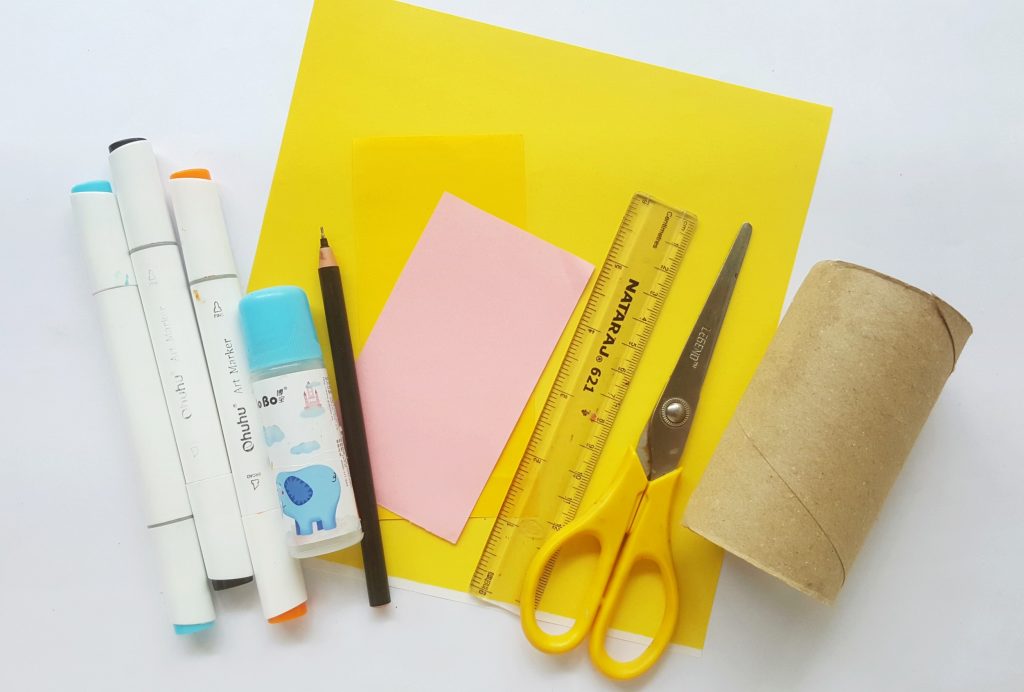
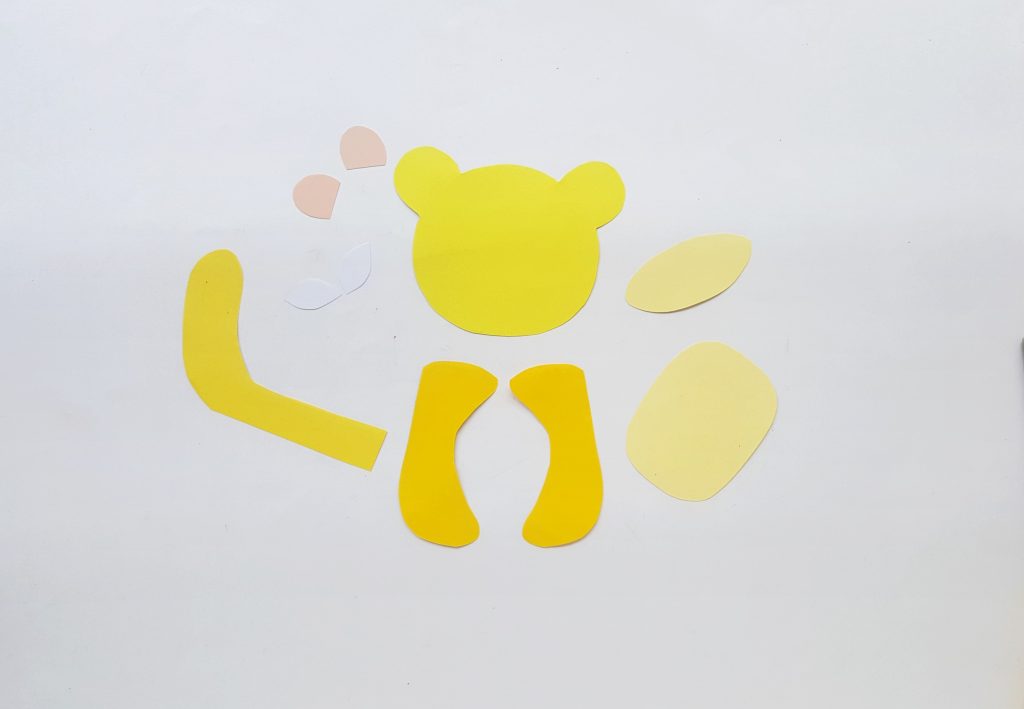
STEP 1: Print out the given PDF template, then cut out the pieces from the template using scissors and colorful craft papers.
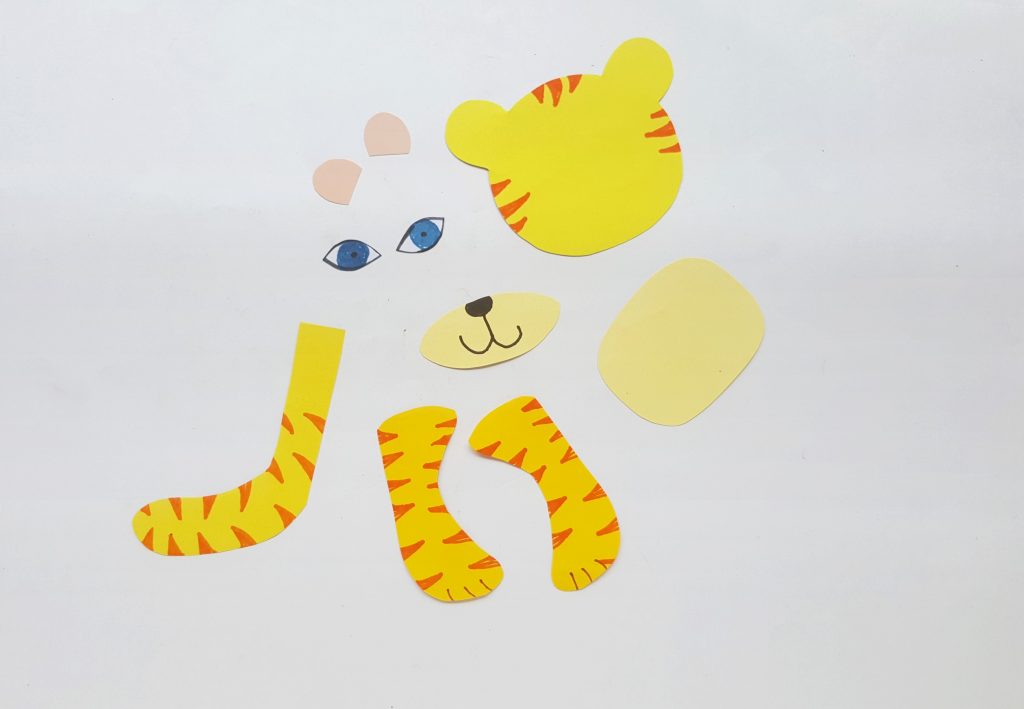
STEP 2: Use colorful marker pens to draw the tigers stripes and the eyes.
STEP 3: Now follow the numbers on the template and number on the instructions to glue the pieces together for the tiger.
Piece number 1 and 2 are the inner earpieces of the tiger, glue them on the tiger’s ears.
Then take piece number: 3, it’s the mouth for the tiger, glue it on the bottom side of the tiger’s head.
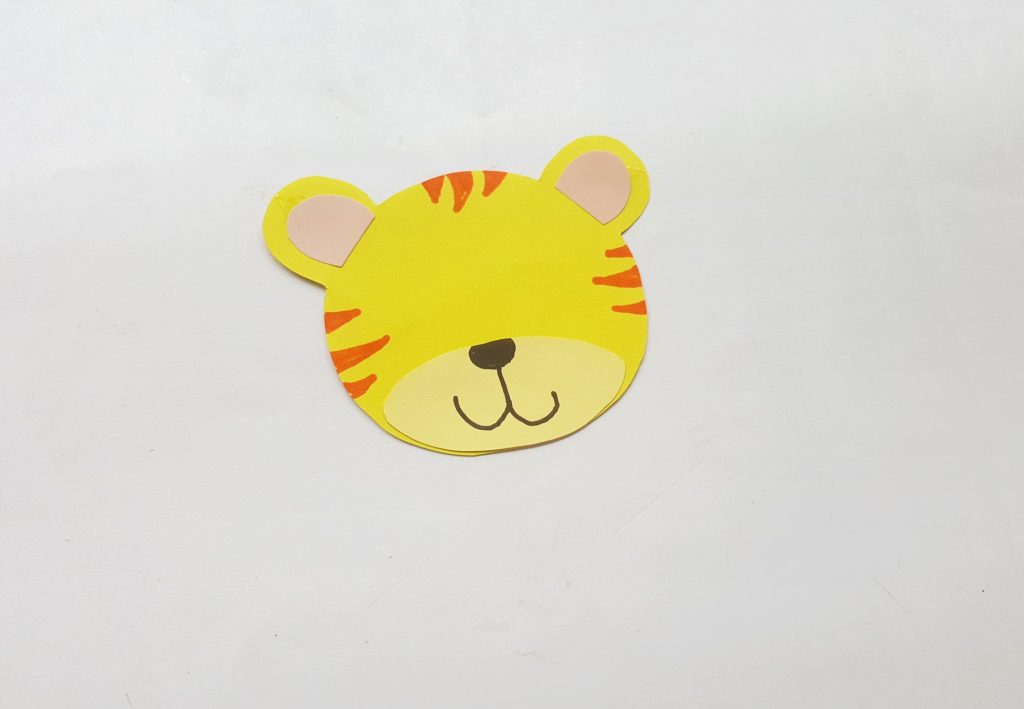
STEP 4: Then take piece number 4 and 5, these are the tiger’s eyes, glue them to finish the tiger’s face.
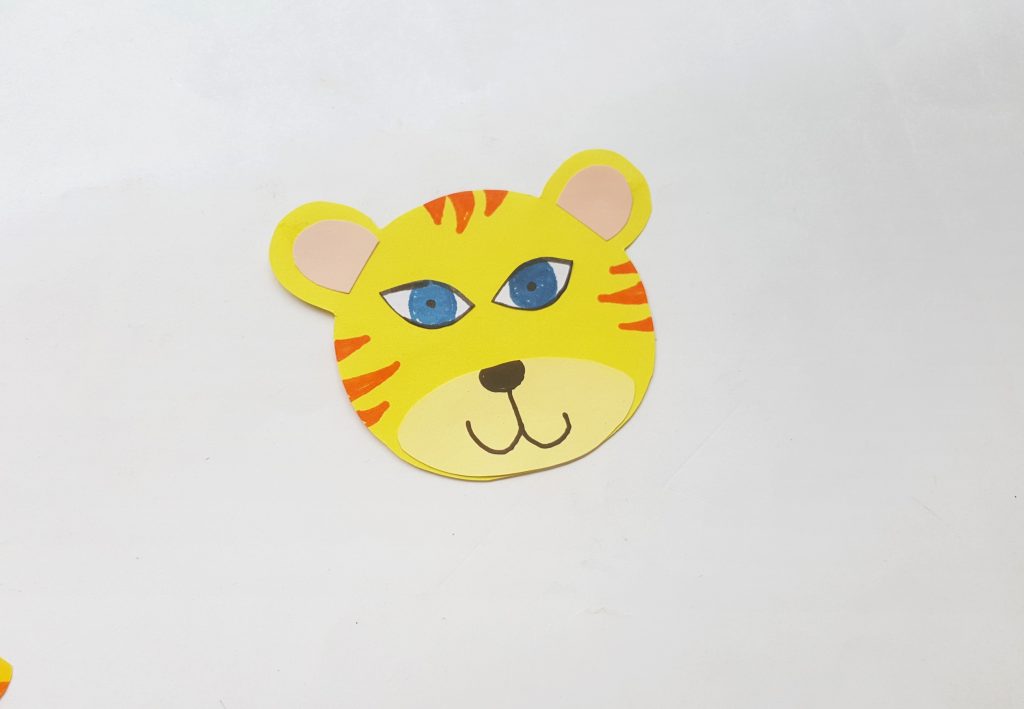
STEP 5: Cut out a yellow craft paper according to your tissue paper roll’s circumference and height. Roll it and glue it around the tissue paper roll.
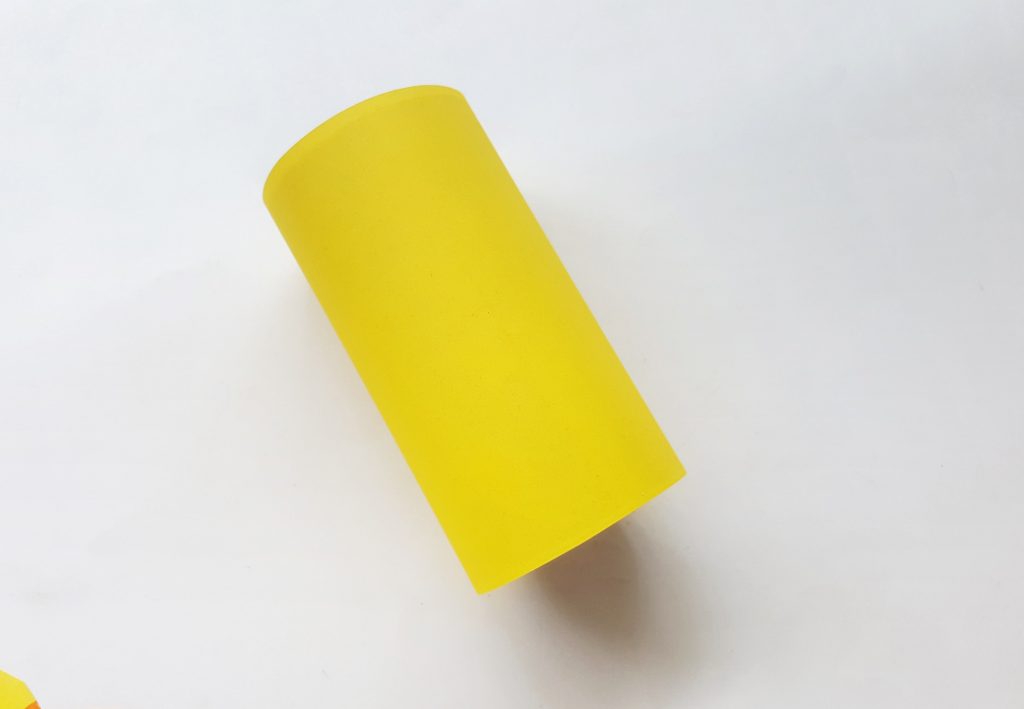
STEP 6: Now, take the piece number: 6 and glue it on the tissue paper roll.
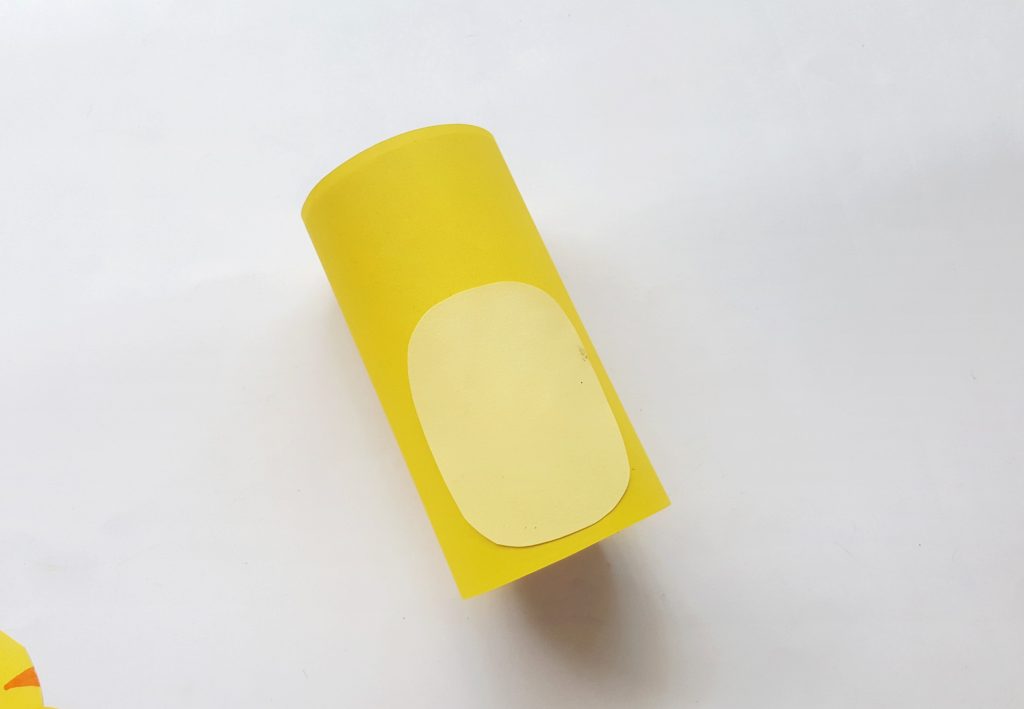
STEP 7: Now take both legs of the tiger (piece number: 7 and 8) and glue them on two sides of the tissue paper roll.
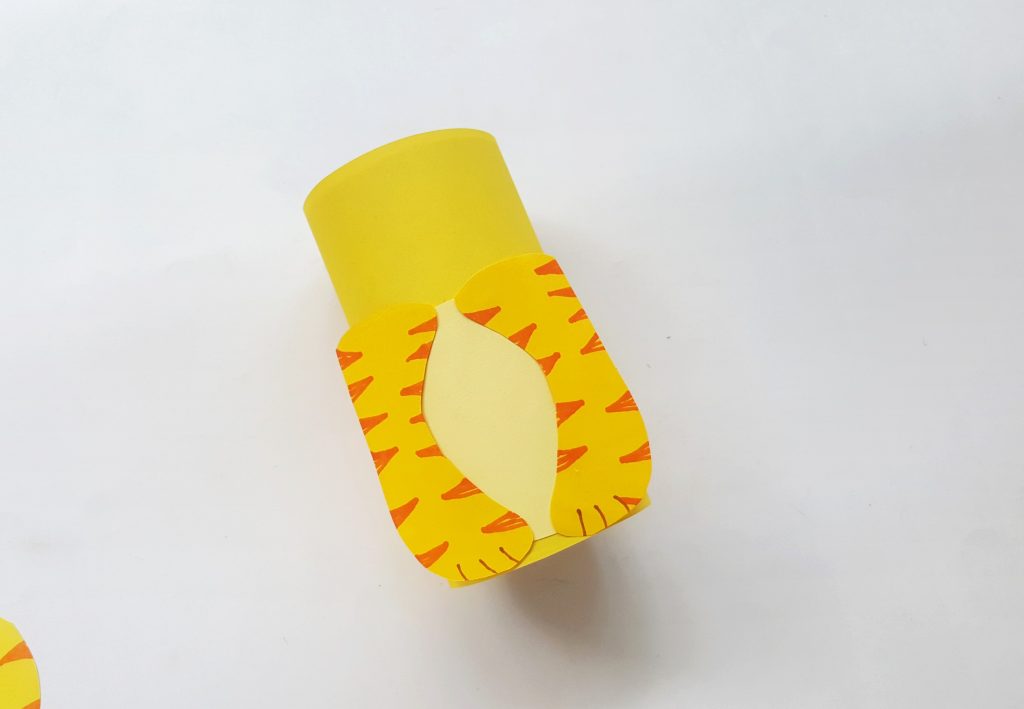
STEP 8: Now glue the tiger’s head on the top side of the tissue paper roll.
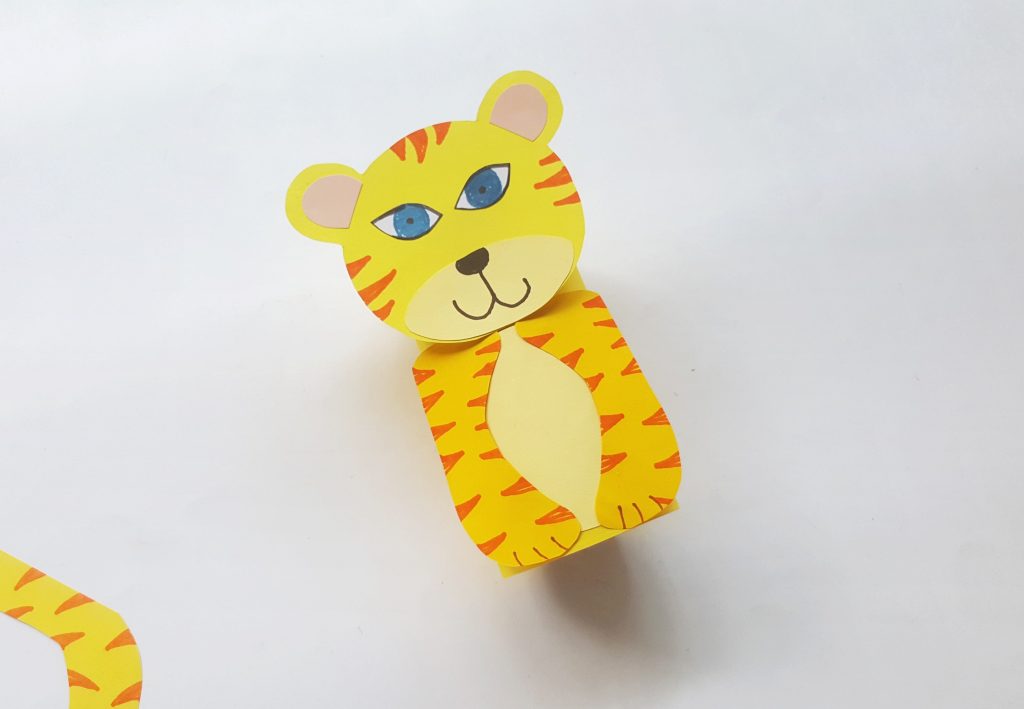
STEP 9: Finish it off by gluing the tiger’s tail (piece number: 9) on the backside of the tissue paper roll.
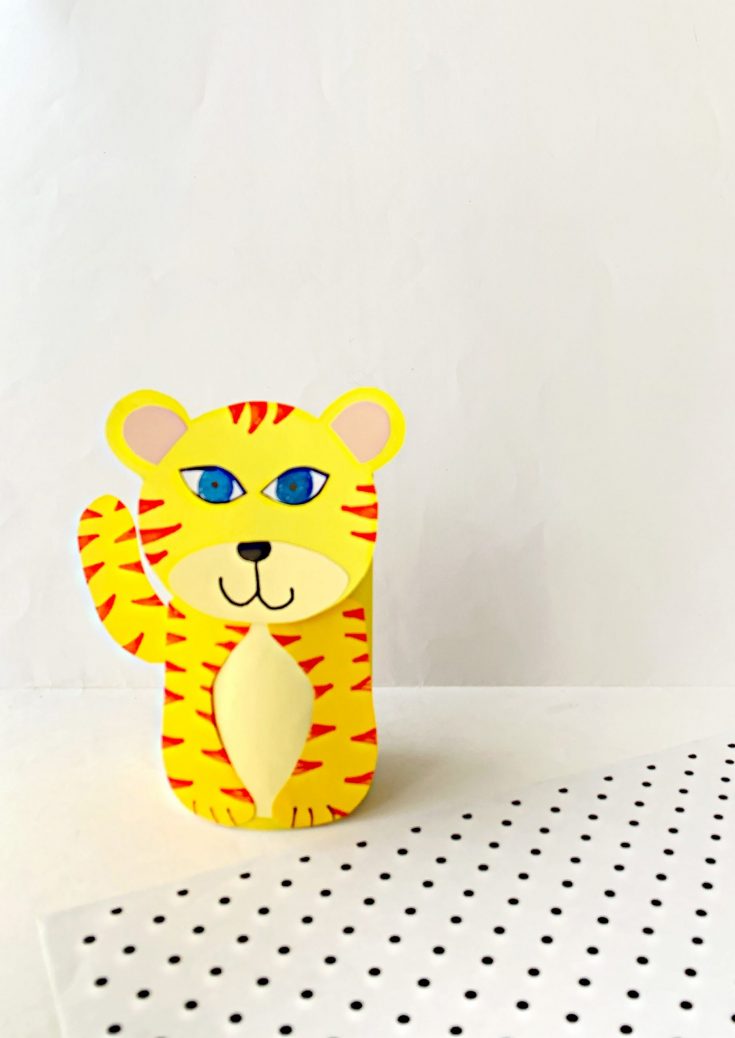
How to Make Your Own Toilet Paper Roll Tiger
I love creating crafts out of items we have in our home. There is nothing better than making a craft our of reusable things we have around the house. Our super cute Toilet Paper Roll Tiger is adorable and a fun DIY to make with your kids!
Materials
- Tissue Paper Roll - the main component for the craft.
- Colorful craft paper - any colors are fine. It's totally up to you.
- Scissors - if the kids are using the scissors, make sure to use blunt-tip ones.
- Craft Glue - any type is fine.
- Pencil
- Ruler
- Marker Pens - any colors are fine.
Instructions
Step 1:
Print out the given PDF template, then cut out the pieces from the template using scissors and colourful craft papers.
Step 2:
Use colorful marker pens to draw the tigers stripes and the eyes.
Step 3:
Now follow the numbers on the template and number on the instructions to glue the pieces together for the tiger.
Piece number 1 and 2 are the inner earpieces of the tiger, glue them on the tiger's ears.
Then take piece number: 3, it’s the mouth for the tiger, glue it on the bottom side of the tiger’s head.
Step 4:
Then take piece number 4 and 5, these are the tiger’s eyes, glue them to finish the tiger’s face.
Step 5:
Cut out a yellow craft paper according to your tissue paper roll’s circumference and height. Roll it and glue it around the tissue paper roll.
Step 6:
Now, take the piece number: 6 and glue it on the tissue paper roll.
Step 7:
Now take both legs of the tiger (piece number: 7 and 8) and glue them on two sides of the tissue paper roll.
Step 8:
Now glue the tiger’s head on the top side of the tissue paper roll.
Step 9:
Finish it off by glueing the tiger’s tail (piece number: 9) on the backside of the tissue paper roll.
.





Leave a Reply