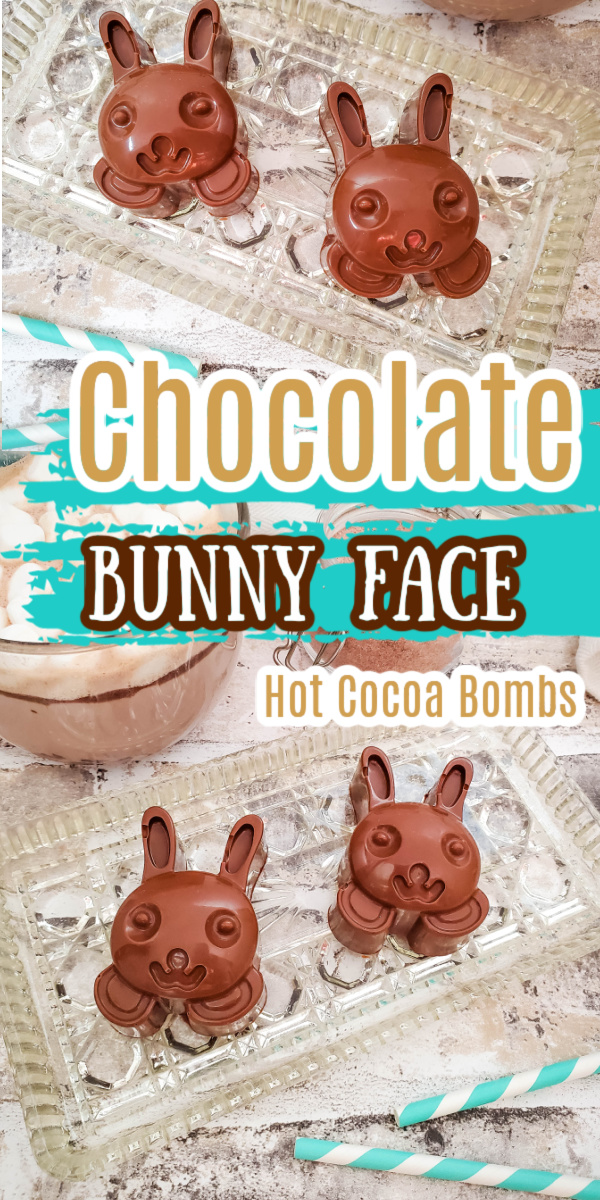
Hot Cocoa Bombs are all of the rage right now so of course, you need some for Easter! These Chocolate Bunny Face Cocoa Bombs are adorable and the perfect addition to your Easter beverage station. It’s never the wrong time of the year to enjoy a delicious cup of warm hot cocoa.
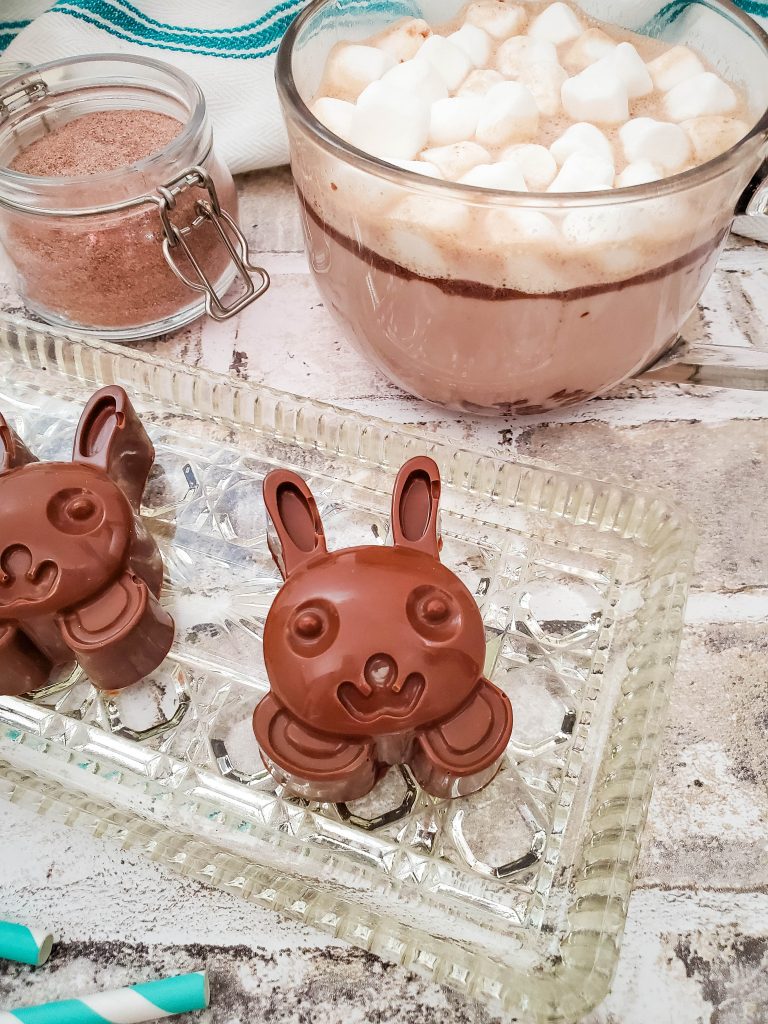
Chocolate Bunny Face Cocoa Bombs
Making hot chocolate bombs doesn’t take long at all. This fun treat is kid-friendly and it’s a great way to get the kids involved in the kitchen.
If you haven’t started on this new hot chocolate trend, now is the time! We have created Chinese New Year Hot Chocolate Bombs, St. Patrick’s Hot Chocolate Bombs and Valentine’s Hot Chocolate Bombs. Of course, you can use any of these recipes to make your own unique hot cocoa bombs too. Simply just change out the sprinkles.
FAQ About the Recipe
What type of chocolate works best when creating hot chocolate bombs?
How long do hot cocoa bombs last?
How to store hot cocoa bombs
Ingredients Needed
You will find the exact measurements in the recipe card at the end of the post.
- Chocolate melting wafers – either wafers or melts will work
- Hot cocoa powder – either store-bought or a couple of tbsps. of a homemade hot chocolate recipe.
- Mini marshmallows – of course you need marshmallows.
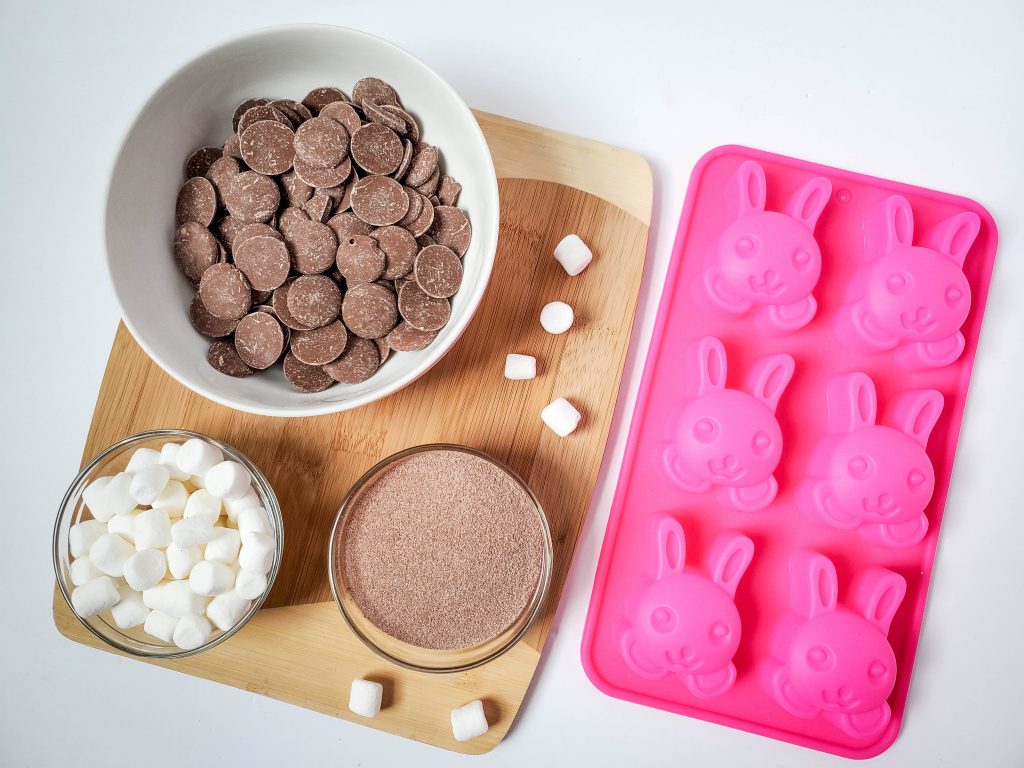
How to Make Chocolate Bunny Face Hot Cocoa Bombs
The complete list of instructions as well as the ingredients are listed below in the printable recipe card. I have included in-process photos for your reference.
Step 1: Add the candy melts into a microwave safe bowl and heat until they are melted. Set the timer for 30 second intervals and stir between each interval until they have all melted. Make sure to NOT overcook the chocolate.
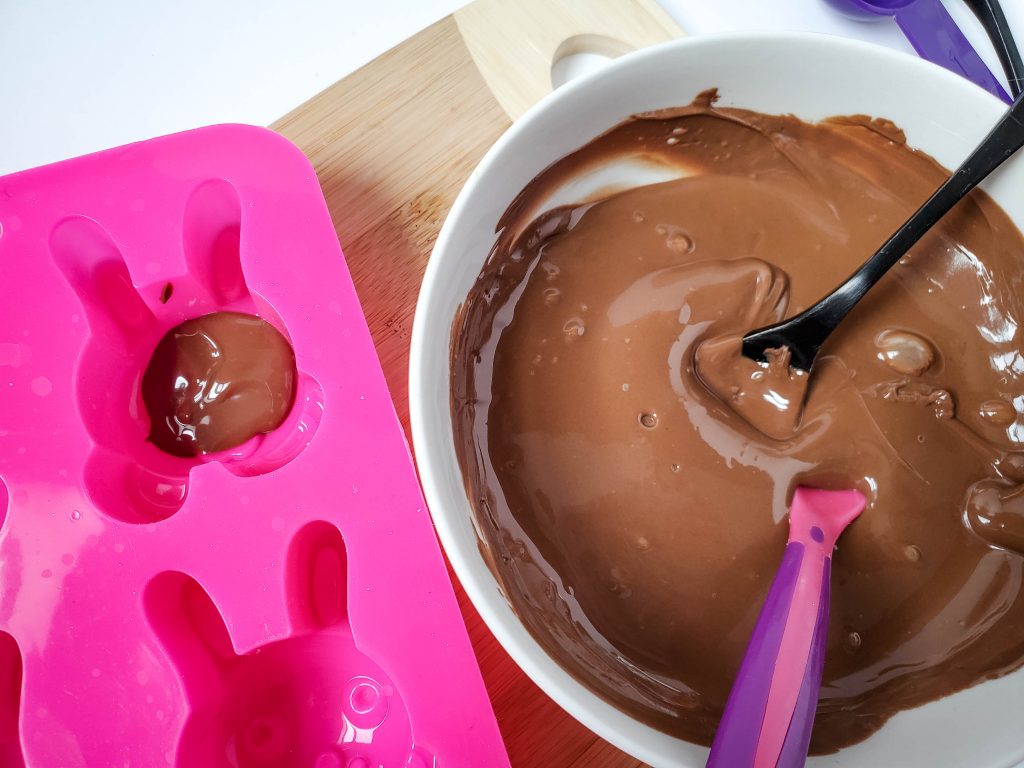
Step 2: With a tablespoon, add the melted chocolate in each cavity mold.
Step 3: When the mold is full, place it in the freezer for 5 – 10 minutes so the chocolate can set.
Step 4: Repeat the 2nd and 3rd step to get your second set of faces.
Step 5: Pour remaining chocolate that you melted into a pastry or Ziploc bag.
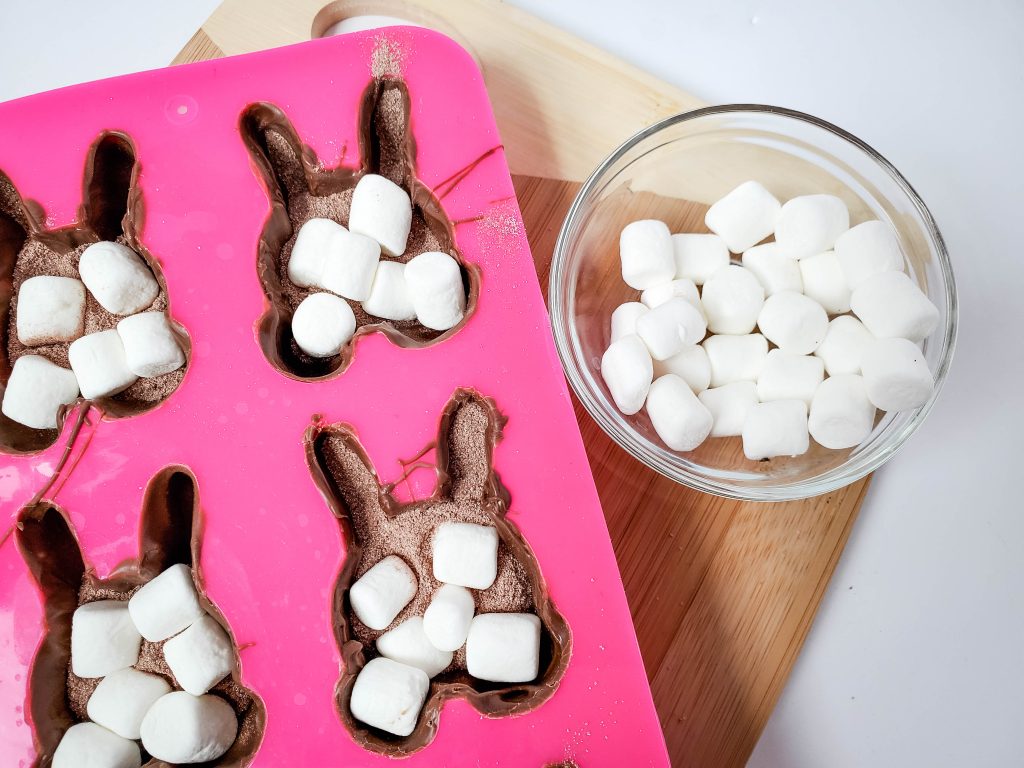
Step 6: Remove the molds from the freezer and fill with the cocoa mix and the mini marshmallows.
Step 7: Heat the Ziploc bag of chocolate if needed then snip the corner off with a pair of scissors.
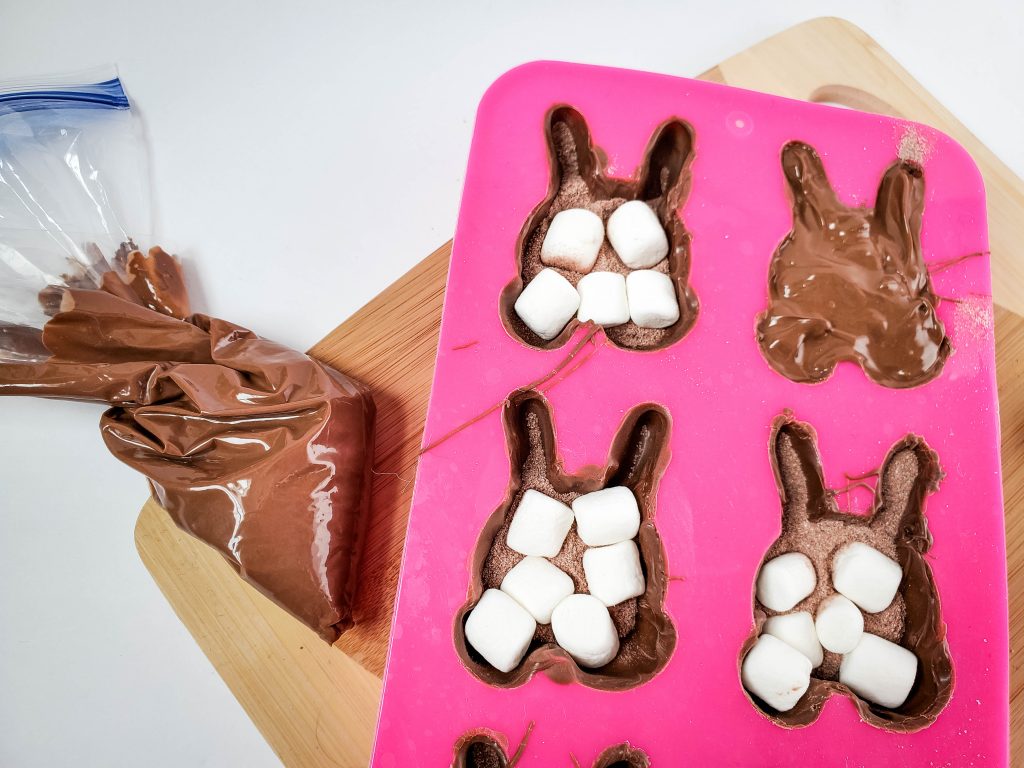
Step 8: Drizzle the chocolate over the back of the faces so that you completely cover the cocoa and the marshmallows.
Step 9: To serve, place the face in a large coffee mug and pour 6 ozs. of milk or hot water into the mug. Stir and enjoy.
Related Recipes
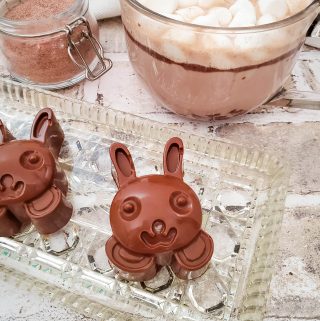
Chocolate Bunny Face Hot Cocoa Bombs
Ingredients
- 12 oz chocolate melting wafers
- 6 tbsp. hot cocoa powder
- 1/2 c mini marshmallows
Directions
- Pour the chocolate melting wafers into a microwave safe bowl and heat in the microwave for 30 second intervals, stirring well after each heat session, until the chocolate is fully melted. Make sure to NOT overcook the chocolate or you will have to start over.
- Using a tablespoon, spoon the chocolate into each mold cavity and coat the entire cavity of the mold.
- Once the mold is full, place the chocolate coated mold into the freezer for 5 minutes.
- Repeat steps 2 and 3 with a second coat of chocolate, and pour remaining melted chocolate into a pastry or Ziploc bag.
- Remove the chocolate coated mold from the freezer and fill each of the cavities with 1 tablespoon of the cocoa mix and a few mini marshmallows. You will need to gently push the marshmallows down slightly, so that they are not above the top of the sides.
- Heat the bag of chocolate (if needed) for 10-30 seconds or until melted again. Snip the corner off the bag with a pair of scissors.
- Drizzle chocolate into the mold to fill the rest of the mold while making sure to cover the cocoa and marshmallows.
- To serve this fun hot chocolate sphere, place the cocoa bomb into a mug, then pour 6 ounces of hot water or milk over the cocoa bomb. Stir well and enjoy!
Notes
- Bunny face mold
- measuring cups, measuring spoons, small spoon or pastry brush, pastry bag or ziplock bag, small microwave safe bowl for melting candy


Leave a Reply