
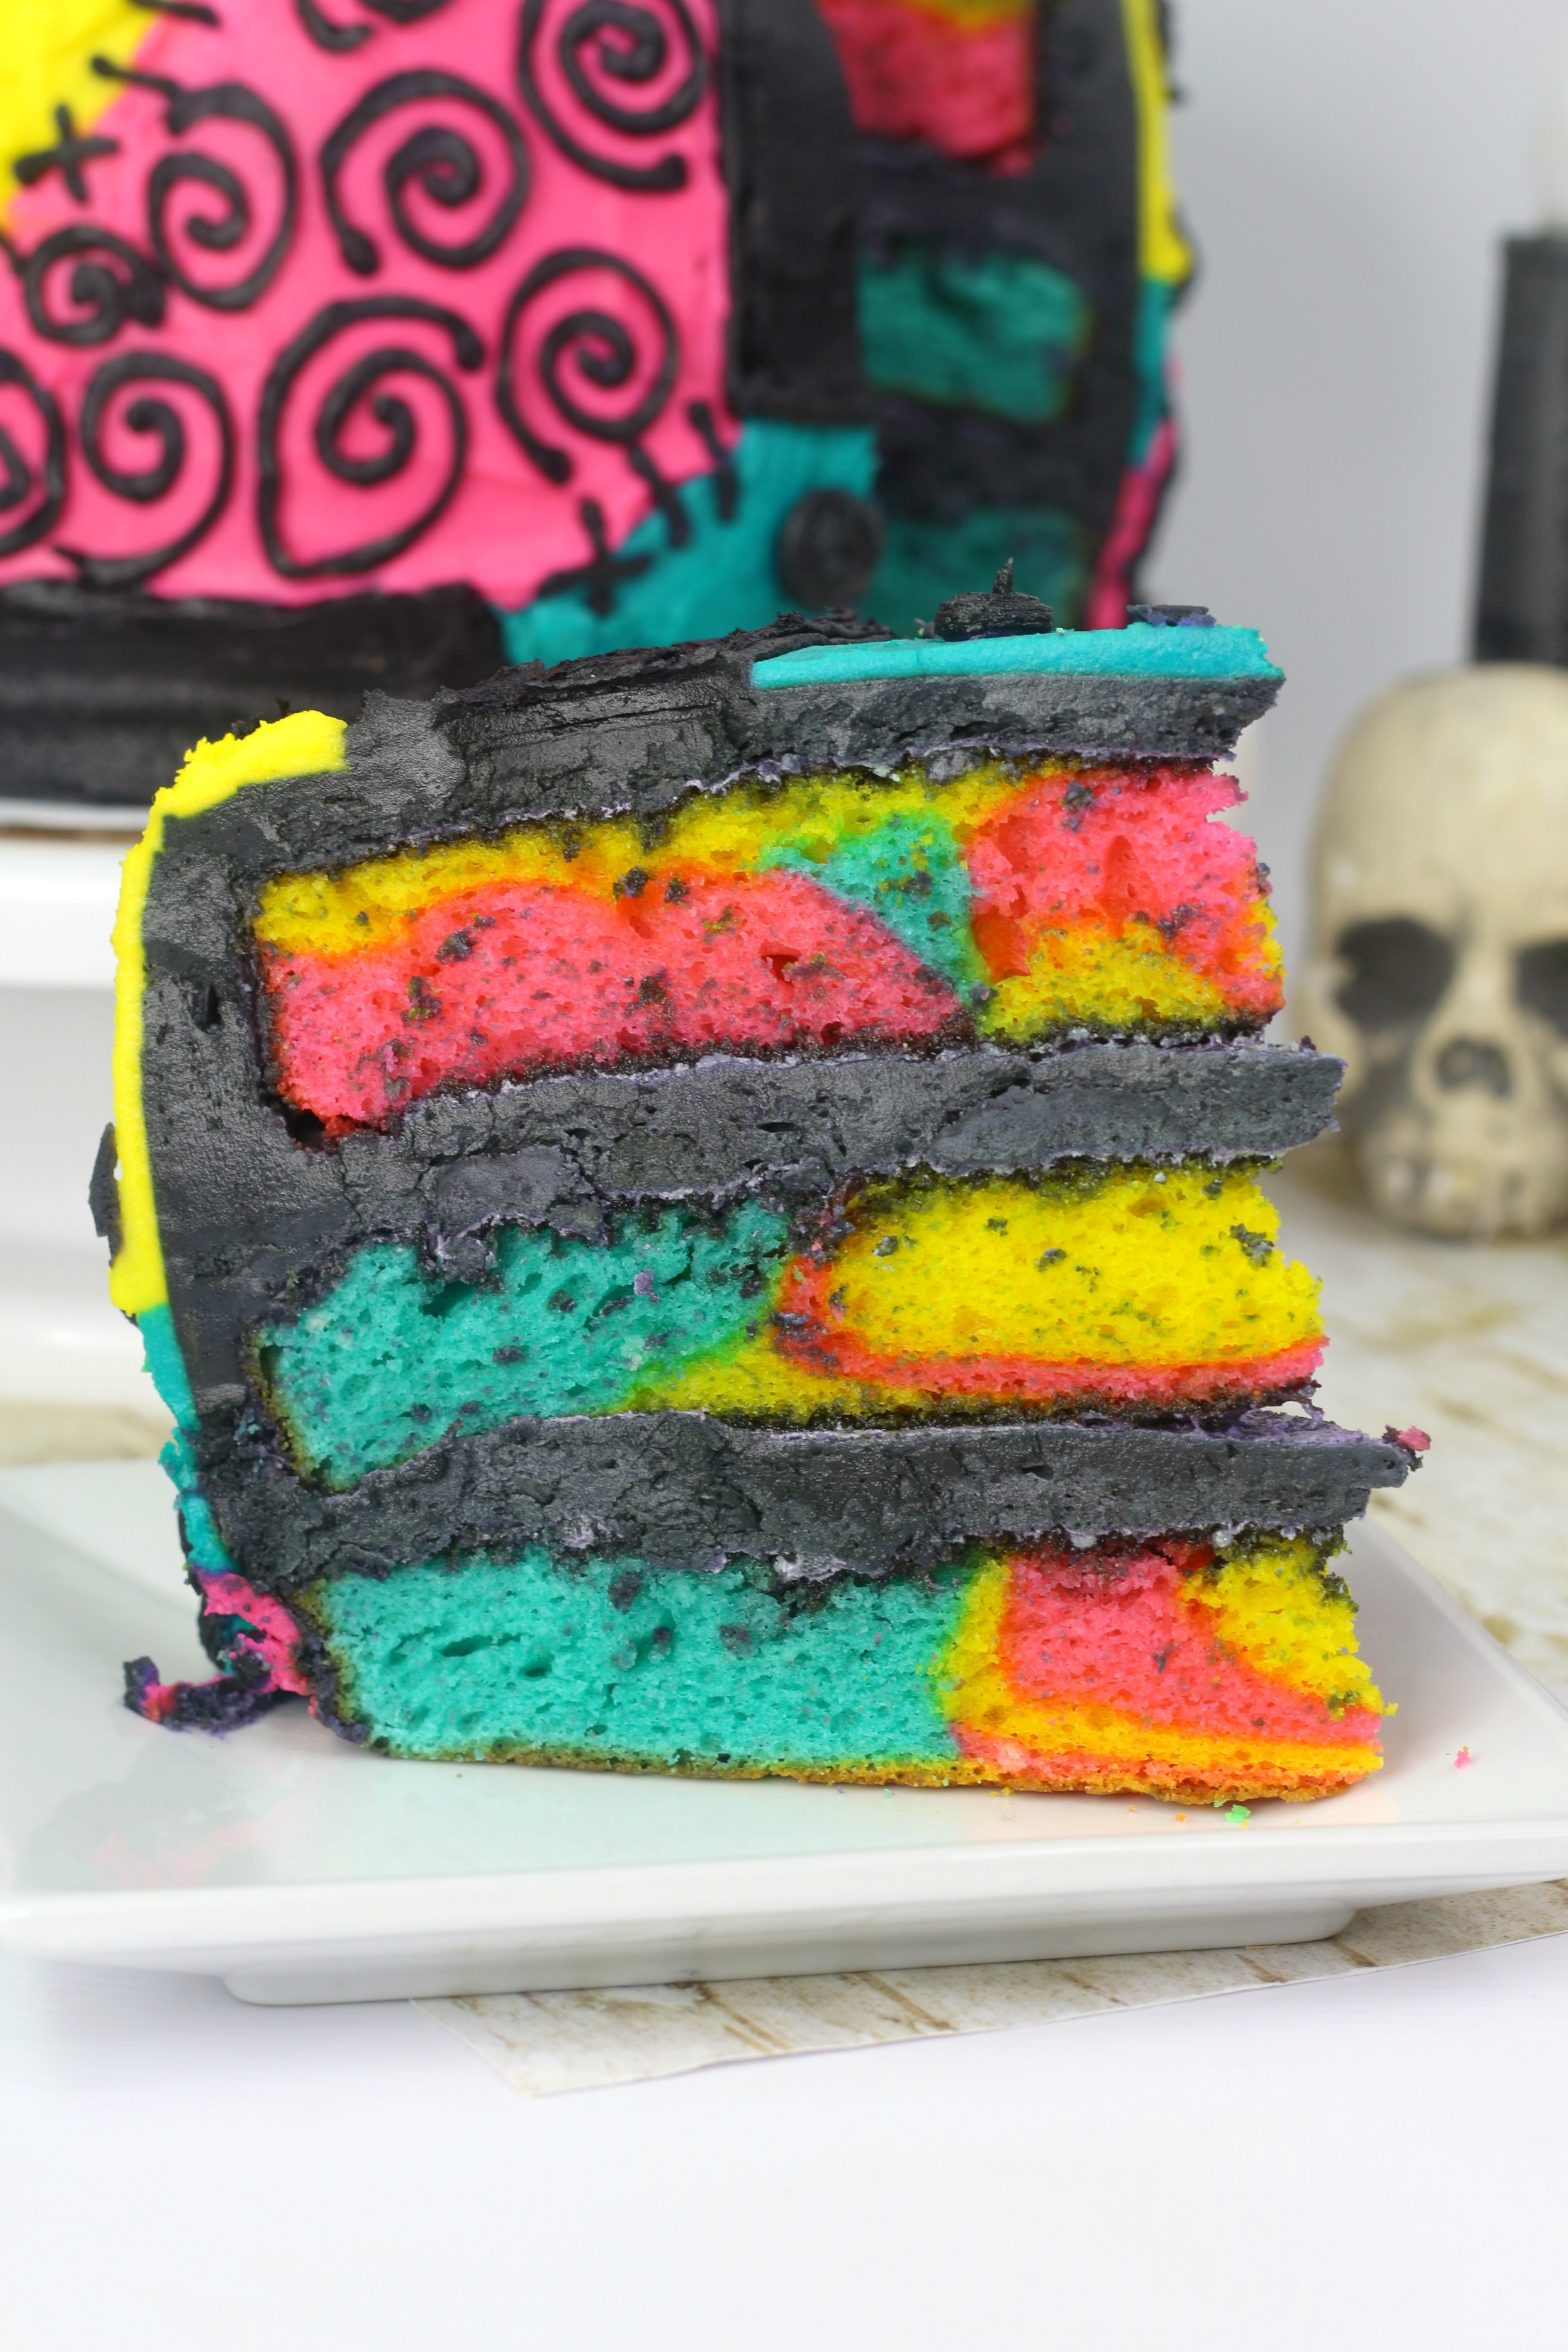
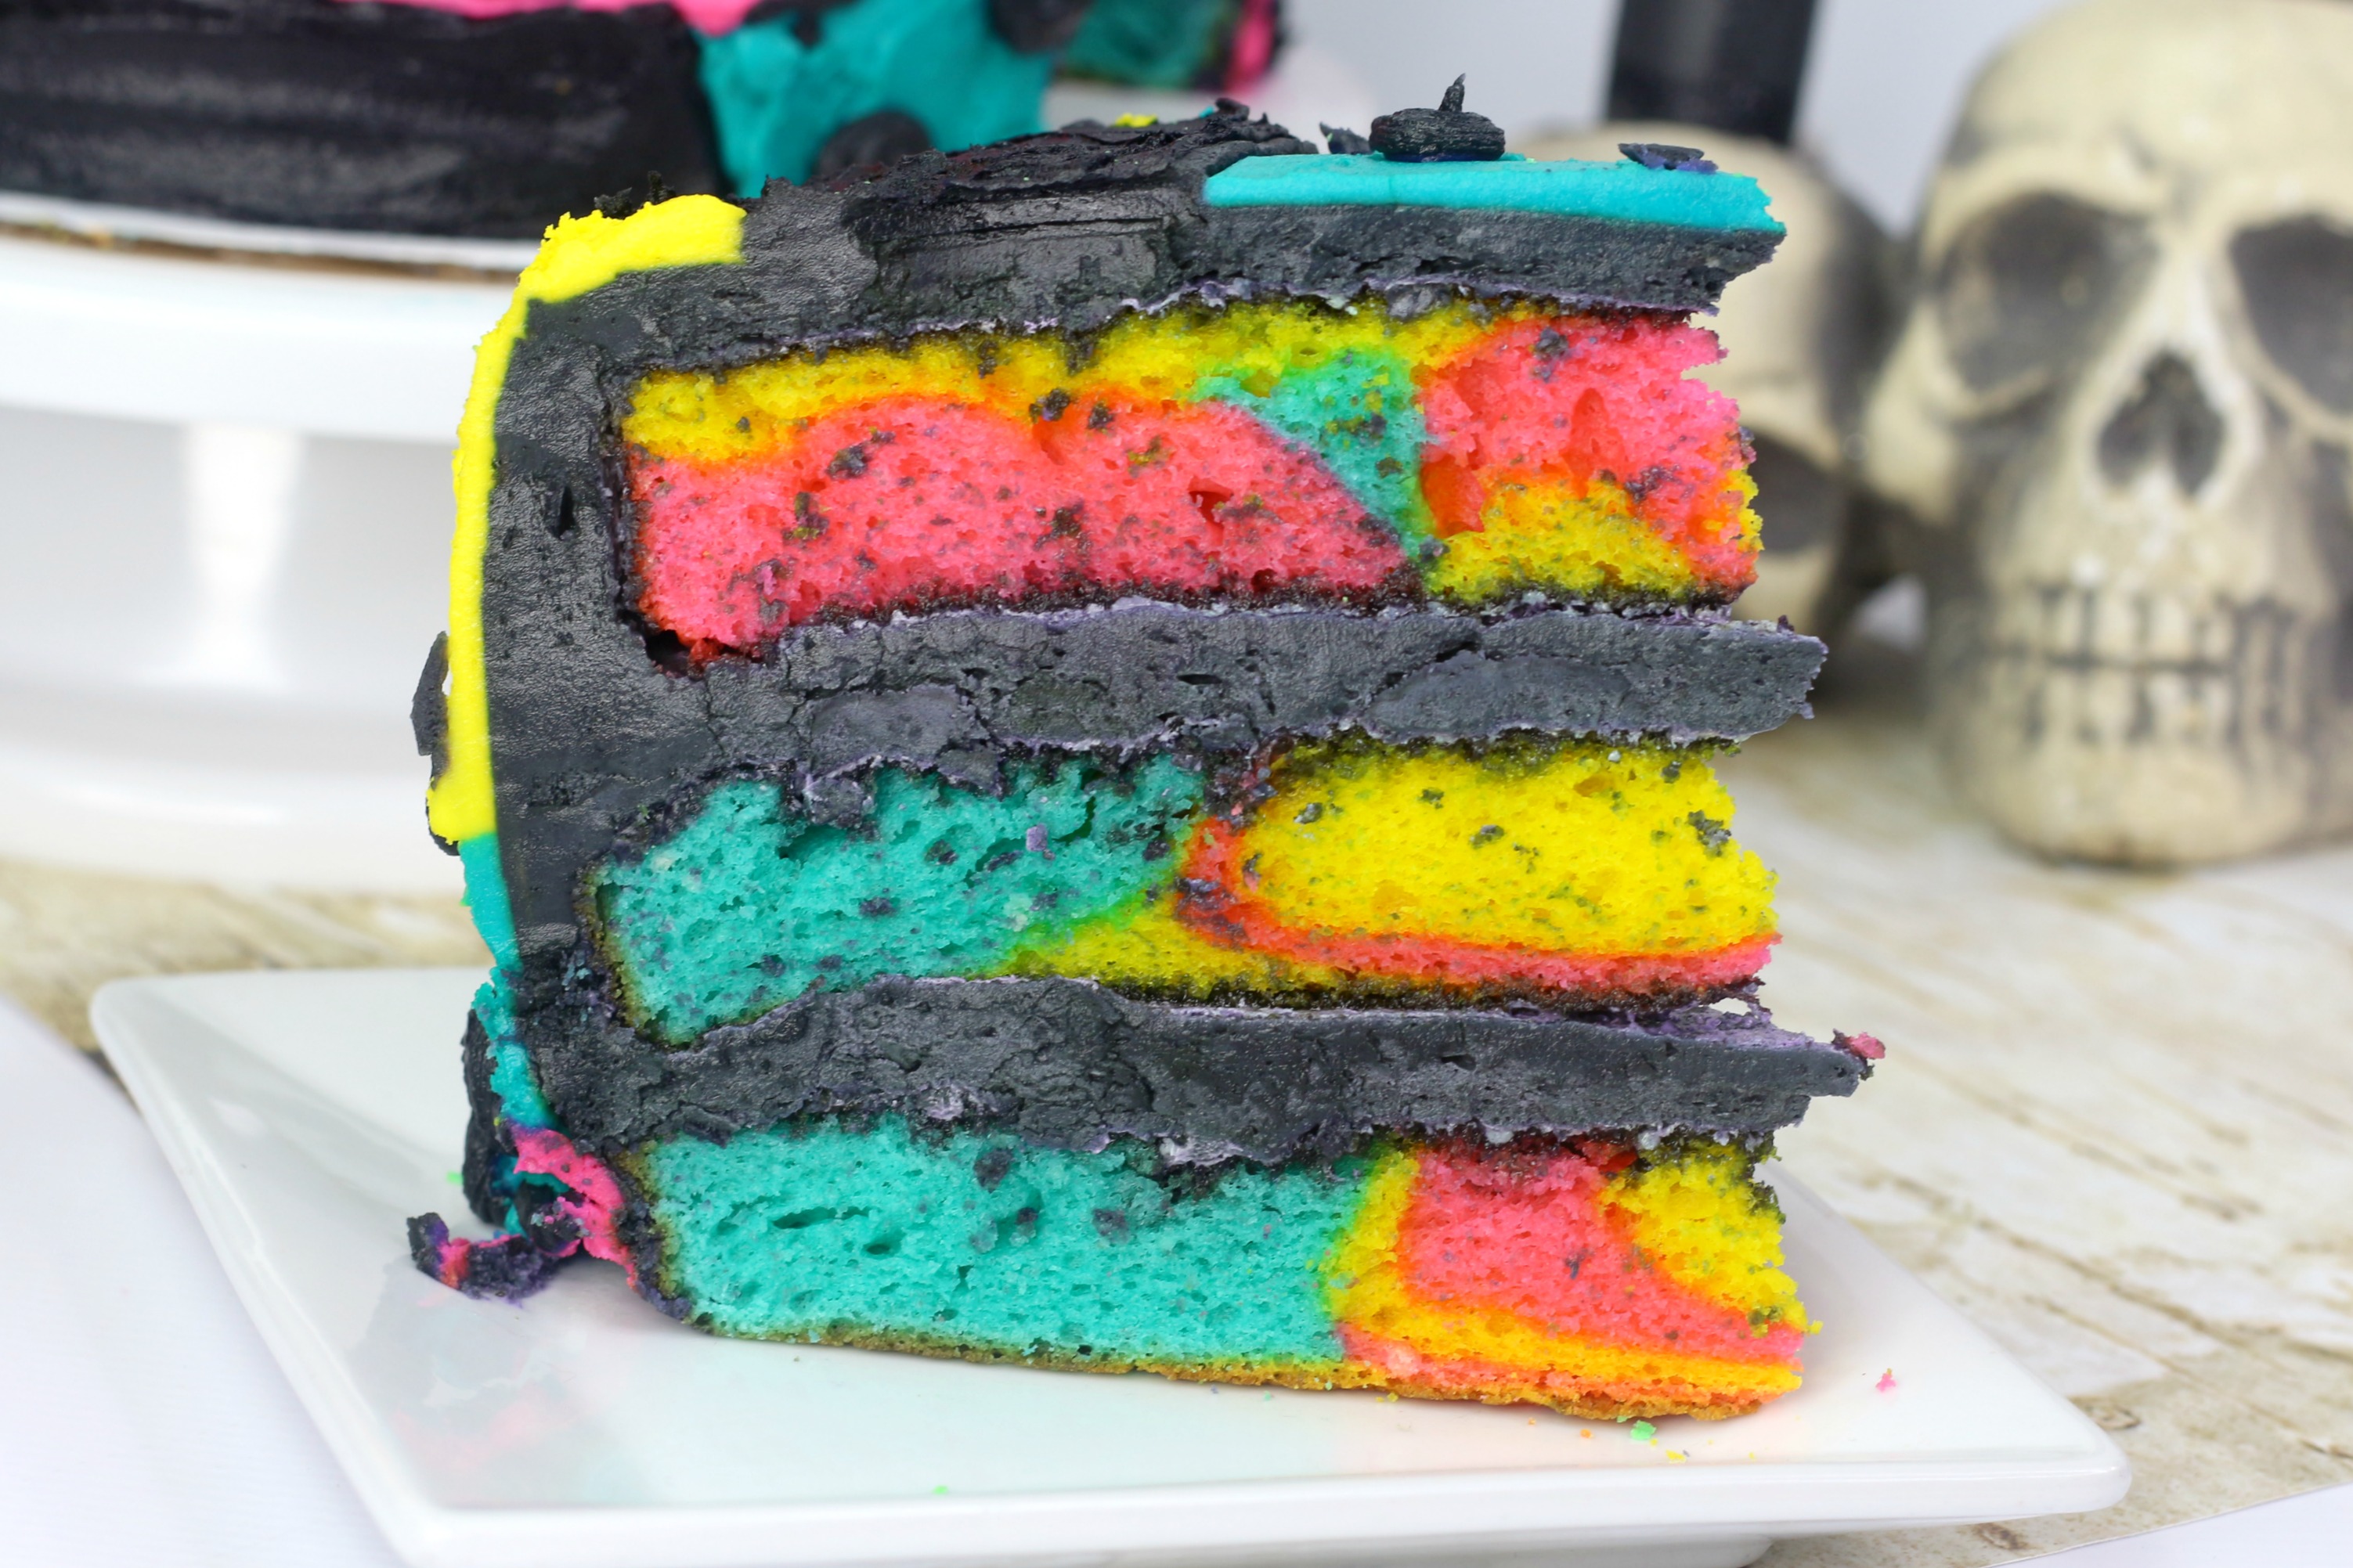
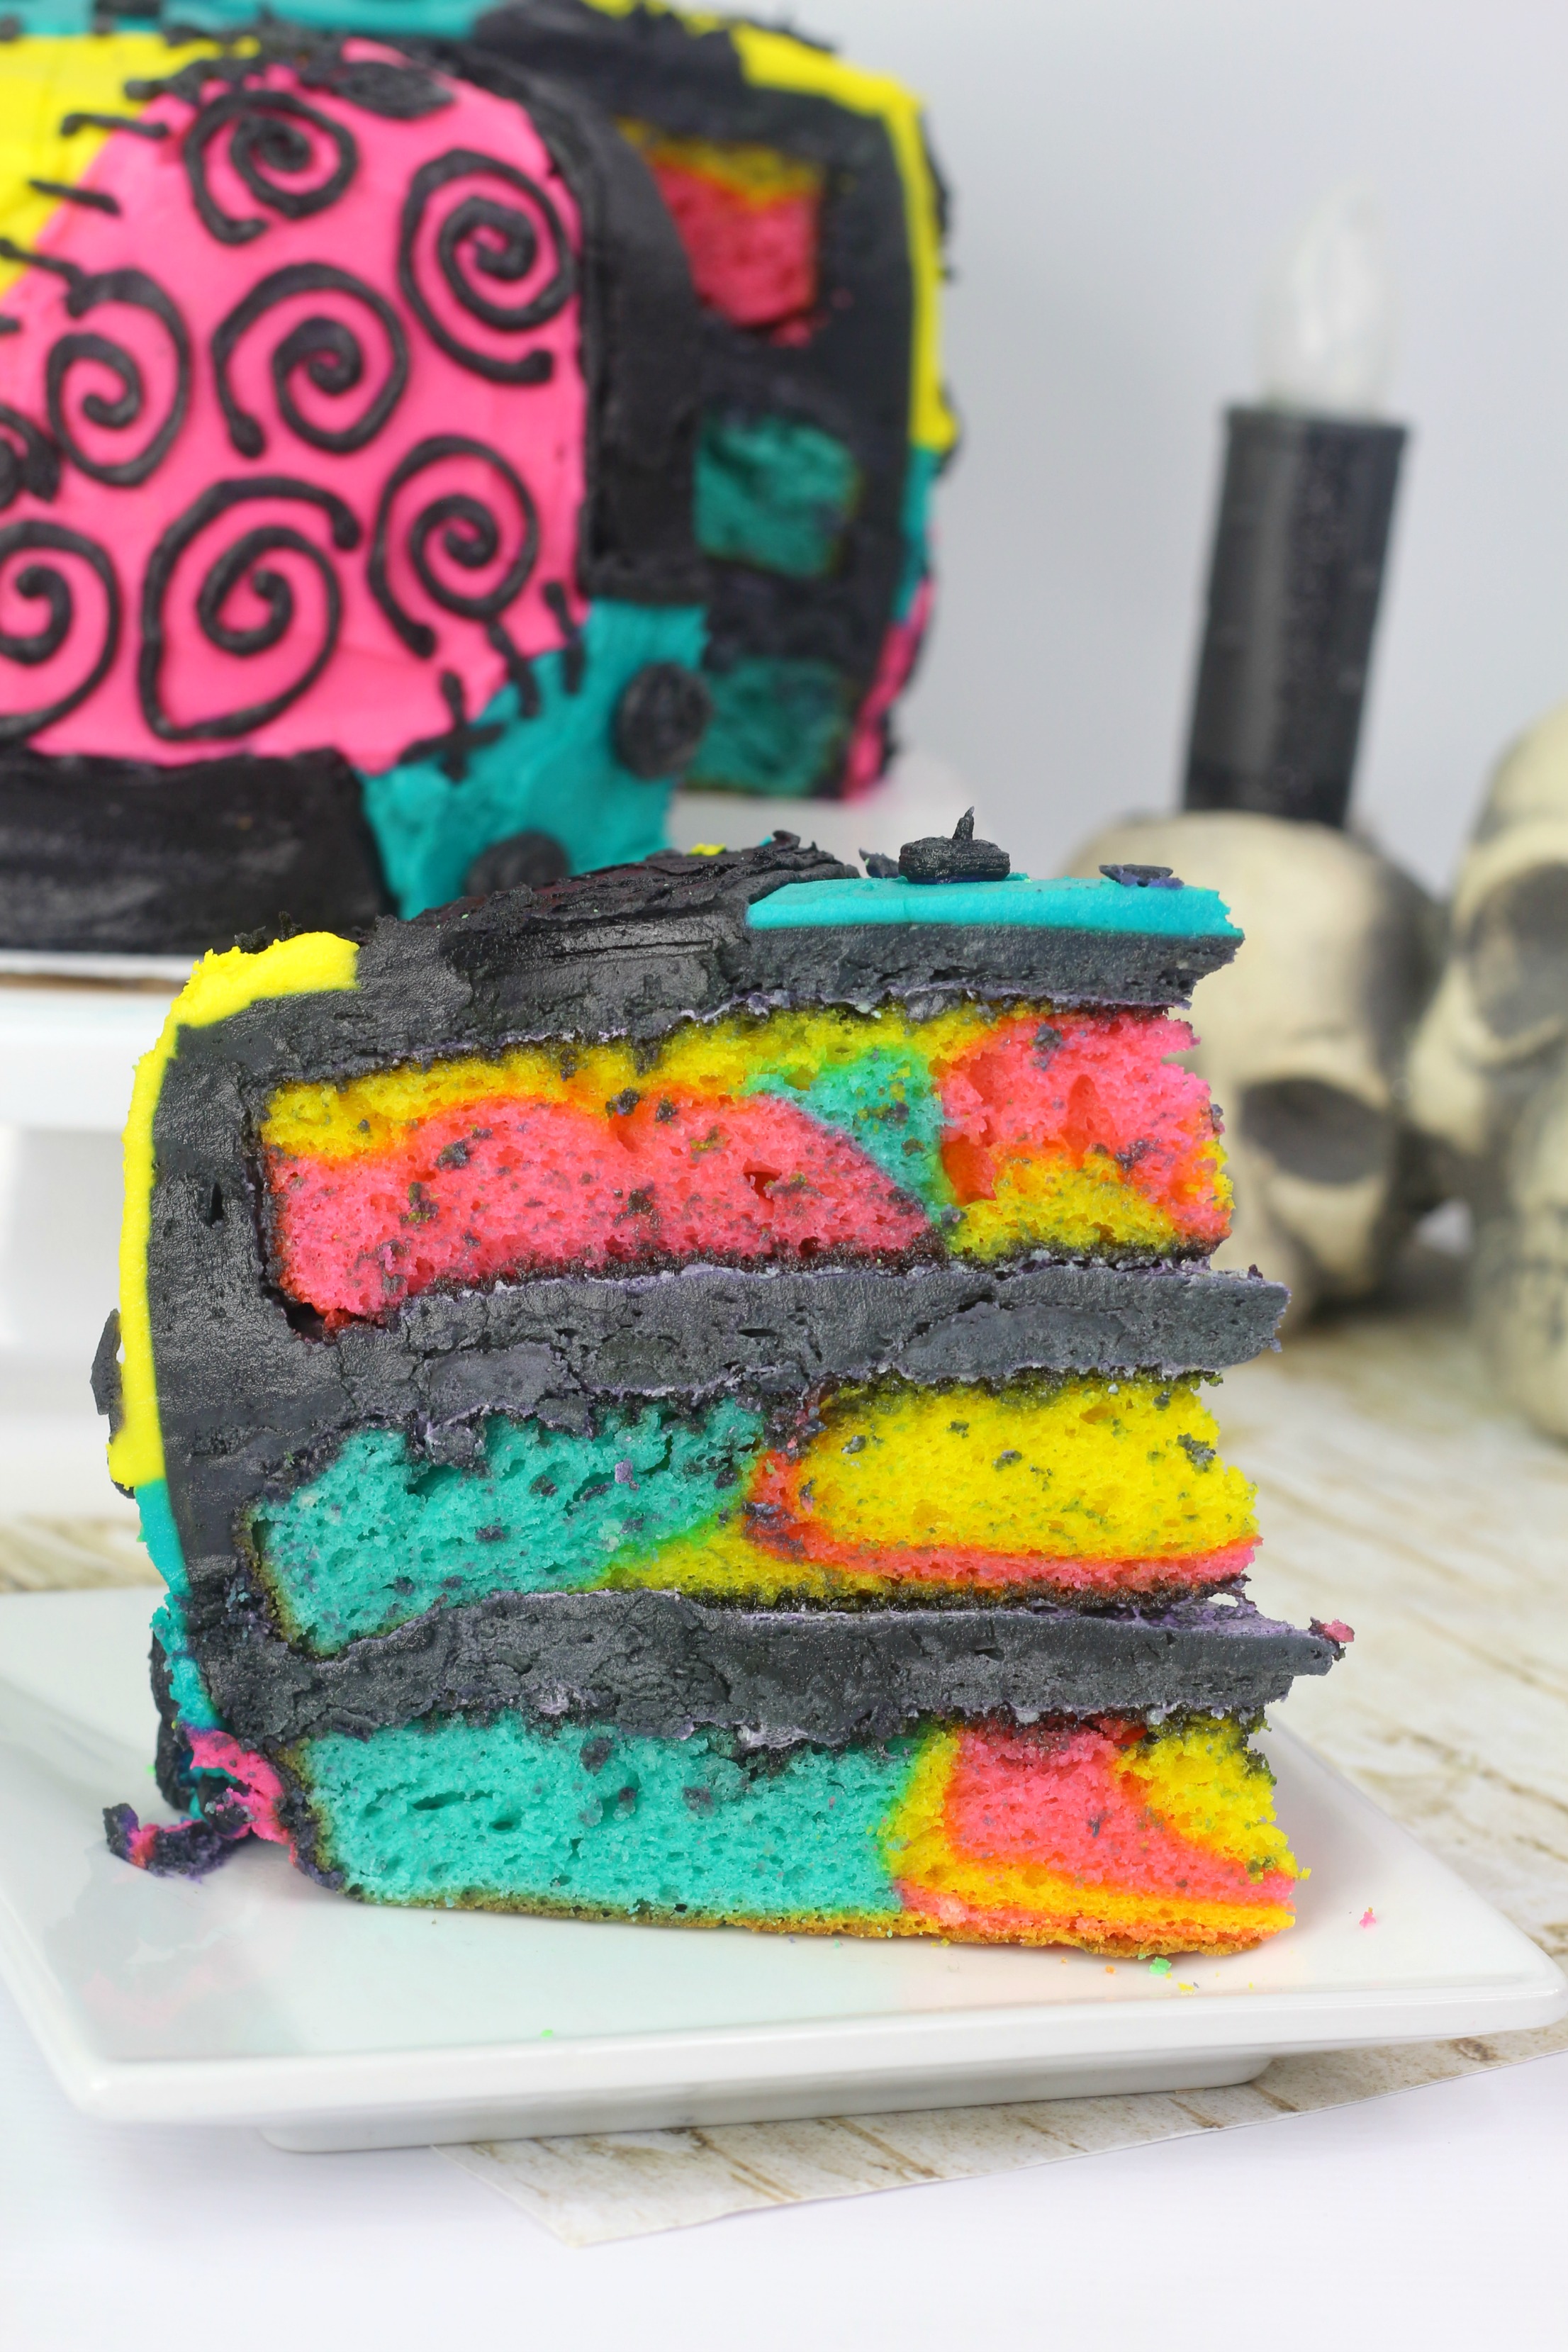
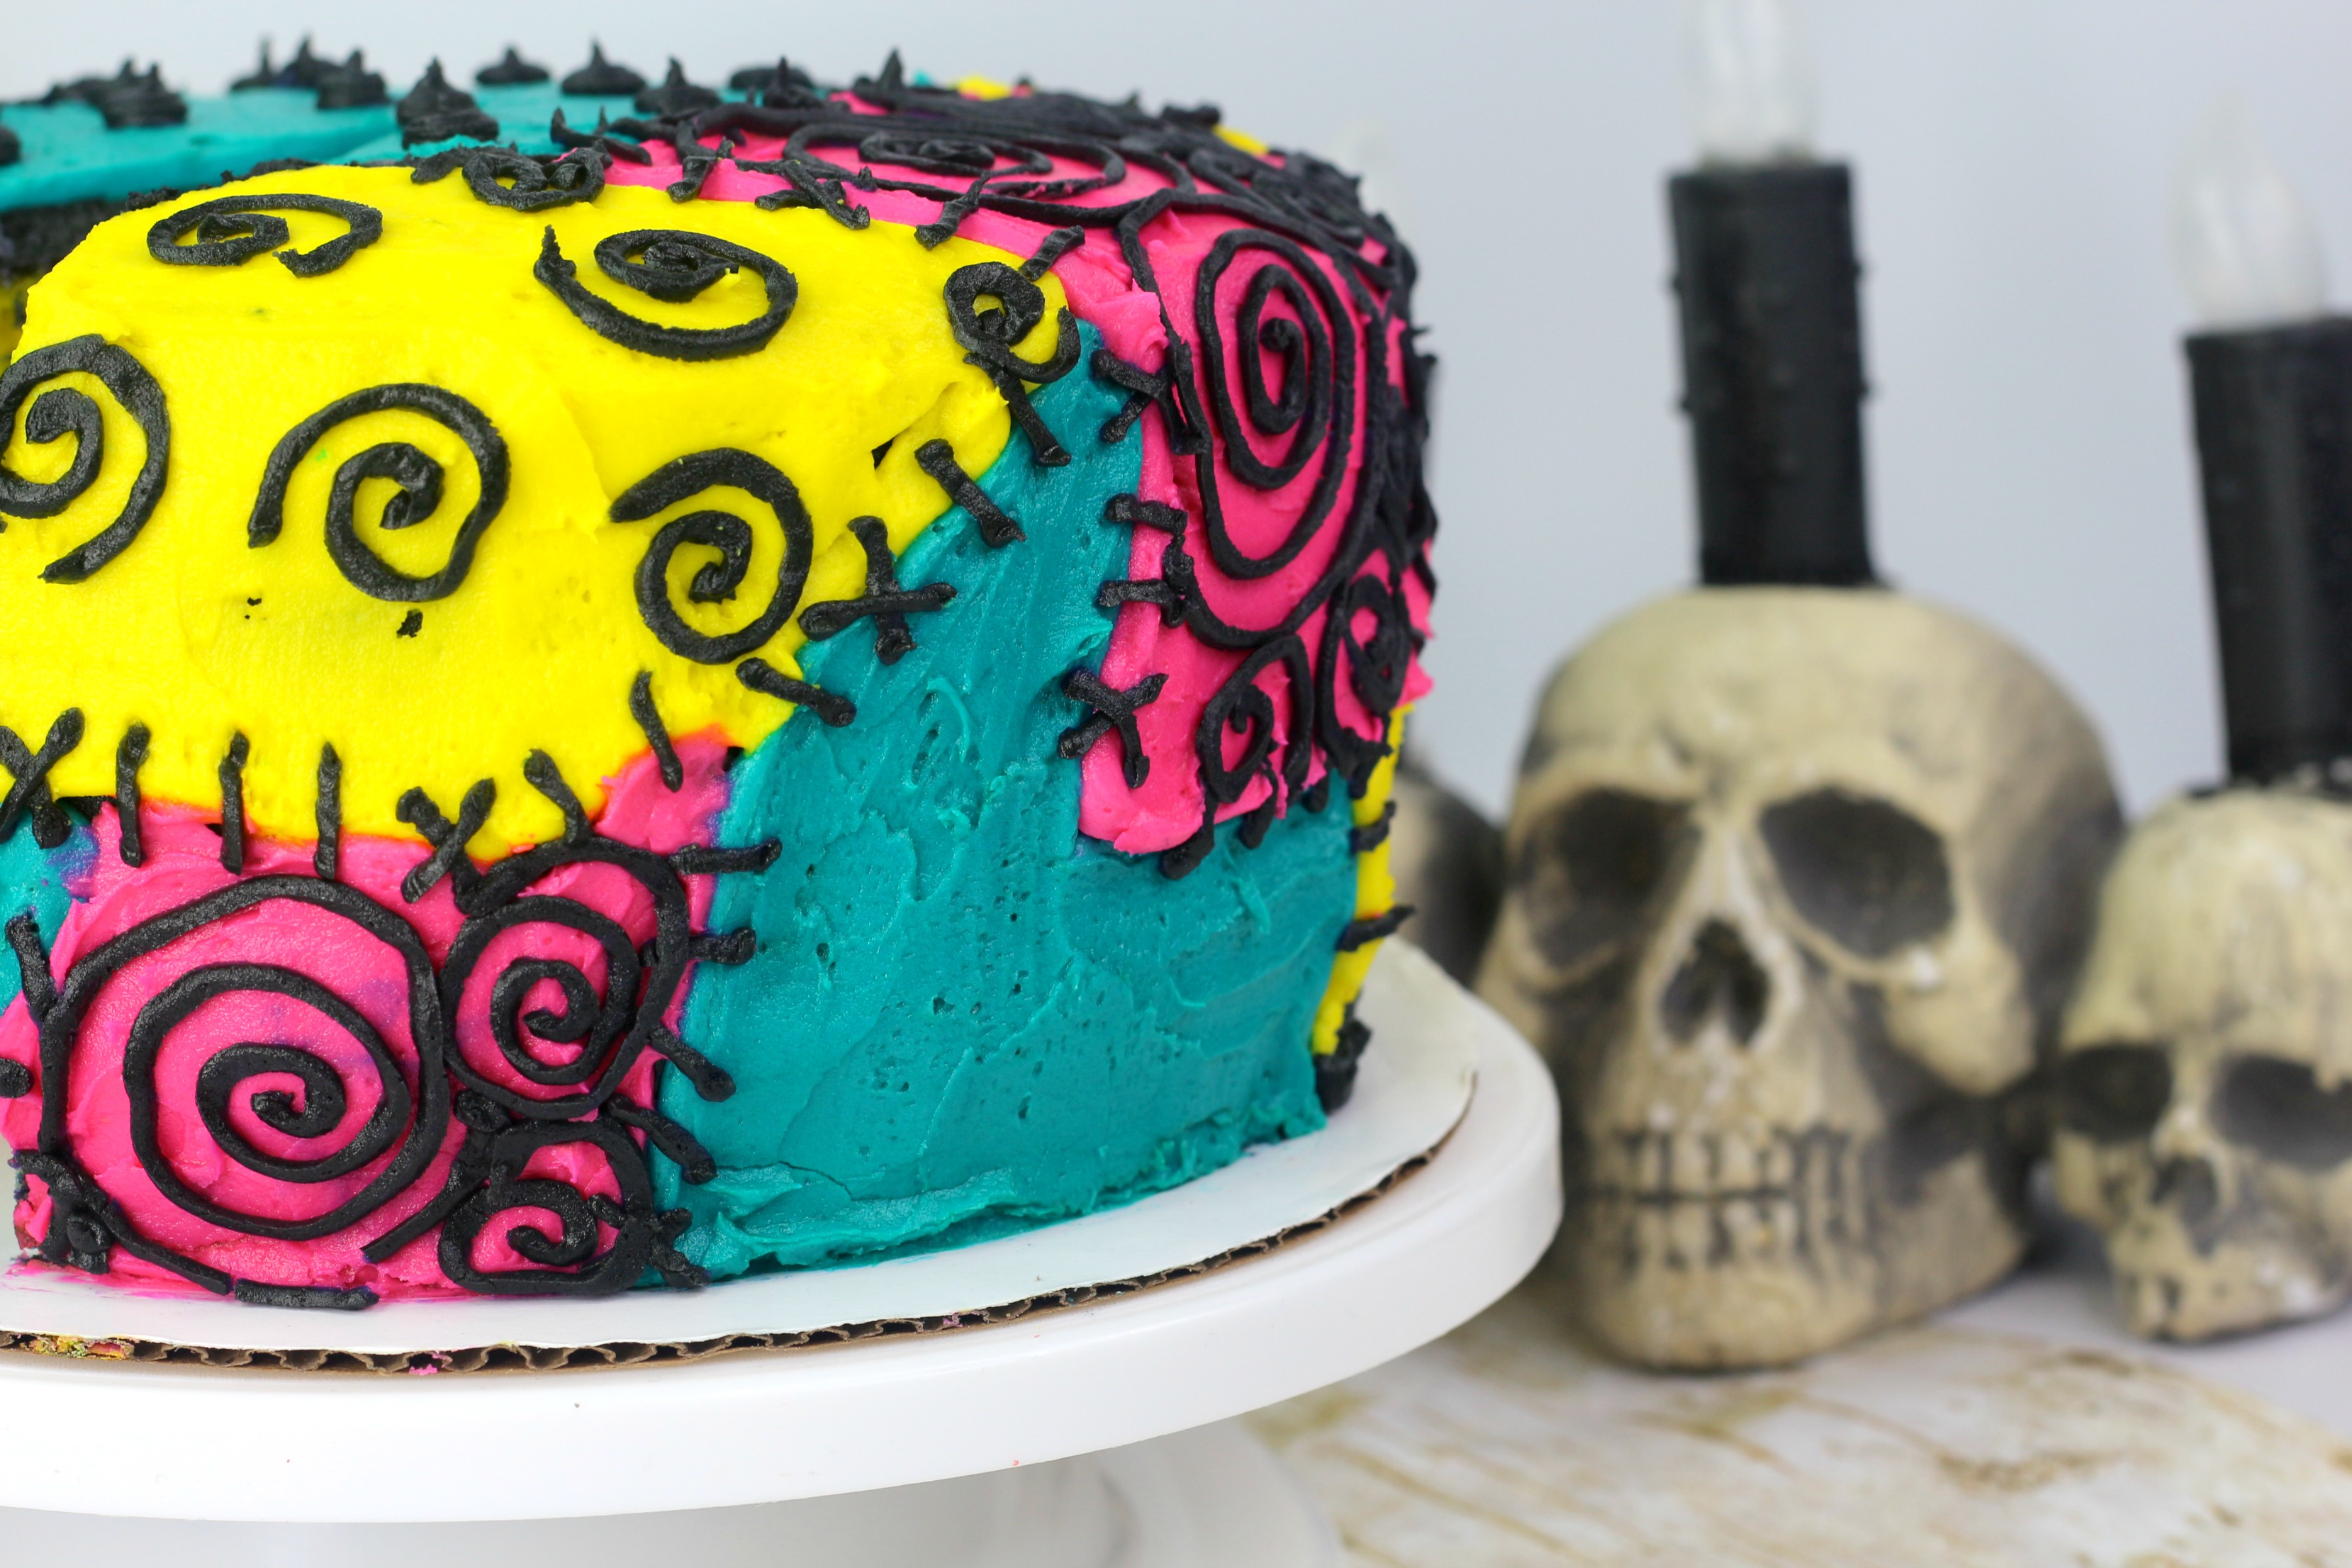
Love The Nightmare Before Christmas? This Nightmare Before Christmas cake is a fun dessert for Halloween parties, birthday celebrations, or anyone who loves Jack Skellington and Sally. The inside has a colorful tie-dye design, while the outside is decorated to look like Sally’s famous patchwork dress.
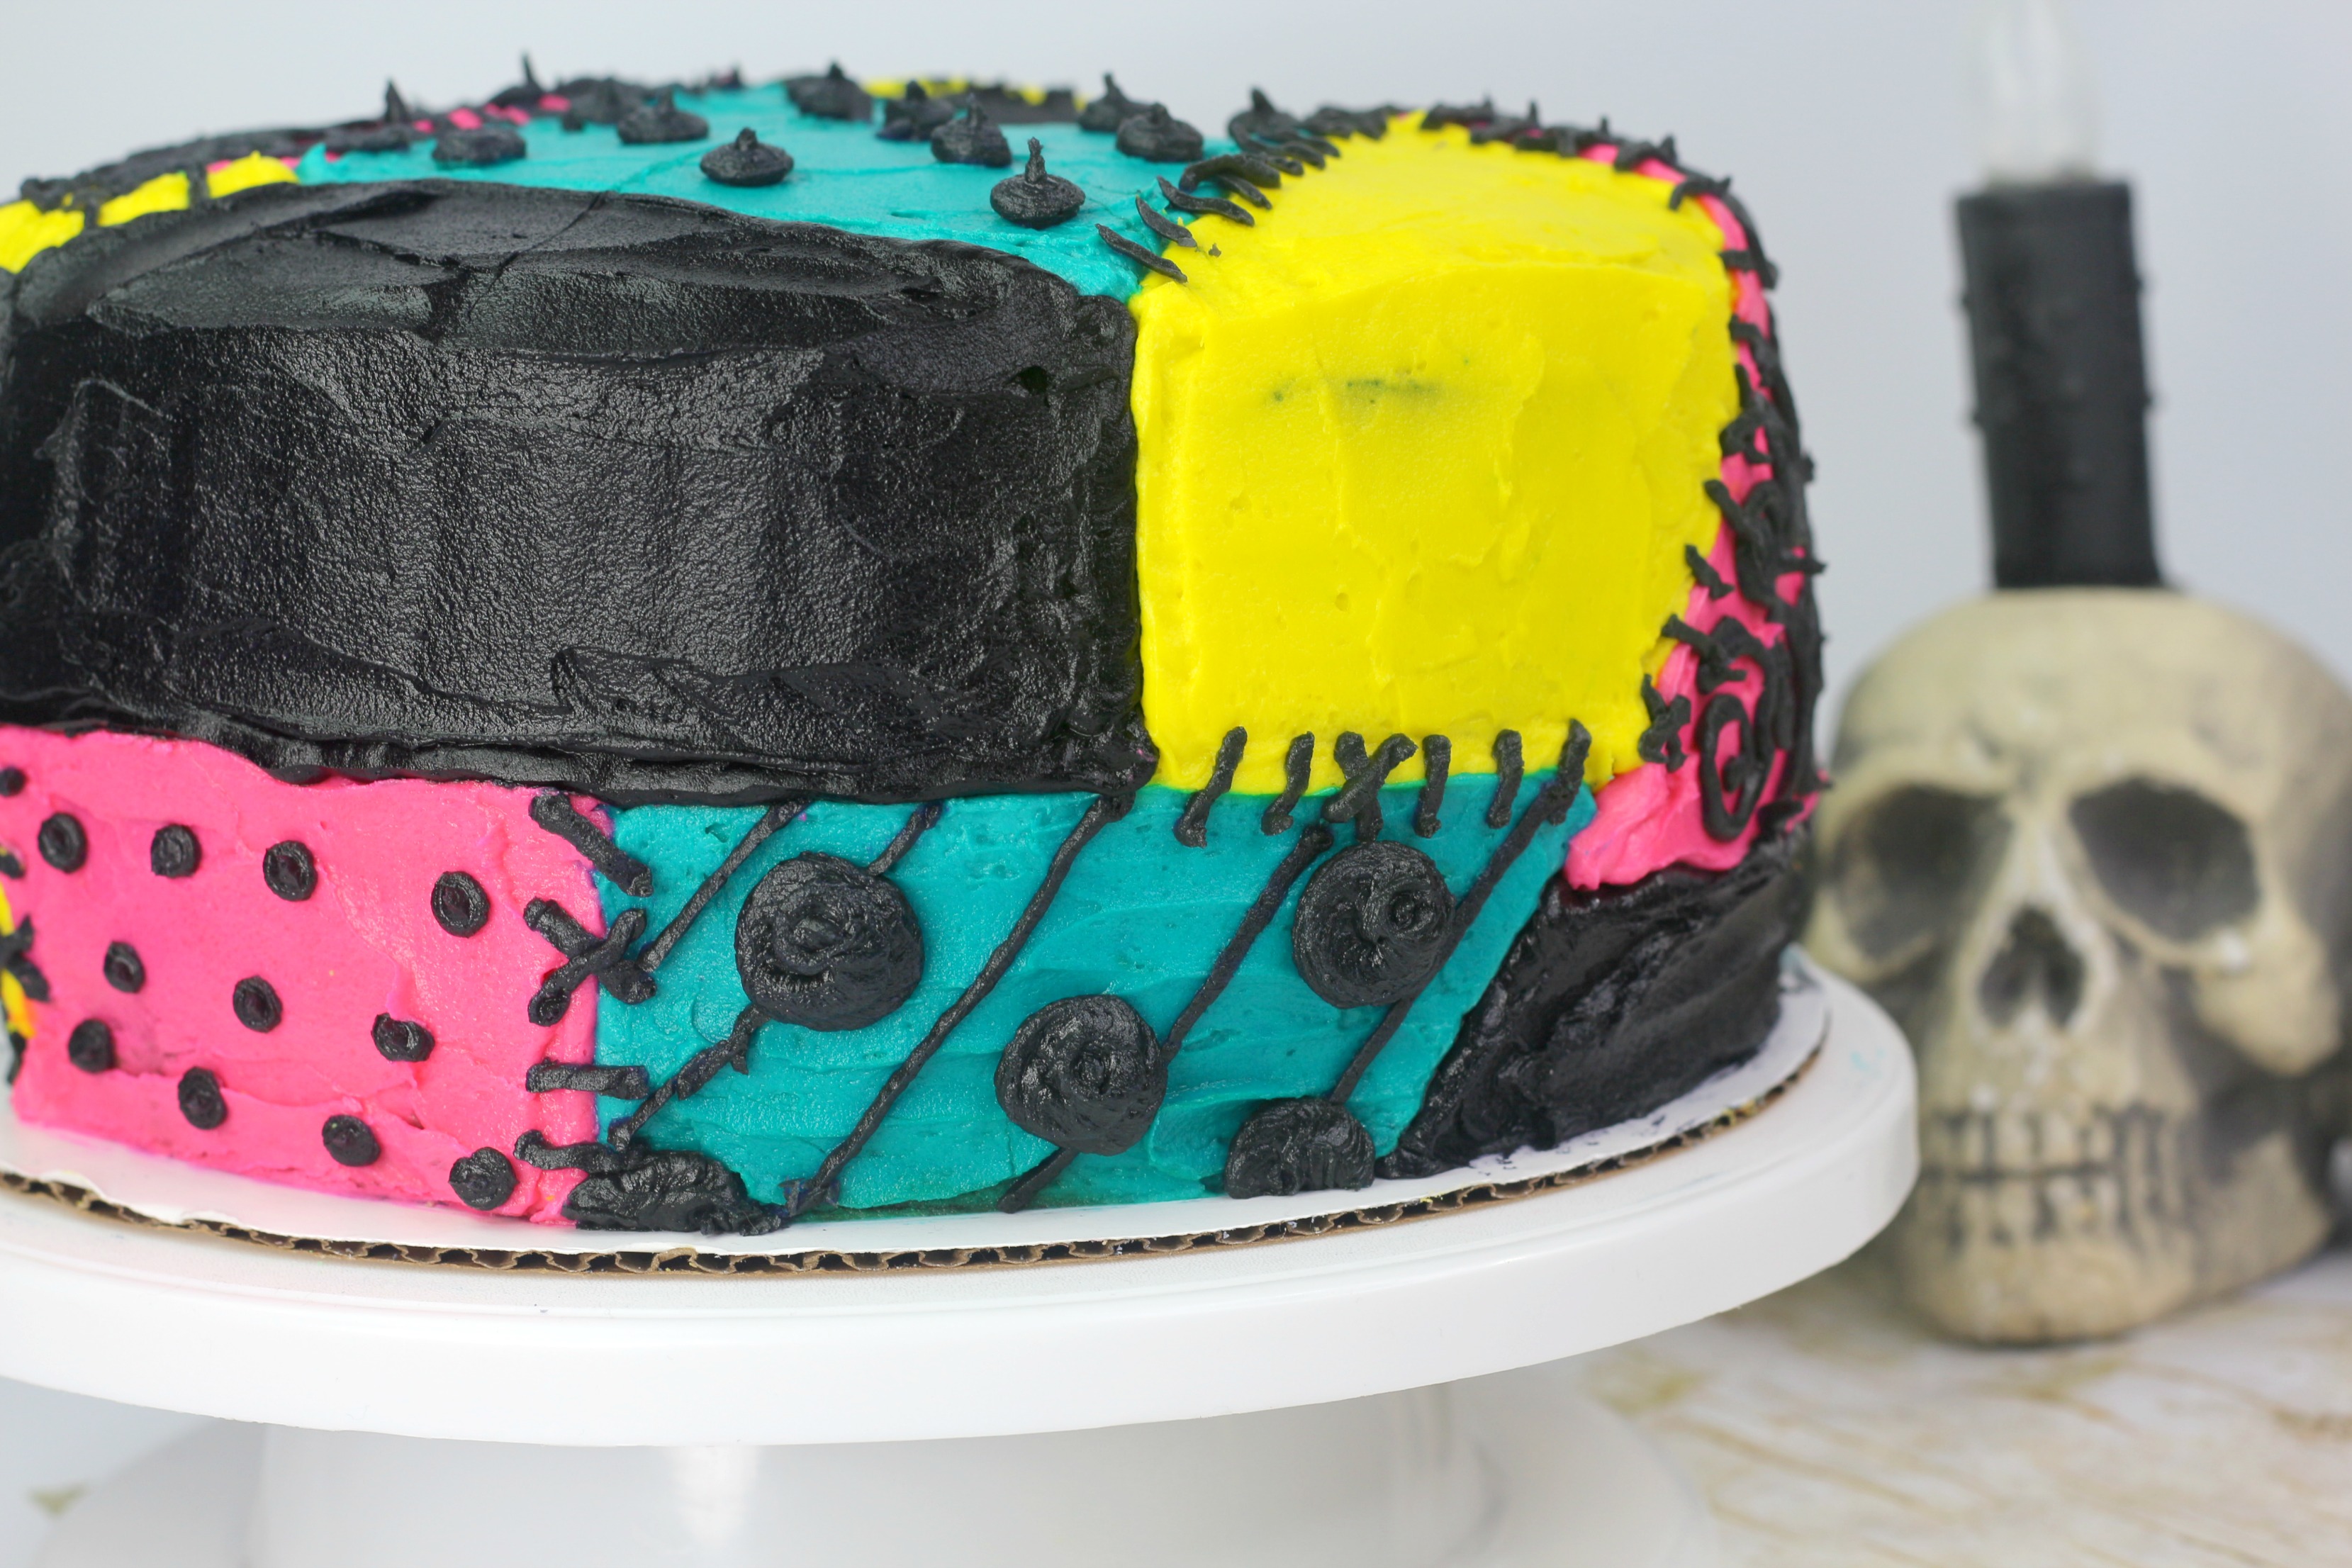
This Christmas layer cake may look complicated, but it’s actually an easy Nightmare Before Christmas cake to make. You don’t need advanced decorating skills, either. With a little black frosting and a few piping bags, you can create a colorful Sally cake that looks adorable and tastes delicious.
I have loved The Nightmare Before Christmas since it first came out. I remember living with my cousin, and she bought me a Jack Skellington toy to use as our Christmas tree topper. I was hooked after that. Now my kids love this Halloween classic as much as I do, and they get just as excited when I make this cake.
What You’ll Love About This Cake Nightmare Before Christmas Recipe
- The colorful batter creates a fun tie-dye pattern inside the cake.
- The black frosting makes Sally’s patchwork dress easy to outline.
- Boxed cake mix keeps the recipe simple and saves time.
- The cake works for Halloween, Christmas, birthdays, and movie nights.
- You can change the design to make a Jack Skellington cake, an Oogie Boogie cake, or a Jack and Sally cake.
This recipe makes a three-layer cake with 9-inch round layers. Each layer is filled with black frosting, then the entire cake is covered in black buttercream before the Sally dress design is added.
Ingredients in Nightmare Before Christmas Layer Cake
- French Vanilla Cake mix
- eggs
- whole milk
- unsalted sweet cream butter
- powder sugar
- heavy whipping cream
- Gel Food coloring – I recommend gel food coloring. The problem with liquid food coloring is that to get the bright color it takes a lot of drops. This thins the icing.
- pure vanilla extract
Equipment Needed to Make a Layer Cake
- 3 9inch round cake pans
- 1 10inch round cake board
- 1 cake leveler
- piping bags and decorating tips
- 1 angled spatula
How to Make a Tie-Dye Cake
Preheat the oven to 350 degrees Fahrenheit. Spray the cake pans with baking spray and line the bottoms with parchment paper if desired.
Prepare the cake batter according to the directions on the boxes, using the eggs, milk, and butter listed above.
Divide the batter evenly among three bowls.
Add pink gel food coloring to one bowl, yellow to the second bowl, and teal to the third bowl. Stir each bowl until the color is even. Add more gel coloring a little at a time until the shades look bright.
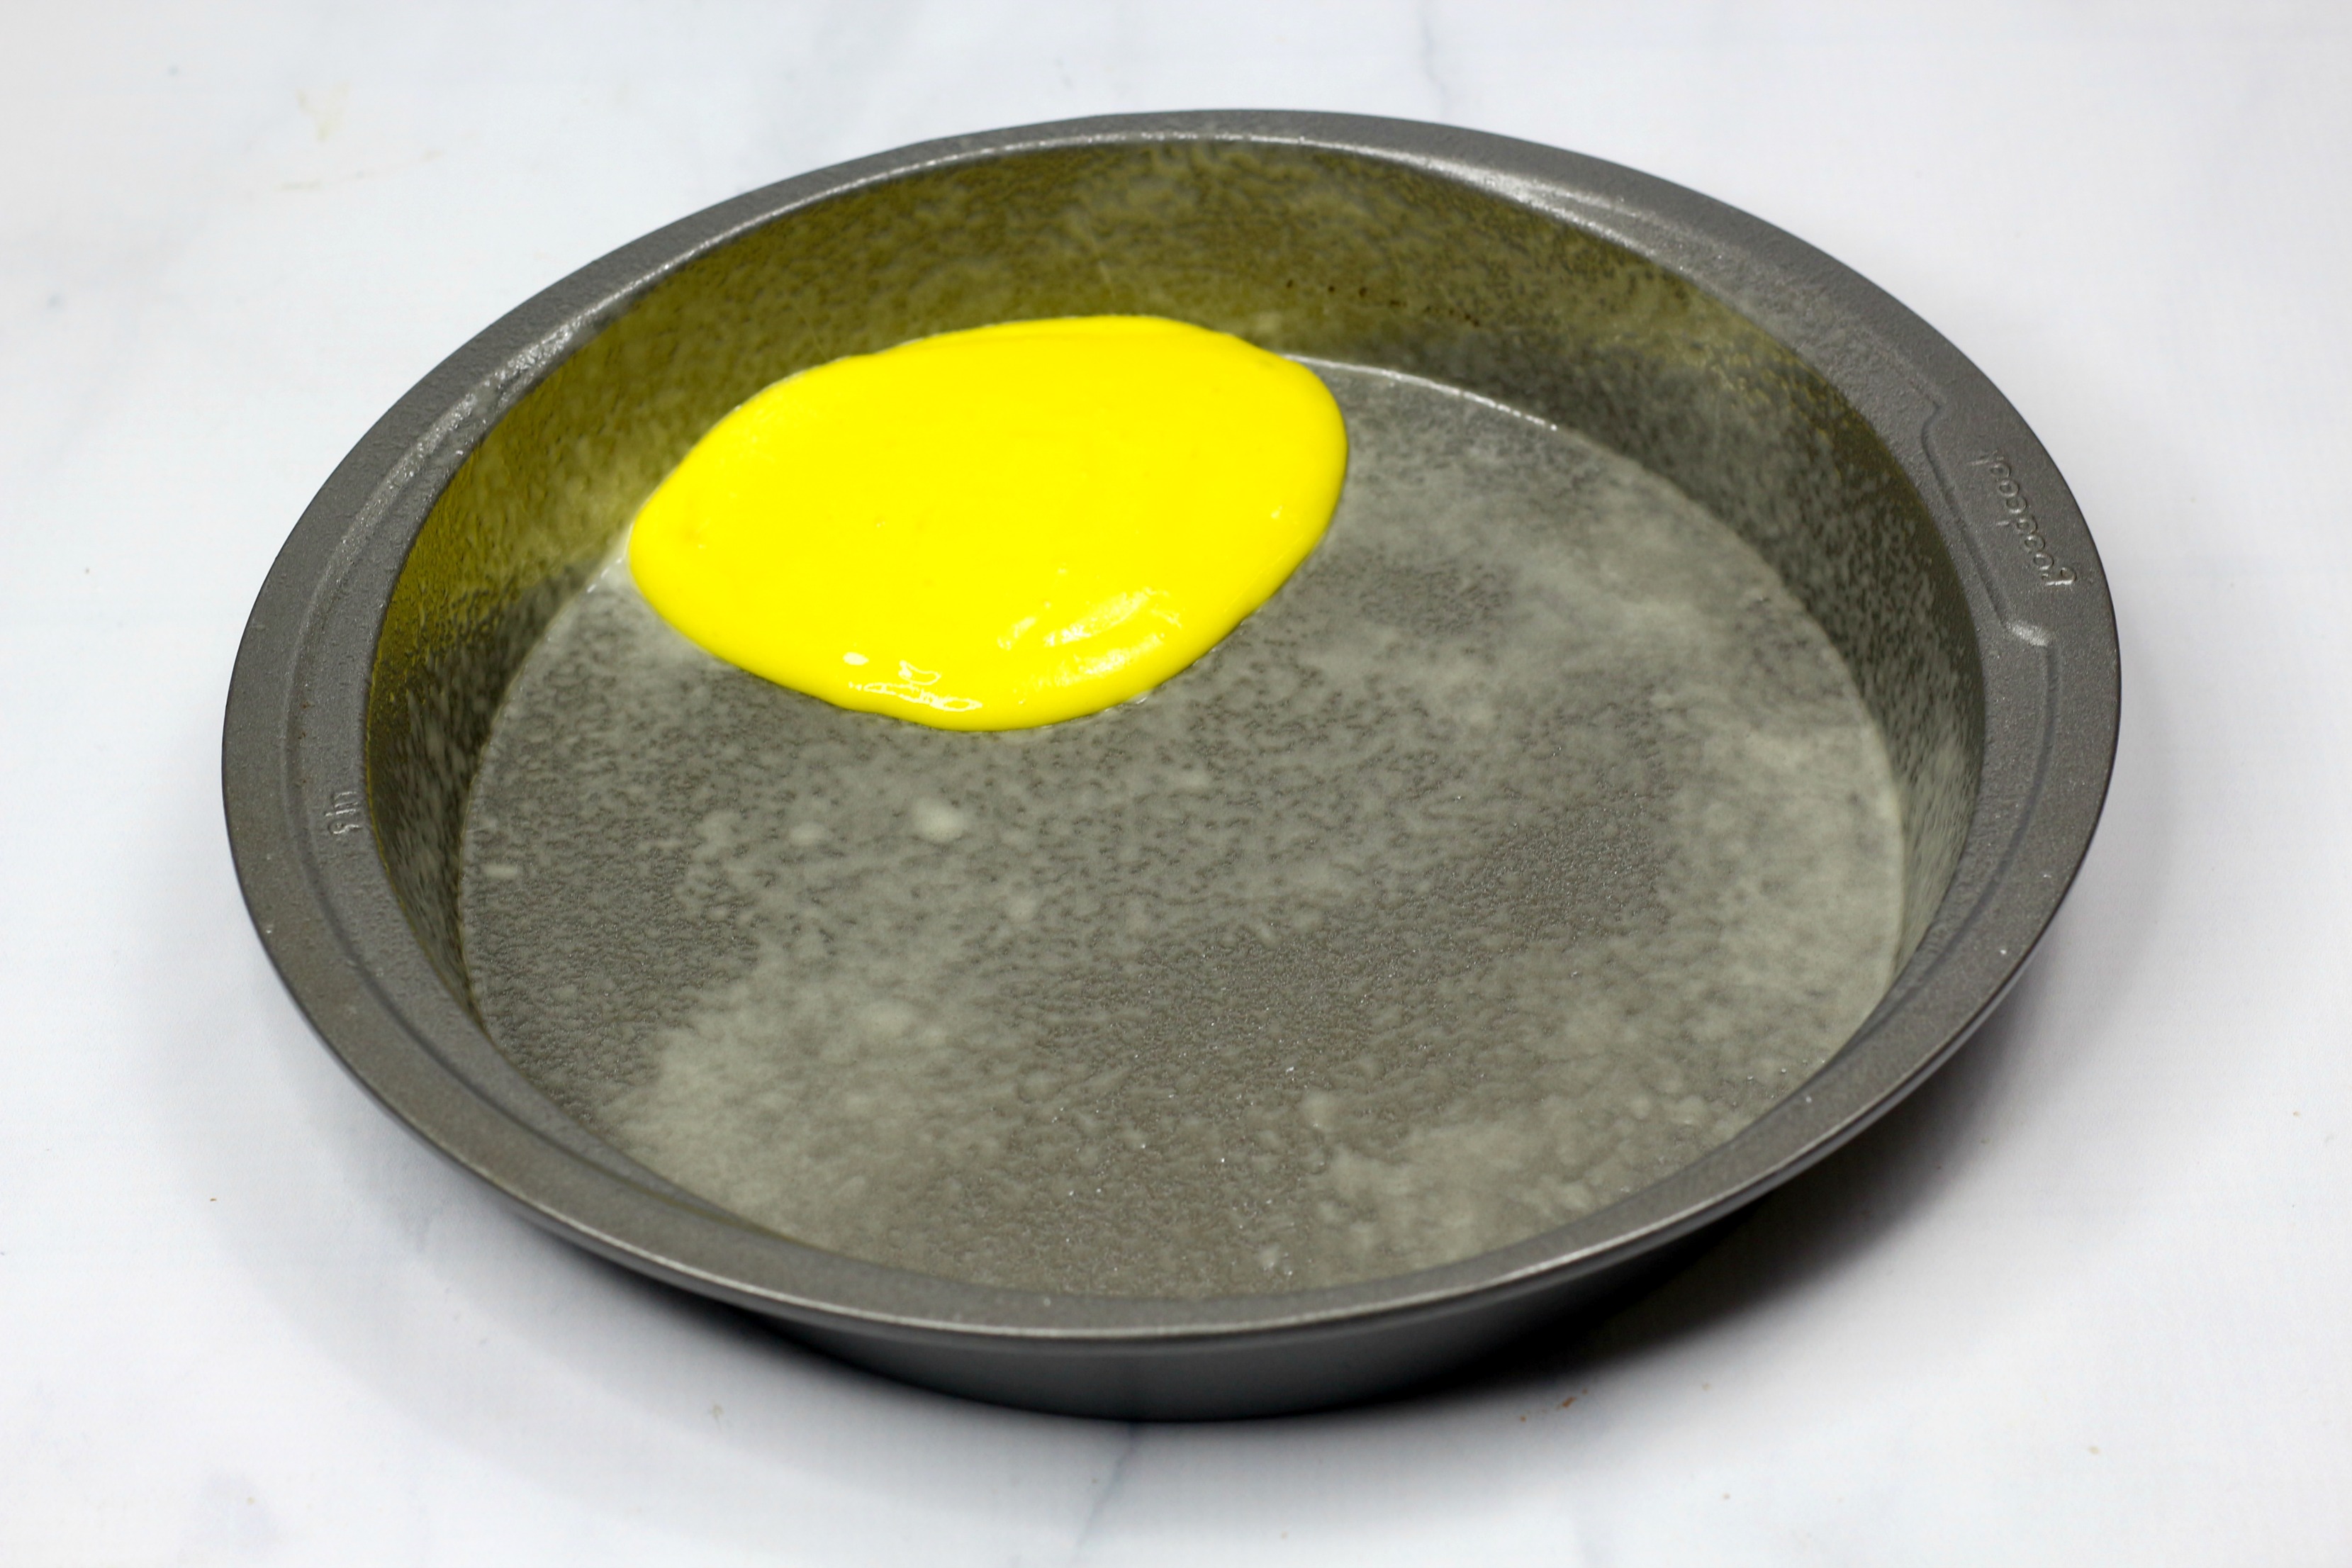
Add about 1/4 cup of yellow batter to one cake pan.
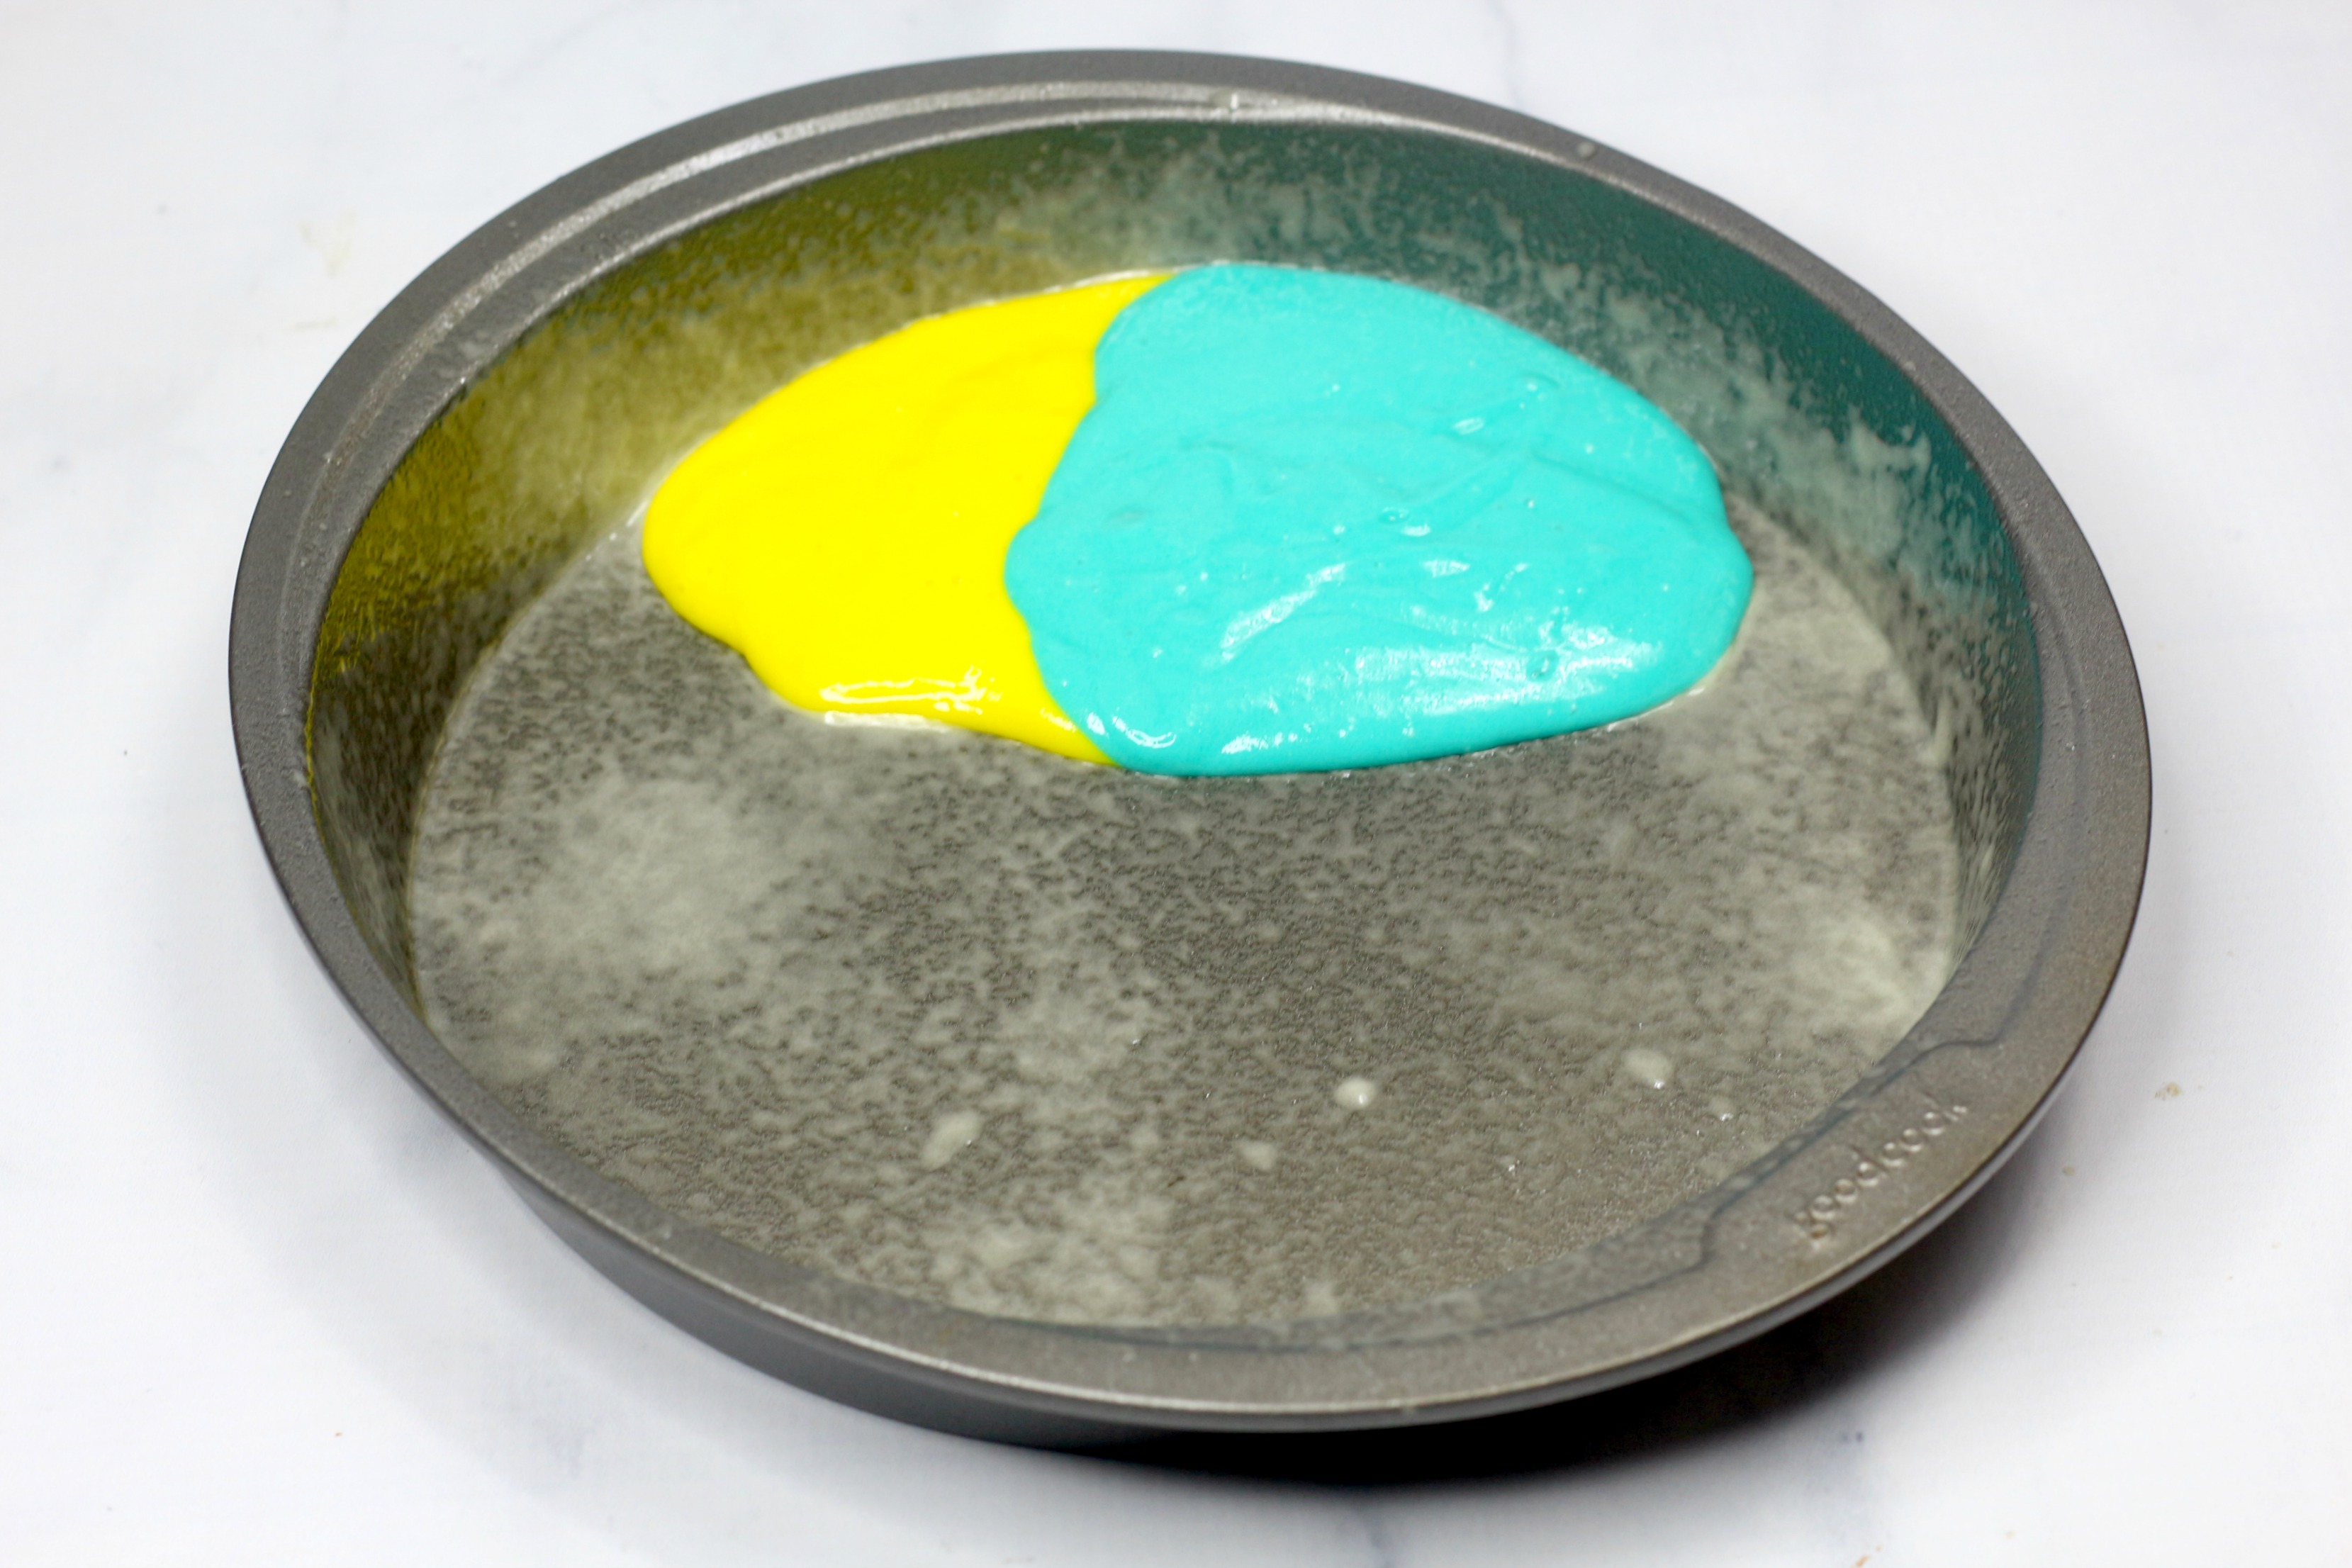
Add 1/4 cup of teal batter beside the yellow batter.
Add 1/4 cup of pink batter beside the teal batter.
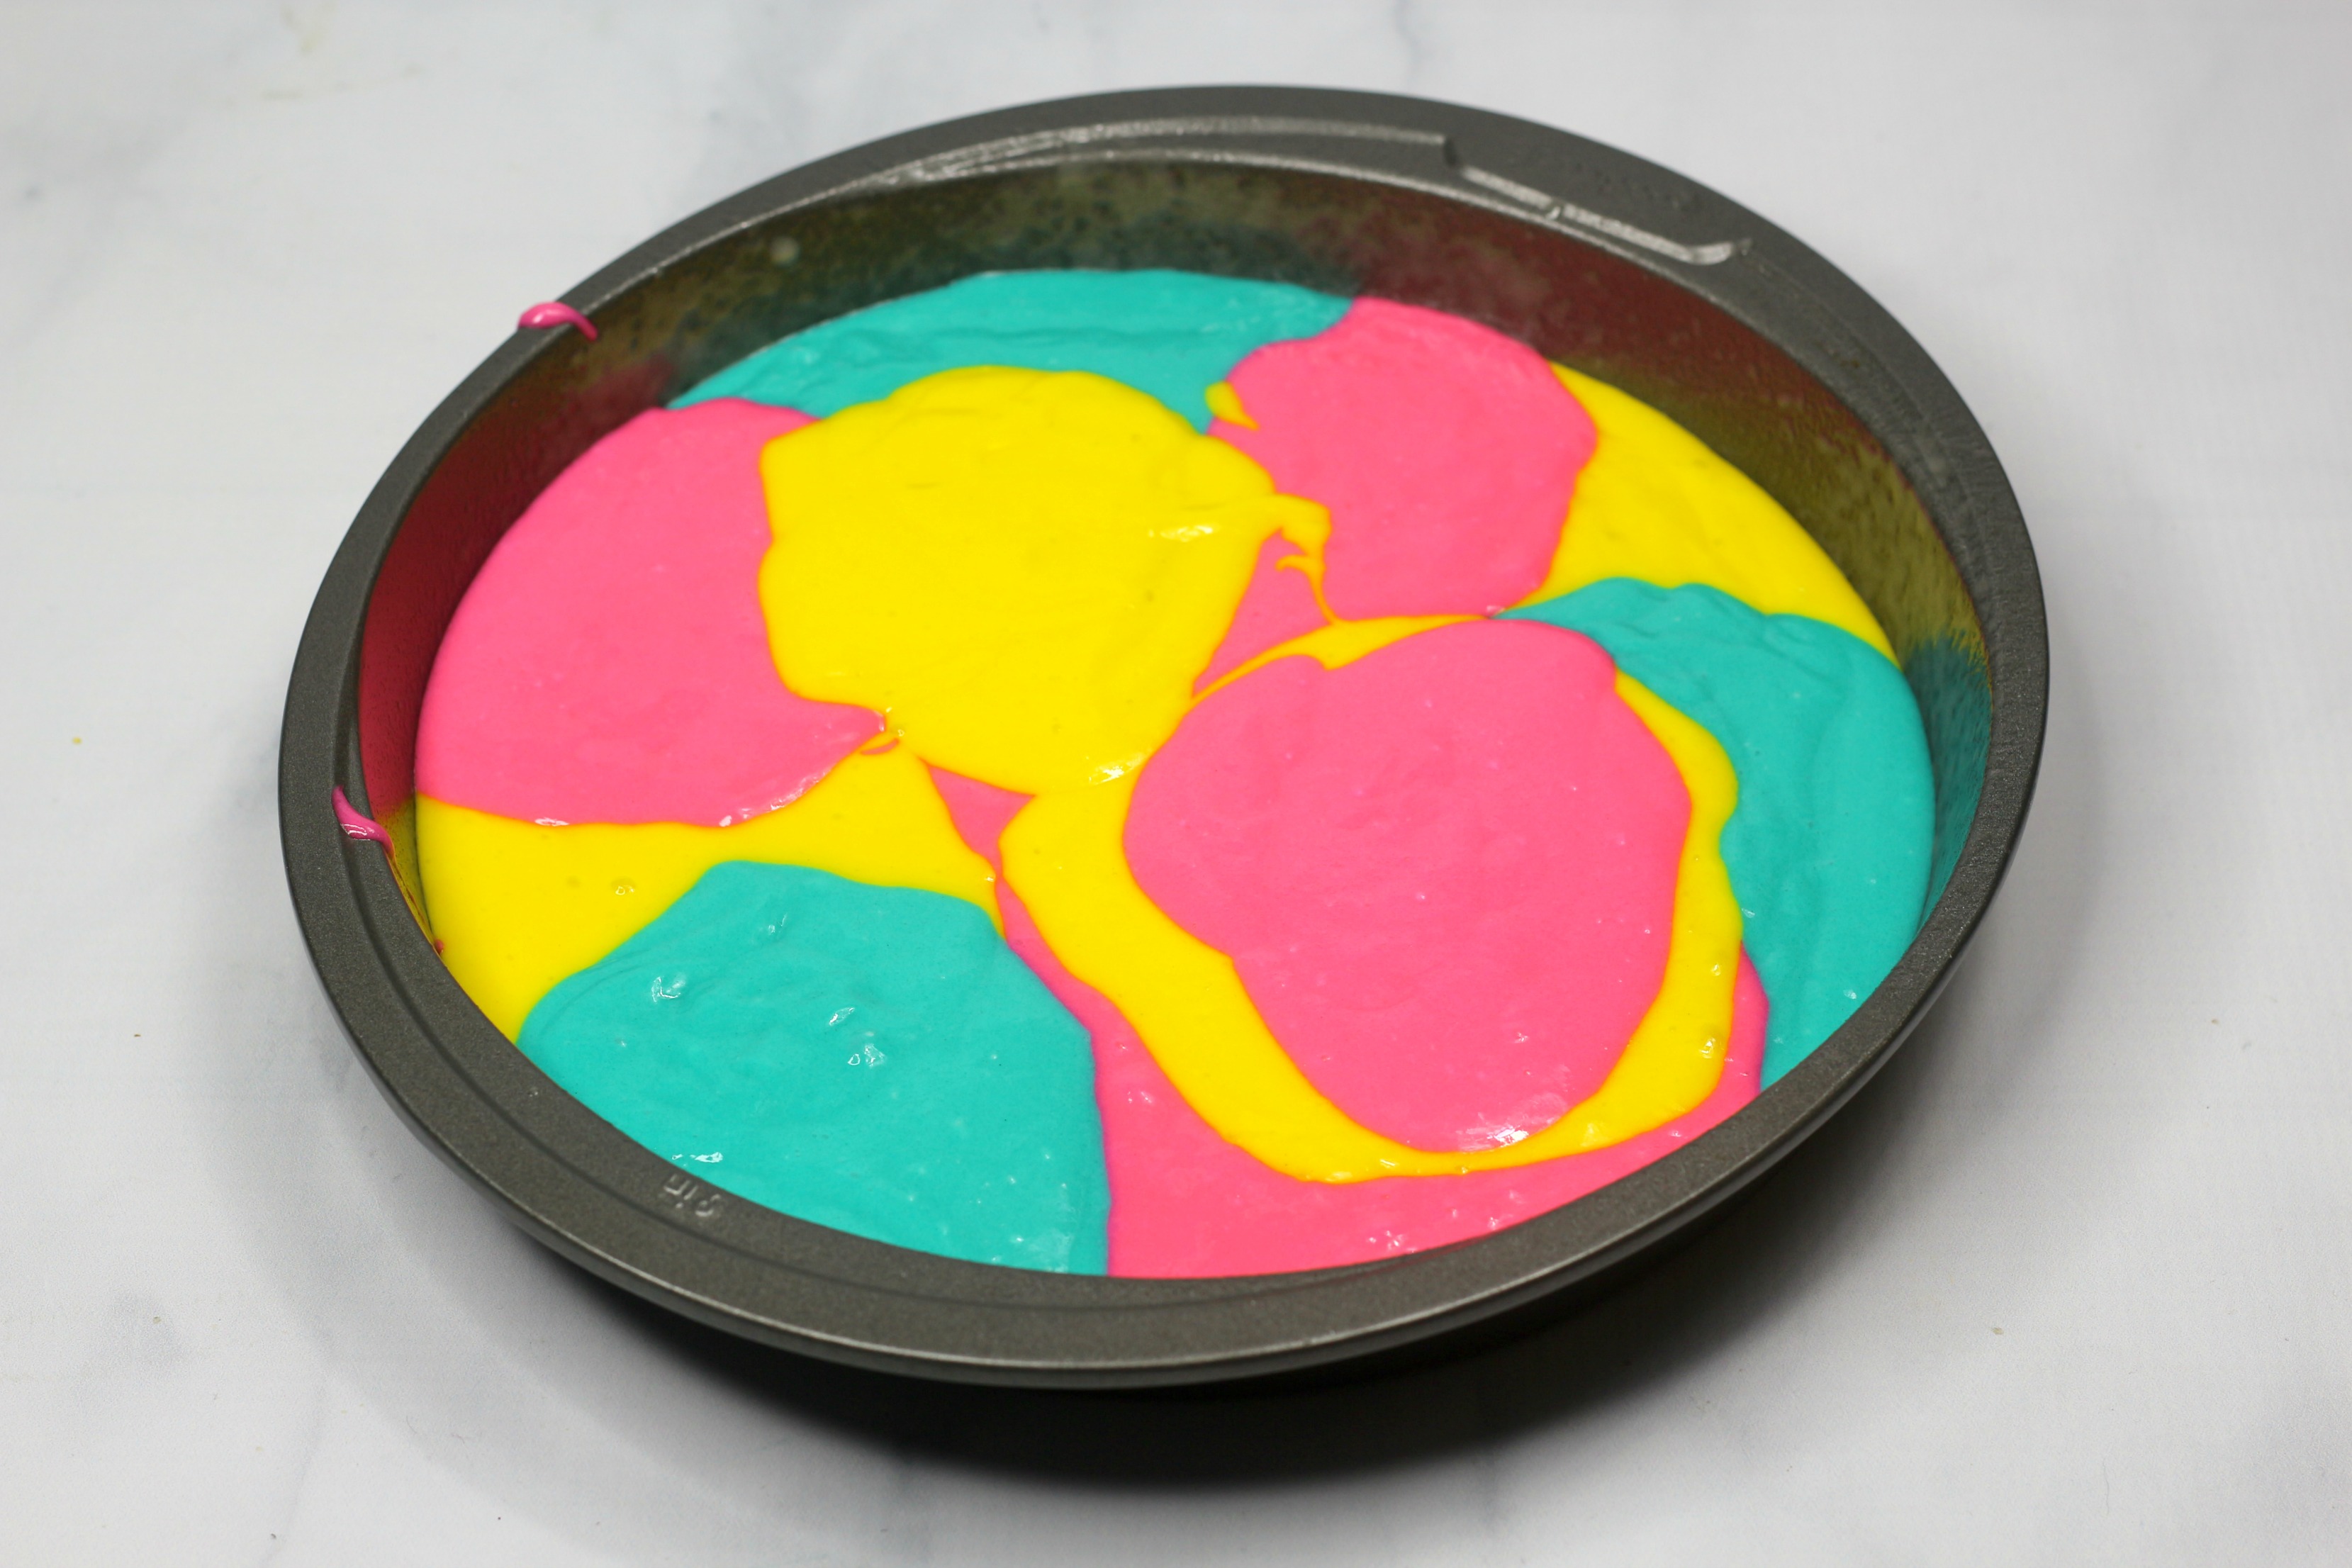
Continue adding small scoops of the three colors until the pan has an even layer of batter. You can place the colors beside one another or slightly overlap them. Don’t stir the colors together, or the tie-dye effect may turn muddy.
Repeat the process with the other two cake pans. Try to use the same amount of batter in each pan so the cake layers bake evenly.
Bake for 25 to 35 minutes, or until a toothpick inserted into the center comes out clean.
Let the cakes cool completely in the pans before removing them. Warm cake can break apart when you try to frost it.
Remove the cakes from the pans and place them on a cutting board or cooling rack.
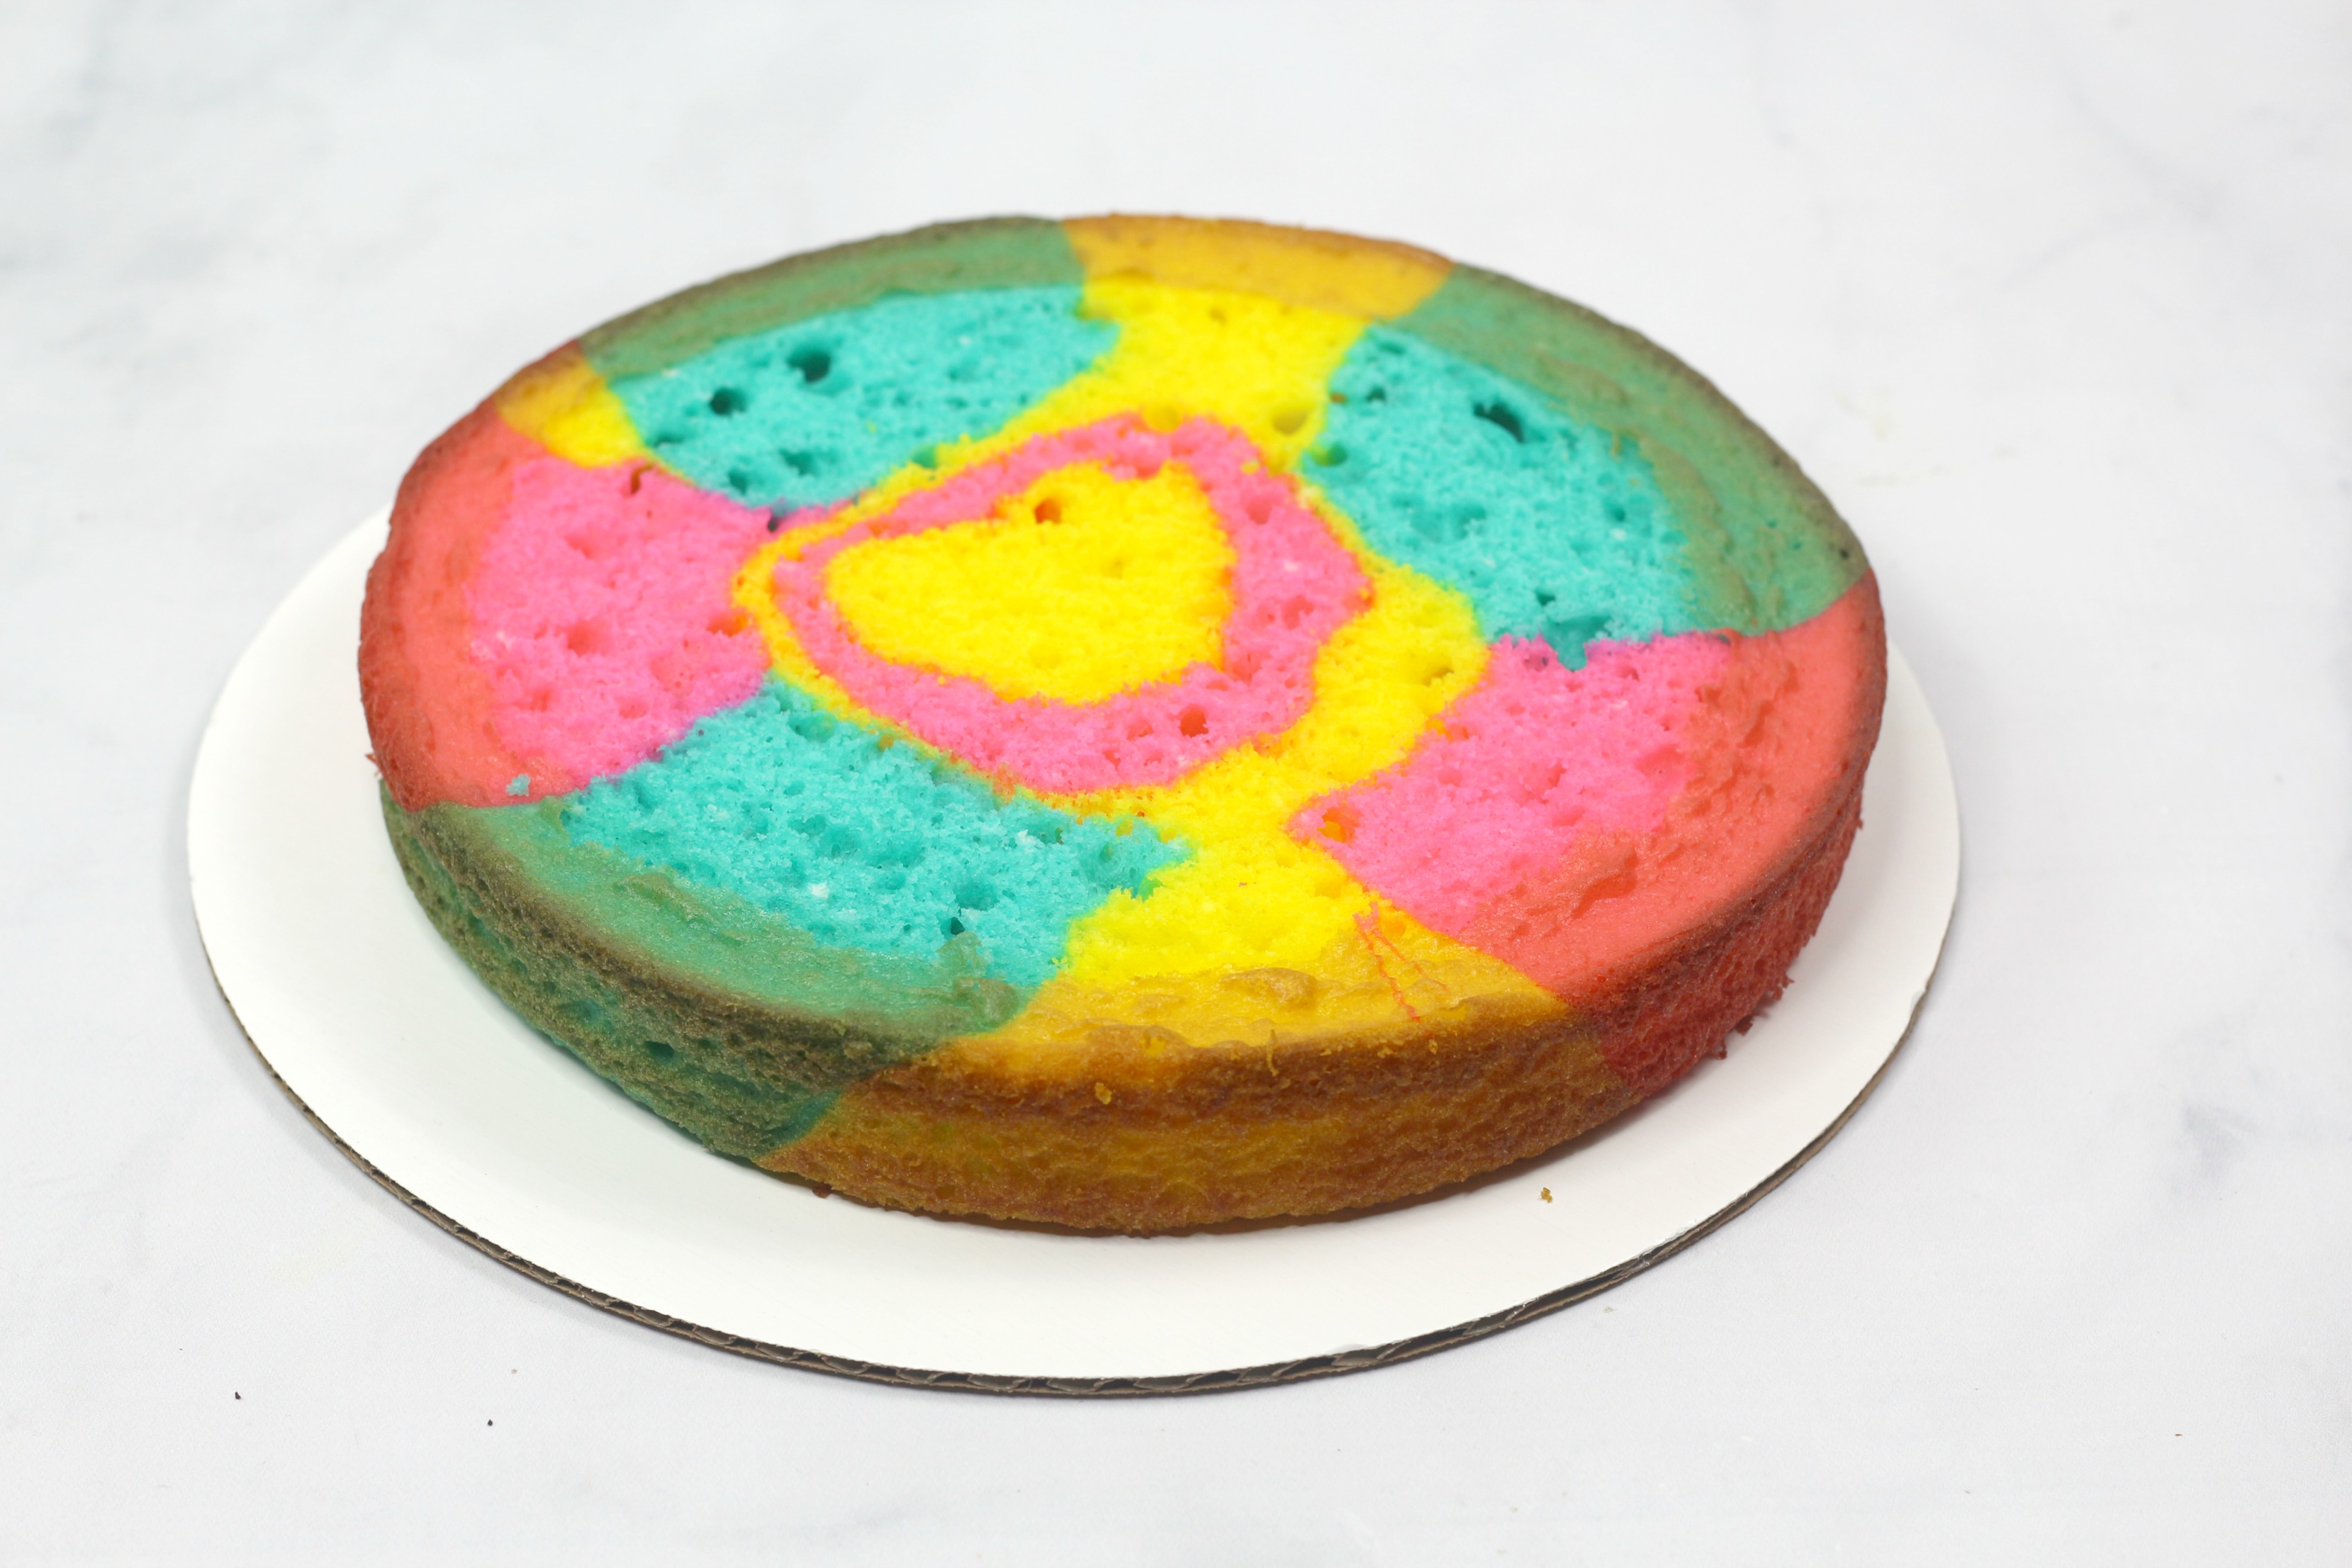
Use a cake leveler to remove the domed top from each layer. Flat layers make the finished cake much easier to stack.
How to Prevent Cake Color Bleeding
Color bleeding usually happens when the batter is overmixed or when the cake is still warm during decorating. Stir each color only until it is combined, and let the cake cool completely before adding frosting.
For the cleanest tie-dye pattern, use gel food coloring and add the batter in small scoops. Don’t drag a spoon through the colors. If the colors touch a little, that’s fine. The baked cake should have a playful patchwork look, not perfect stripes.
How to Make the Vanilla Frosting
Add the softened butter to the bowl of a stand mixer. Beat until smooth and creamy.
Slowly add the powdered sugar, one cup at a time. Mix on low speed at first so the sugar doesn’t fly everywhere.
Add the vanilla extract and heavy whipping cream. Beat until the frosting is smooth and stiff enough to hold its shape.
Scoop 1 cup of frosting into each of three small bowls.
Tint one bowl pink, one bowl yellow, and one bowl teal.
Add black gel food coloring to the remaining frosting. Mix until the frosting is a deep black color.
Place each color into its own piping bag. Put about 1/2 cup of black frosting into a fourth piping bag for the dress outline and details.
If the black frosting looks gray, add a little more black gel coloring and let it sit for a few minutes. The color often becomes darker as it rests.
How to Assemble This Nightmare Before Christmas Cake
Many people get intimidated when they frost a layer cake, but it really isn’t hard. Add a generous scoop of frosting to the top of each layer, then slowly spread it across the cake with an angled spatula.
Place the first leveled cake layer on the cake board.
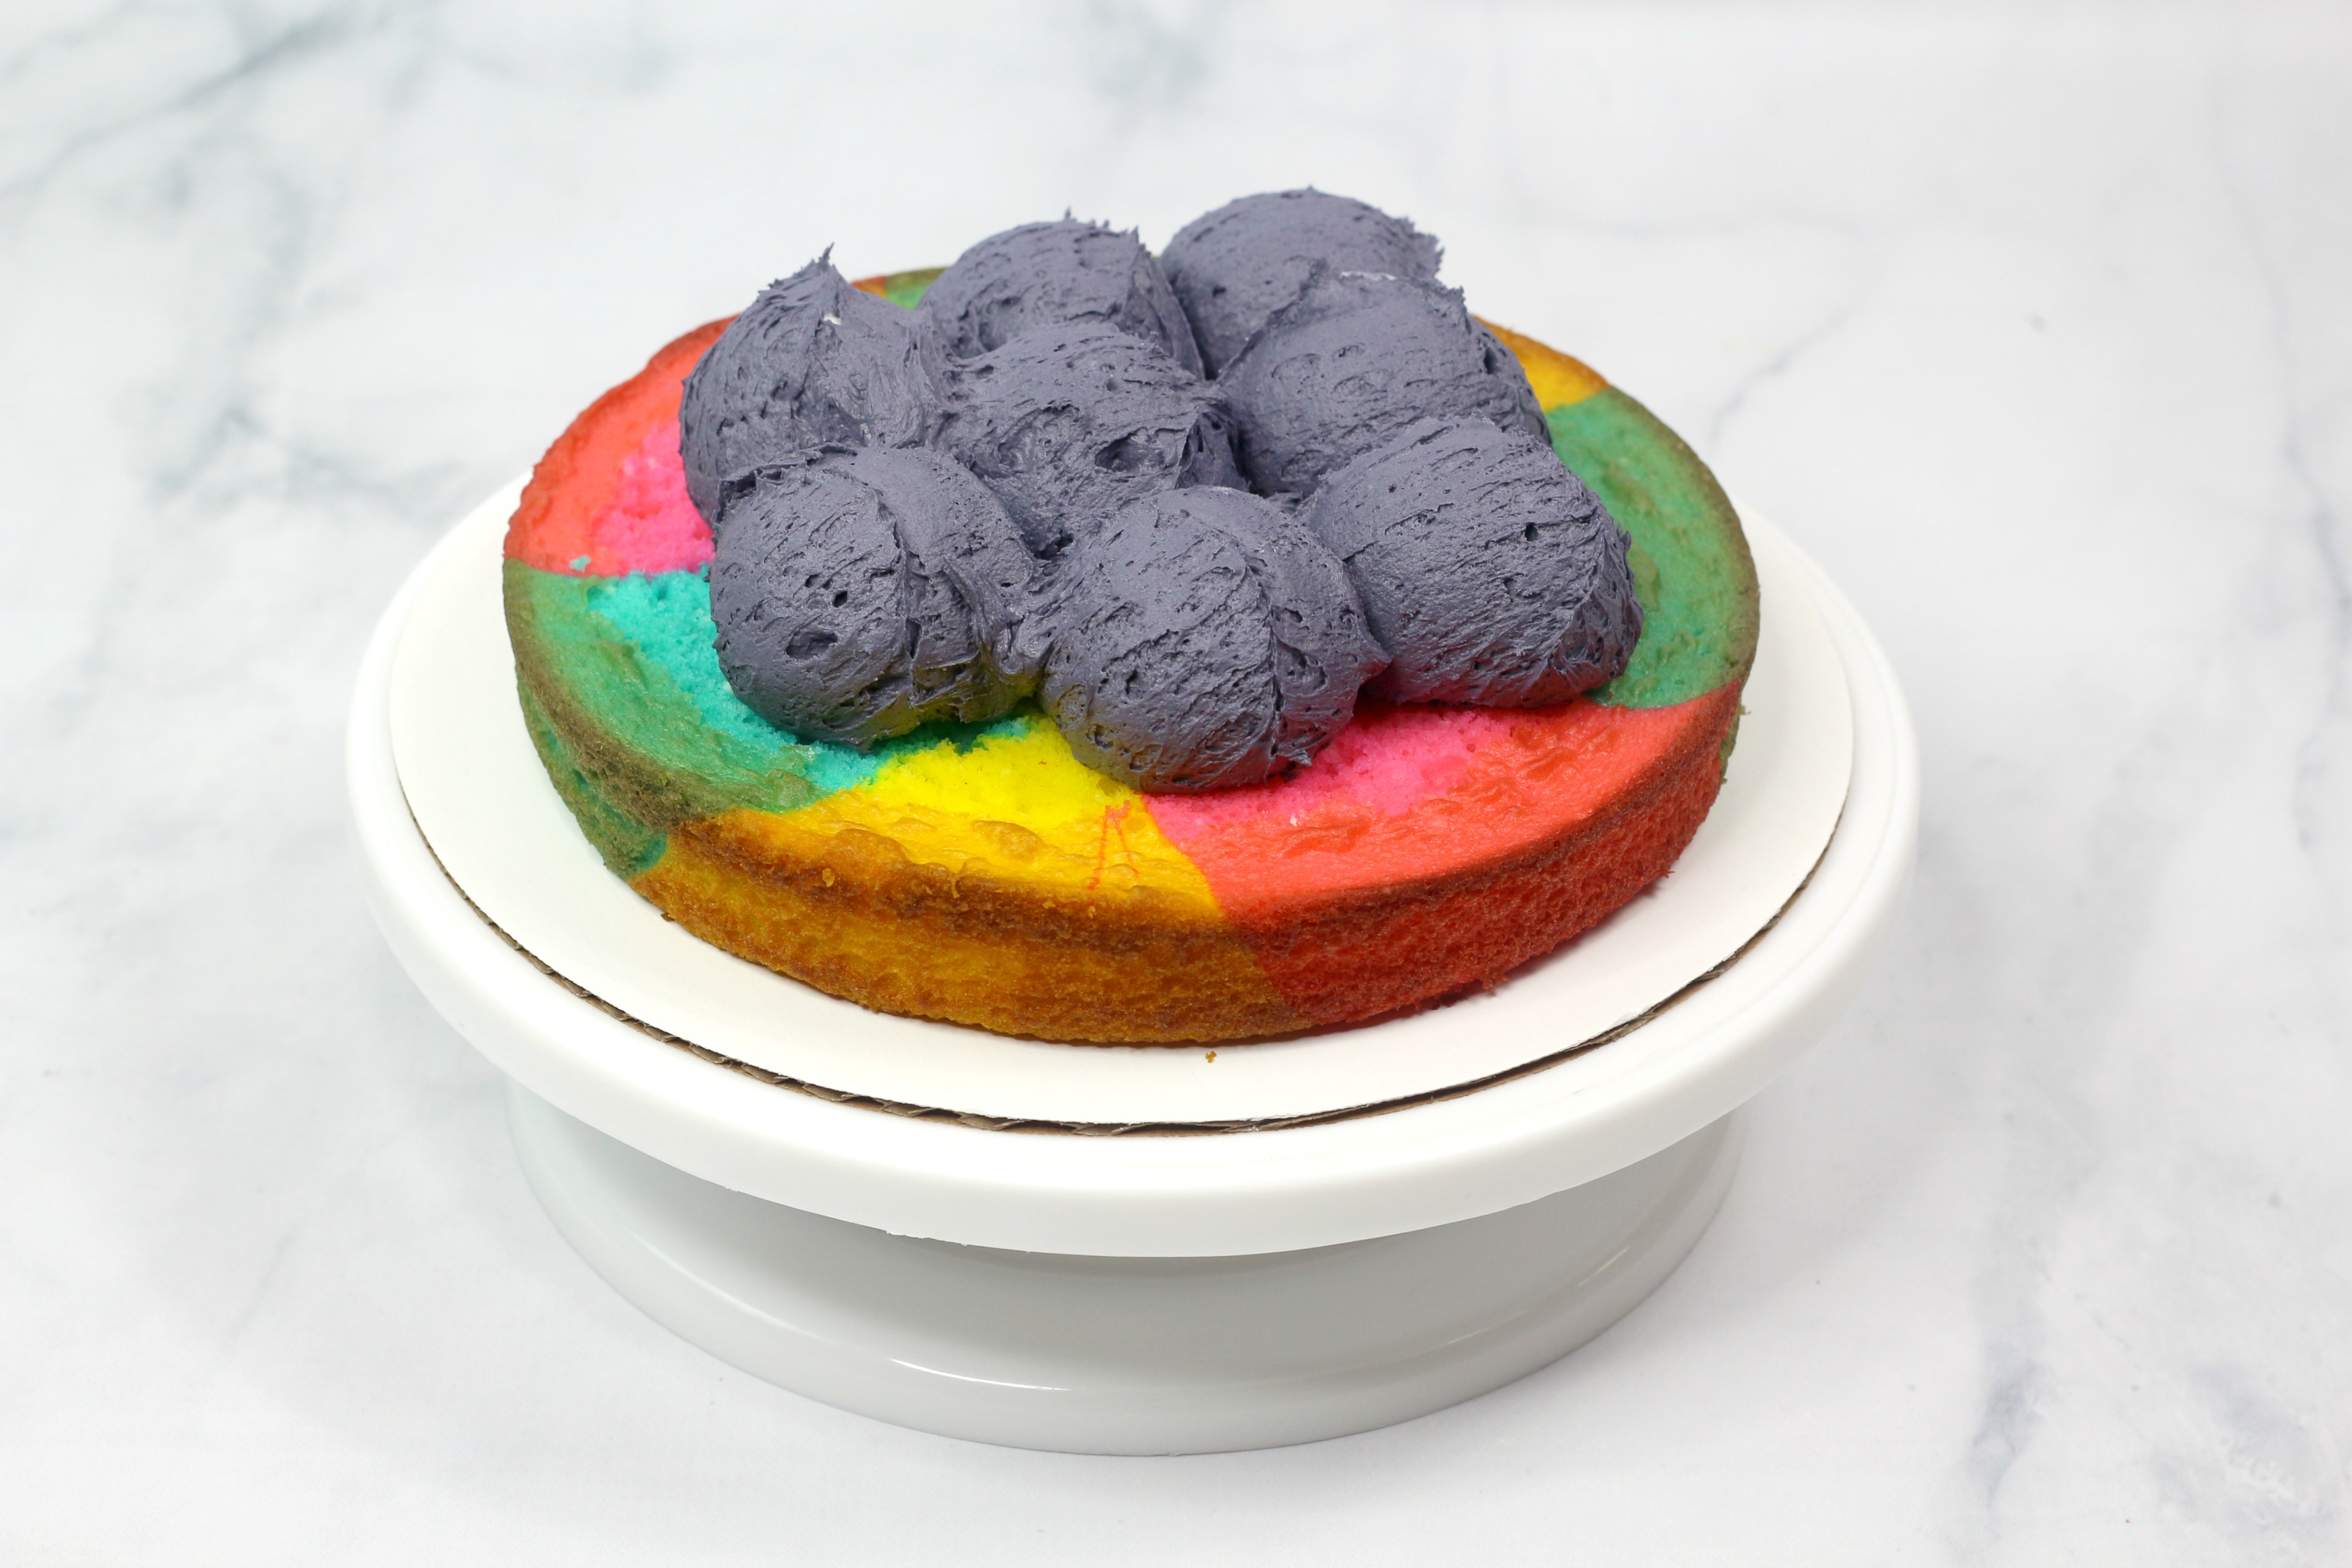
Spread about 1 cup of black frosting across the top.
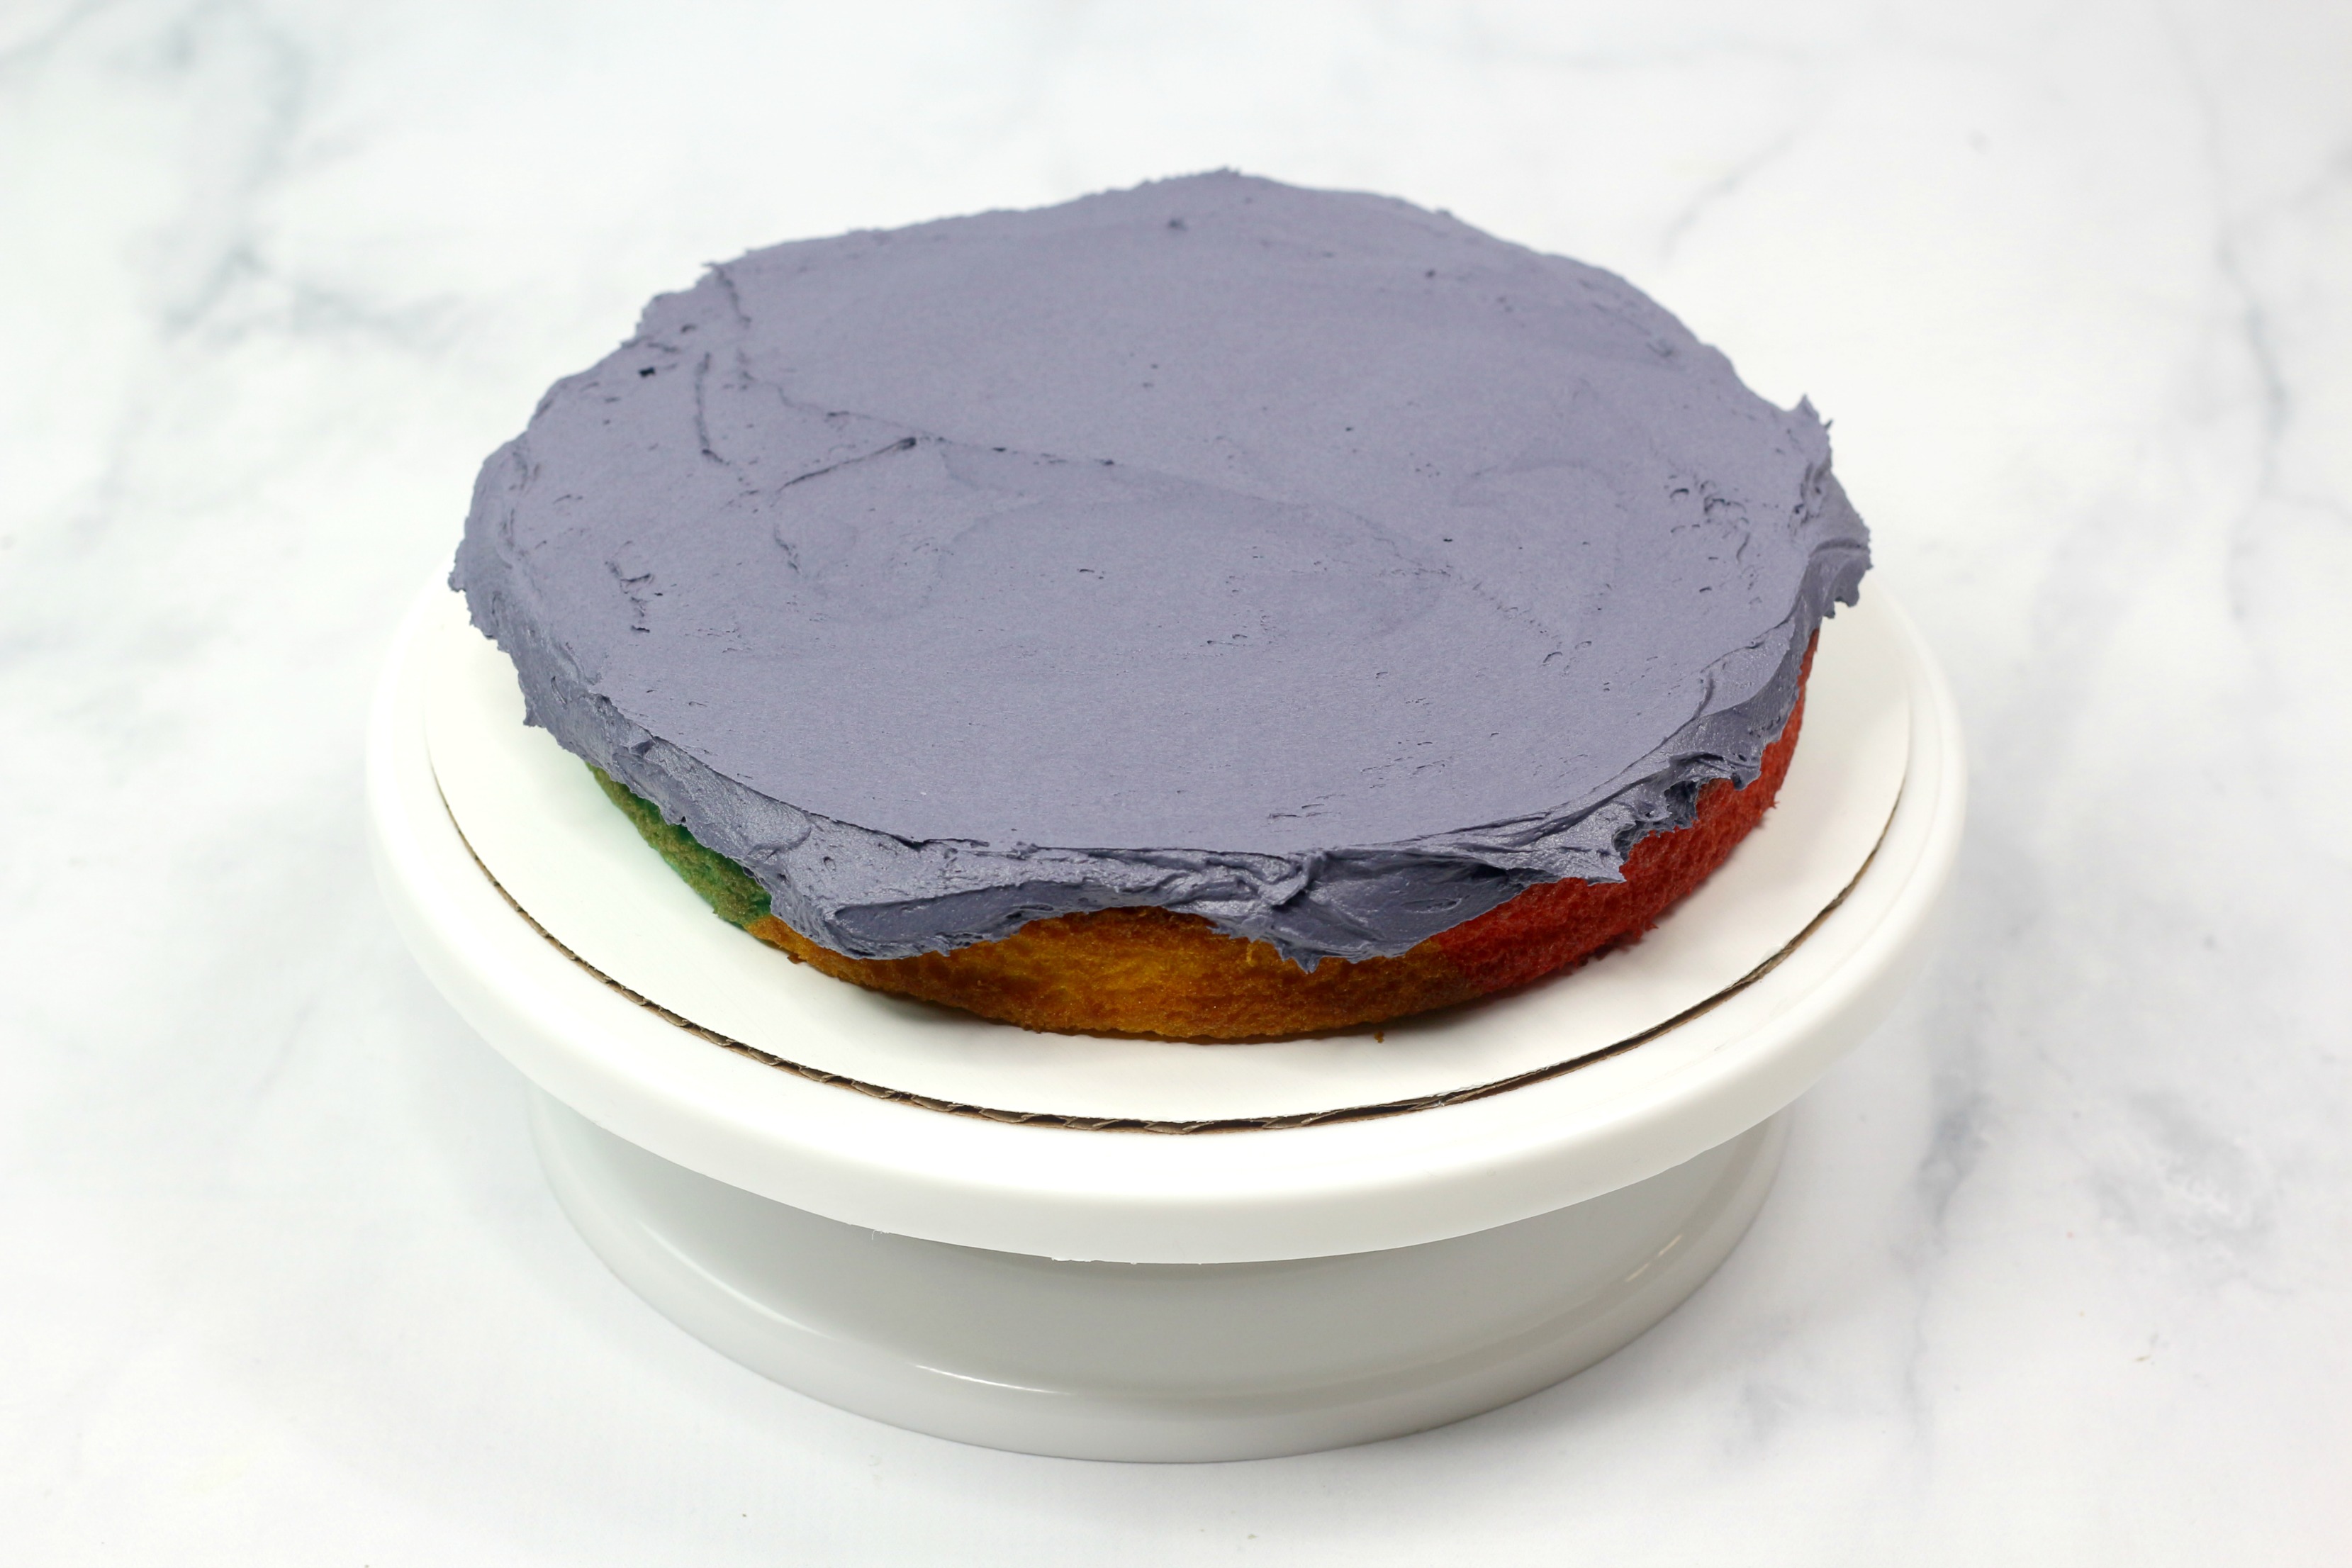
Add the second cake layer and gently press it into place.
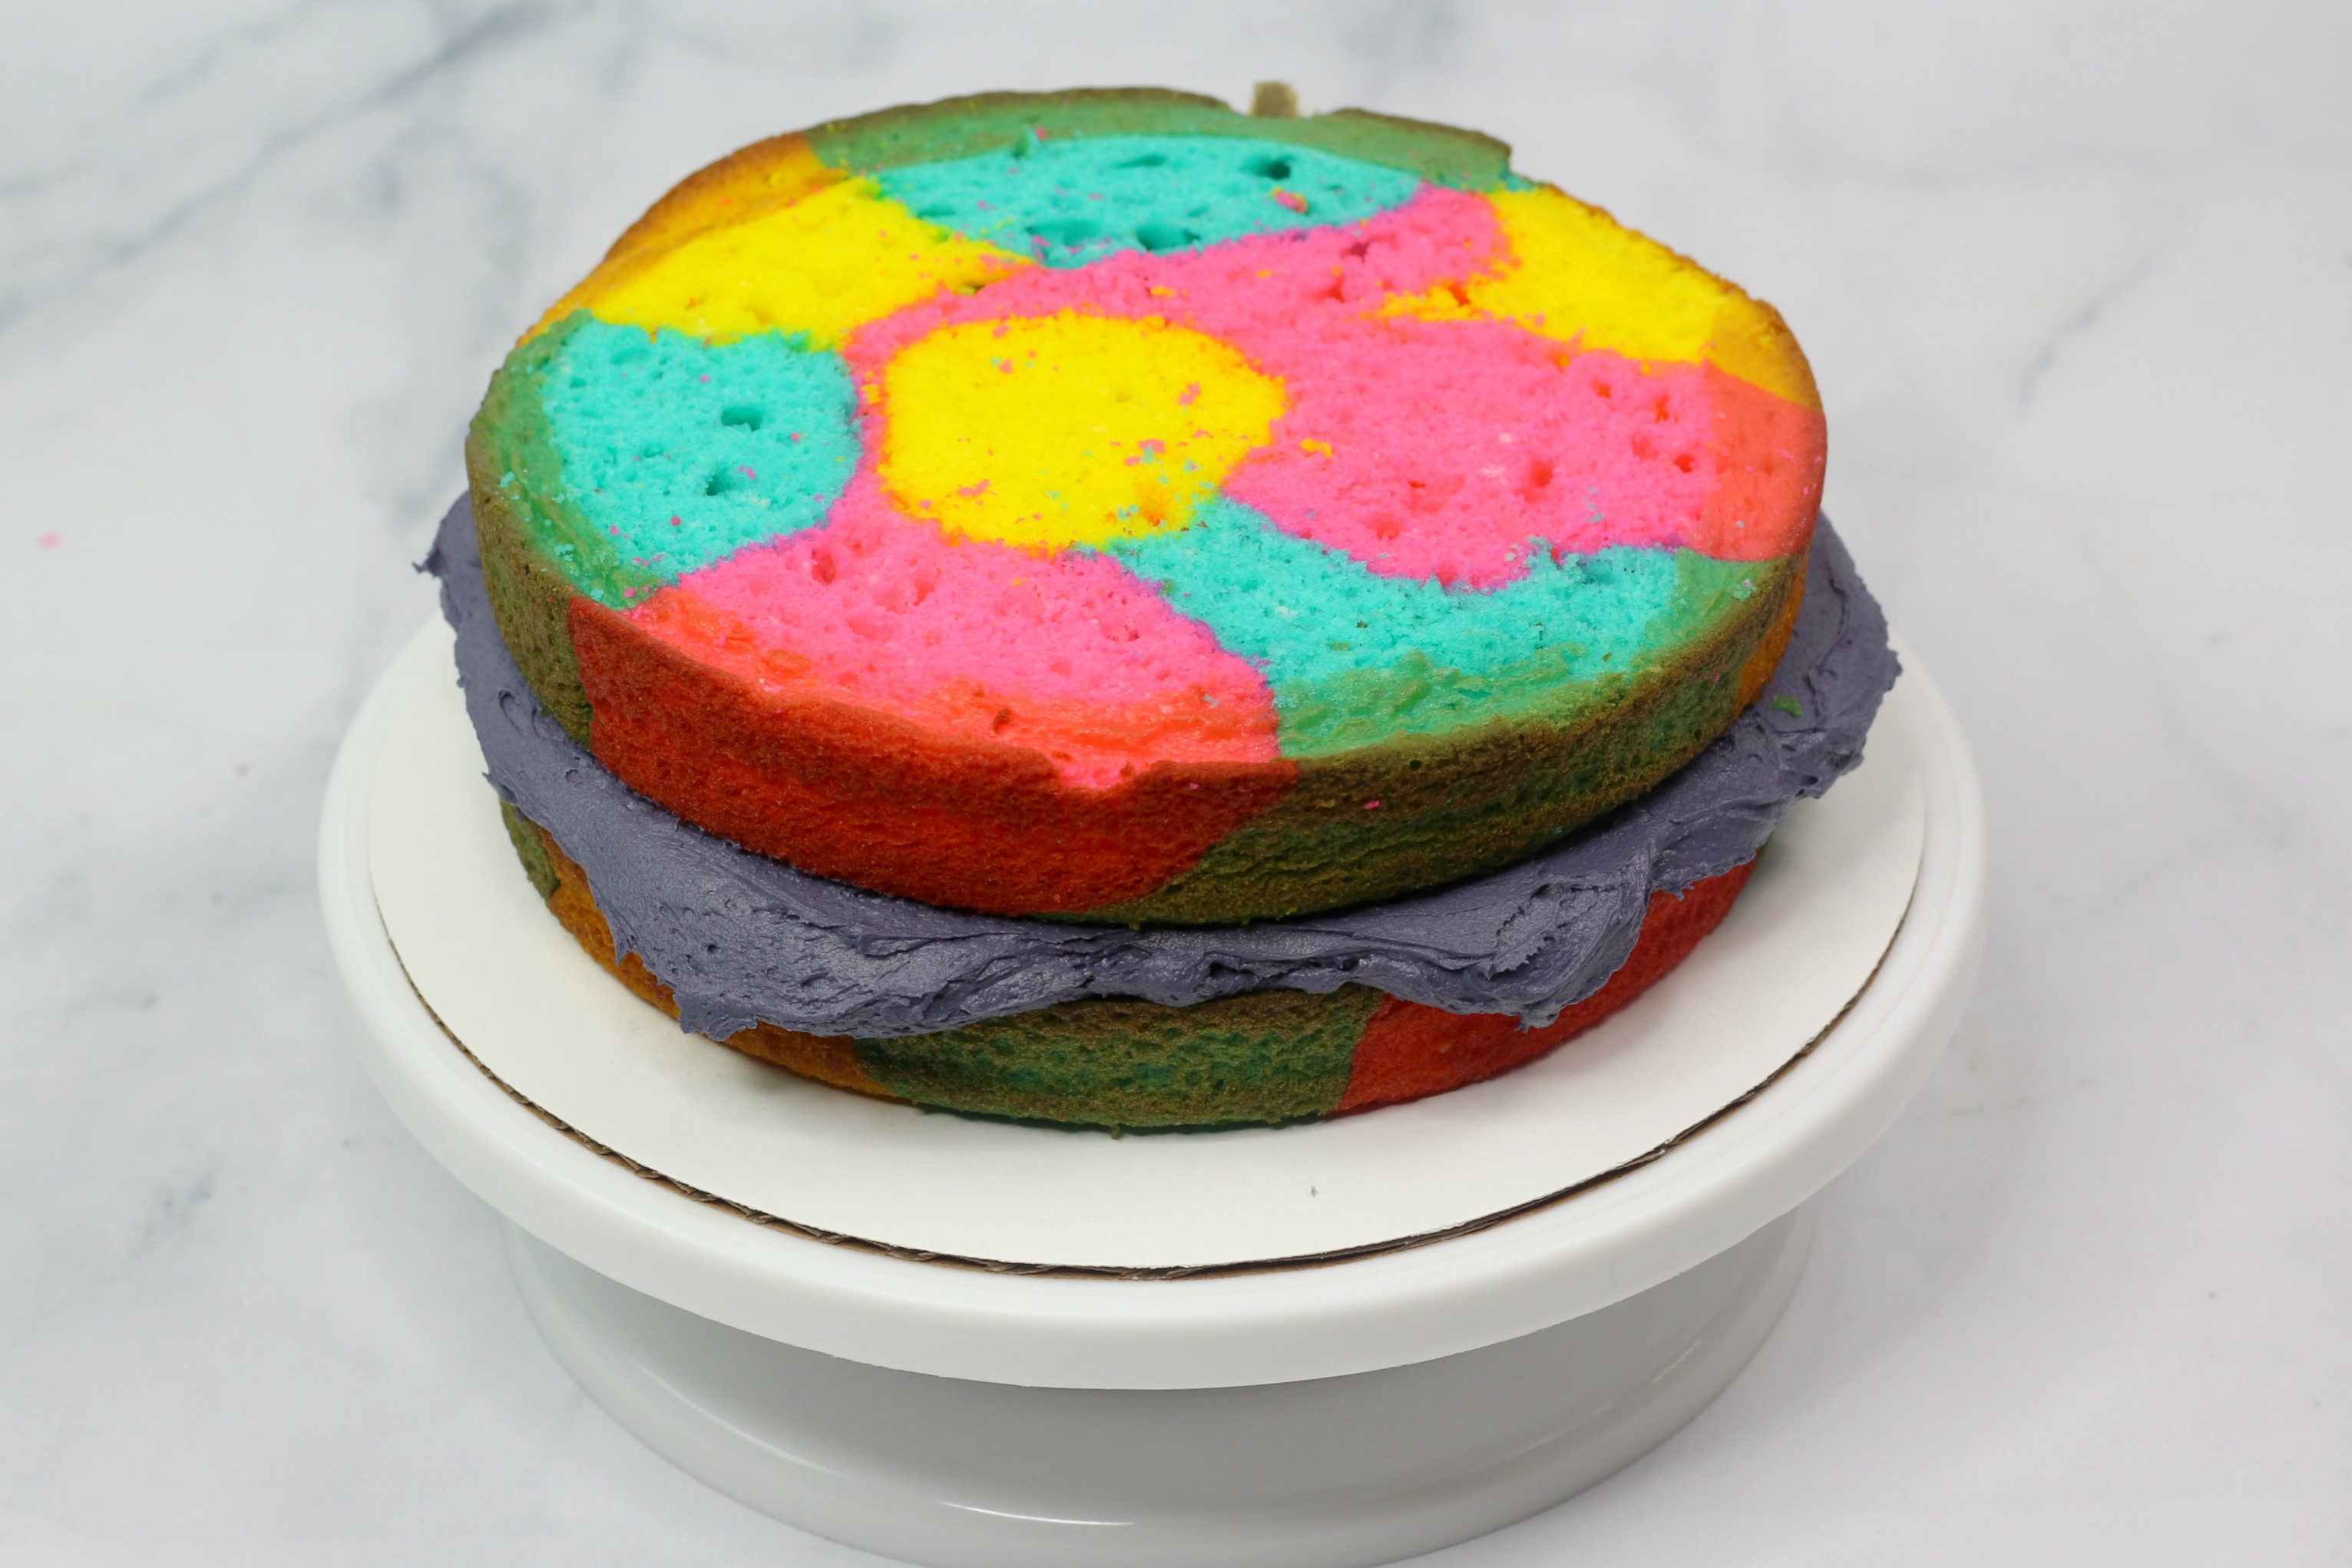
Spread another cup of frosting over the second layer.
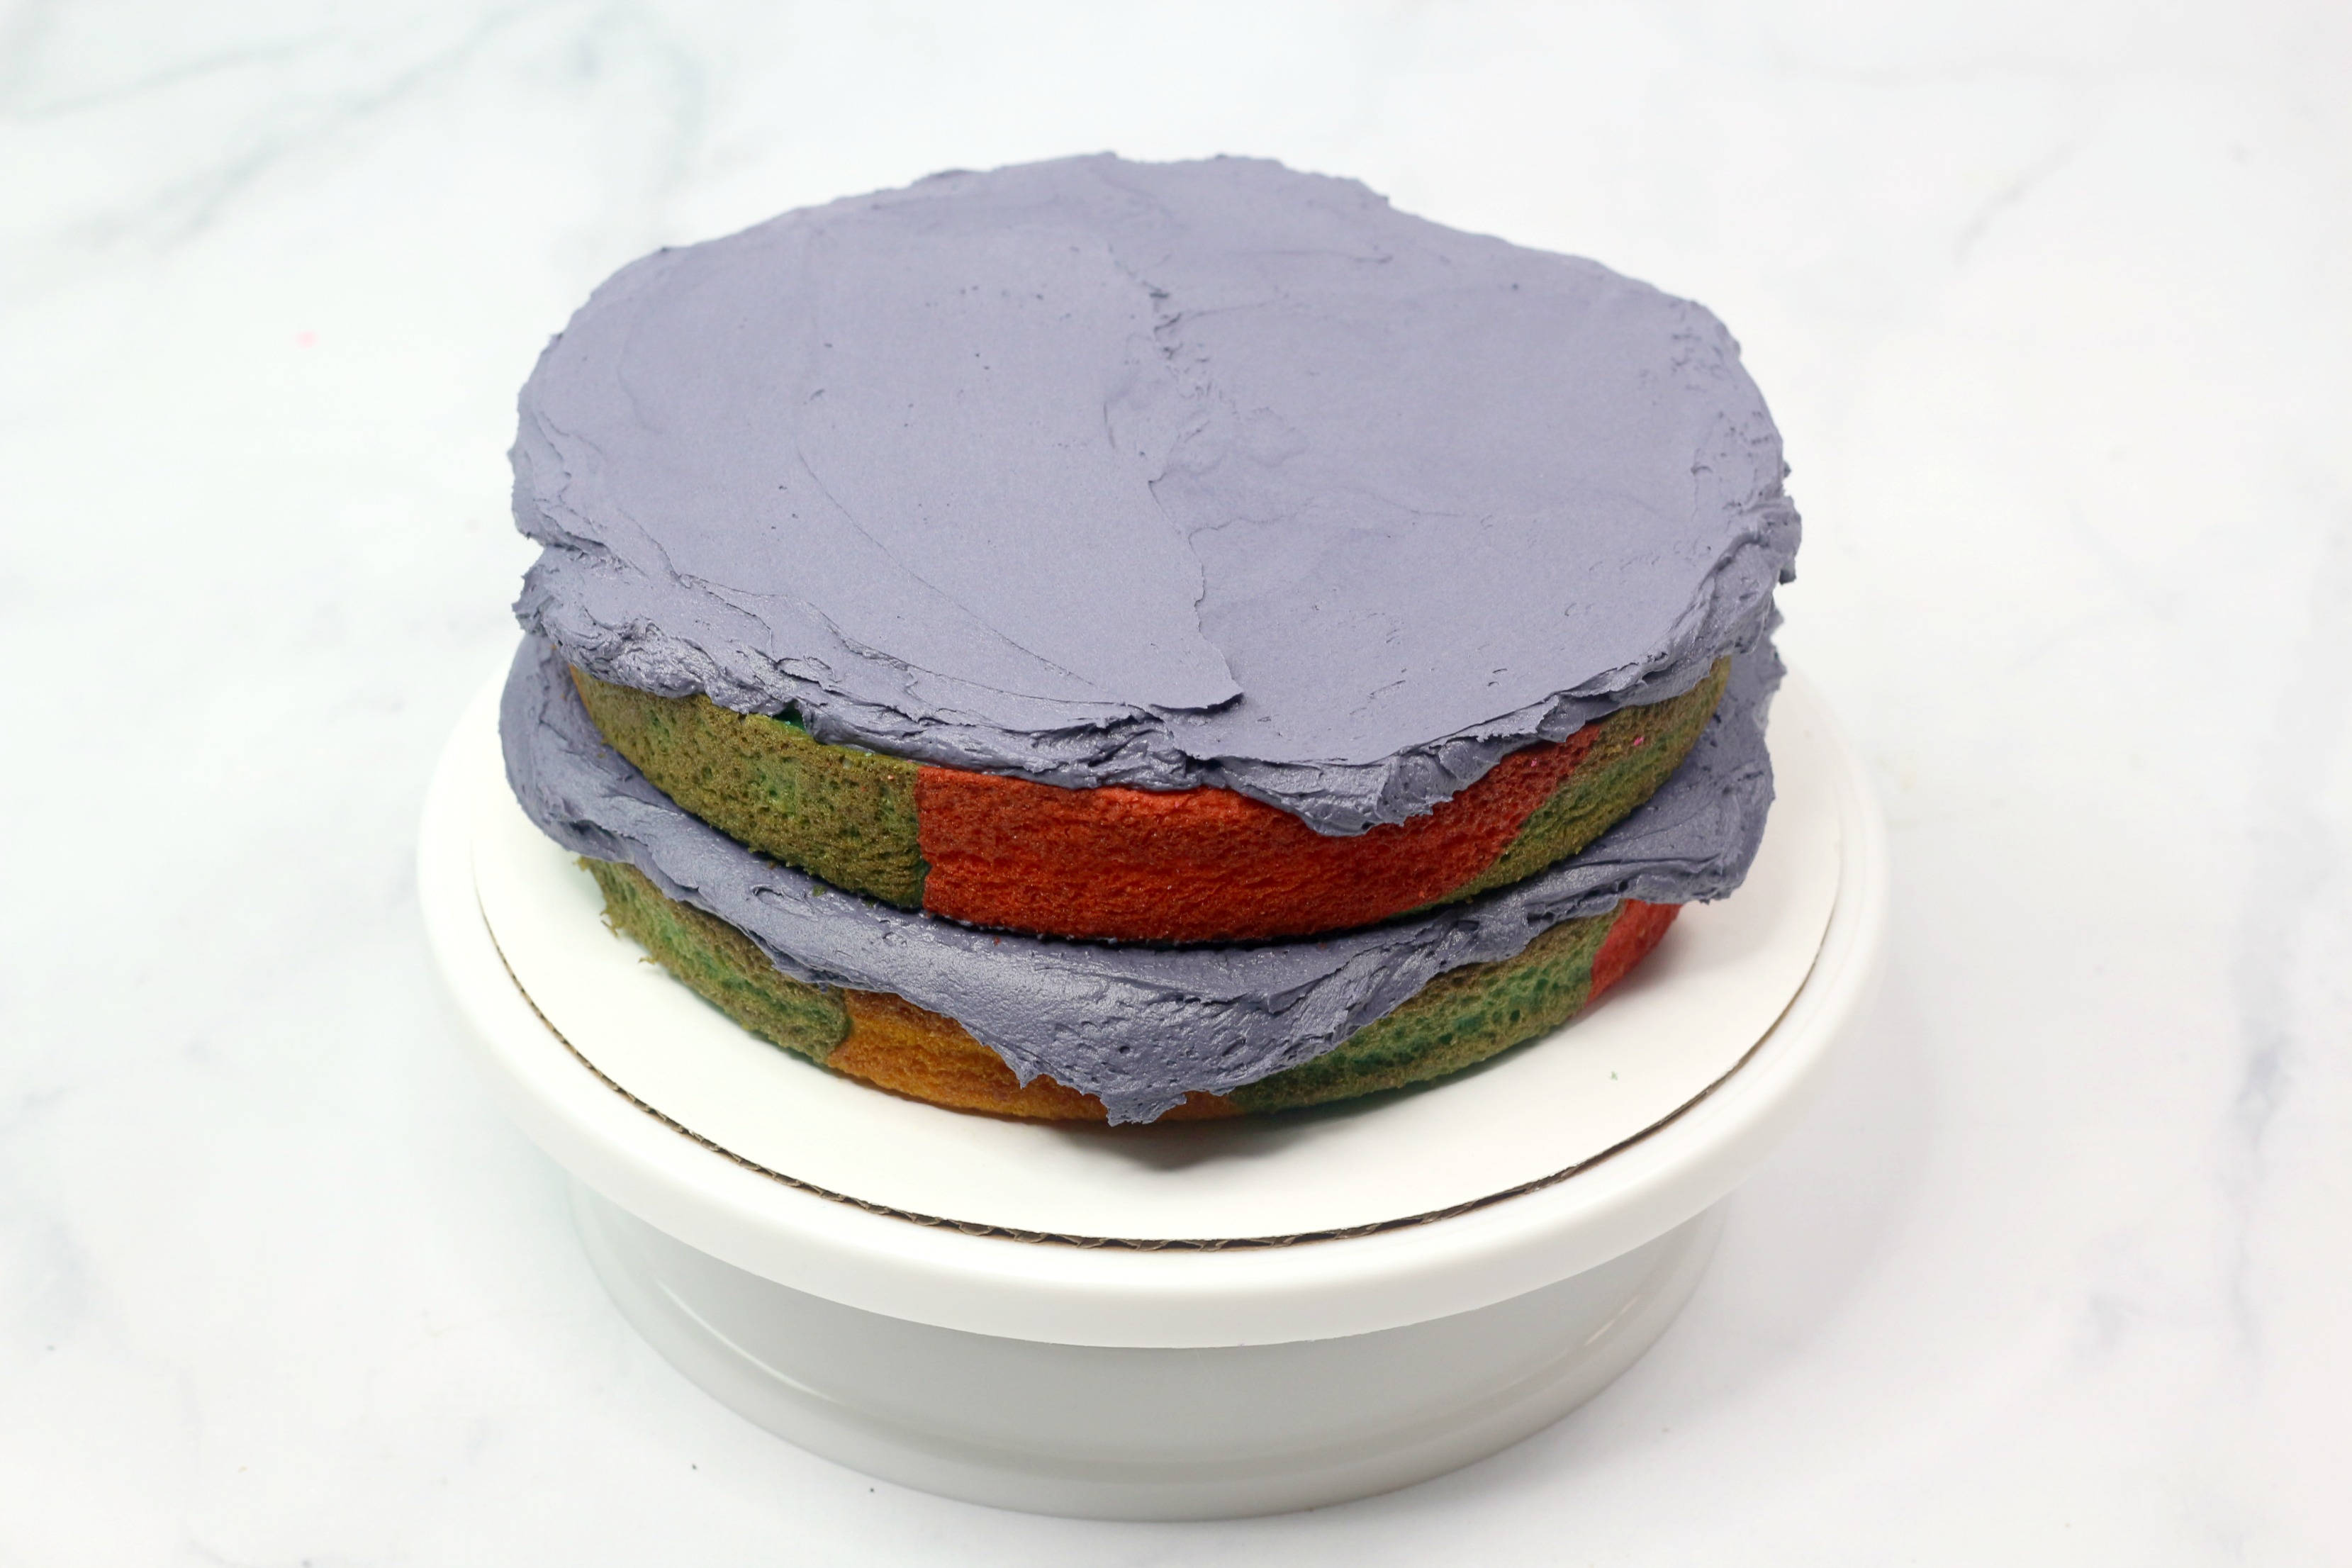
Place the final cake layer on top.
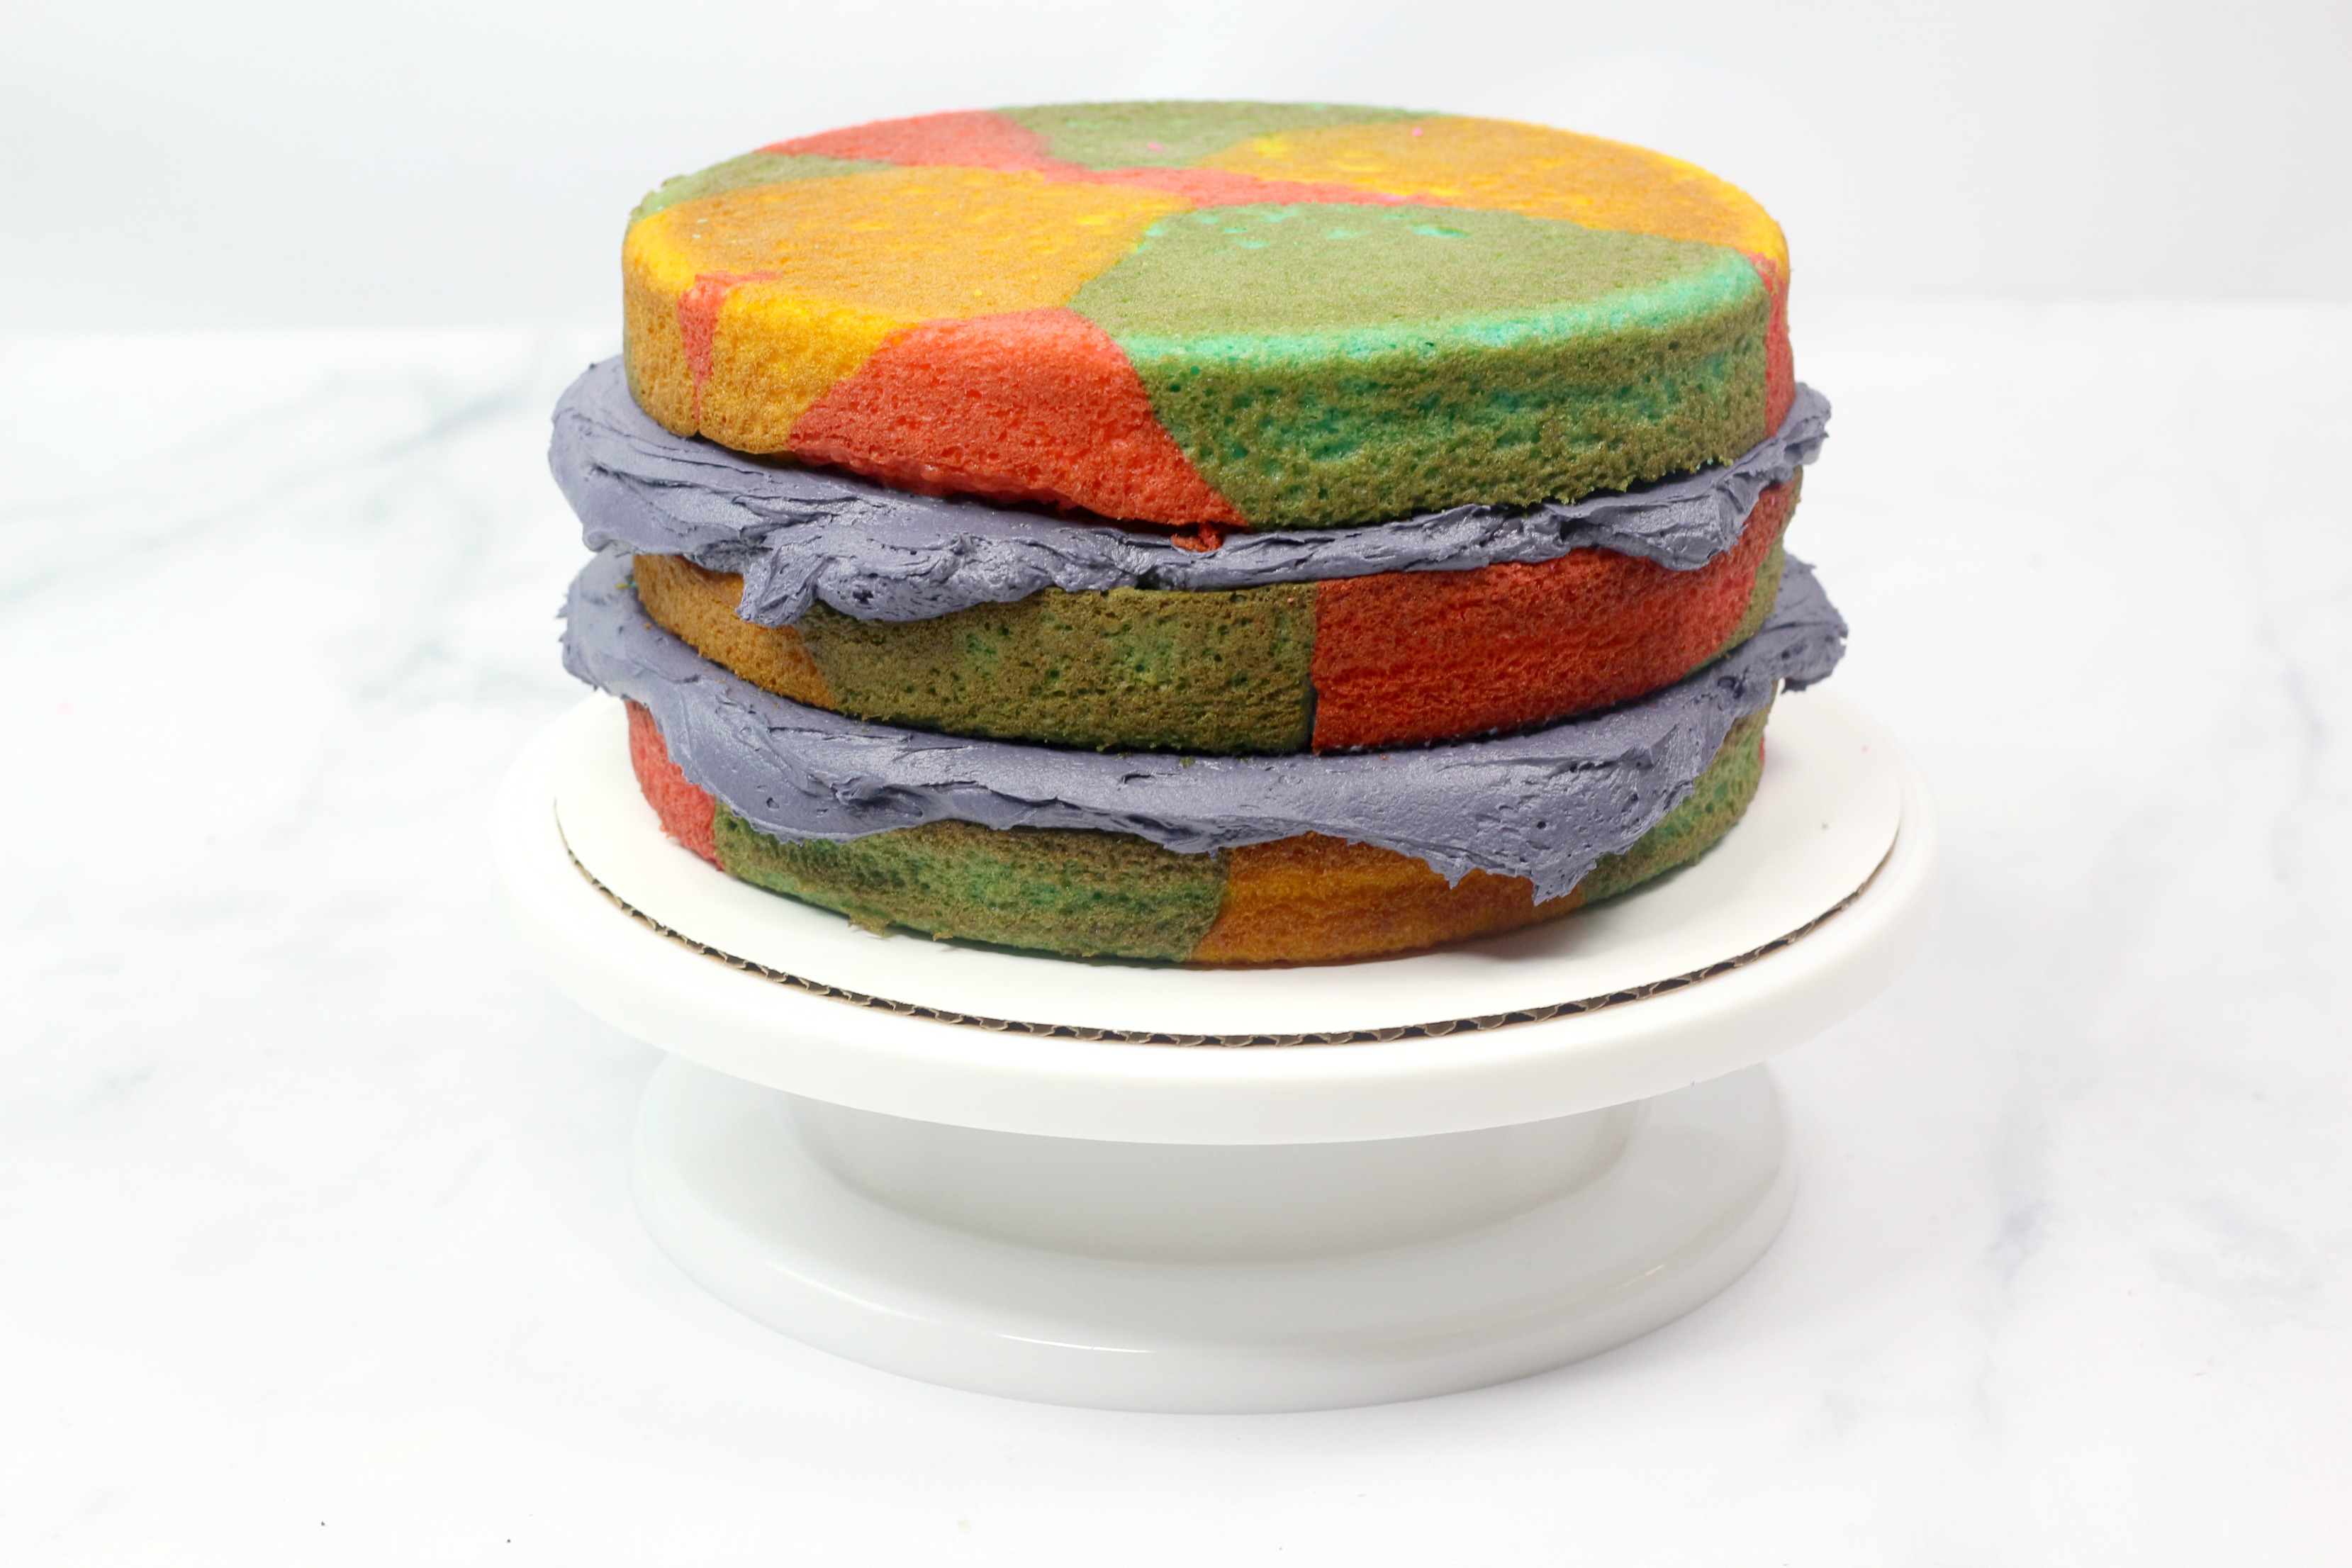
Cover the top and sides of the cake with the remaining black frosting.
Use the angled spatula to smooth the frosting. It doesn’t have to be perfect because the black frosting is the background for Sally’s dress.
Refrigerate the cake for several hours. Chilled frosting is easier to decorate and helps keep the layers steady.
A cake turntable makes this step faster, but you can also rotate the cake board by hand. Take your time around the sides, and add more frosting to any thin spots.
Sally Cake Nightmare Before Christmas Decorating Tutorial
Sally’s dress has a colorful patchwork design with black lines separating the different pieces. You can copy that look on the cake with a black piping bag and four bright frosting colors.
- Snip the tips off the four piping bags.
- Use the black frosting to pipe uneven lines across the cake. Create squares, rectangles, triangles, and a few crooked sections. Sally’s dress doesn’t need perfectly straight lines.
- Fill some of the sections with pink frosting.
- Fill other sections with teal frosting.
- Add yellow frosting to a few more sections.
- Leave some sections black or use black frosting to add extra contrast.
- Pipe small stitches, buttons, and short lines inside the patchwork sections.
- Add a black border around each colored piece so the dress pattern stands out.
The easiest way to decorate Sally’s dress is to work in small sections. Start with the black outline, fill in a few spaces, and then add the details once the colors are in place. Wilton piping bags and decorating tips work well for this design, but any disposable piping bags will do.
For more Nightmare Before Christmas cake decorations, add black stitches around the edges, a fondant spider, edible glitter, or a small Nightmare Before Christmas cake topper. You can also place a Jack Skellington topper in the center for a fun jack and sally cake design.
How to Make This Cake Without Box Mix
You can make this easy Nightmare Before Christmas cake with your favorite scratch vanilla cake recipe. Prepare enough batter for three 9-inch layers, then divide the batter into three bowls and tint each bowl pink, yellow, and teal.
A basic scratch vanilla cake can include flour, sugar, baking powder, salt, butter, eggs, milk, and vanilla extract. Cream the butter and sugar first, add the eggs and vanilla, then mix in the dry ingredients and milk. Divide the finished batter before adding the gel food coloring.
The same decorating method works with a scratch cake. The important steps are using an even amount of batter in each pan, cooling the layers fully, and leveling the tops before assembly.
Buttercream or Cream Cheese Frosting?
Vanilla buttercream is the best choice for this design because it pipes clean lines and holds its shape well. It also gives you a smooth black coating for Sally’s dress.
Cream cheese frosting can work if you prefer its flavor, but it is softer and may need extra chilling before decorating. It also may not hold small piping details as well as buttercream. For a character cake with patchwork lines, buttercream is the easier option.
Cake Ideas for Jack, Sally, and Oogie Boogie
There are plenty of Nightmare Before Christmas cake ideas you can use for a themed party.
- Make a Jack Skellington cake by covering the cake in white frosting and piping on his black eyes, nose, mouth, and stitched smile.
- Create a Jack and Sally cake by using Sally’s patchwork design on one side and Jack’s black-and-white suit on the other.
- Use green frosting and black piping for an Oogie Boogie cake.
- Make cupcakes with black, teal, pink, and yellow frosting for an easy dessert table.
- Turn the recipe into a Nightmare Before Christmas sheet cake by baking the batter in a greased sheet pan and decorating the top with Sally’s dress pattern.
- Add a small cake topper to a simple round cake for one of the easiest nightmare before christmas birthday cake ideas.
- Use black and white frosting with a Jack topper for a simple Nightmare Before Christmas birthday cake.
- Add edible spiders, bats, pumpkins, and stitched borders for extra nightmare before christmas food ideas.
This recipe is also easy to adapt into a sally nightmare before christmas cake, a sally nightmare before christmas birthday cake, or a larger birthday cake nightmare before christmas design.
How Many Servings Does This Cake Make?
A three-layer cake made in 9-inch round pans usually gives you about 16 to 20 party slices, depending on how large you cut each piece. For a larger party, make a sheet cake or add cupcakes to the dessert table.
If you are planning a Halloween party or birthday party, cut the cake into smaller pieces and serve it with cookies, cupcakes, or other Nightmare Before Christmas desserts. A simple Nightmare Before Christmas cake like this one can be the centerpiece, while smaller treats give guests more choices.
How Long Does the Cake Last?
When stored properly, this tie-dye cake lasts about 4 to 5 days. It rarely lasts that long in my house, but it’s helpful to know if you are making it ahead of time.
Keep the cake covered at room temperature for the best texture. A cake cover and stand protects the frosting from air while letting you show off the decorations.
You can also store the cake in the refrigerator. Refrigeration may give it a few extra days, but it can make the cake taste dry. If you refrigerate it, let the cake sit at room temperature for a short time before serving.
How to Freeze Sally Layer Cake
Decorated cake freezes best when the frosting is firm.
- Cut the cake into slices and arrange them on a plate or baking sheet.
- Freeze the slices until the frosting is solid.
- Wrap each slice carefully in plastic wrap. Freezing the frosting first keeps it from sticking to the plastic.
- Place the wrapped slices in freezer bags to protect them from freezer burn.
- When you are ready to eat the cake, remove the plastic wrap while the slices are still frozen. This helps keep the frosting from pulling away.
- Thaw the cake in the refrigerator or on the counter before serving.
Frequently Asked Questions
Can I make this into a night before christmas cake for a party?
Yes. This cake works well for Halloween parties, Christmas parties, movie nights, and birthdays. Add a Jack Skellington or Sally topper to match the celebration.
Can I make a Jack Skellington cake instead?
Yes. Cover the cake in white frosting and use black frosting to pipe Jack’s face. You can also make half of the cake Jack’s face and use Sally’s patchwork design on the other half for one of the best Jack and Sally cake ideas.
What flavors work with the vanilla frosting?
Chocolate, red velvet, funfetti, and spice cake all taste good with vanilla buttercream. You can even use a black forest cake for a richer chocolate version, then decorate it with Jack’s black-and-white design.
What piping tip should I use for Sally’s dress?
A small round piping tip works well for the black outlines, stitches, and dress details. Use a larger round or star tip for filling the colored sections. If you don’t have decorating tips, snip a small opening in the piping bags and pipe carefully.
Why did my tie-dye colors turn muddy?
The colors may have been mixed too much before baking. Add the batter in separate scoops, and don’t stir the colors together in the pan. Gel food coloring also helps create brighter, cleaner shades.
Can I make cupcakes instead of a layer cake?
Yes. Divide the colored batter among cupcake liners, bake until a toothpick comes out clean, and decorate each cupcake with a small Sally dress pattern. Cupcakes are a great choice when you want individual Nightmare Before Christmas cakes for a party.
Want More Halloween recipes?
- Bloody Red Velvet Cocoa- Halloween Treat
- Creepy Spaghetti with Deviled Eyes | Spooky Spaghetti for a Halloween Party
- Creepy Crawly Halloween Treats Kids Will Love
Sally Nightmare Before Christmas Layer Cake
Equipment
- 3 9inch round cake pans
- 10 inch round cake board
- cake leveler
- 4 disposable piping bags
- 1 angled spatula
Ingredients
- 2 boxes French Vanilla Cake mix
- 6 large eggs
- 2 C whole milk
- 1 C unsalted sweet cream butter softened
- Pink Yellow and Teal Gel Food coloring
Vanilla Frosting
- 3 C unsalted sweet cream butter softened
- 6 C powder sugar
- 5-7 tbsp heavy whipping cream
- 1 tbsp pure vanilla extract
- 1 tbsp pure vanilla extract
- Pink Yellow, Teal and Black Gel Food coloring
Directions
- Preheat oven to 350 degrees and spray cake pans with pam baking spray
- Follow the directions on the back of the cake boxes
- Divide the batter into three bowls
- Mix a few drops of pink gel food coloring into 1 one bowl until combined
- Mix a few drops of yellow gel food coloring into the second bowl until combined
- Mix a few drops of teal gel food coloring into third bowl until combined
- Scoop about 1/4 C of the yellow cake batter into the cake pan
- Scoop 1/4 C of the teal cake batter into the cake pan next to the yellow
- Scoop 1/4 C of the pink cake batter into the cake pan on top of the teal
- Repeat steps one more time in one pan
- Repeat steps in the remaining two cake pans
- bake in the oven for 25-35 minutes or until a toothpick comes out clean
- Allow to cool completely
- Remove the cakes from the cake pans and place them onto a cutting board
- Place one cake onto the cake board and use the cake leveler to remove the dome from the cake
- Repeat steps with remaining two layers
Vanilla frosting directions
- Using a standing mixer, combine all ingredients except the food coloring and beat until smooth and stiff peaks form
- Scoop 1 C of frosting into 3 bowls bowls
- Mix in the several drops of black food coloring into the remaining frosting
- Mix in 1 color into each bowl
- Scoop each color into its own piping bag
- Scoop 1/2 C of Black frosting into the 4th piping bag
Building the cake
- Place one cake layer onto the cake board
- Scoop about 1 C of black frosting onto the first cake layer and spread evenly
- Place the second cake layer on top of the first layer of frosting
- Scoop another C of frosting on top of the second layer of cake and spread evenly
- Place the last cake layer on top
- Using the remaining black frosting frost entire cake and smooth frosting
- Place into the fridge for several hours
Decorating the cake
- Cut the tips off the four disposable piping bags
- Using the black piping bag, pipe out the lines of Sally’s dress
- Take the Pink frosting and fill in a few of the squares or rectangles
- Take the teal frosting and fill in a few of the squares or rectangles
- Repeat the steps with the yellow and black frosting
- Using the remaining the black frosting, pipe out the details of the dress
- Place into the fridge again to allow the frosting to harden up
- Cut into the slices and enjoy!

Leave a Reply