
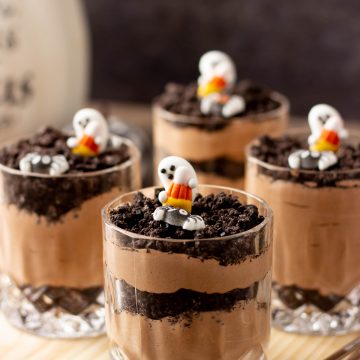
Looking for a spooky treat that the whole family will love? These Halloween Dirt Pudding Cups are easy to make, fun to decorate, and perfect for a Halloween party, potluck, birthday party, or movie night at home.
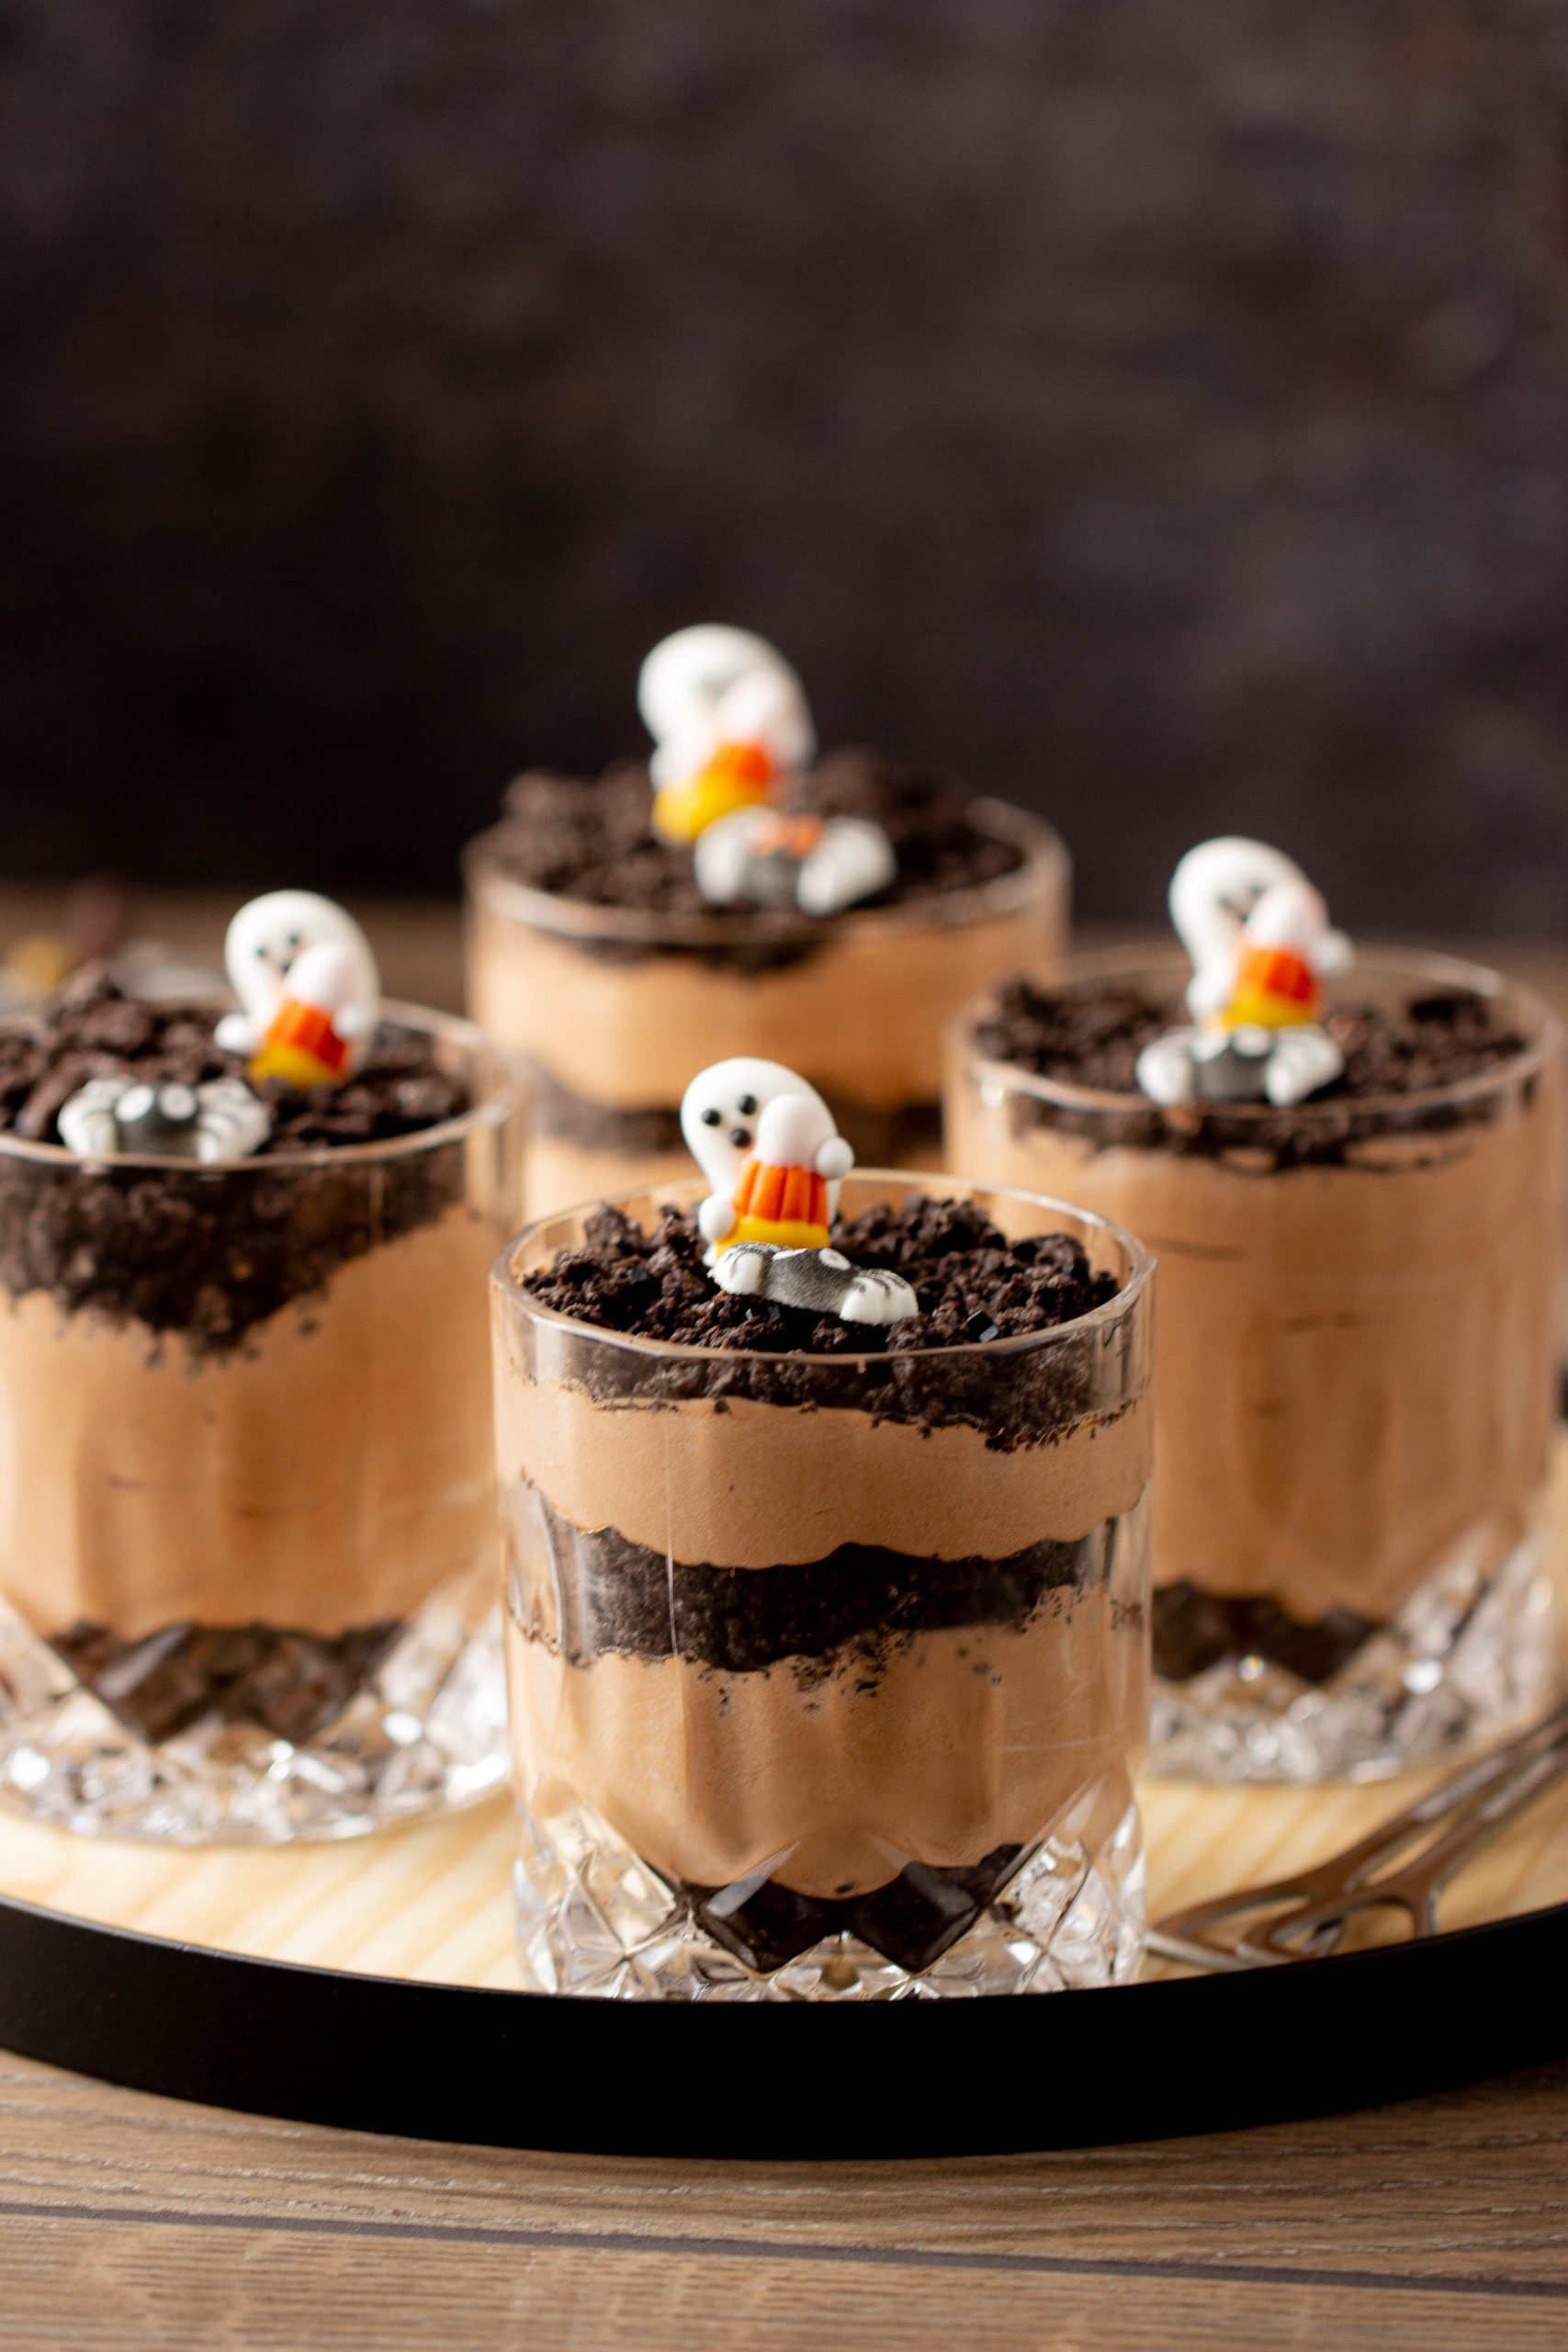
This dirt pudding Halloween dessert uses fudgy brownies, creamy chocolate pudding, crushed Oreos, and cute Halloween candy toppers. The kids can help with almost every step, especially crushing the cookies and decorating the tops!
Halloween Pudding Cups
These Halloween pudding cups look like little cups of dirt, but they taste like chocolate brownies, cookies, and fluffy pudding. What could be better?
They are also a no-bake-style dessert once the brownies are ready. You can bake brownies from a mix, use your favorite homemade recipe, or pick up a package of prepared brownies to save time.
What Is Dirt Pudding?
Dirt pudding, sometimes called dirt cake, is a layered dessert made with pudding, crushed cookies, brownies, and candy. The crushed chocolate cookies look like dirt, which makes this dessert especially fun for Halloween.
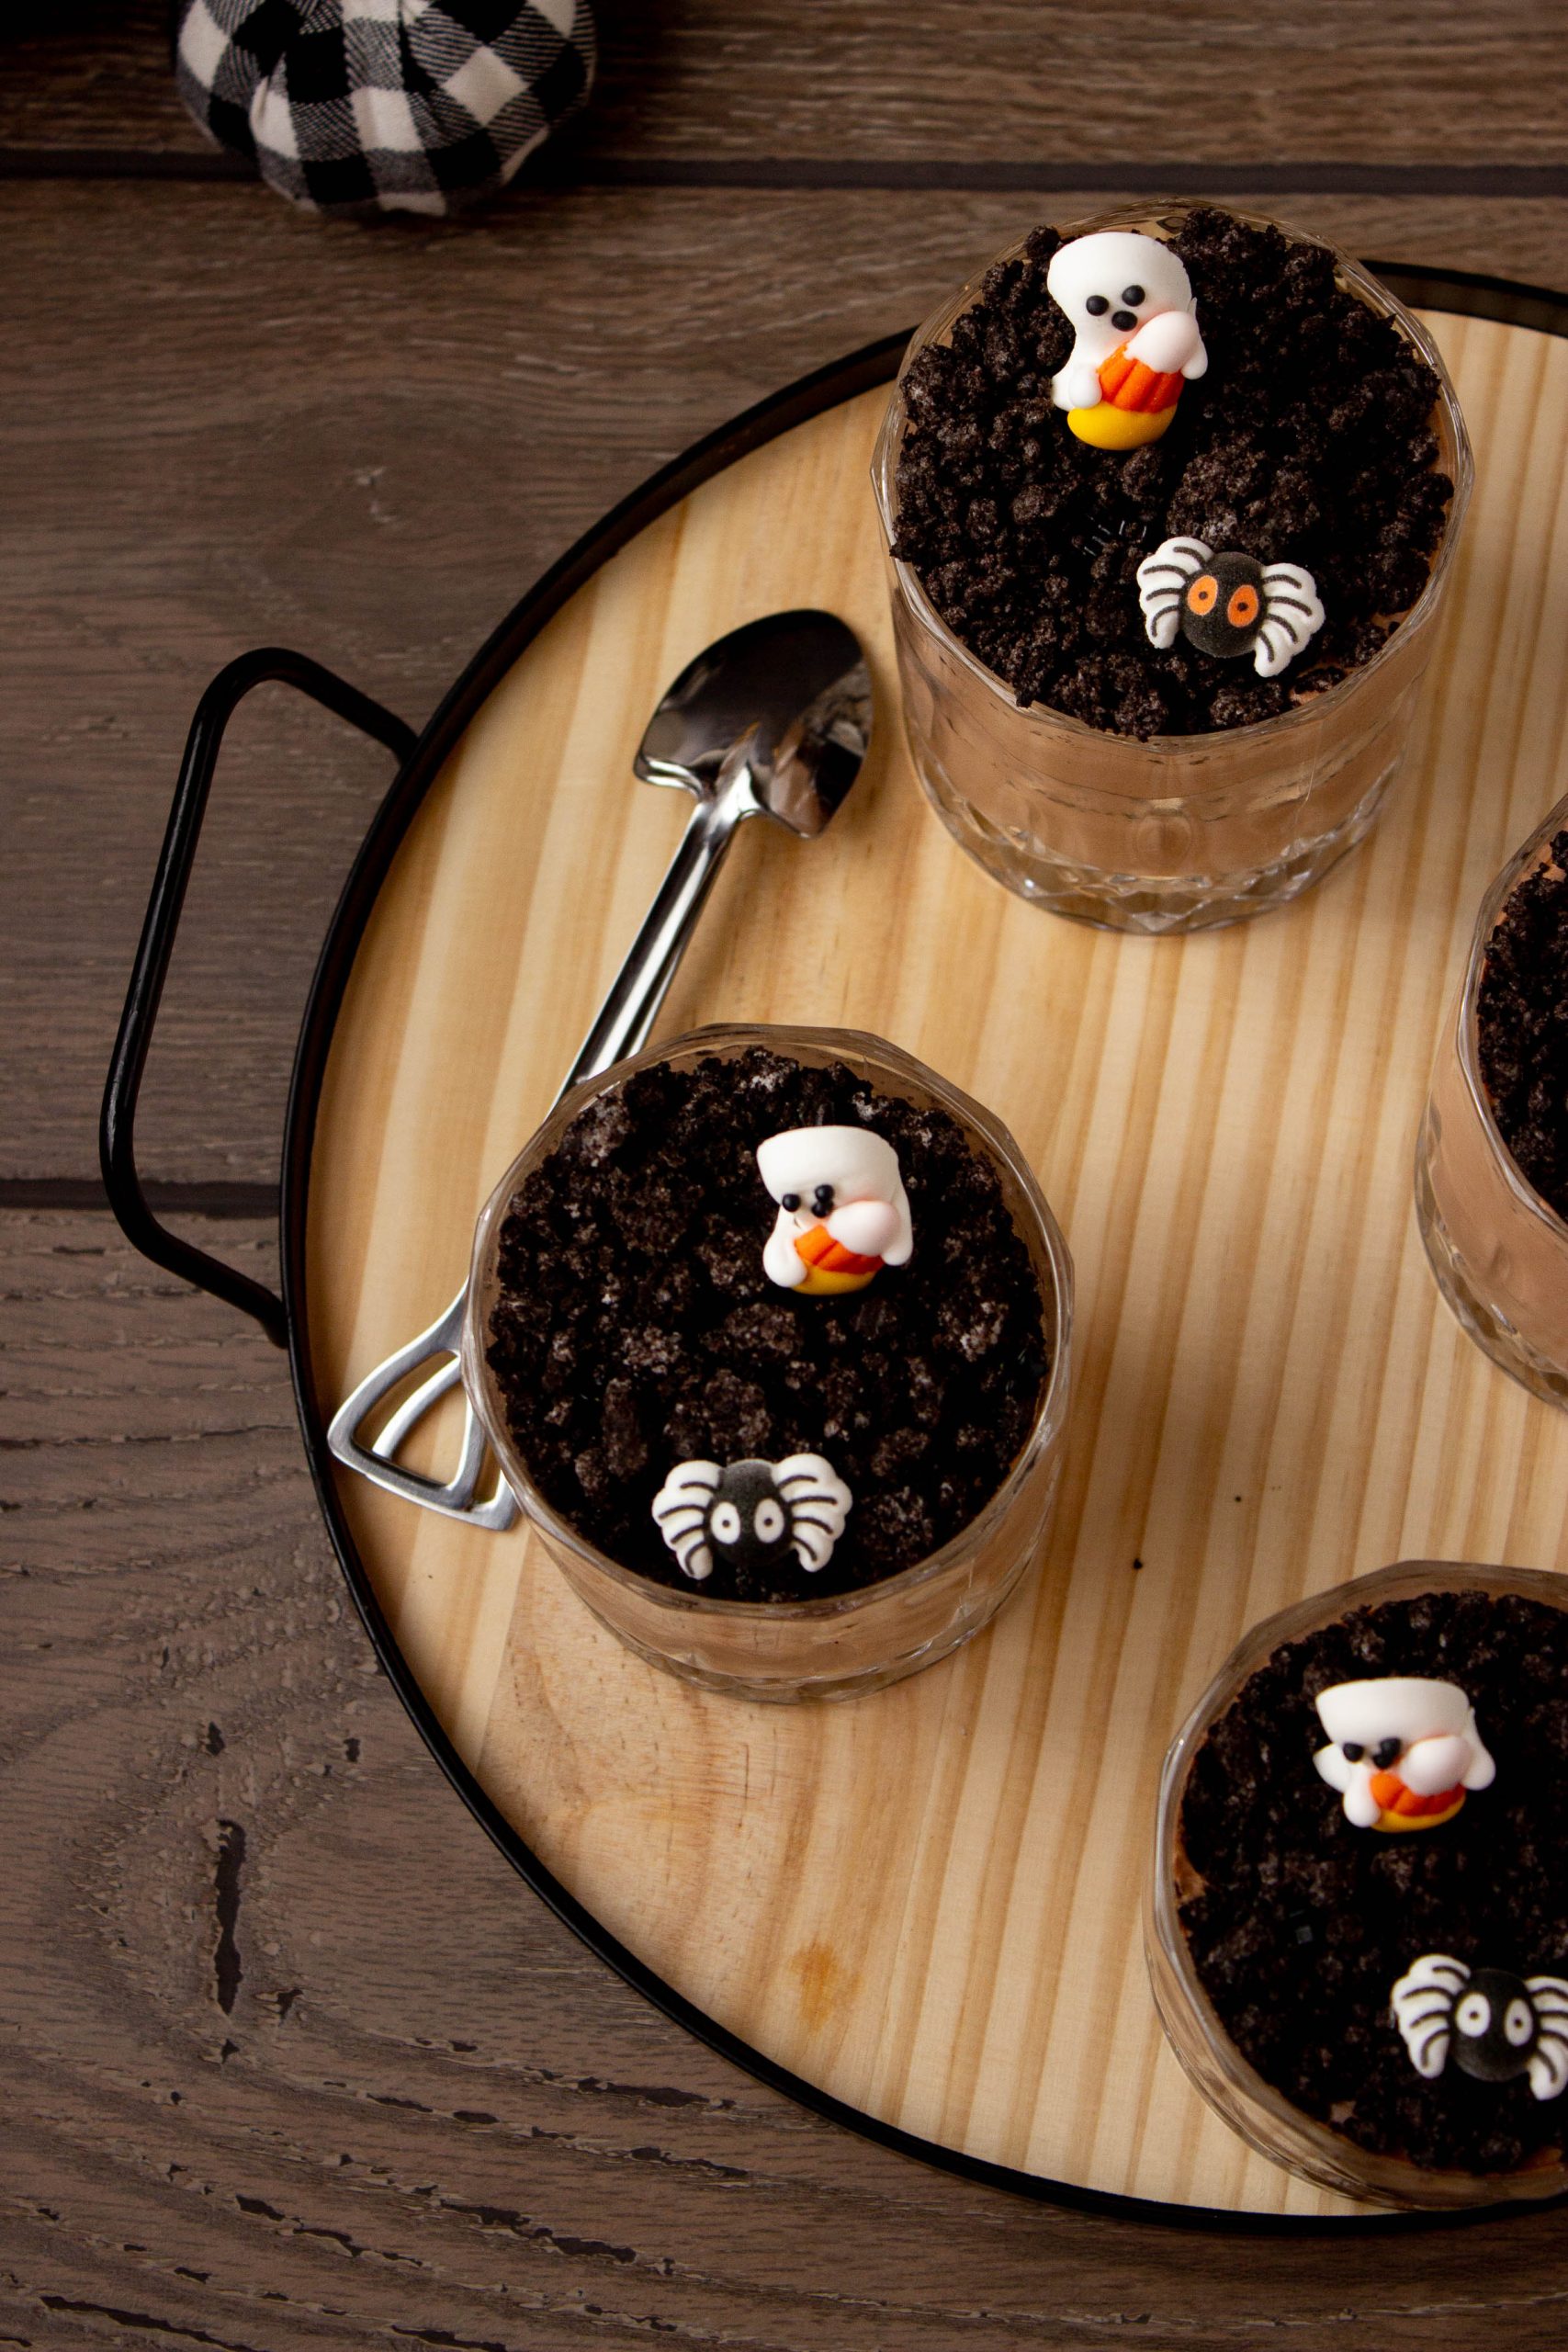
Gummy worms are the classic topping, but you can also use candy eyeballs, candy corn, chocolate chips, Halloween sprinkles, or small plastic decorations made for food use. I love the idea of these little ghosts, but I have also used Peeps tombstones.
This recipe is one of my favorite Halloween desserts with pudding because it is simple, affordable, and easy to customize.
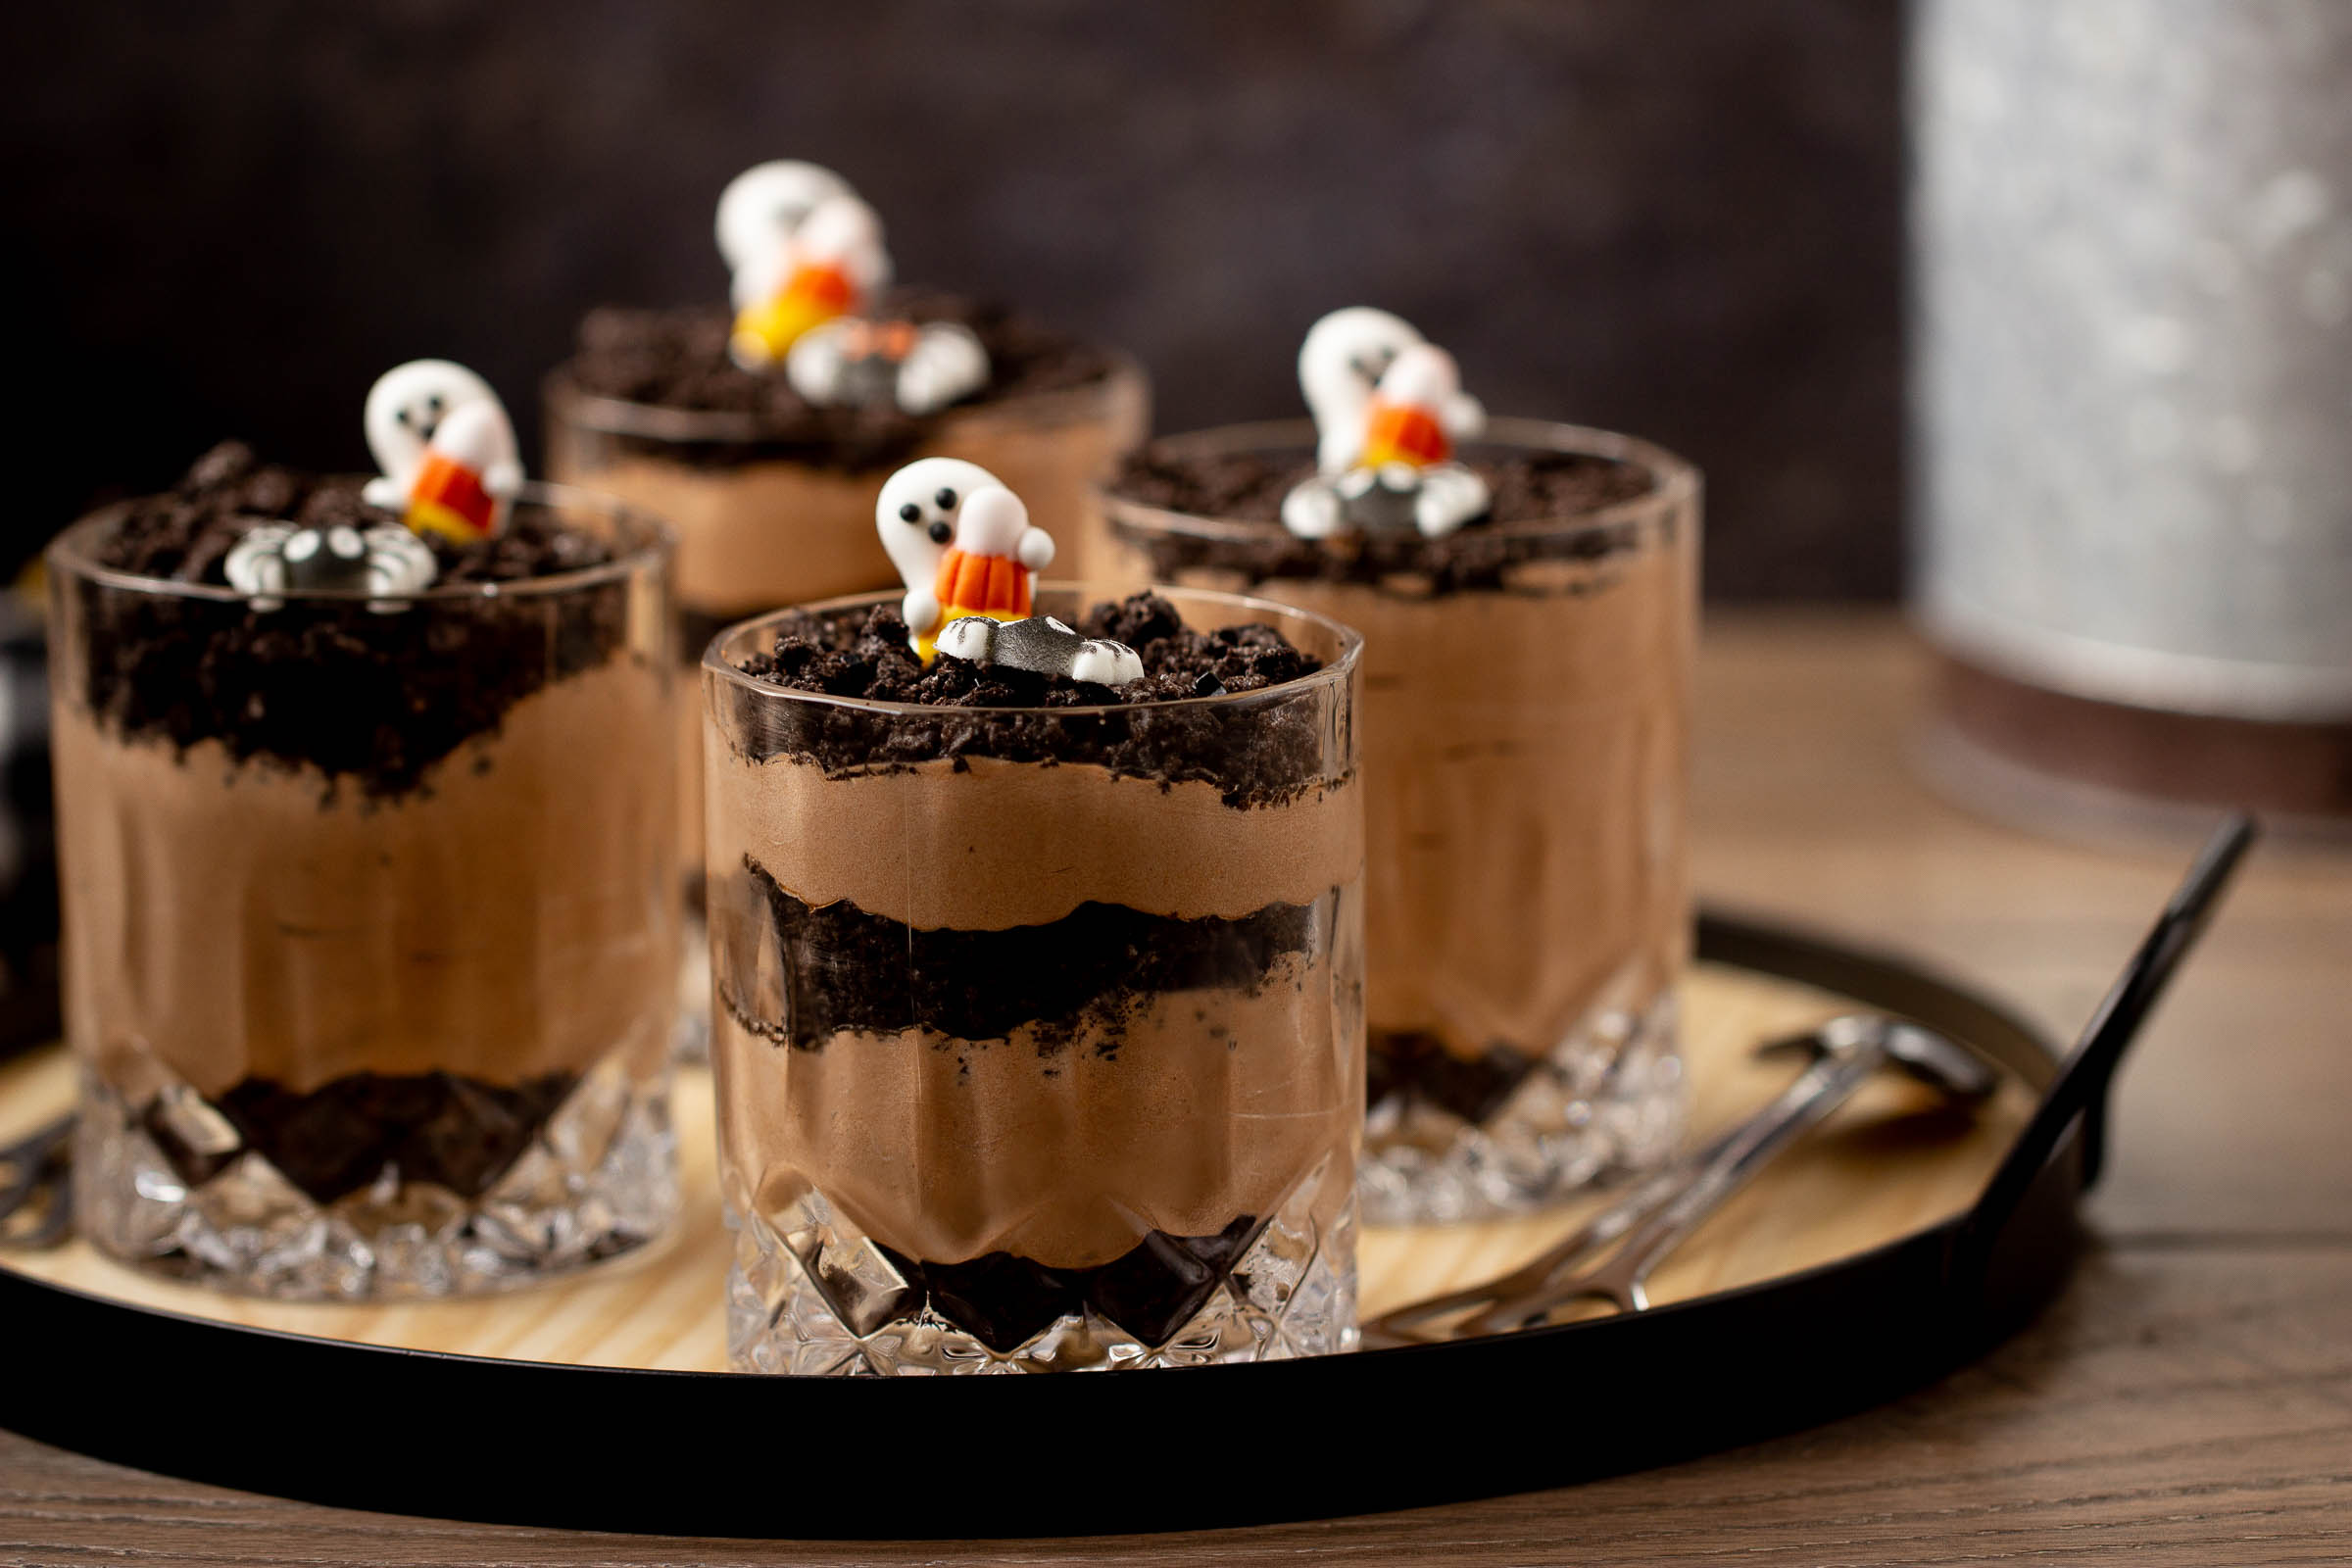
How Does Halloween Dirt Pudding Taste?
It tastes like chocolate pudding mixed with crushed brownies and cookies, then topped with candy. Do I really need to say more?
The brownie layer makes these cups extra rich, while the whipped topping keeps the pudding light and creamy.
Why You’ll Love This Recipe
- These pudding cups for Halloween are easy to prepare.
- They can be made ahead of time.
- Kids can help assemble and decorate them.
- The individual cups make serving simple.
- You can use homemade or store-bought brownies.
- Every cup can have its own spooky design.
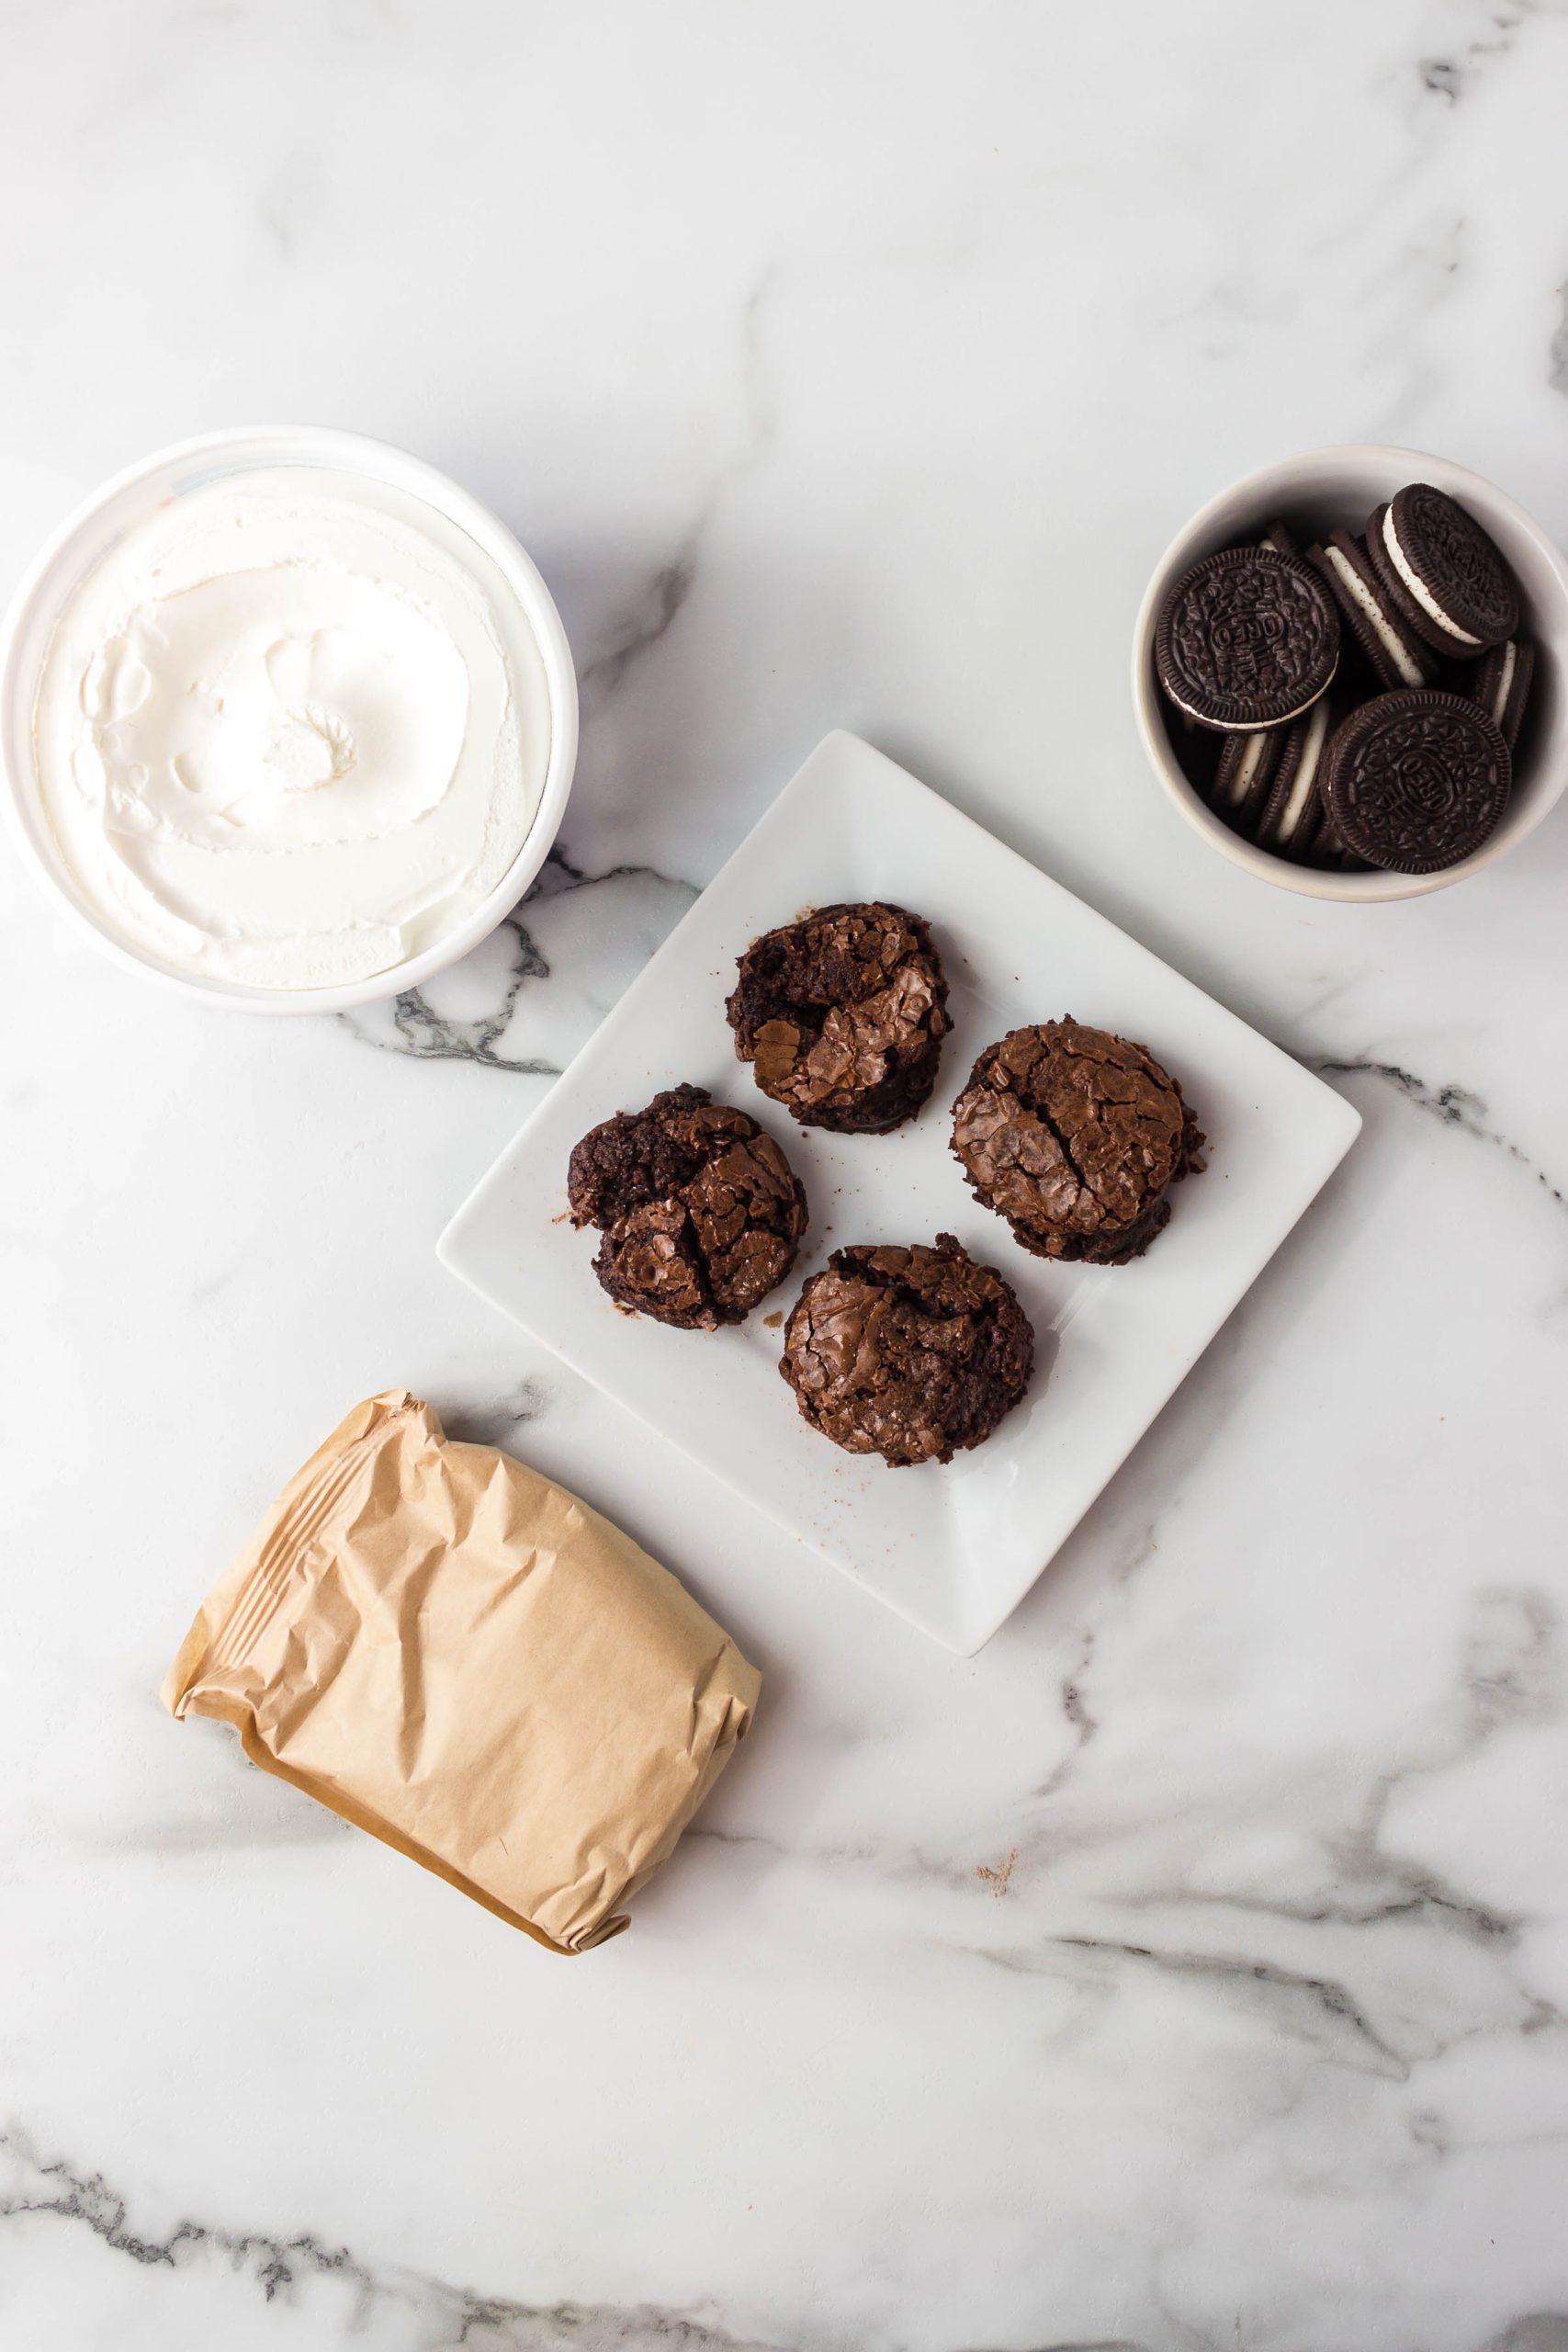
Ingredients
- Instant chocolate pudding mix
- Milk and any other ingredients listed on the pudding package
- Brownies, homemade or store-bought
- Ingredients needed for the brownie mix, if using a boxed mix
- Whipped topping, thawed
- Oreo cookies, crushed, about 12 cookies per cup
- Gummy worms, candy eyeballs, Halloween sprinkles, or other decorations
You will also need:
- An 8 x 8-inch baking pan
- Nonstick cooking spray
- A large mixing bowl
- A rolling pin, mallet, food processor, or blender
- A resealable plastic bag
- Clear plastic cups, small glasses, or a trifle dish
- A small cookie cutter, if you want to cut brownies to fit the cups
- Shovel spoons, optional
How to Make Halloween Dirt Pudding Cups
1. Bake the brownies
Preheat the oven according to the brownie mix directions. Prepare the batter as directed, then lightly spray an 8 x 8-inch pan with nonstick cooking spray.
Pour in the brownie batter and bake according to the recipe or package instructions. Let the brownies cool completely before assembling the pudding cups.
2. Crush the Oreos
Place the Oreos, including the filling, into a resealable plastic bag. Use a rolling pin or mallet to crush them into fine crumbs.
You can also pulse the cookies in a food processor. A few larger pieces are fine, but the crumbs should mostly look like chocolate dirt.
3. Prepare the pudding
Make the instant chocolate pudding according to the package directions. Refrigerate it until it thickens.
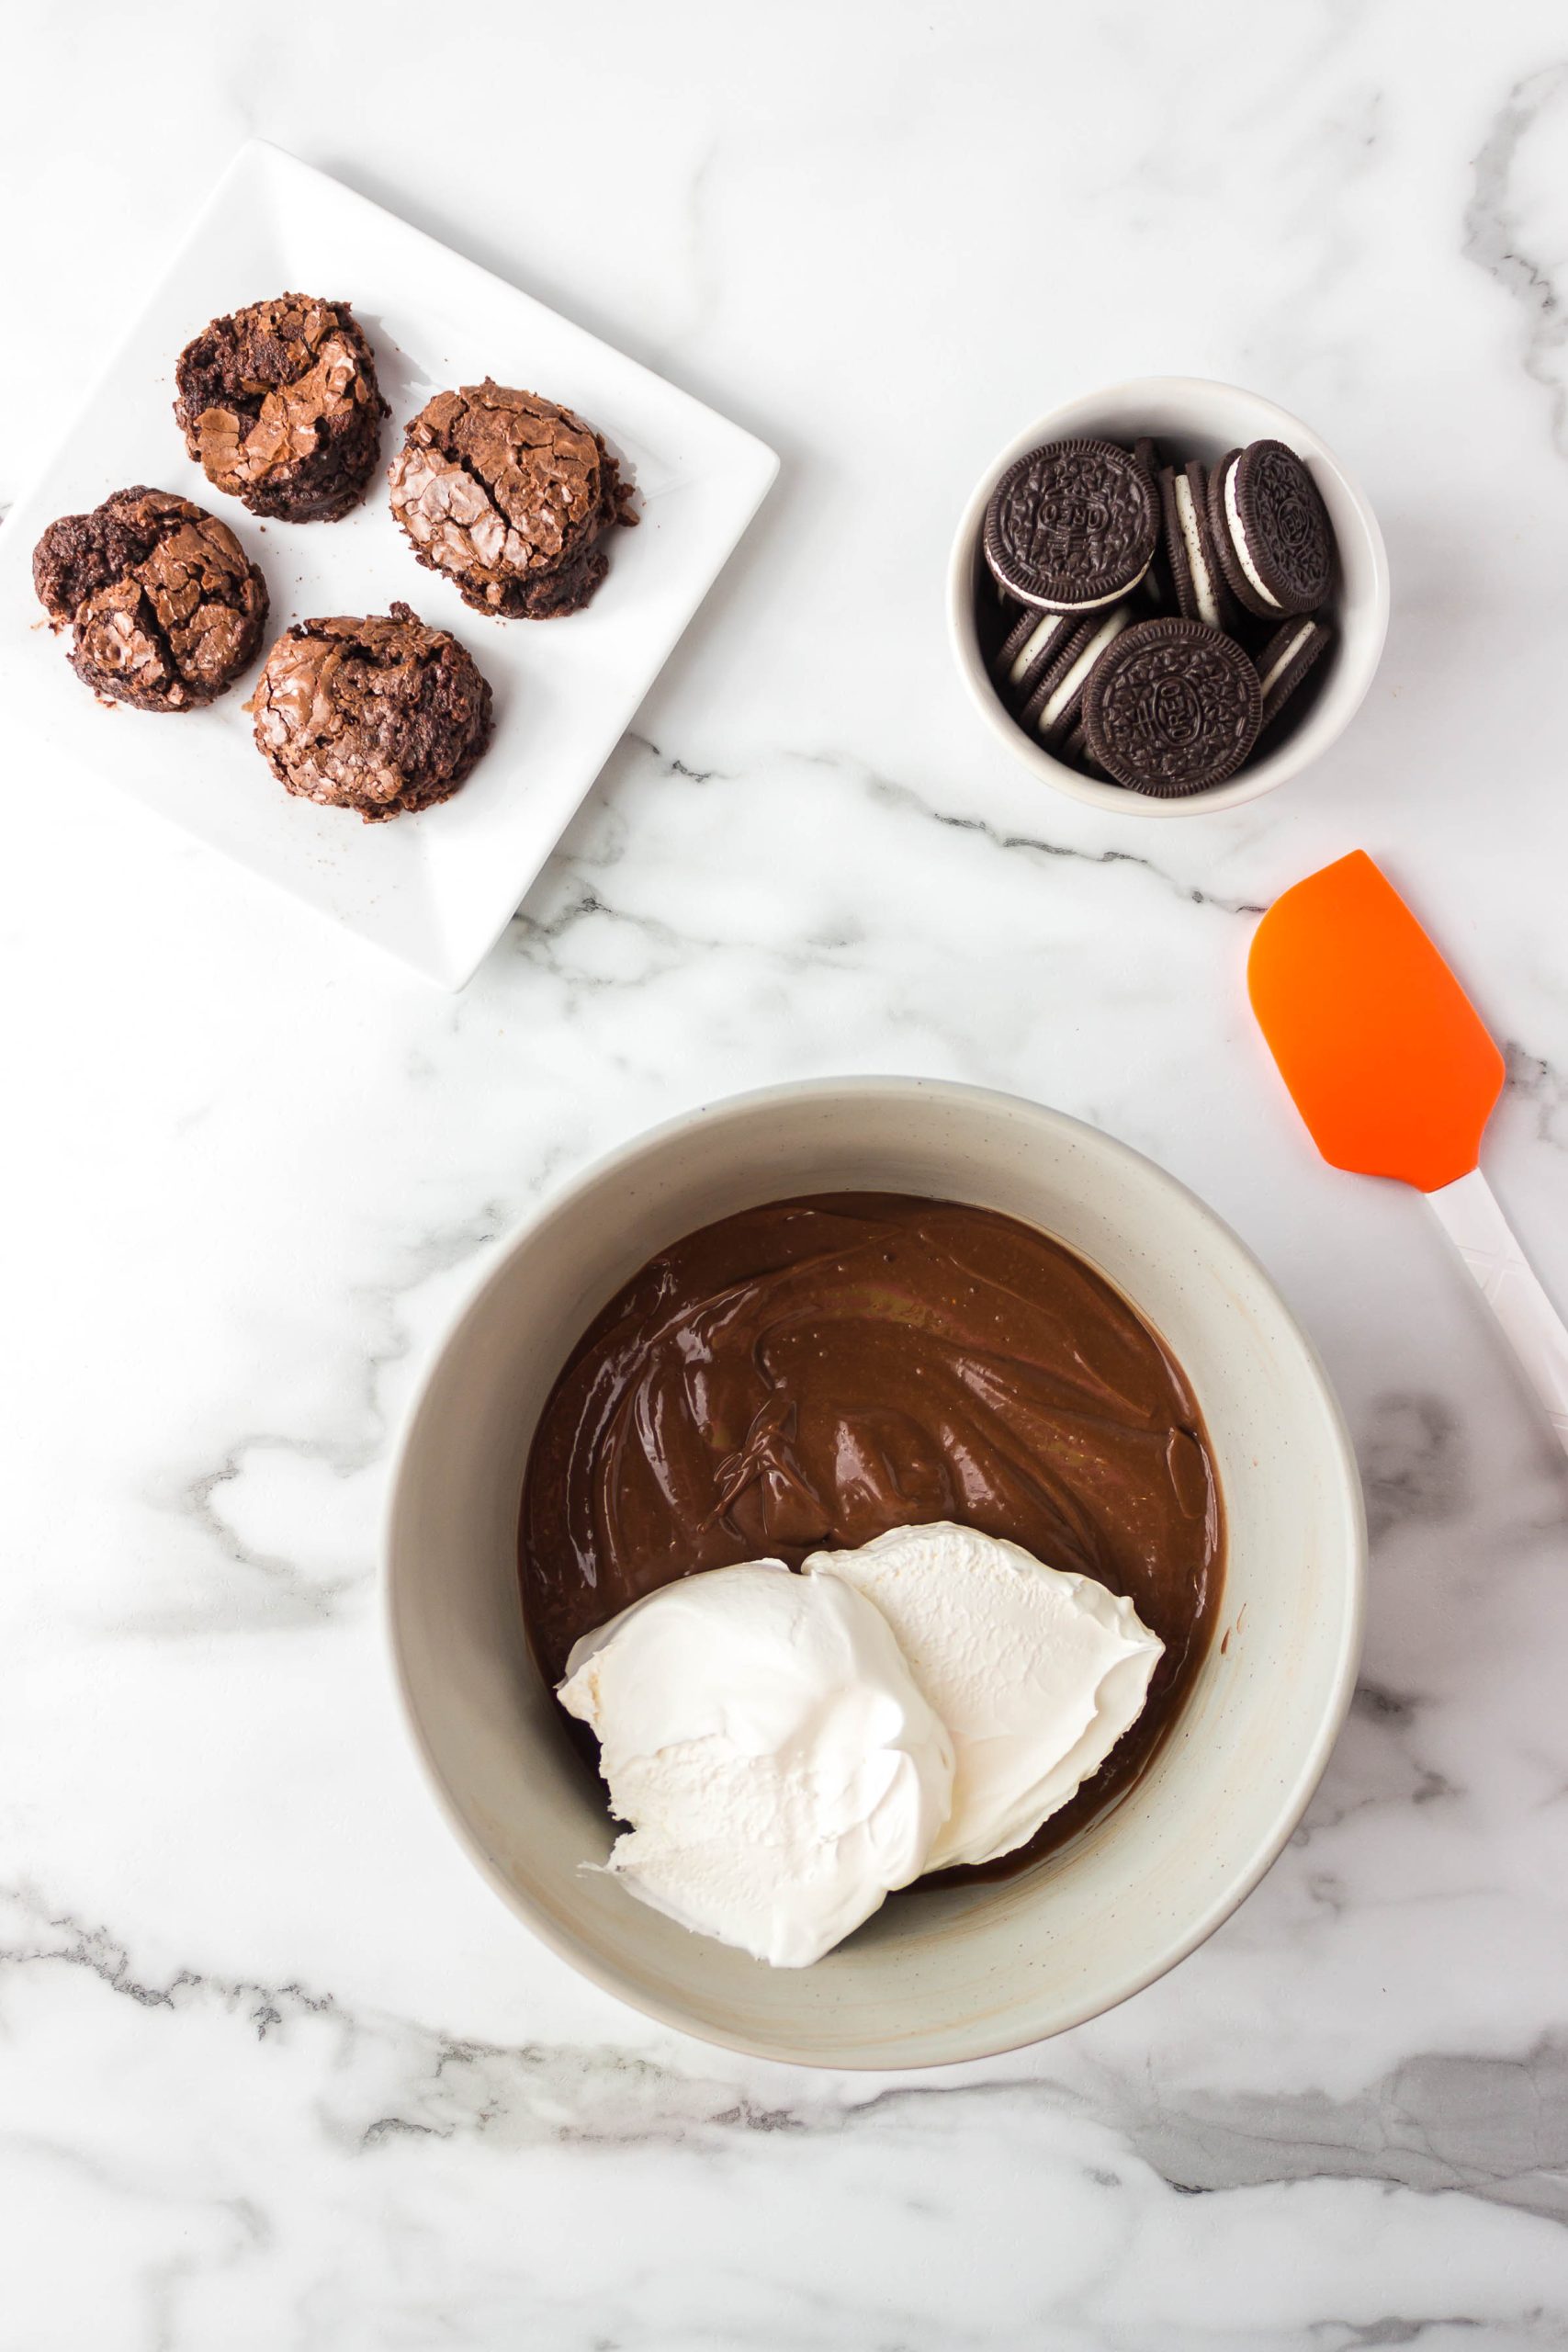
Once the pudding is set, gently fold in the whipped topping. Place the bowl back in the refrigerator while you prepare the brownie pieces.
4. Cut the brownies
Cut the cooled brownies into small circles or squares that fit inside your cups. You can use a cookie cutter, cut the brownies with a knife, or simply crumble them into pieces.
There is no need for perfect brownie pieces. They are going under a layer of “dirt” anyway!
5. Build the cups
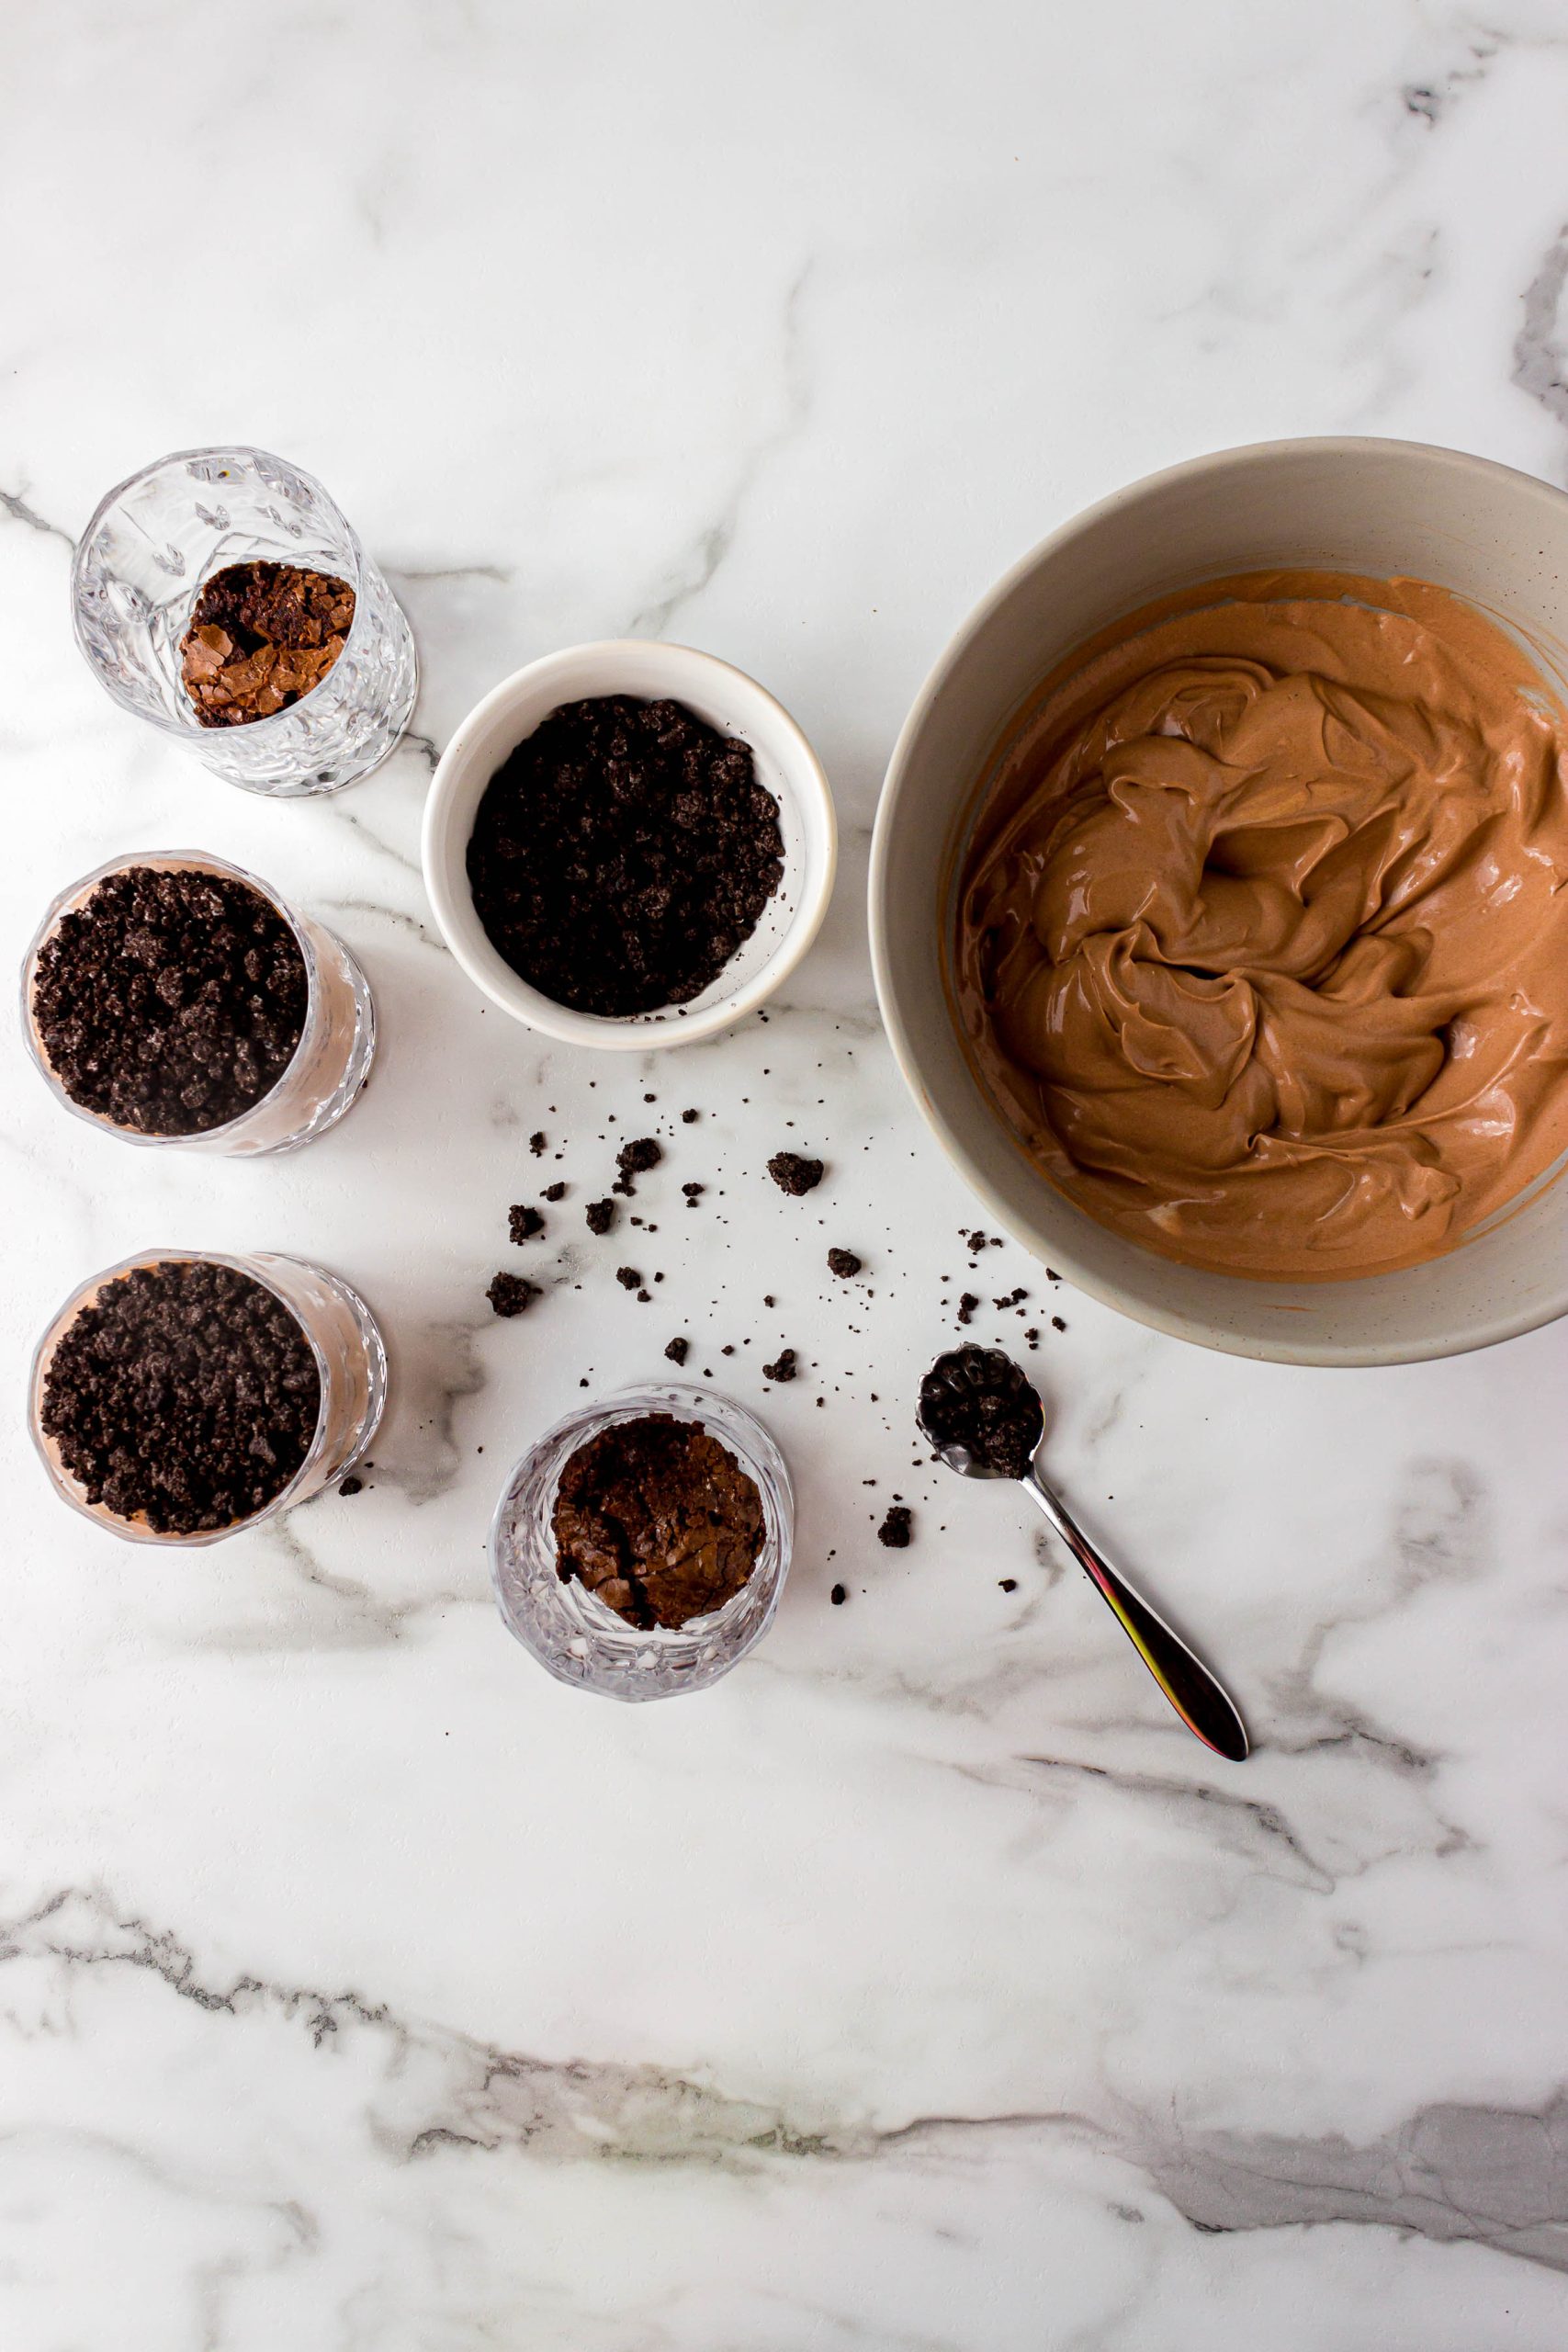
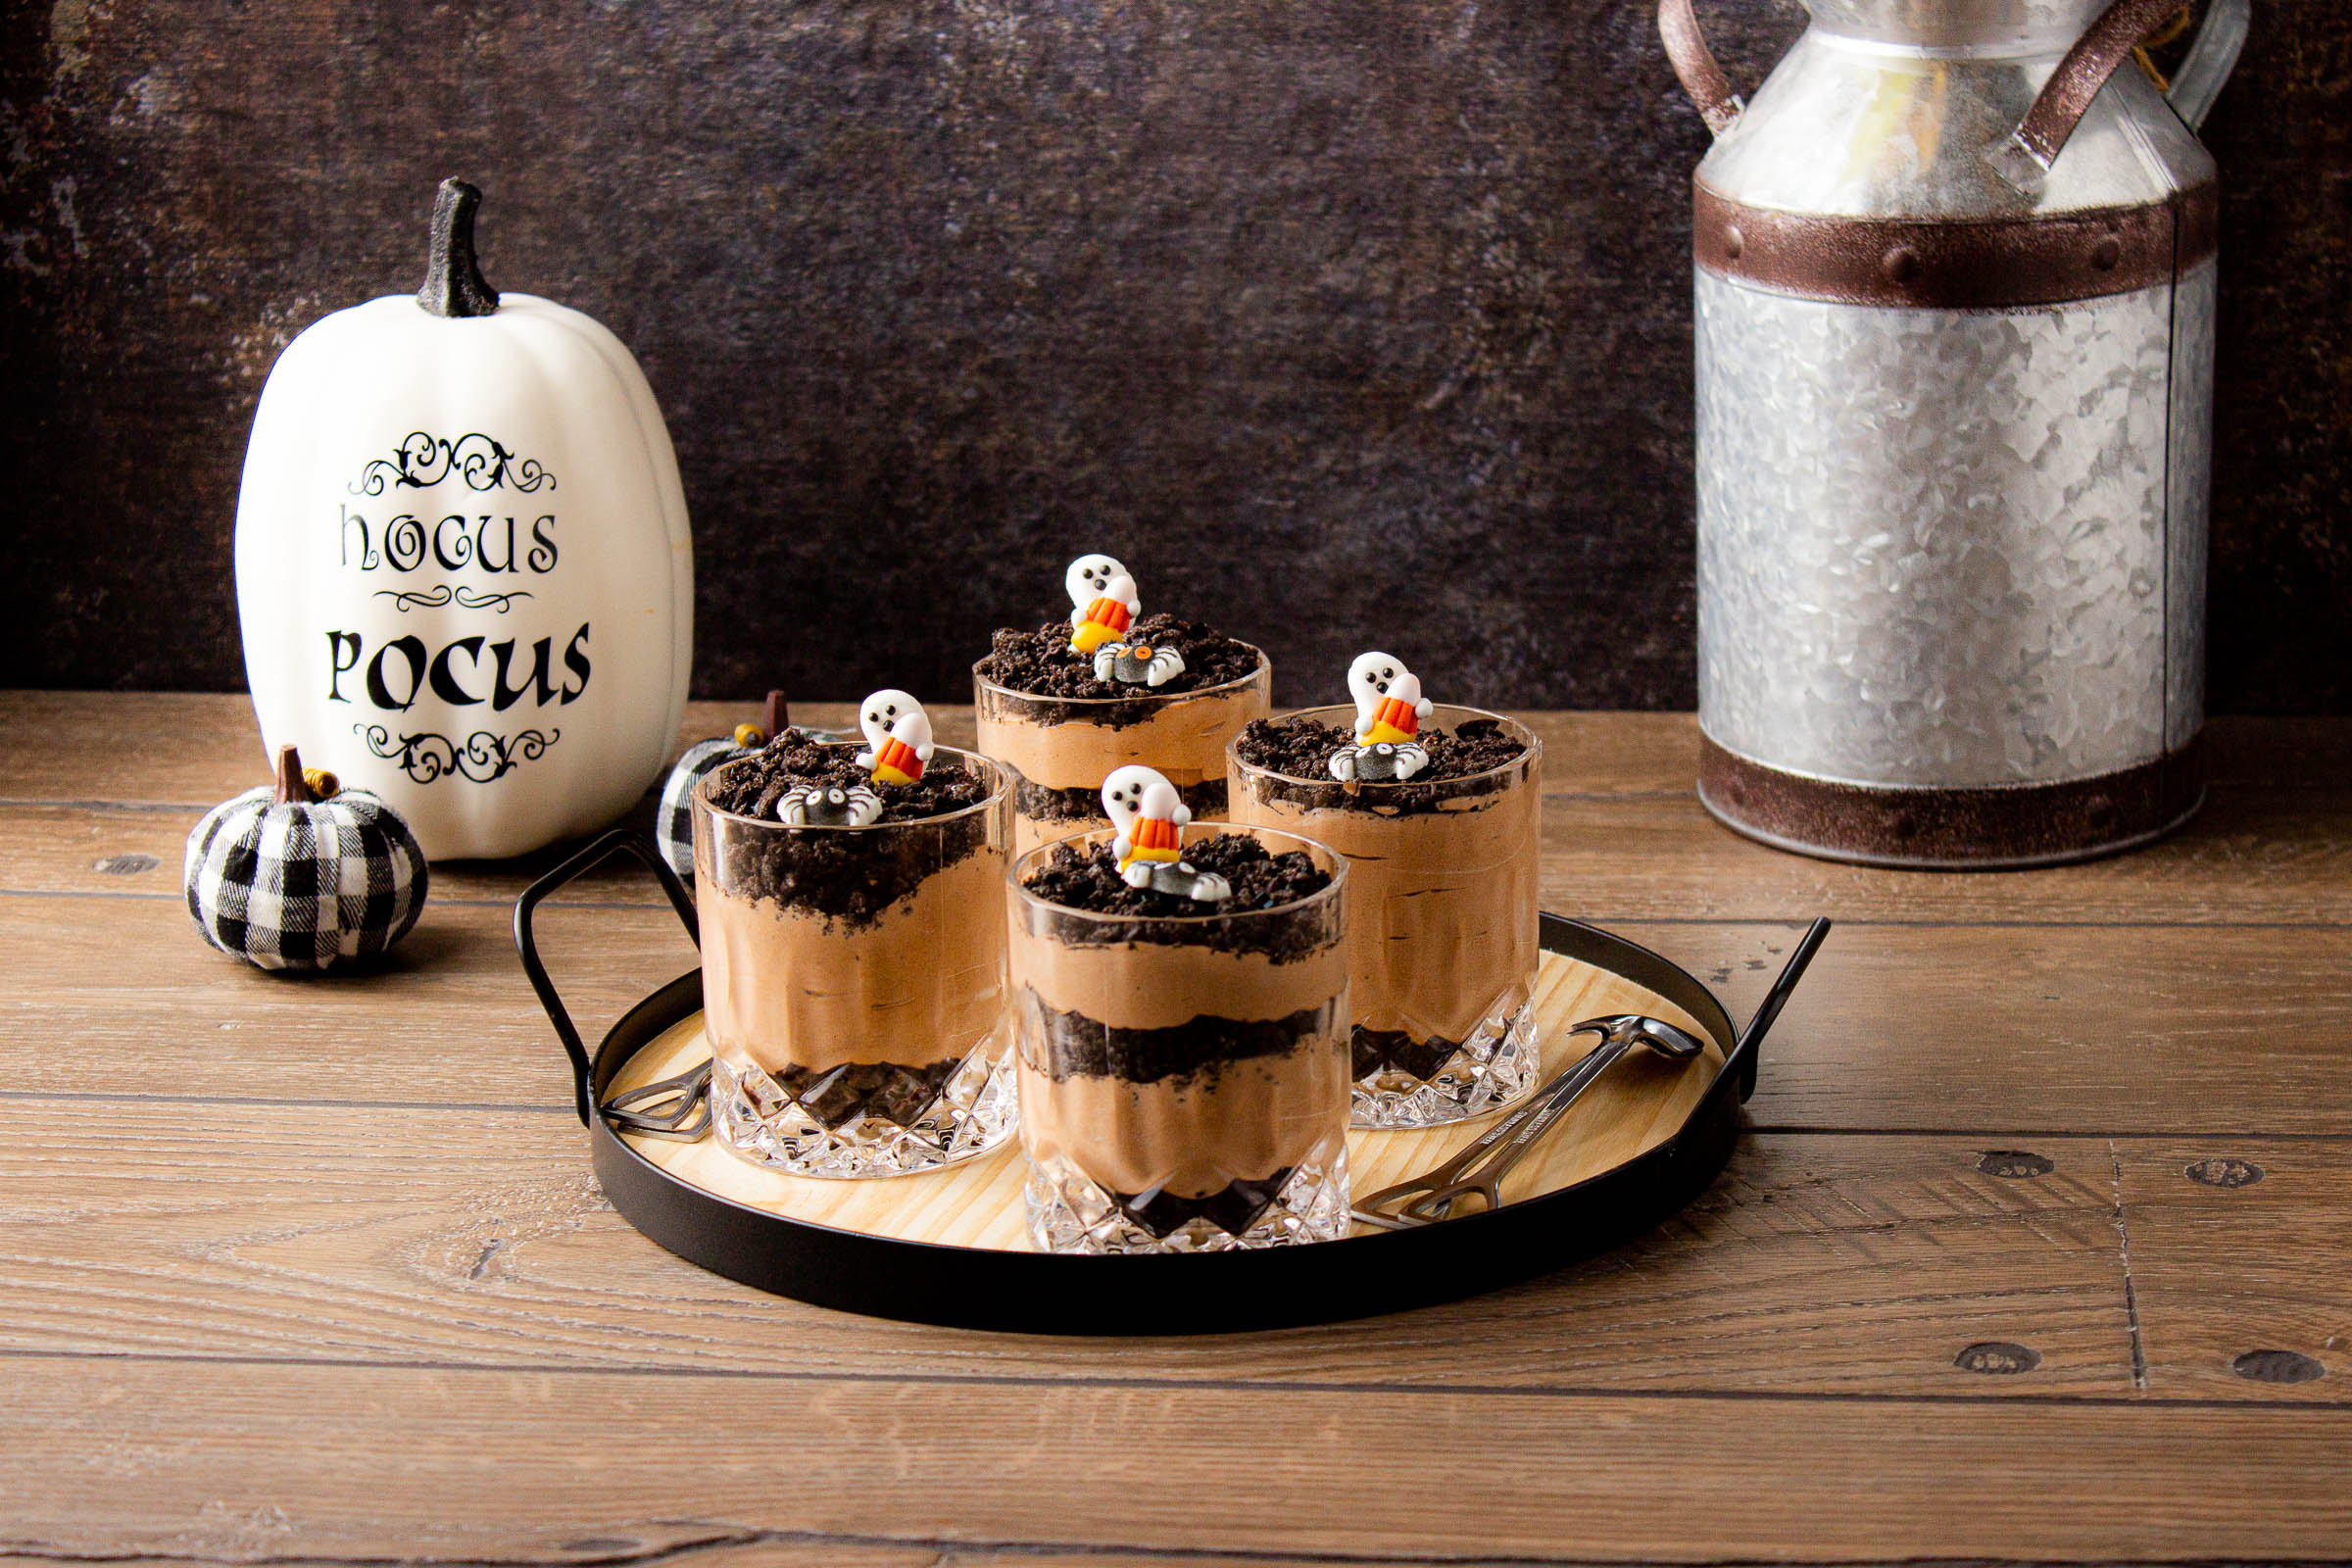
Add a brownie piece or a layer of brownie crumbs to the bottom of each clear cup. Spoon in some of the chocolate pudding mixture, then add a layer of crushed Oreos.
Repeat the layers with more pudding and cookie crumbs. Finish with a generous layer of Oreo crumbs, then decorate each cup with gummy worms, candy eyeballs, sprinkles, or your favorite Halloween toppers.
Refrigerate the cups until you are ready to serve.
Tips for the Best Halloween Mud Pudding
- Use brownies for a soft, fudgy layer, or replace them with chocolate chip cookies, graham crackers, or extra Oreos.
- Crush the cookies with the filling still inside. The filling helps the crumbs stick together and gives the dirt layer a richer flavor.
- Let the pudding set before folding in the whipped topping. If the pudding is too soft, the finished layers may not hold as well.
- Use clear cups so everyone can see the chocolate layers. Small plastic cups work well for parties, while glass cups are nice for a dessert table at home.
- Add decorations close to serving time if they can become soft in the refrigerator. Gummy worms can be added ahead of time, but sprinkles, cereal pieces, and some chocolate candies may stay crisp longer when added later.
- Let the kids decorate their own cups. They can make silly monster cups, creepy worm cups, or tiny graveyard desserts.
Halloween Pudding Variations
There are many ways to turn this basic recipe into different pudding halloween cups.
- Use vanilla pudding and Golden Oreos for a sandy-looking dessert.
- Add green food coloring to vanilla pudding for monster pudding.
- Use orange pudding or orange-colored whipped topping for pumpkin patch pudding cups.
- Add small candy pumpkins to make a pumpkin patch.
- Use candy tombstones and gummy worms to create pudding graveyard cups.
- Add gummy zombie hands for a creepy zombie theme.
- Use whipped topping, green sprinkles, and a candy witch hat for melting witch pudding cups.
- Replace the brownies with crushed chocolate sandwich cookies for a simple Oreo dirt pudding.
- Layer chocolate and vanilla pudding for a striped Halloween pudding cup.
- Add candy corn, chocolate rocks, or crushed candy bars to the top.
You can also make one large Halloween dirt pudding in a trifle dish instead of individual servings. The layers will look just as fun, and it is a good choice when you are serving a larger group.
Can I Make Dirt Pudding Ahead of Time?
Yes. You can bake the brownies, prepare the pudding, and crush the Oreos one day ahead. Store each part separately in the refrigerator or in airtight containers.
You can also assemble the pudding cups several hours before your party. Add decorations that may soften shortly before serving.
How Long Does Pudding Need to Set?
Instant pudding usually needs about two hours in the refrigerator to become fully chilled and firm. It is even better when it rests overnight.
If the pudding is still runny after chilling, check that you used the correct amount of milk. Too much milk is the most common reason pudding doesn’t thicken.
Can I Make These Vegan?
You can make a dairy-free version, but check the labels on every ingredient. Some instant pudding mixes are dairy-free, while others may contain milk-based ingredients.
Use plant-based milk only if the pudding package says it will work with that type of milk. Almond milk, soy milk, or coconut milk may produce different results depending on the mix.
Choose dairy-free whipped topping and vegan brownies for the remaining layers. Some plant-based milks may not thicken instant pudding properly, so it is best to test the pudding before making a large batch.
Do I Have to Use Whipped Topping?
No. Whipped topping makes the pudding creamy and airy, but you can use homemade whipped cream or a dairy-free whipped topping instead.
If you leave it out, the pudding will have a thicker, more traditional pudding texture.
What Is the Best Way to Crush the Cookies?
A food processor is the quickest method. Add the cookies and pulse until they become fine crumbs.
For a low-mess option, put the cookies in a freezer bag and roll over them with a rolling pin. This is also a fun job for kids, although you may want to use a double bag in case the first one tears.
How Should I Display the Pudding Cups?
Arrange the cups on a Halloween tray, cake stand, or dessert table. Clear cups show off the layers, and small shovel spoons add an adorable finishing touch.
Keep the pudding in the refrigerator until you are ready to serve it. The cups can sit at room temperature for about two hours. After that, return any leftovers to the refrigerator.
How to Store Halloween Dirt Pudding
Cover the cups and store them in the refrigerator for up to three days. The cookies and brownies will soften as they sit, but the dessert will still taste delicious.
I don’t recommend freezing these pudding cups. The pudding can become watery when it thaws, and the cookie crumbs may lose their texture.
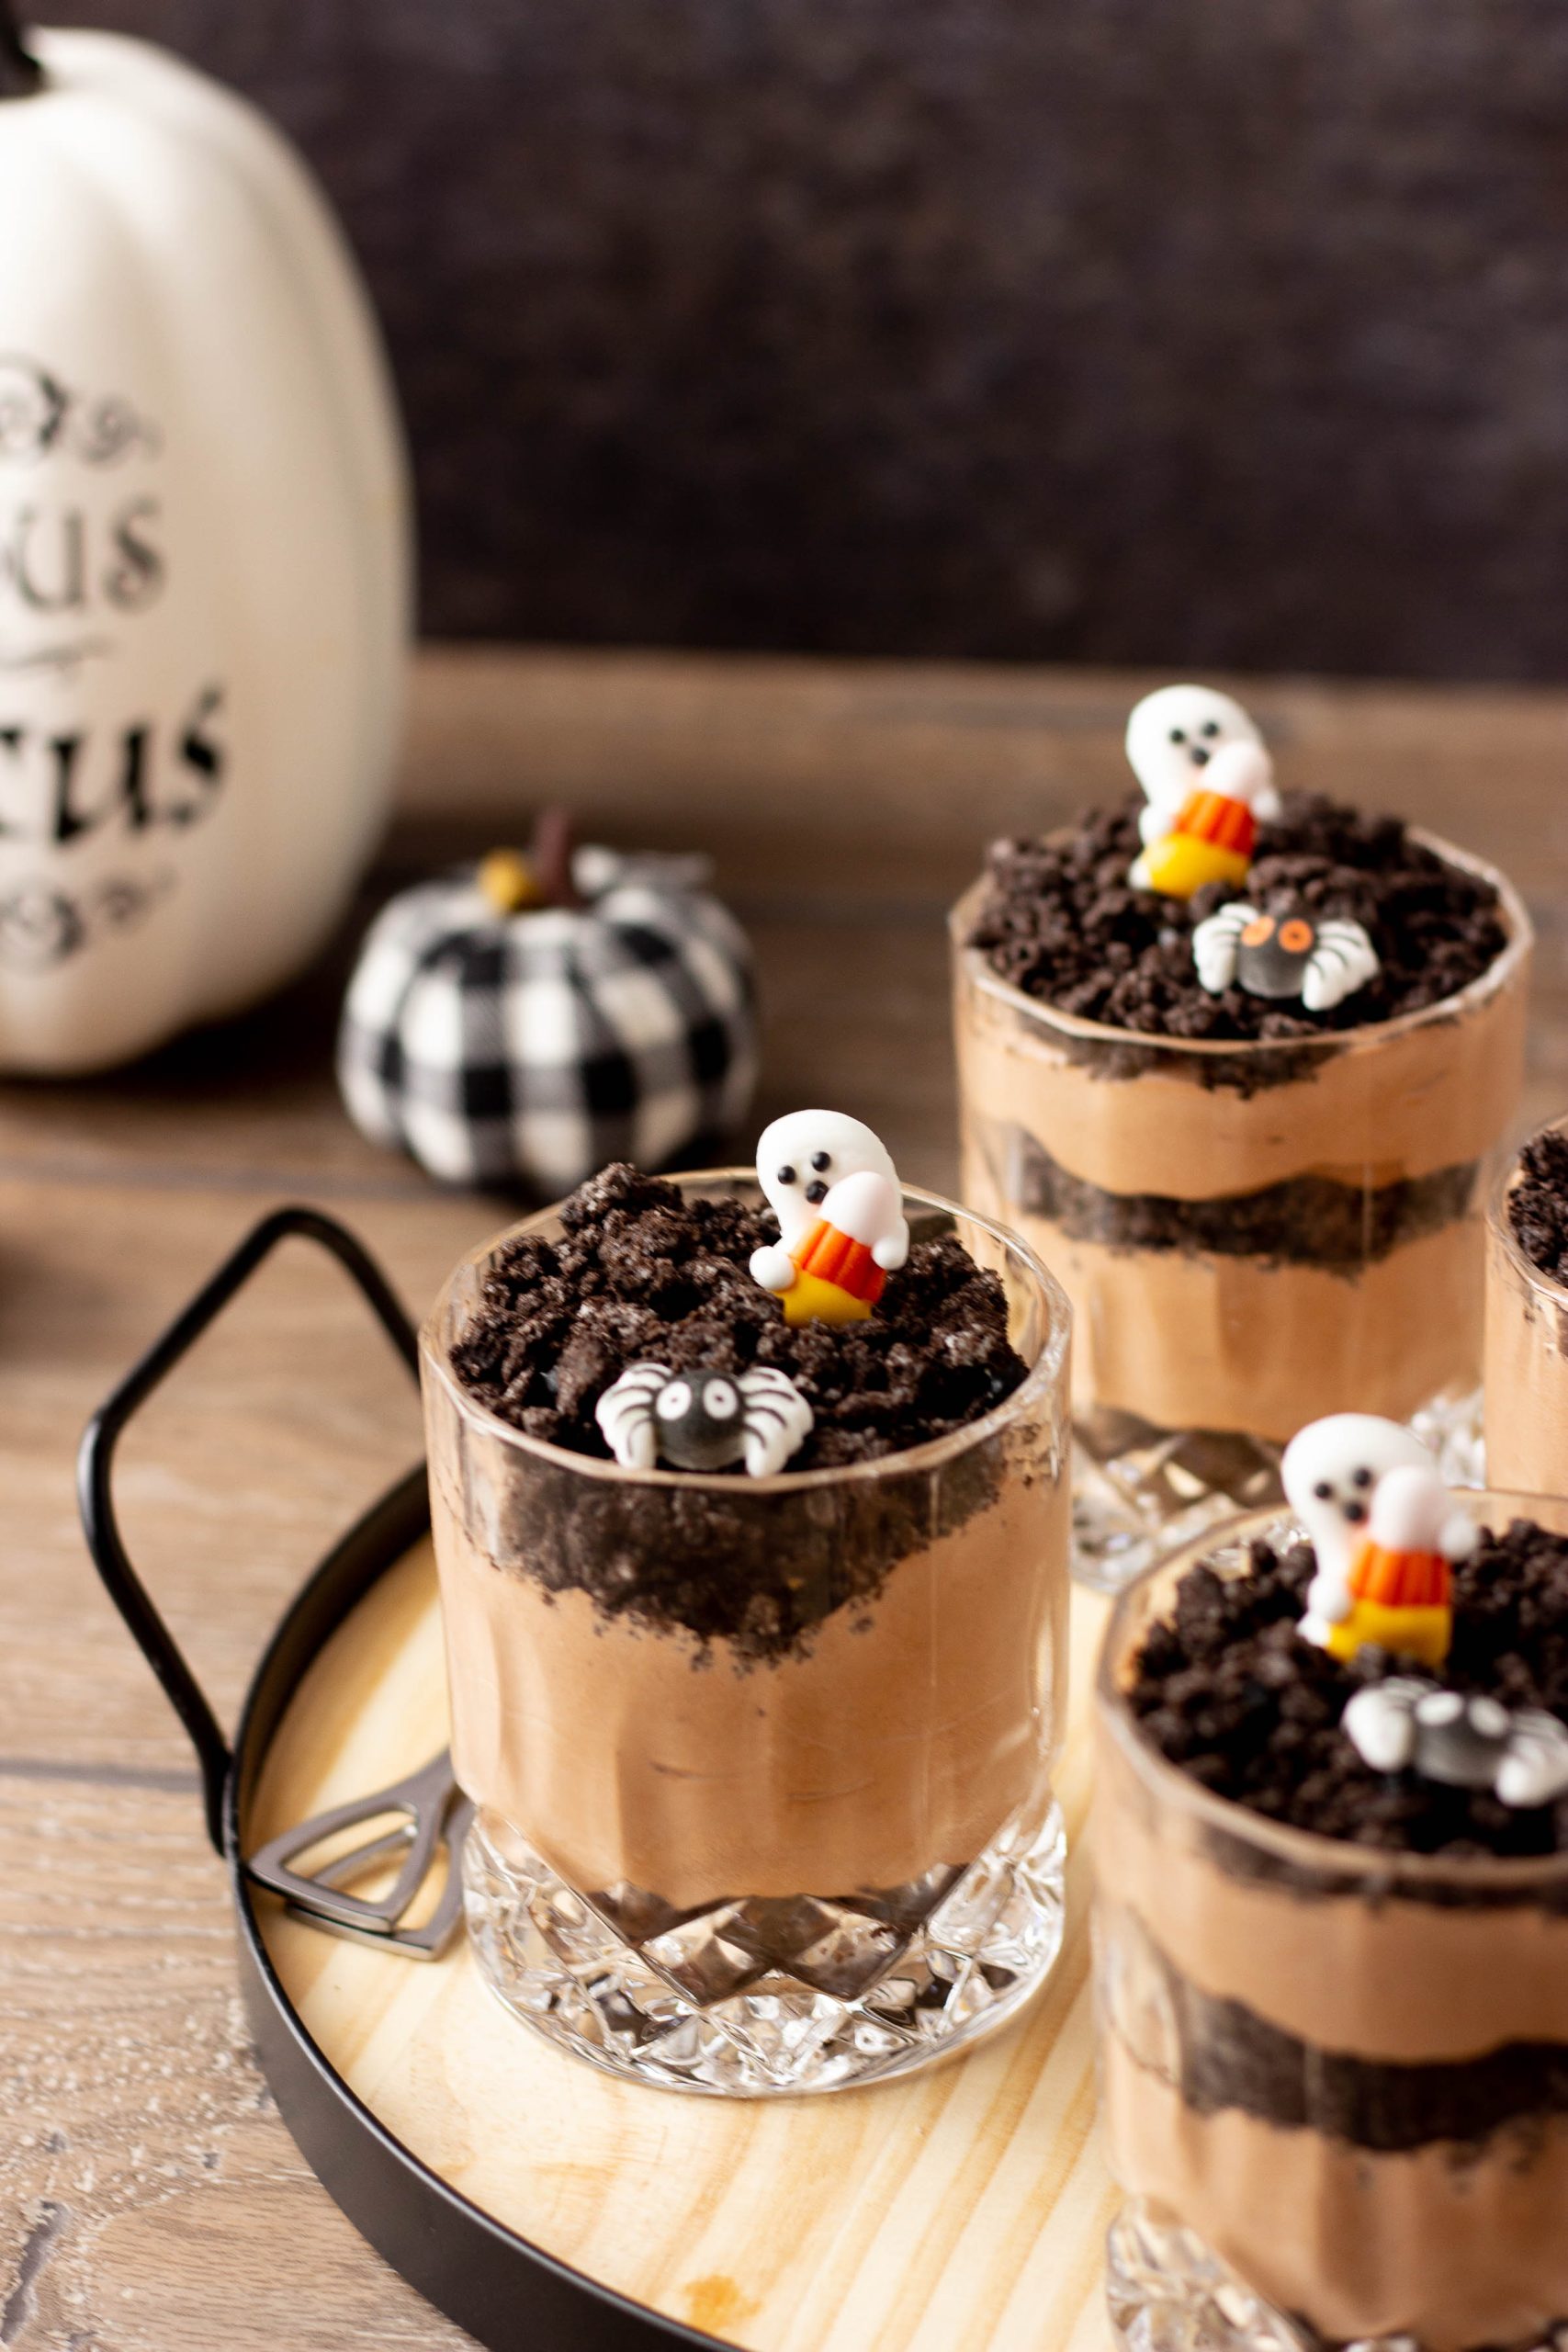
These Halloween pudding desserts are easy to make, but they look like you spent much more time on them. Set out the toppings and let everyone decorate their own Halloween pudding cup for a party treat that is messy, chocolatey, and a whole lot of fun.
More Halloween Recipes
- The Best Halloween Red Velvet Hot Chocolate Recipe
- How to Make an Easy Halloween Monster Cake
- Nightmare Before Christmas Layer Cake
- Audrey Little Shop of Horrors Cupcakes
- Easy Witch Hat Cookies
Hocus Pocus Movie Night Ideas
- Hocus Pocus Pumpkin Vodka Cocktail
- The Best Hocus Pocus Hot Chocolate Bombs
- Copycat Starbucks Hocus Pocus Frappuccino – Sarah Sanderson Frap Recipe
- Easy Hocus Pocus Cocktail for Halloween
- Hocus Pocus Chocolate Cookies
- Hocus Pocus Halloween Alcoholic Punch
- Easy Witch Hat Cookies
- Hocus Pocus Cake
- Zombie Adult Pudding Cups, Graveyard Pudding or Halloween Dirt Pudding Cups
- The Best Hocus Pocus Cakesicles Recipe
- Hocus Pocus Drinking Game
- Hocus Pocus Movie Night with Hocus Pocus Printable Bingo Included
- Free Hocus Pocus Printable Popcorn Boxes
Halloween Dirt Pudding Cups
Equipment
- Rolling Pin to smash cookies
- Freezer bag to put the oreo cookies in while smashing
- 2.3” cookie cutter to cut brownies to fit into the glasses I used
Ingredients
- 1.4 oz Instant Chocolate Pudding
- Ingredients for pudding
- 1 Brownie recipe
- Ingredients to make brownies according to mix
- 4 oz Whipped topping cool whip thawed
- Oreos crushed (I used 12 per glass)
- Halloween toppers
Directions
- Step 1: Preheat the oven according to the directions on the box of brownie mix.
- Step 2: Prepare the brownies according to the directions or use your own favorite brownie mix.
- Step 3: Lightly spray a 8 x 8” pan with your favorite non-stick cooking spray.
- Step 4: Pour the brownie batter into the pan and bake according to the instructions.
- Step 5: While the brownies are baking, make the crushed Oreos.
- Step 6: Place the Oreos (filling included) inside of a plastic zippered bag and roll over them with a rolling pin or mallet until they are finely crushed. You can also use a food processor.
- Step 7: Make the instant pudding according to the directions on the box and let it set up according to the instructions on the box.
- Step 8: Once the pudding has set, add in the cool whip, gently fold it in and place it into the fridge.
- Step 9: Once the brownies are done, let them cool.
- Step 10: Once the brownies have cooled, cut them with the cookie cutter that matches the inside of the glass you are using. Place the cut brownie into the bottom of the glass.
- Step 11: Next, layer the pudding, then more Oreos, then more pudding, then more Oreos if you’d like. Then top with your favorite Halloween decorations.


Leave a Reply