
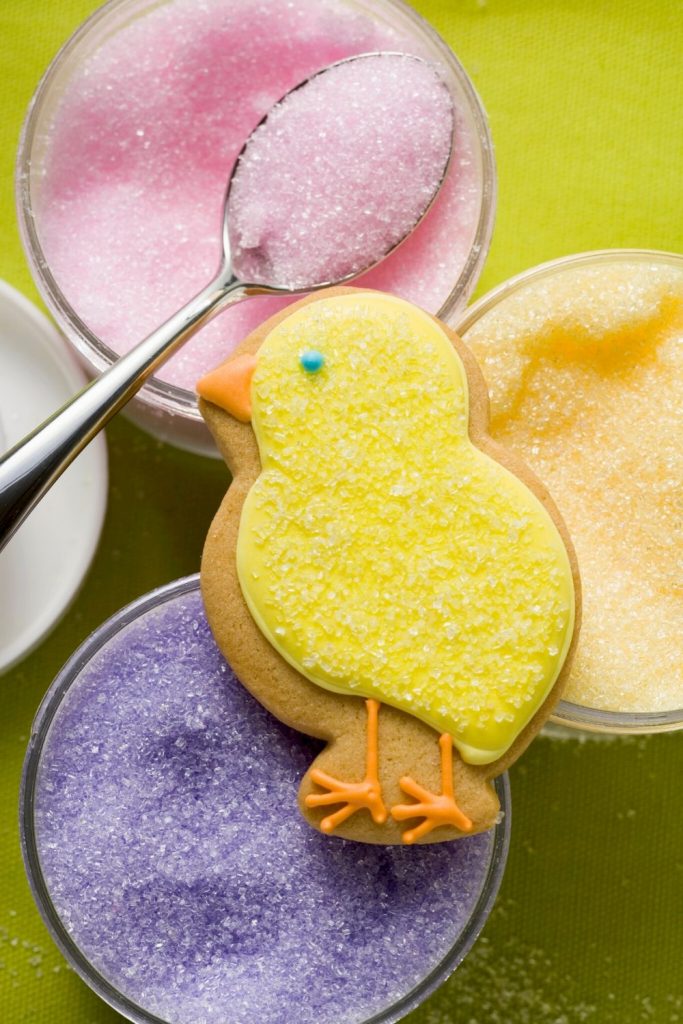
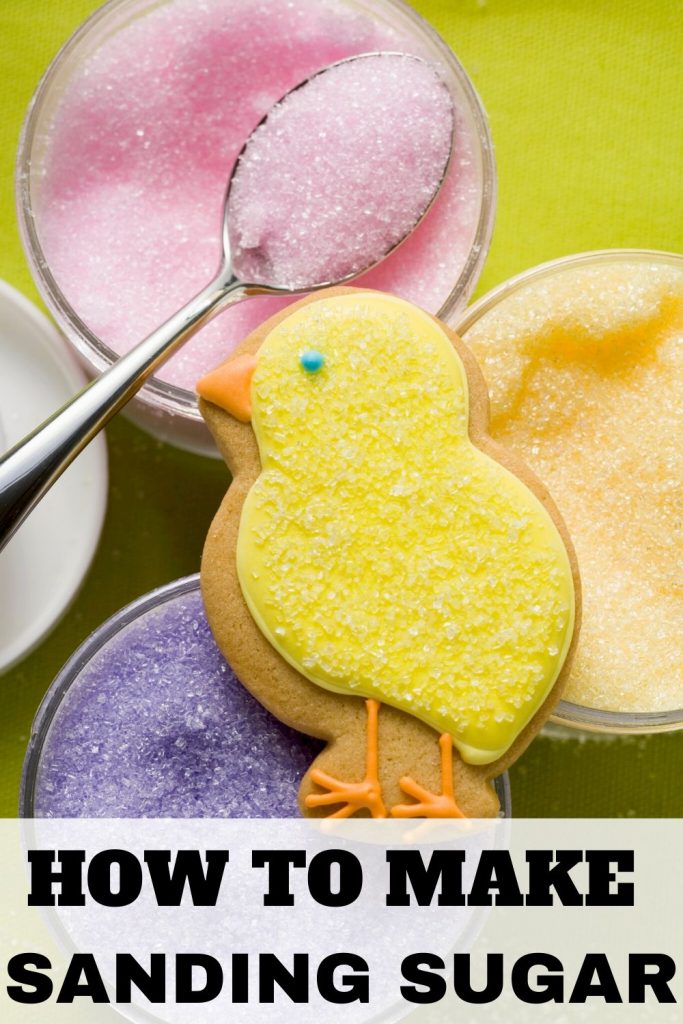
Want that sparkly sugar on bakery cookies without buying a tiny bottle for every holiday? Sanding sugar is one of those baking extras that looks fancy, but it is almost silly how easy it is to make at home.
I used to buy it all the time because I was being lazy. Once you make it yourself, though, it is hard to justify the bakery-aisle price. You only need regular sugar and food coloring, and you get to make any color you want.
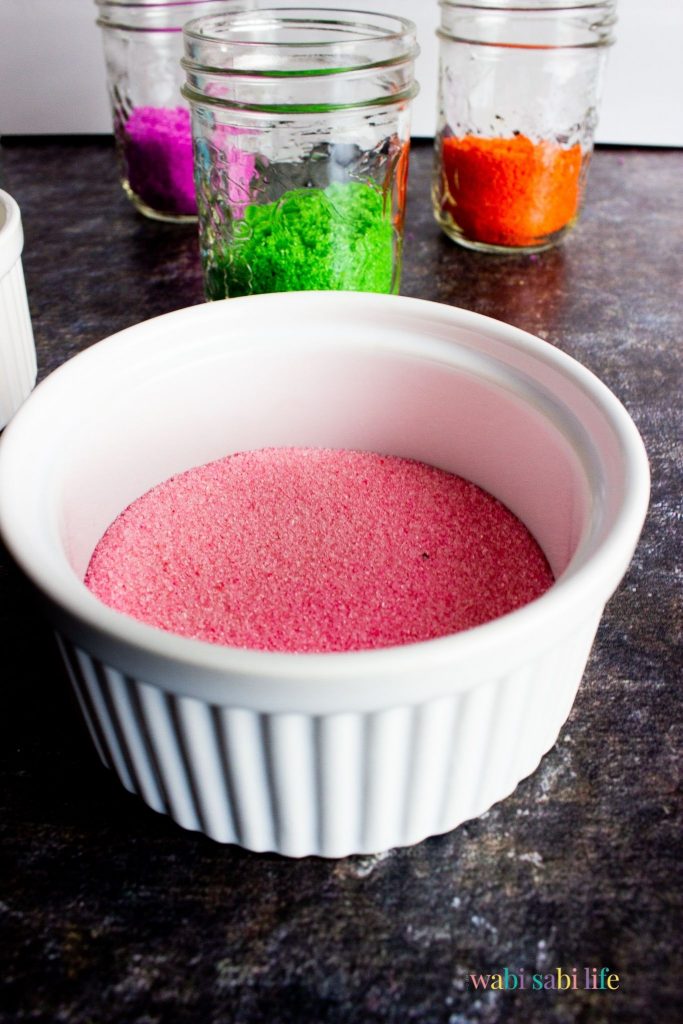
What sanding sugar is and why people use it
Sanding sugar is basically decorative sugar. Some people call it sugar sand. It is the colorful, sparkly sugar you see on cookies, cupcakes, and drink rims when something needs a little more fun.
It is not meant to disappear into batter the way plain sugar does. It is meant to sit on top, catch the light, and add a tiny crunch.
How sanding sugar is different from regular sugar
Regular granulated sugar is mostly there for sweetness. Sanding sugar is there for sweetness, texture, and shine.
The crystals look larger and more separate, so they reflect light better. Store-bought versions can be finer or chunkier, depending on the brand, but homemade sanding sugar still works great for most recipes. Even if you start with plain white sugar, you still get that pretty decorative look.
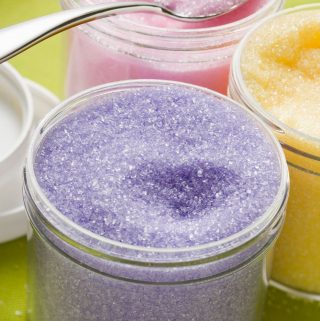
Homemade sugar sand usually lands somewhere between dyed table sugar and the chunkier crystals sold in baking aisles. That is completely fine. On frosting or around a glass rim, nobody is checking crystal size with a magnifying glass. They notice the sparkle.
I do not love using a food processor for this. It breaks the sugar down and makes it finer. If you want colored sugar dust, go for it. If you want the classic textured look, skip the processor and keep the crystals whole.
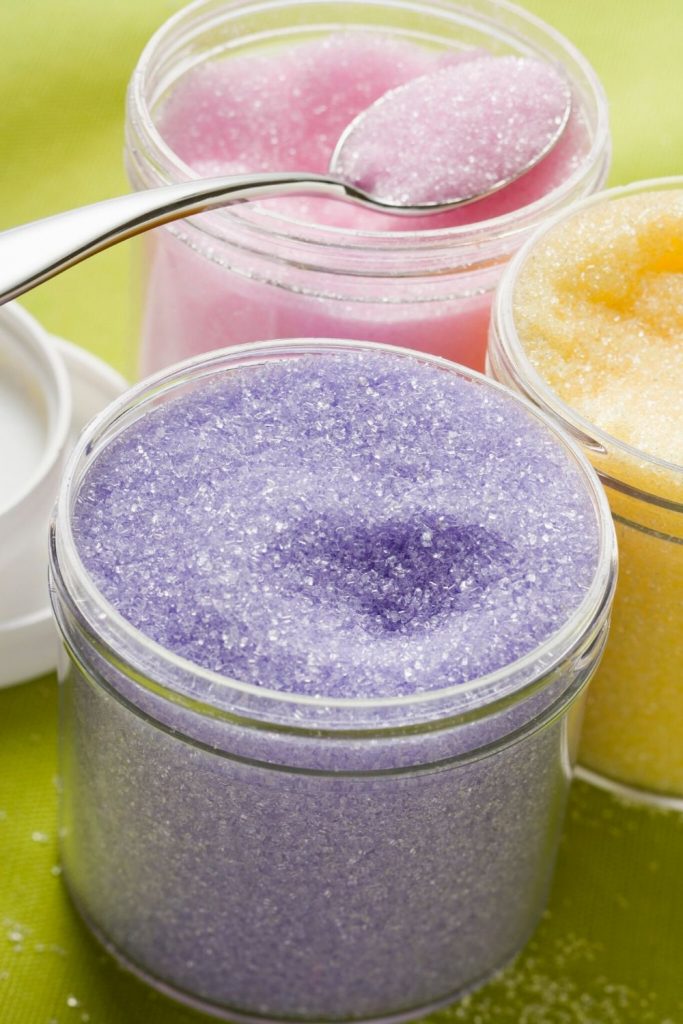
The best ways to use it on desserts and drinks
This sugar does two jobs at once. It adds color, and it adds a little crunch that makes desserts feel finished.
Use it on frosted cupcakes, iced sugar cookies, brownies, doughnuts, cake pops, and holiday treats. It also looks great on mint sugar cookies with Andes candy, where a little sparkle makes the whole tray look extra festive.
On frosted desserts, add it right after the frosting goes on so it sticks well. On cookie dough, you can sprinkle it on before baking if the dough is slightly tacky. It is an easy way to dress up a plain cookie without making a second topping.
It is also perfect for drinks. Wet the rim of a glass with citrus juice or simple syrup, then dip it into a shallow plate of colored sugar. Cocktails, mocktails, and party punches all look better with that little ring of color. It is a small touch, but it makes a drink feel like you planned ahead.
The simple ingredients you need for homemade sanding sugar
The ingredient list is short, which is part of the charm. You probably have everything already sitting in the kitchen.
- Granulated sugar
- Food coloring
- A little cornstarch if the sugar gets damp
That is it. No special tools. No strange ingredients. No reason to overthink it.
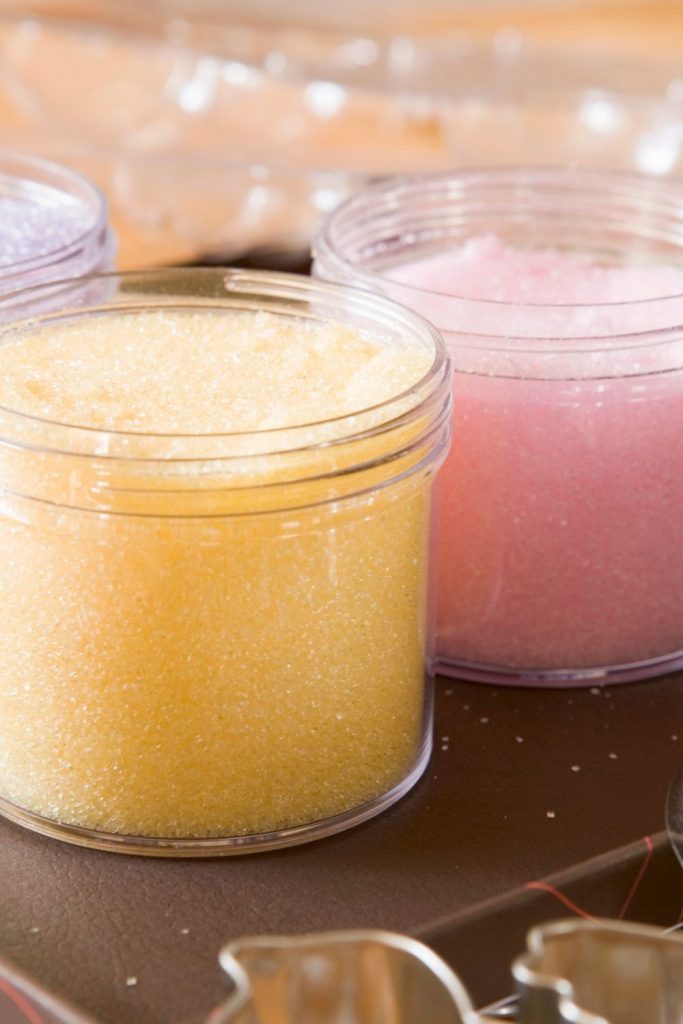
Choosing the right sugar base
Plain white granulated sugar is the best place to start. It is cheap, easy to find, and the crystal size works well for homemade decorating sugar.
If you use superfine sugar, the finished texture will look softer and less sparkly. Powdered sugar will not work at all. Brown sugar is not a good choice either because it already has moisture, and the color can look muddy.
If you happen to have a coarser decorating sugar at home, you can color that too. Still, regular table sugar is the easiest option for most people. It is also what makes this so budget-friendly.
I like making small batches first. A half cup or one cup is plenty for most desserts, and it is easier to control the color that way. You do not want to end up with a giant bowl of neon orange sugar when all you needed was enough for one tray of cookies.
Picking food coloring for bright or soft colors
Food coloring changes both the shade and the feel of your sugar. Liquid food coloring gives bold color fast. Gel color is nice when you want softer tones, because you can use the tiniest amount and build slowly.
For bright red, green, blue, or purple, liquid coloring is easy. For baby shower colors, Easter pastels, and soft spring shades, gel is often the better pick. Touch a toothpick into the gel, then mix that into the sugar a little at a time.
Start with less color than you think you need. You can always add more. Taking it back out is not happening.
How to make sanding sugar step by step
Making it is simple. The only real trick is adding color slowly so the sugar stays dry and fluffy.
Mix the sugar and color without making it too wet
A zip-top bag is the easiest method because it keeps the mess down. A bowl works too if you want a little more control.
Here is the basic method:
- Pour 1/2 cup to 1 cup of granulated sugar into a zip-top bag or small bowl.
- Add one or two drops of food coloring.
- Seal the bag and shake, or stir with a fork if you are using a bowl.
- Massage the sugar from the outside of the bag until the color looks even.
- Add more color a drop at a time until you like the shade.
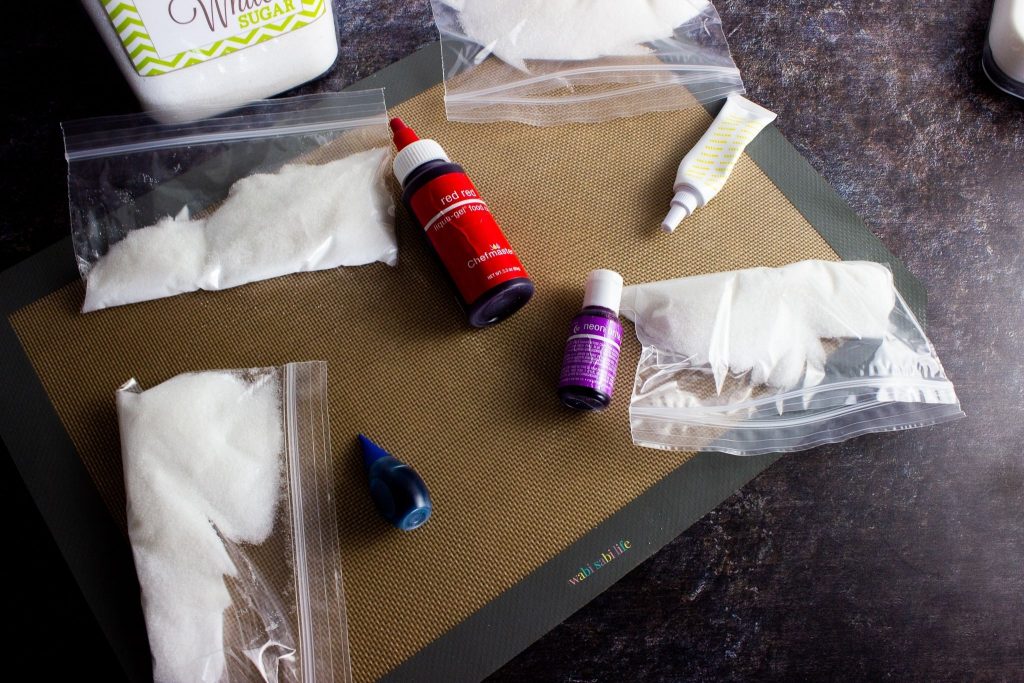
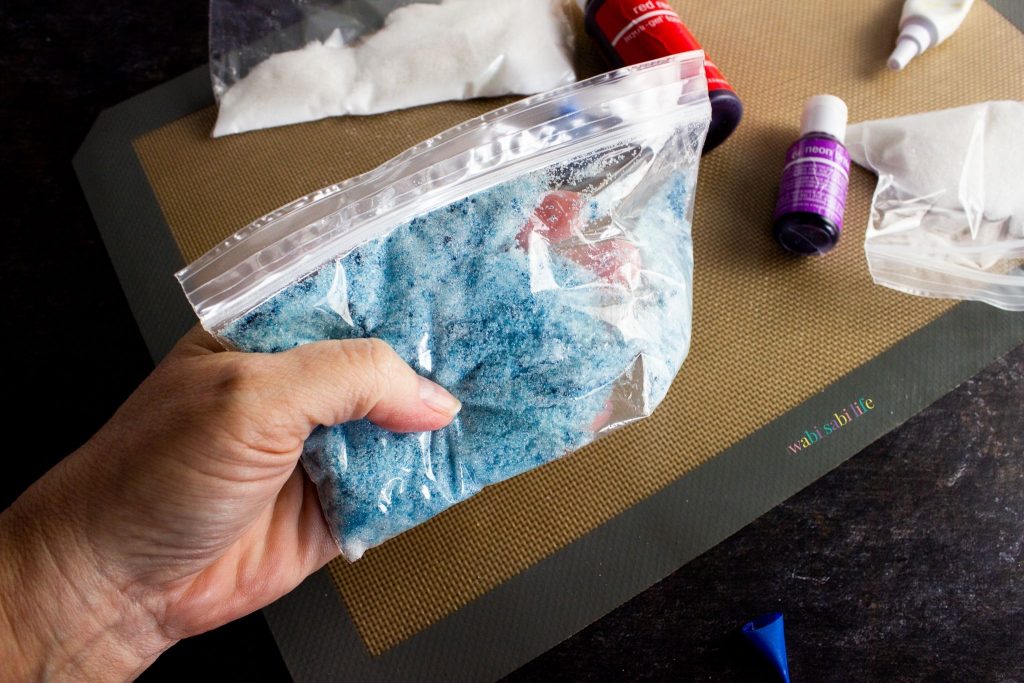
I like the bag method because you can really work the color through the sugar without dirtying extra dishes. If the color looks streaky at first, keep going. A lot of times it evens out after another minute of mixing.
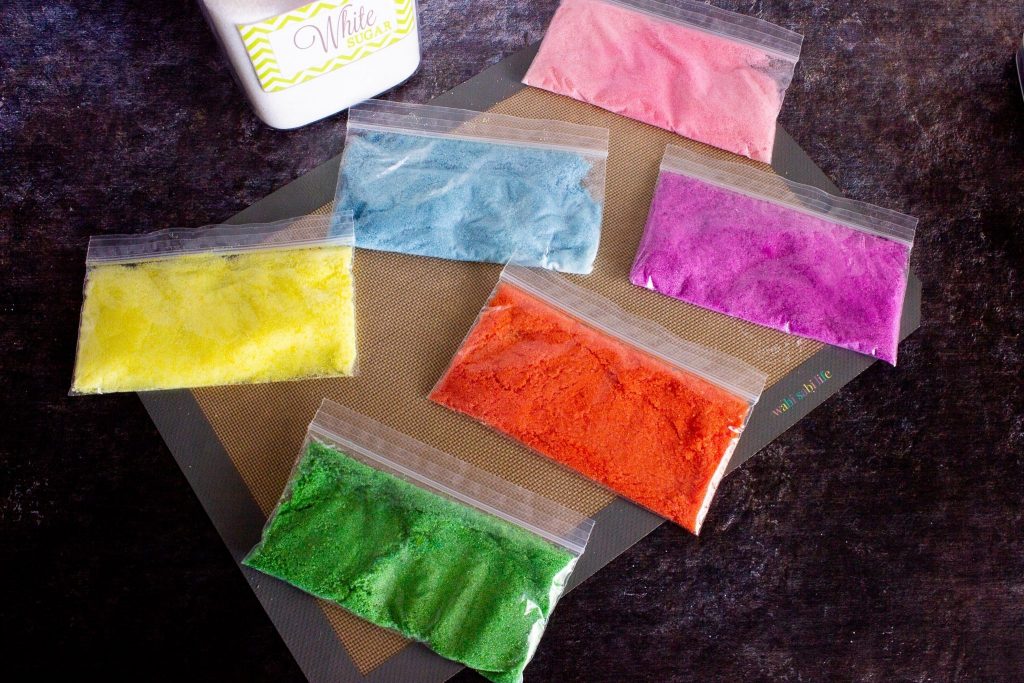
Start with less food coloring than you think you need. It is easier to deepen the color than fix a soggy batch.
Check the sugar in natural light before you add more color. What looks pale in the bag can look much brighter once it is spread out on frosting or a cookie.
Fix sugar that looks damp or clumpy
If the sugar looks wet or clumpy, do not toss it. Most of the time it is an easy fix.
Add a tiny pinch of cornstarch and keep mixing. Cornstarch helps soak up extra moisture, and when you use only a little, it does not change the taste in any noticeable way. You can also add a spoonful of plain sugar to balance out too much coloring.
If the batch still feels sticky, spread it out on a plate or a piece of parchment for a little while, then stir again. Usually the problem is simply too much liquid added too fast.
Store the finished sugar the right way
Once the color looks even and the sugar is loose, move it into an airtight container. Small jars, plastic containers, or sandwich bags all work as long as they seal well.
Keep it at room temperature in a cool, dry place. As long as moisture stays out, homemade sanding sugar can last a long time, even years. That is one of the best parts of making your own. You can mix a few colors once, store them, and have them ready whenever you need them.
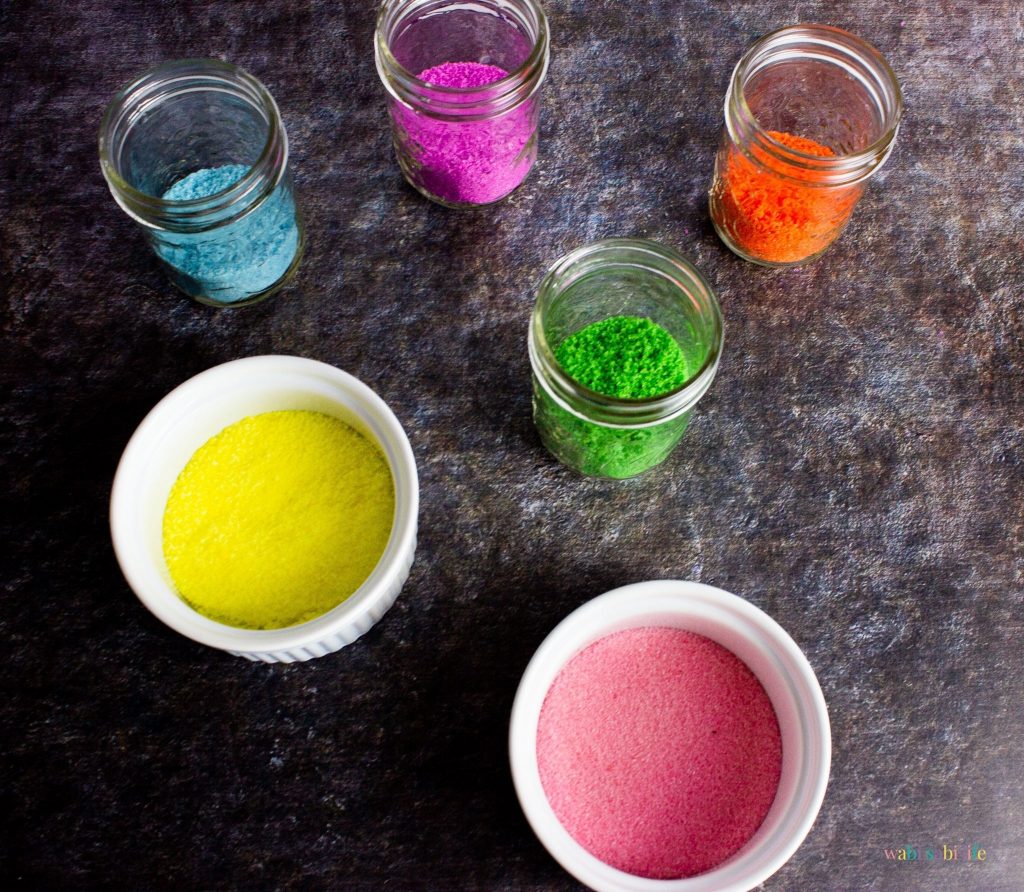
One habit makes a big difference with drink rims. Do not dip the glass into the storage container. Pour some sugar onto a small plate or bowl, use what you need, and keep the rest of the jar dry. That keeps your stash clean and helps it last.
If you are making a few colors at once, label the containers. Blue and purple look obvious today. A month from now, not always.
Color ideas and smart tips for better results
Once you make your first batch, the fun part starts. This is where you can play with shades, themes, and little fixes that make the sugar look better without extra work.
How to make lighter or pastel shades
Pastel sanding sugar is easy. Use less food coloring, especially if you are working with gel.
Dip a toothpick into the gel and swipe that into the sugar. Mix it well before adding more. That little bit is often enough for pale pink, baby blue, light lavender, or soft yellow.
This is great for Easter desserts, spring cupcakes, baby showers, and themed parties. You can also make a few shades of the same color and use them together. Light pink, medium pink, and hot pink on one dessert table looks cute without much effort.
Smaller batches usually color more evenly than big ones. If you want a super soft, even pastel, start with half a cup of sugar instead of a huge bowl.
Avoiding common sanding sugar mistakes
The biggest mistake is adding too much liquid at once. The second is not mixing long enough. Sugar can look blotchy at first, then smooth out nicely after another minute or two of shaking.
Humidity is another problem. If the kitchen feels sticky, close your container right after you use it. Also, keep wet measuring spoons and damp hands away from the sugar. A little moisture goes a long way here, and not in a good way.
When you are ready to try your first batch, keep it easy. Sprinkle it over simple 3 ingredient peanut butter cookies or rim a glass for a party drink. Once you see how simple it is, you will probably start keeping a few colors in the cabinet and stop buying those little store bottles.
Sanding Sugar Cookies and Desserts
Pretty much any cookie will benefit from sanding sugar. It just makes it look so pretty. I like to use its decoration.
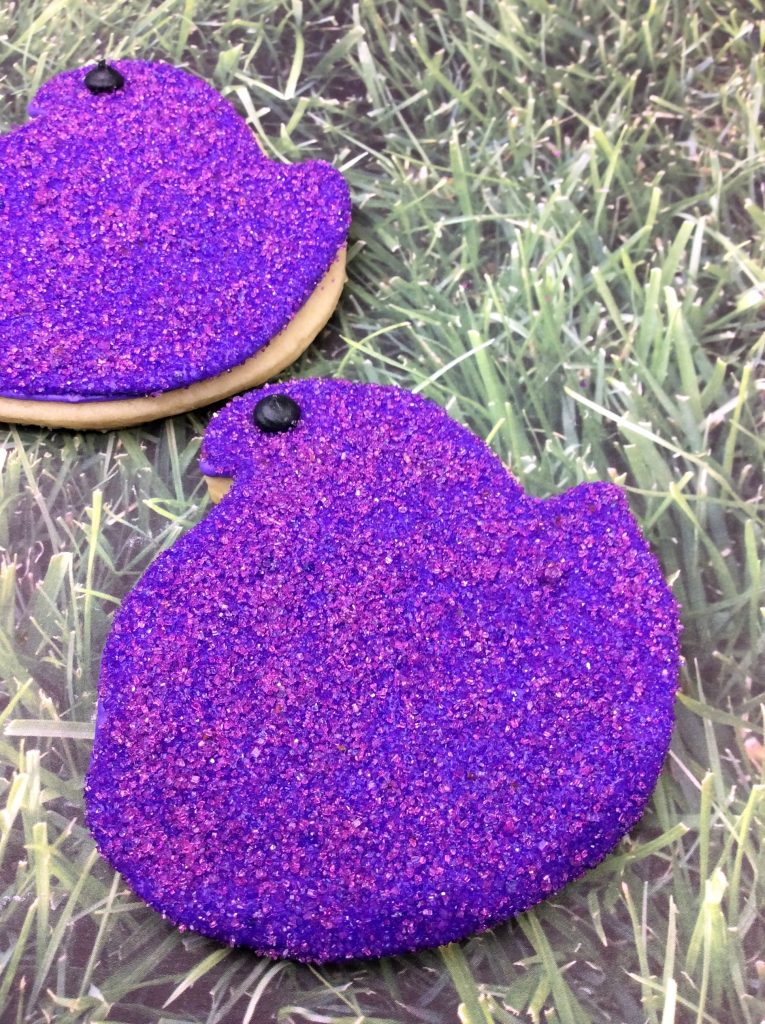
- Peeps Cookies– Cute cookies cut into Peep shapes and topped with purple sanding sugar.
- The Best St Patrick’s Day Cookies– These cookies are perfect for celebrating St Patrick’s Day
- Easy 2 Ingredient Mint Chocolate Frosting Fudge– Who doesn’t love fudge.
- Candy Corn Brownie Bites– These brownies are cut into candy corn shaped
Sanding Sugar for Drinks
This sanding sugar recipe is perfect for decorating your cocktails or punches. I love to add some to the ring of the glass. It adds a beautiful touch as well as a fun aspect to the drink.
- The Amazing Spiderman Punch – A delicious decorative punch, that kids will love.
- Easter Punch – Perfect for Kids – Decorated with Peeps, this Easter punch is delicious.
- Non Alcoholic St. Patrick’s Day Punch – This is a readers favorite and gets lots of compliments during St Patrick’s Day, Christmas and at any kid’s party.
- Vampire Drink Halloween Cocktail – A must have adult drink for your Halloween party
- Queen of Hearts Cocktail – This bright red colored cocktail is gorgeous
- Peppermint Patty Drink | Peppermint Patty Martini – This cocktail is a must for anyone who loves peppermint and chocolate
- Grinch Cocktail – A Drink for Christmas – I love the bright green color of this Christmas cocktail.
- Chocolate Covered Strawberry Martini – Perfect for a girls night in, or just because I created this cocktail for my mom who absolutely loves it.
- Kinky Pina Colada – This vibrant blue-colored cocktail is beautiful and tasty.
- Mad Hatter Martini – For all the Mad Hatter Fans
- Cheshire Cat Inspired Cocktail – The Cheshire cat is my favorite character in Alice in Wonderland, so he deserves his own special drink
- Easy Blackberry Margaritas– This is a great light summer cocktail.
Final Thoughts
Homemade sanding sugar is cheap, easy, and way more flexible than store-bought. You can make bright holiday colors, soft pastels, or a quick custom shade for a dessert table without leaving the house.
The whole trick is simple, use regular sugar, add the color slowly, and keep moisture out. After that, sanding sugar becomes one of those little kitchen things you end up using more than you expected.
Once you make your first jar, the bakery aisle starts looking a lot less tempting.
Make Your Own Sanding Sugar
Ingredients
- ⅓ cup Sugar I usually use 1/3 cup
- Food Coloring
Directions
- Pour your sugar into a plastic baggie.
- Add in a few drops of food coloring. Remember to start small. Add one or two drops in at a time. You can always add more color but you can not take it out.
- From the outside of the bag, mix the sugar and food coloring around until all the sugar is dyed.
- Repeat for how ever many colors you need. Store in an airtight container.
Nutrition




Cheyenne D Conboy
SAVED ME SO MUCH MONEY. I enjoy watching TV and making sanding sugar. It takes a lot of tine but worth it
Sayuri
Thanks for sharing this procedure.. It is a big help..
Angela W Broyles
so easy!!
Edward
Would this work for coloring sea salt?
Our Wabi Sabi Life Staff
I would think that you would be able to. I haven’t tried it so I don’t know how it would turn out.