
Craving ice cream but trying to keep dessert lighter? This WW no-churn strawberry ice cream is creamy, fruity, and easy to make without an ice cream maker. It’s a homemade Weight Watchers ice cream recipe that can satisfy a sweet craving while helping you keep track of your points.
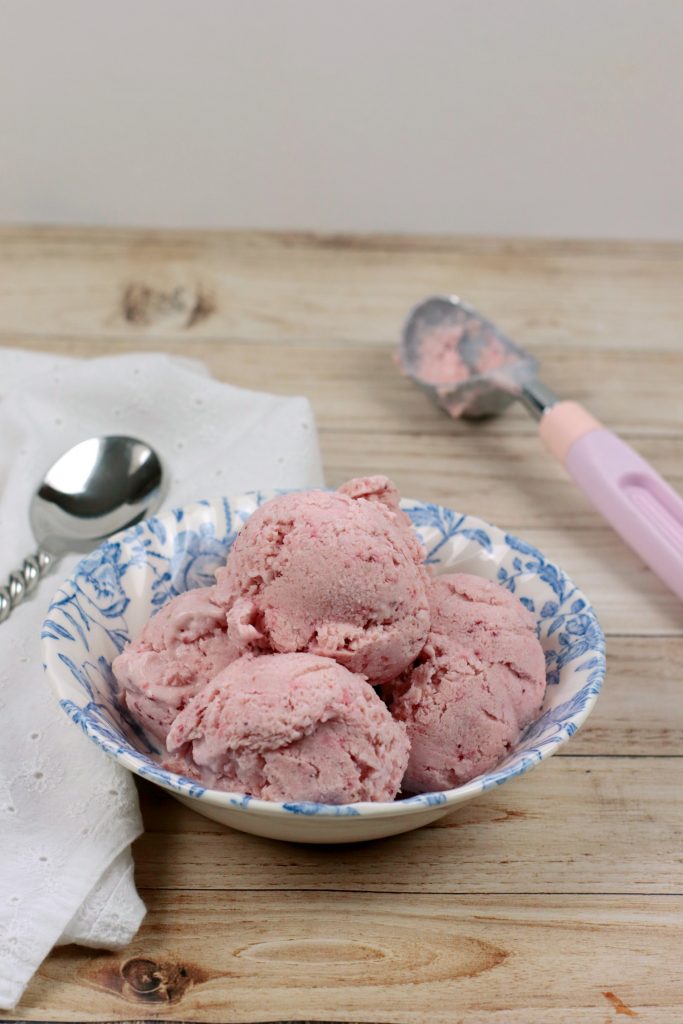
The frozen banana gives this low-point ice cream its creamy texture, while strawberries bring plenty of fresh flavor. The recipe makes four servings, and the original point estimate is 1 point per serving. WW points can change based on your plan and the brands you use, so check the ingredients in your current WW app.
Why You’ll Love This Weight Watchers Strawberry Ice Cream
- You only need a few simple ingredients.
- No ice cream maker is needed.
- You can make it with fresh or frozen strawberries.
- The Greek yogurt and banana help make it creamy without heavy cream.
If you enjoy homemade weight watchers ice cream, this is a fun one to add to your dessert list. It has the fruity flavor of strawberry ice cream and the soft, creamy texture of weight watchers nice cream.
Ingredients
- Bananas
- Homemade plain nonfat Greek yogurt
- Fat-free cream cheese
- Vanilla extract
- Sugar substitute
- Fresh or frozen strawberries
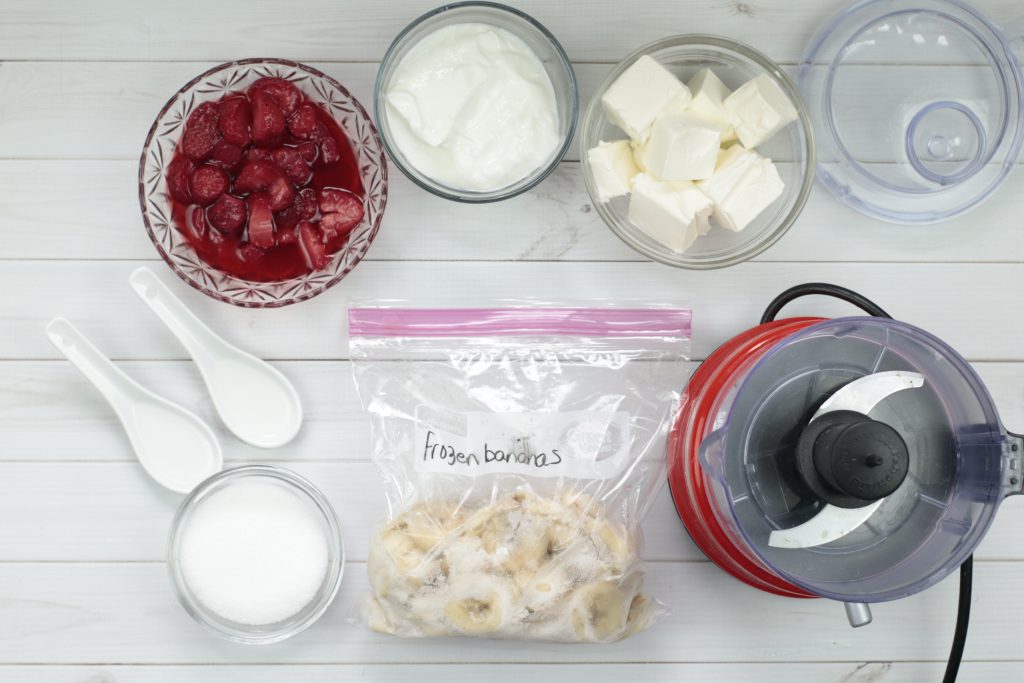
Stevia, monk fruit sweetener, or an erythritol-based blend can work. Sweeteners vary in sweetness, so start with less and taste the mixture before adding more.
Greek yogurt adds a little protein and helps make the ice cream creamy without adding fat. For the smoothest result, use a powerful blender, such as a Vitamix or Ninja, or a food processor.
How to Make Weight Watchers Ice Cream
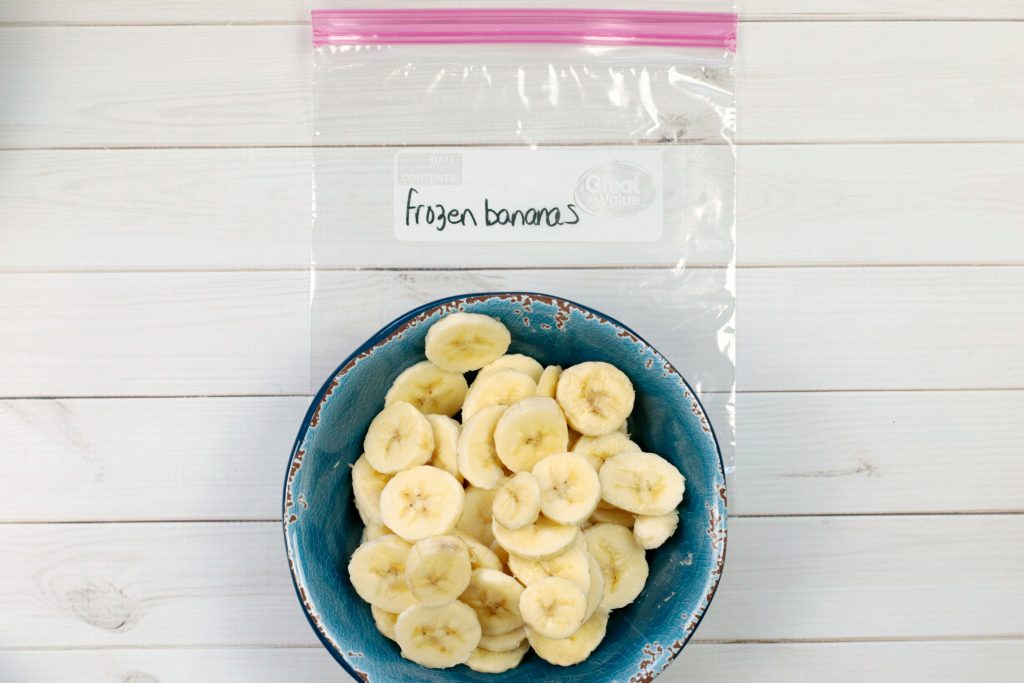
1. Freeze the bananas
Place the banana slices in a freezer-safe bag and freeze for about 4 hours, or until solid.
2. Blend the base
Add the frozen banana slices, Greek yogurt, cream cheese, and vanilla to a blender or food processor.
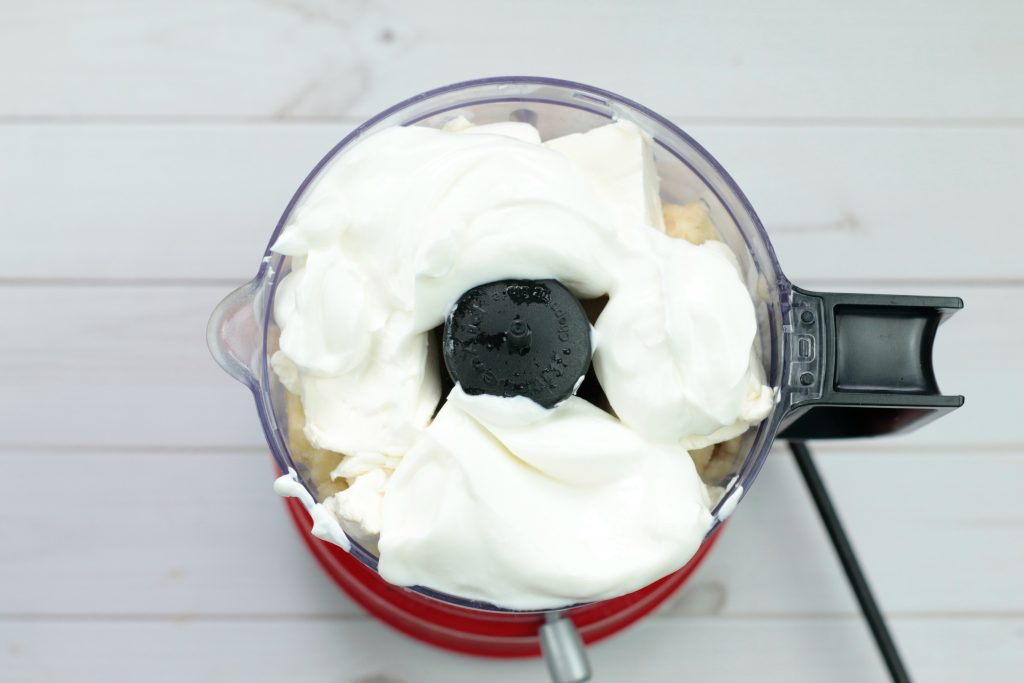
Blend until smooth. If the mixture is too thick to move, add 2 to 3 tablespoons of water and blend again.
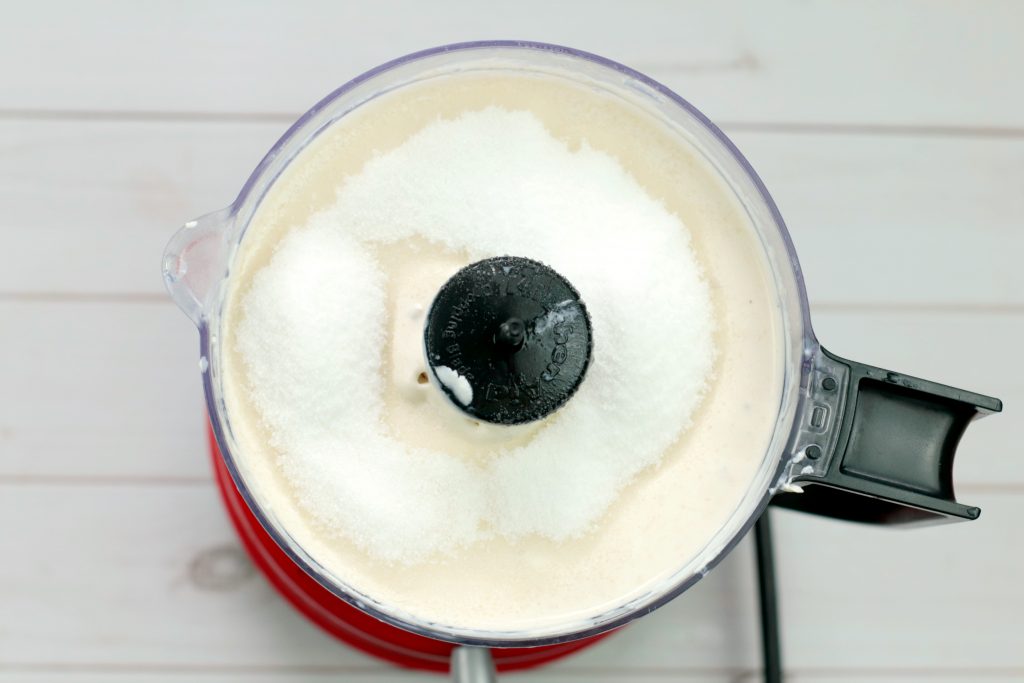
3. Sweeten and add the strawberries
Mix in 1/4 cup of your sugar substitute. Taste the base and add more if you like it sweeter.
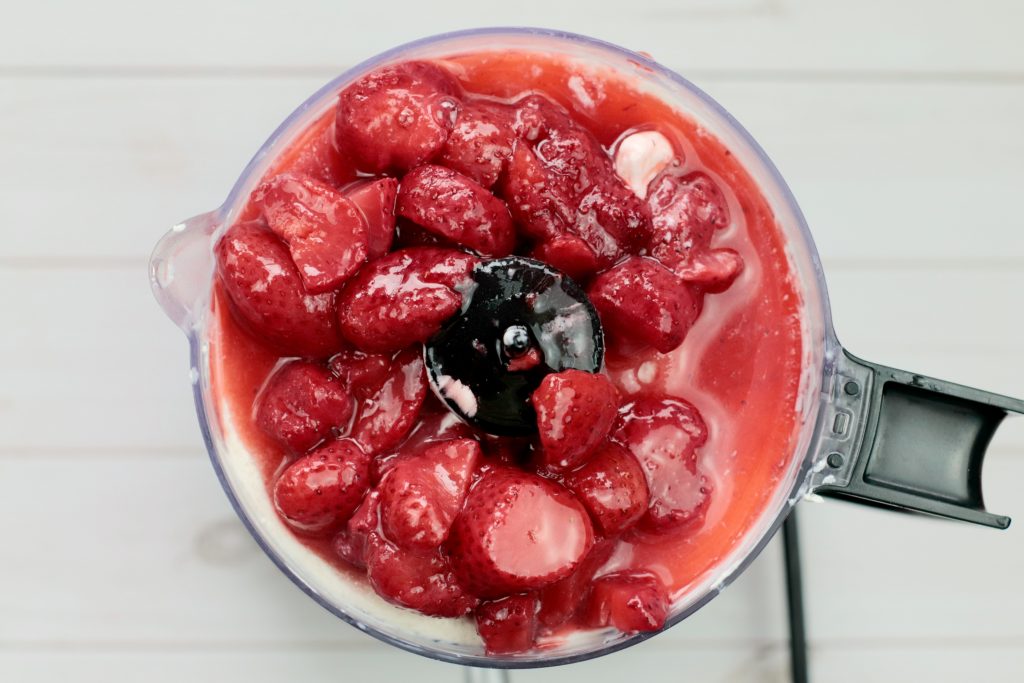
Add the strawberries and blend until smooth.
4. Freeze until scoopable
Pour the mixture into a freezer-safe container and cover it tightly. Freeze for at least 4 hours, or overnight. Let it sit on the counter for 5 to 10 minutes before scooping.
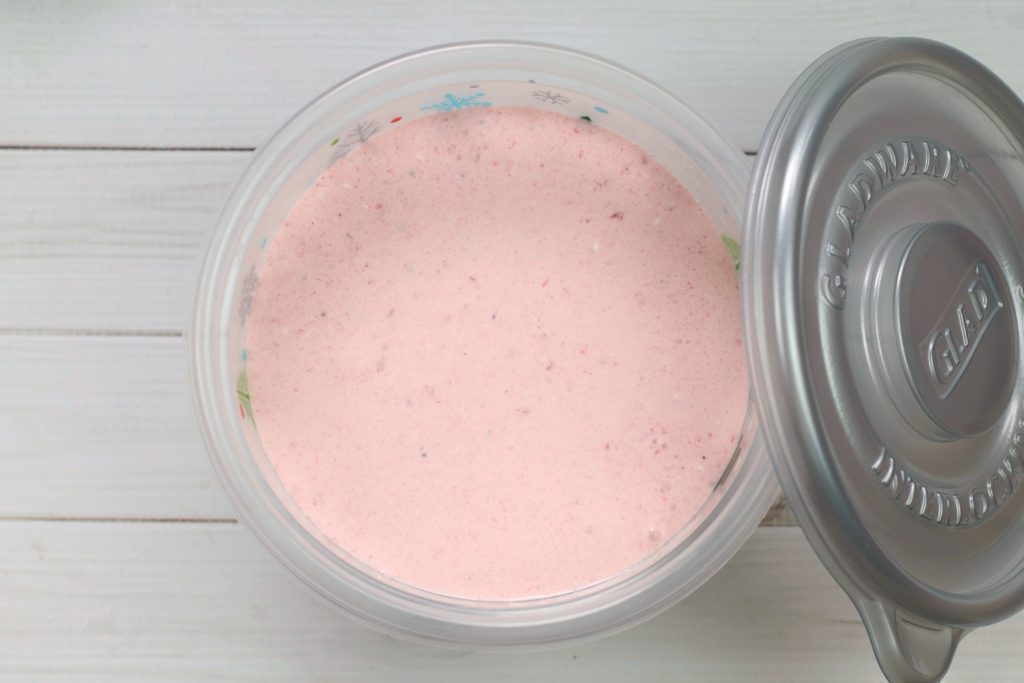
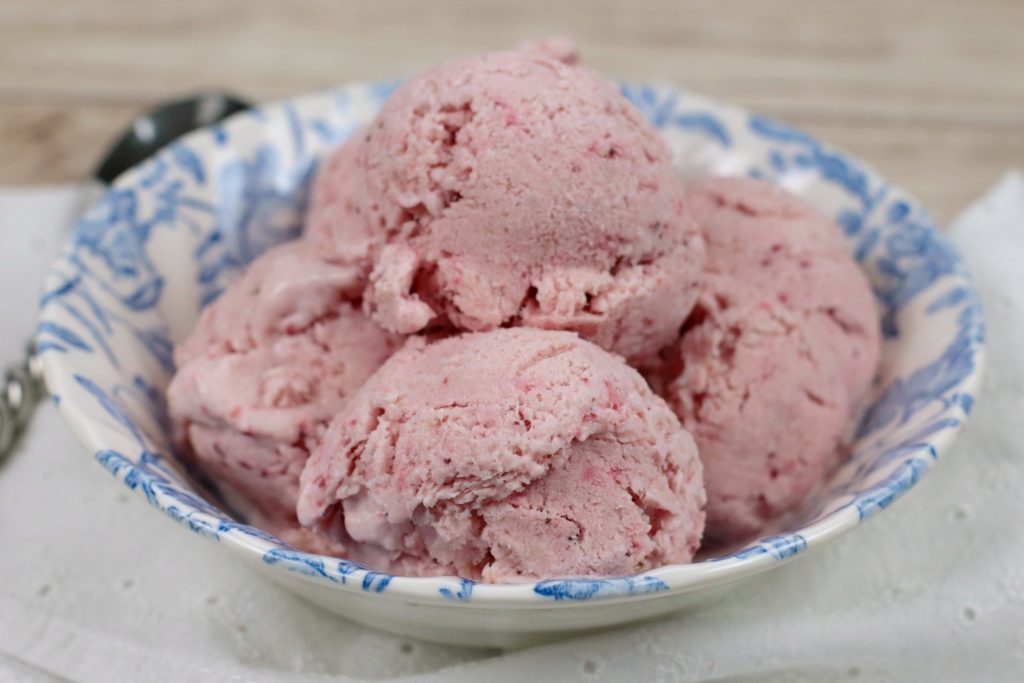
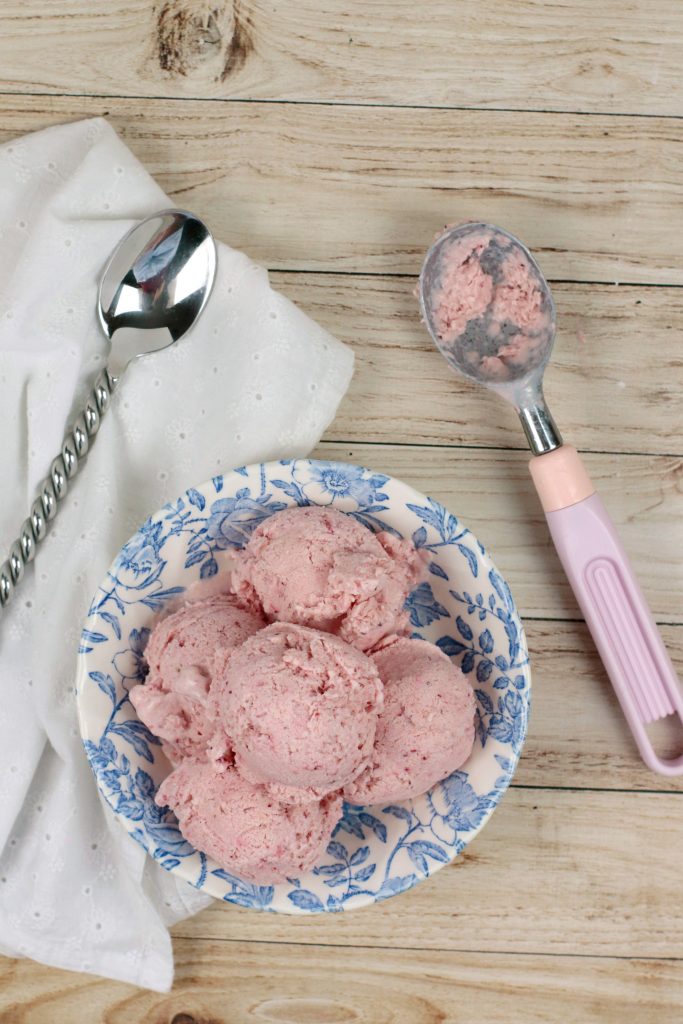
Serve in chilled bowls with your favorite toppings.
Fresh or Frozen Strawberries?
Both work well in this weight watchers strawberry ice cream recipe. If you use fresh strawberries, wash, dry, and slice them before blending. If the berries are very juicy, pat them dry first so they don’t add extra water to the mixture.
Frozen strawberries can go straight into the blender. If your blender struggles with frozen fruit, let the berries sit at room temperature for a few minutes before adding them.
You can also try other frozen fruit, such as blueberries, raspberries, or peaches. Keep the same amount of fruit, but remember that different fruits may change the WW points. Recheck the full recipe in your app whenever you swap ingredients.
No-Churn vs. Churned Ice Cream
Traditional churned ice cream is made in an ice cream machine, which keeps the mixture moving as it freezes. This usually creates a smoother, airier texture. No-churn ice cream is easier to make at home and doesn’t require special equipment, but it can freeze more firmly and may have a slightly denser texture.
This recipe uses frozen banana to help create a creamy base. It won’t taste exactly like traditional custard-style ice cream, but it makes a satisfying weight watcher friendly ice cream with a bright strawberry flavor.
Tips for Creamy, Smooth WW Ice Cream
- Use ripe bananas for a naturally sweeter flavor.
- Blend the base until completely smooth before freezing.
- Add water a tablespoon at a time if the blender needs help.
- Taste before freezing, since cold desserts taste less sweet than room-temperature mixtures.
- For a creamier result without heavy cream, blend the mixture very well and allow it to soften for a few minutes before serving.
A high-powered blender or food processor helps prevent small banana or strawberry pieces from making the texture grainy. If the mixture separates slightly, blend it again until smooth before transferring it to the freezer.
How to Store Homemade WW Ice Cream
Store the ice cream in an airtight, freezer-safe container. A shallow container helps it freeze more evenly, and freezer containers made for homemade ice cream can help reduce air exposure. Press a piece of plastic wrap or parchment directly onto the surface before putting on the lid to help prevent freezer burn and ice crystals.
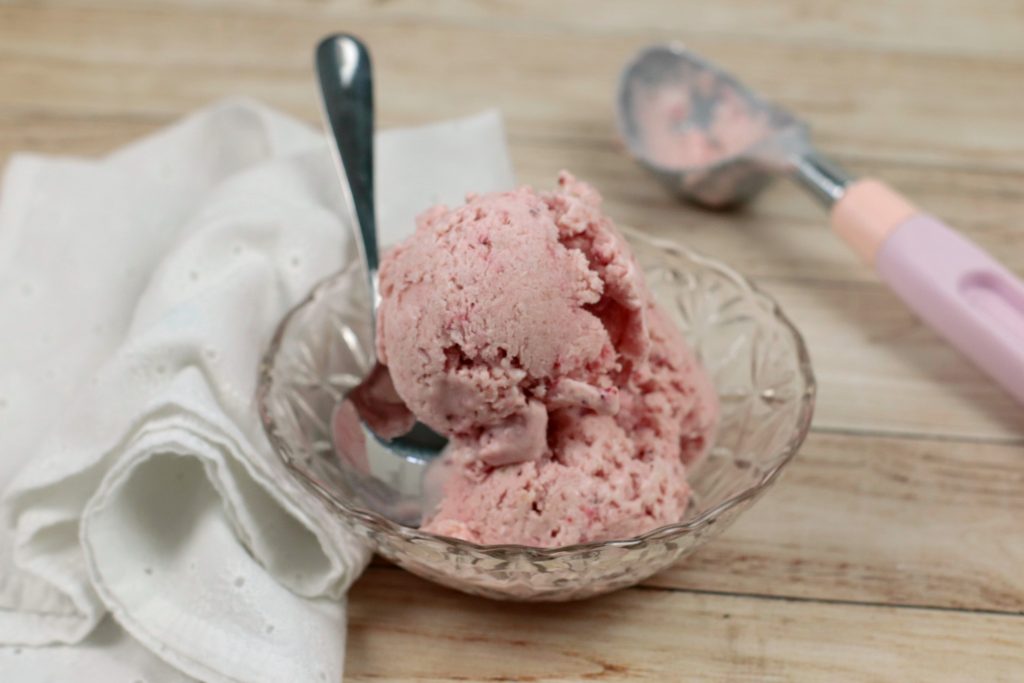
Keep the container in the back of the freezer, where the temperature stays more consistent. For the best texture, enjoy it within 1 to 2 weeks. It will stay frozen longer, but it may become harder or icier over time. Let it soften on the counter for 5 to 10 minutes before scooping.
Dairy-Free and Lactose-Free Options
For a dairy-free version, try a plain, unsweetened dairy-free yogurt and a dairy-free cream cheese alternative. Choose products that fit your needs and check their nutrition information, since their fat, sugar, and WW points may differ from the original ingredients. The texture may also change a little.
For a lactose-free version, look for lactose-free yogurt and cream cheese. Check the labels to make sure they work for your dietary needs.
Topping Ideas That Keep It Simple
A small topping can make each bowl feel extra special. Try fresh sliced strawberries, a few mini chocolate chips, or a sprinkle of cinnamon. You can also add a spoonful of light whipped topping. Count toppings in your daily plan, since even small additions can affect the total points.
Frequently Asked Questions
Can I make this without a blender?
A blender or food processor is needed to puree the frozen banana and berries smoothly. If you don’t have one, let the fruit soften until you can mash it, then mix everything thoroughly. The texture will be less smooth, and it may take more effort to combine.
Can I make multiple flavors for meal prep?
Yes. Divide the blended base into separate bowls before adding the fruit, then mix a different fruit into each portion. Freeze each flavor in its own covered container and recalculate the points if the ingredients change.
Is this a zero-point strawberry ice cream recipe?
It isn’t automatically zero points. The point total depends on your WW plan, ingredient brands, and serving size. The original recipe estimate is 1 point per serving, so check your current WW app for the most accurate calculation.
Is this the best ice cream for Weight Watchers?
That depends on what you like and how you track your food. This homemade recipe gives you control over the ingredients and doesn’t require an ice cream maker. Compare the points and serving sizes with store-bought options to find the best ice cream for your plan.
This low-fat strawberry ice cream is an easy way to enjoy a cold, fruity dessert at home. Make a batch, let it soften just enough to scoop, and enjoy a little strawberry treat whenever the craving hits!
More Low Fat, Low Calorie Ice Cream Recipes
- Creamy Banana Ice Cream
- No Churn Apple Pie Ice Cream Recipe
- Low Calorie Rocky Road Ice Cream
- No Churn Pumpkin Cheesecake Ice Cream Recipe
WW No Churn Strawberry Ice Cream
Ingredients
- 2 large bananas peeled and cut into thin slices.
- ½ cup plain Greek nonfat yogurt
- 6 ounces fat free cream cheese cut into chunks
- ¾ tablespoon real vanilla extract clear if available to prevent discoloration of ice cream
- ¼ to ½ cup sugar substitute
- 1 cup frozen not in syrup or fresh strawberries, sliced
Directions
- Place banana slices in a plastic freezer-safe bag and place in the freezer about 4 hours, or until frozen.
- In a powerful blender or food processor, add frozen banana slices, yogurt, cream cheese, and vanilla extract, and blend until completely smooth. (If necessary, add 2-3 tablespoons of water to loosen the mixture).
- Add in sugar substitute until thoroughly combined with other ingredients. Once blended, taste mixture and add more if desired.
- Add in strawberries and blend until smooth.
- Pour mixture into a freezer-safe container and cover tightly. Place in the freezer for a minimum of 4 hours or overnight.
- To serve, remove from freezer and let sit on the counter for 5-10 minutes to soften. Scoop into individual chilled serving dishes and garnish with favorite topping.

Leave a Reply