Looking for simple Halloween Treat Bag Ideas? These Halloween Treat Bags are easy to make and look adorable. Kids are going to love getting these DIY Halloween Treats Bags in their Halloween Trick or Treat Bags.
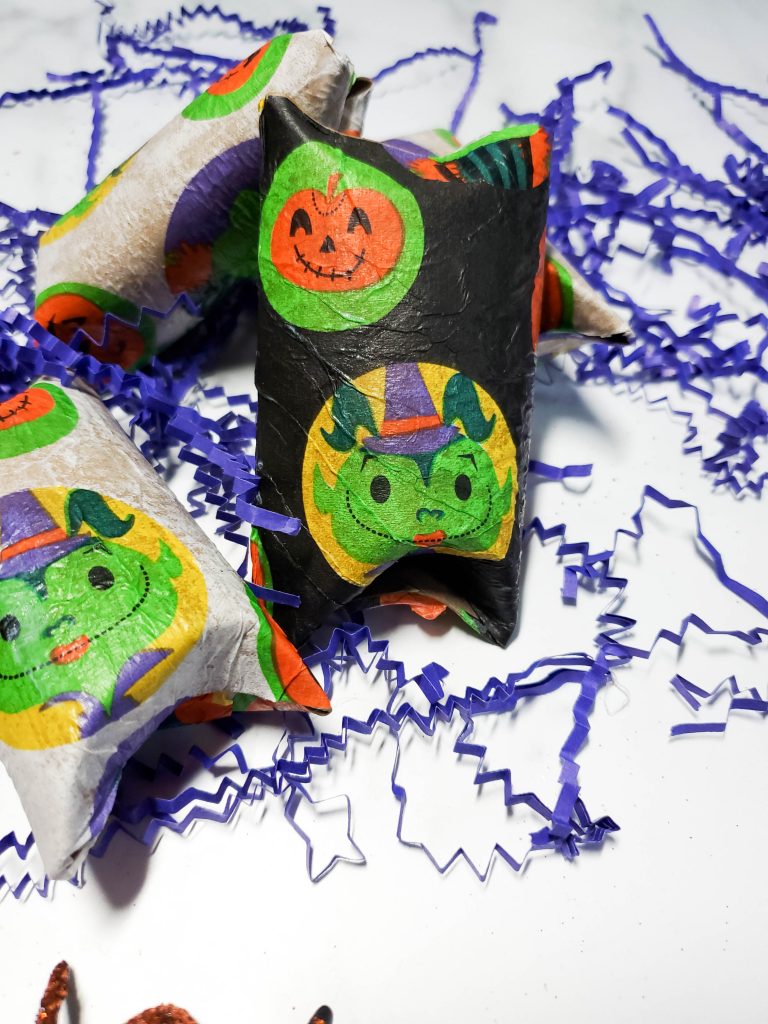
Easy DIY Treat Bag for Halloween
We started making these Halloween treat bag ideas for my daughter’s Halloween school party. She wanted to bring in something different and that meant it was time to get crafty. We keep a supply of toilet paper rolls handy because we have a lot of crafts we do with them like Recycled Bird Feeders using Toilet Paper Rolls and Using Toilet Paper Rolls For Seed Starter. and we love Creating TP Mummies for Halloween.
How Much Candy Can This Hold?
You might be surprised by how much candy these little treat bags for Halloween hold. It can hold several pieces of small candy in them or 2 of the fun size snack bar. You can also add little trinkets to these treat bags.
Can Kids Make This Halloween Treat Bag?
These Halloween treat bags are incredibly easy for kids to make. Since it is simply adding glue to the roll and wrapping the baking even younger preschool aged kids can do it. It might get a little tricky with the napkin getting lumps and folds, but the beauty of it is, it doesn’t matter.
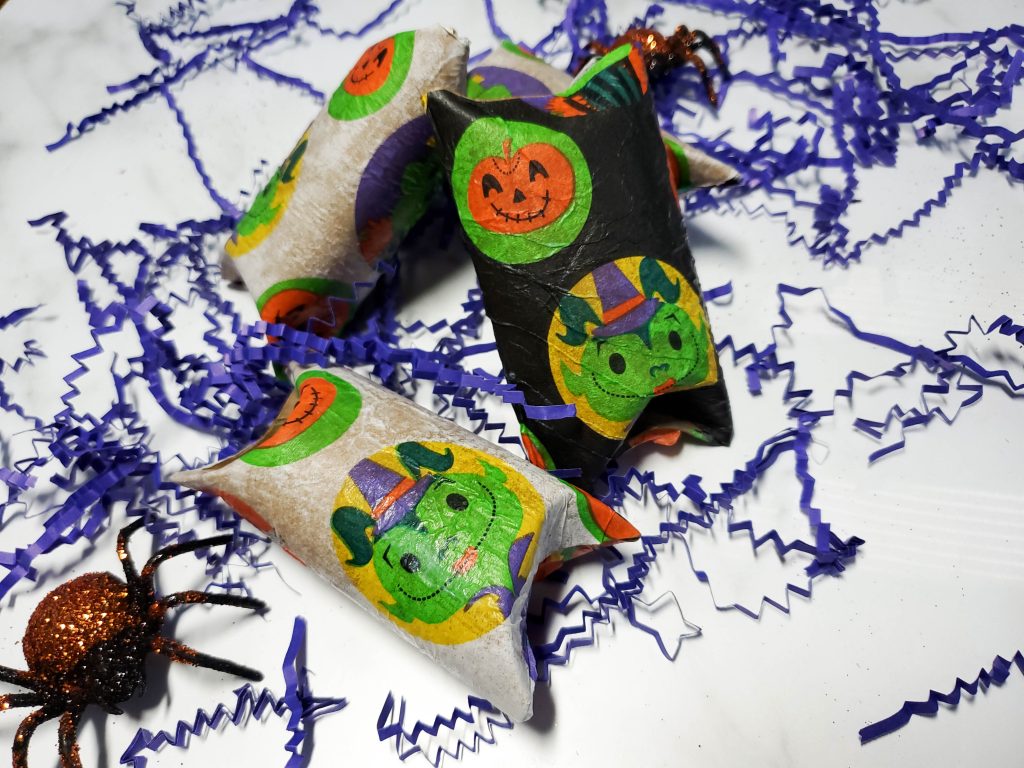
Are These Halloween Treat Bags Hard to Make
While it might seem like this is going to be a hard Halloween craft it is actually extremely easy. Kids of all ages can make this craft, but toddlers and preschoolers will need a little help applying the napkin. If you are not working about perfection, which we never do because Wabi Sabi, this is an extremely halloween Treat Bag Craft.
When we started making these Halloween Treat Bags, it was a craft that the kids could do, even when the kids were very young. There are only a few steps to make these bags. If you can use glue and scissors, you can make these Halloween Treat Bags.
Halloween Treat Bag Ideas for Filling
When it comes to filling these Halloween treat bags I like to use candy or little Halloween trinkets like spider rings, erasers, and stickers. I also use candy because it is Halloween and there must be candy.
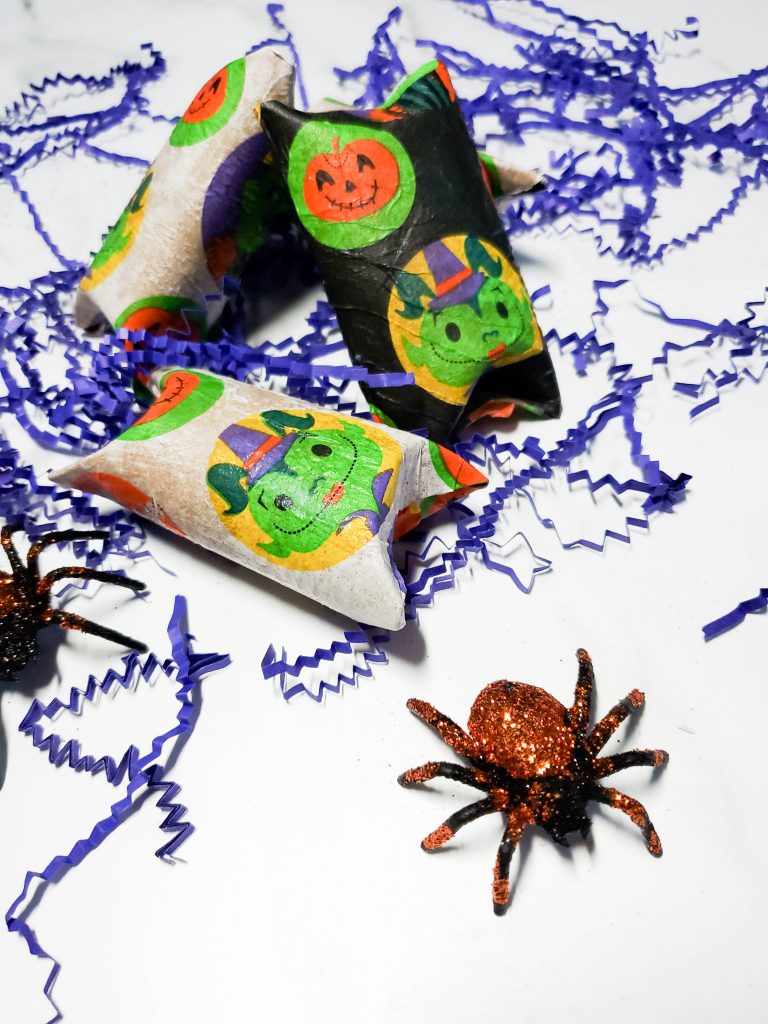
Can Kids Make These For Halloween Trick or Treat Bags
The kids love to help me make these Halloween Trick or Treat Bags. They love doing Halloween crafts and these are fun because there is no limit to the creativity involved. Kids can paint the toilet paper rolls or leave them as is. Kids can use many different napkin designs. And since the dollar store carries napkins, you can make these Halloween Trick or Treat Bags inexpensively.
Love Simple Craft Ideas?
Join Our Easy Budget Crafts Group to get even more great ideas and connect with others who love to craft.
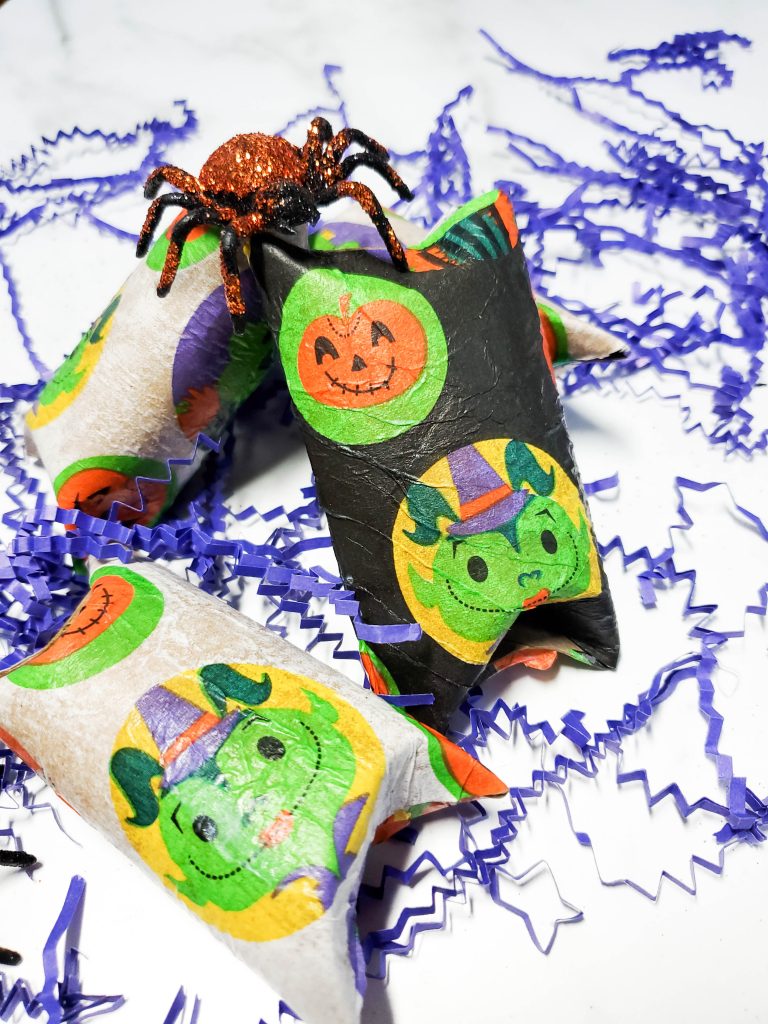
Supplies Needed
- Toilet Paper Rolls
- Modge Podge or Glue
- Sponge Paint Brush
- Decorative Napkins
- Pipe cleaners if you would like a handle
- Goodies for the bags
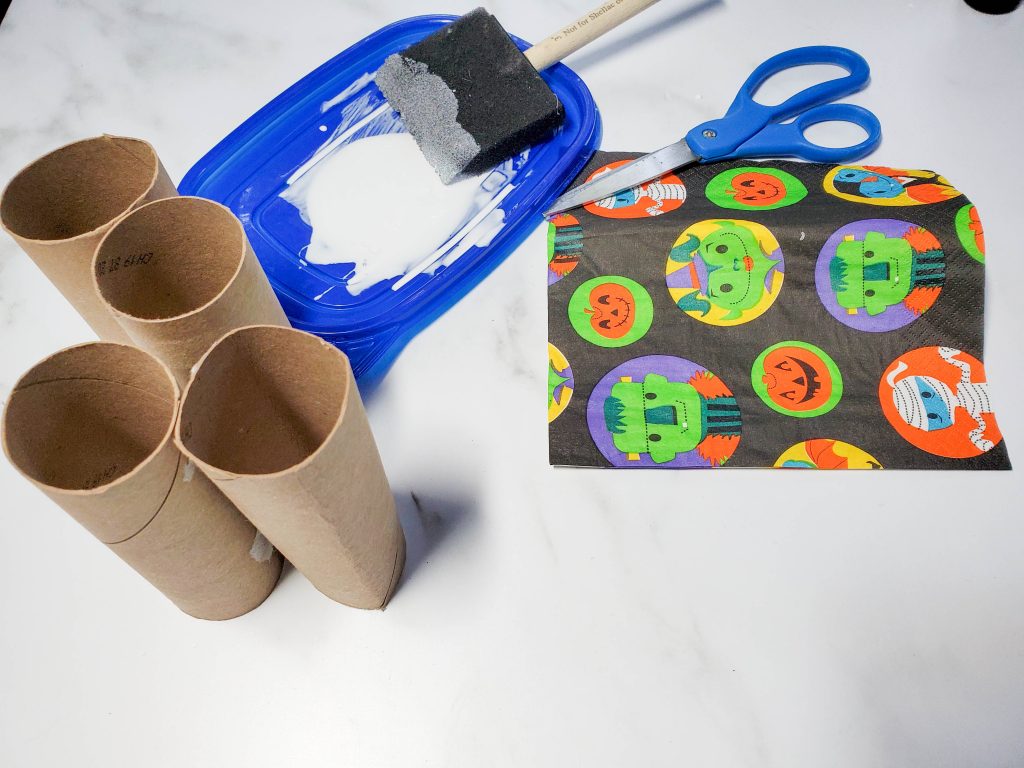
How to Make a Treat Bag for Halloween
Optional: You can paint the toilet paper rolls first if you are concerned that the white napkins will let the brown of the toilet paper rolls.
First, step is to get your napkins ready. Open them all the way up. Cut them into 4 squares.
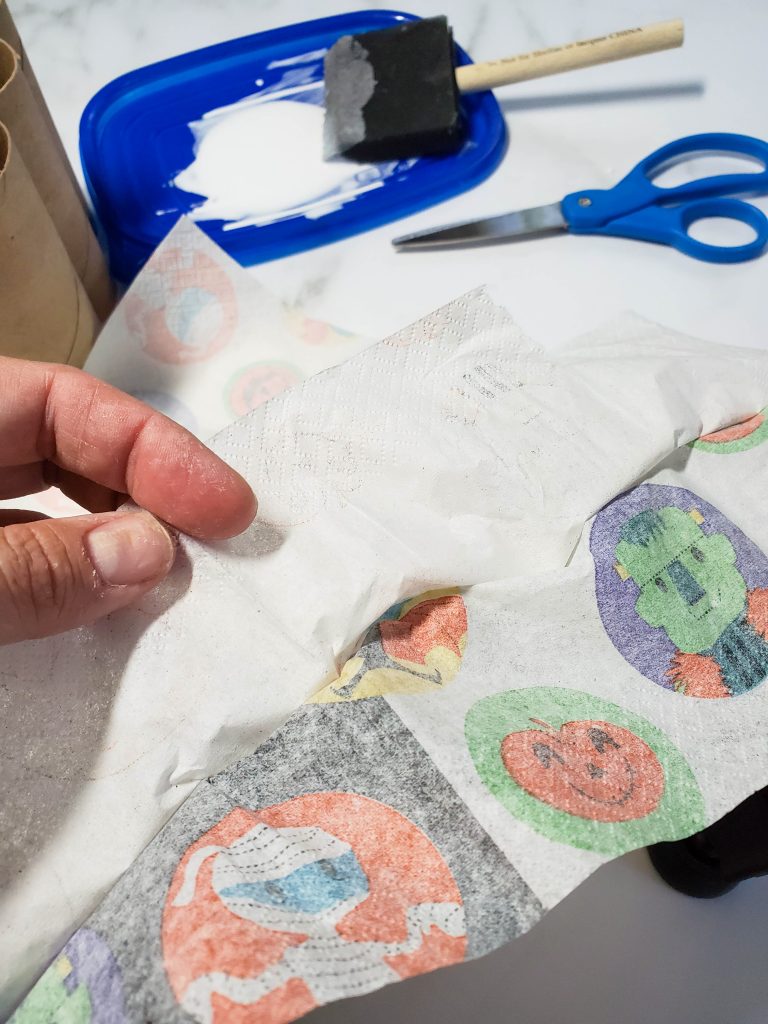
Depending on the size of the napkins, you might need to trim them down to fit the roll. It is easier to do this before it is on, but it can be done after. Then pull the napkin apart. When you look, it is actually 2 sheets in one and will pull apart easily.
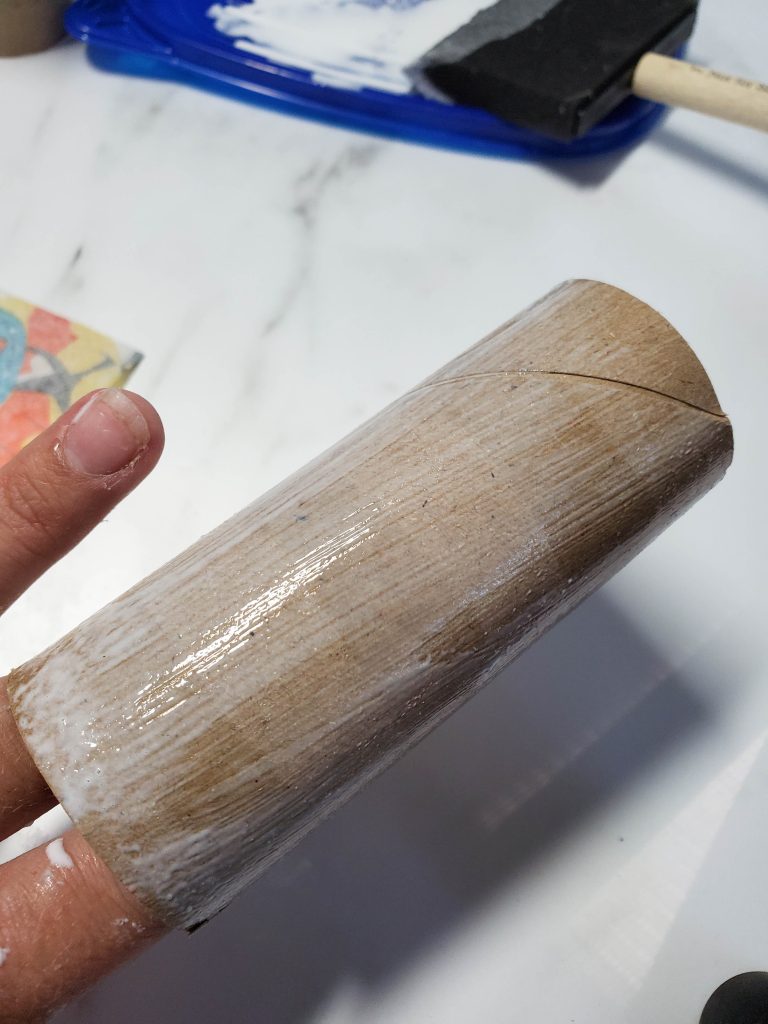
Next “paint” the rolls with glue. You want it to be completely covered but not too wet. If there is too much glue, the napkin will fall apart.
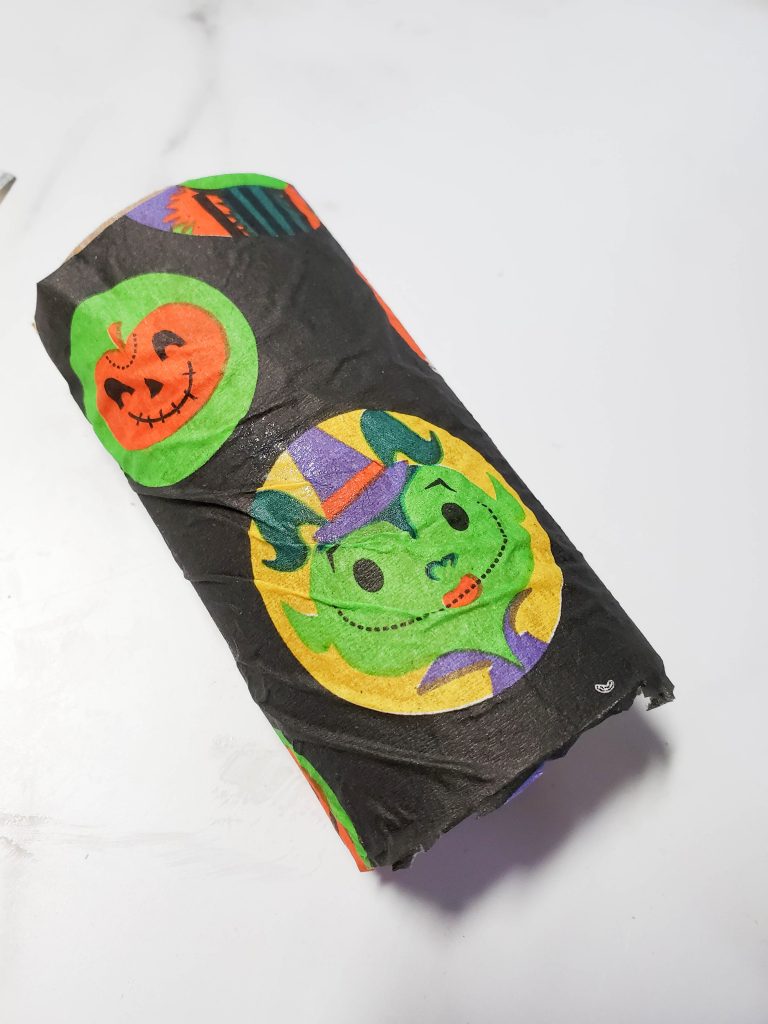
Next lay the roll on the edge of the napkin and just roll it up.
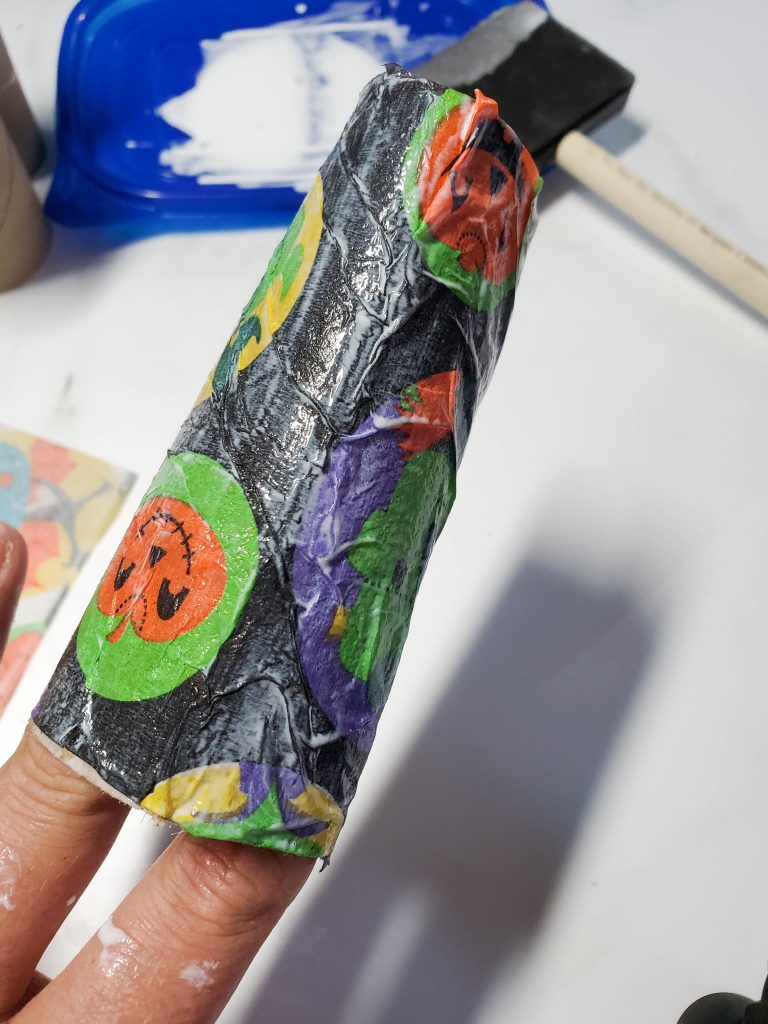
I like to also put the glue on the outside. This is optional. It helps to smooth it down and and hold it in place.
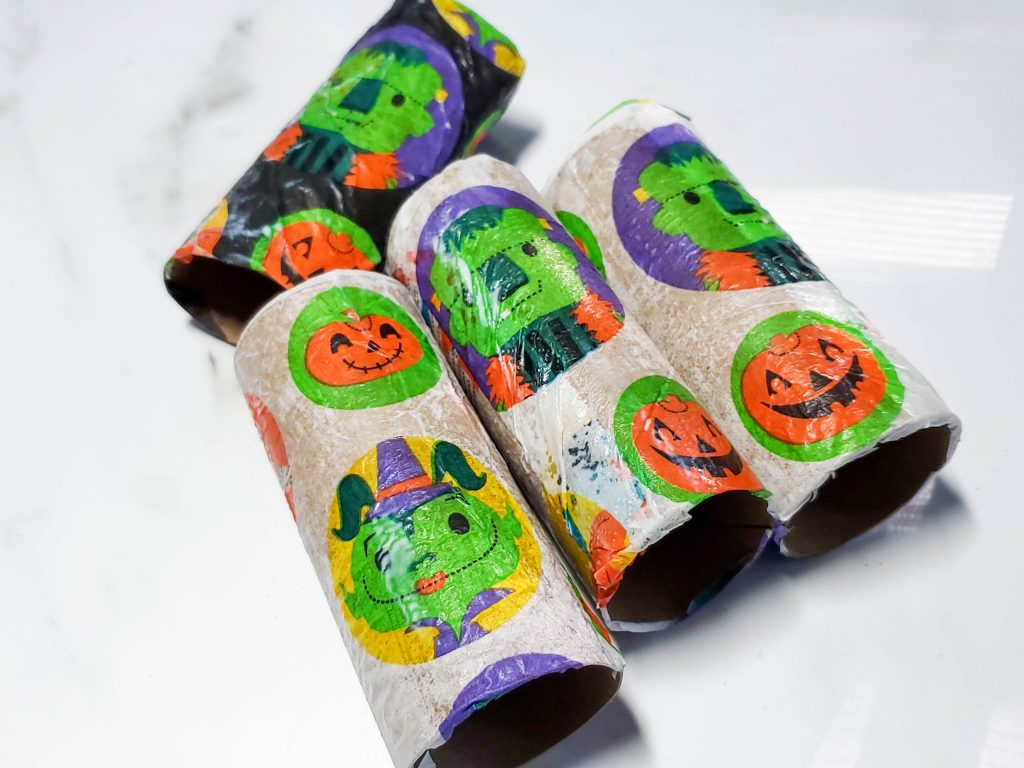
Put it aside and let it dry completely.
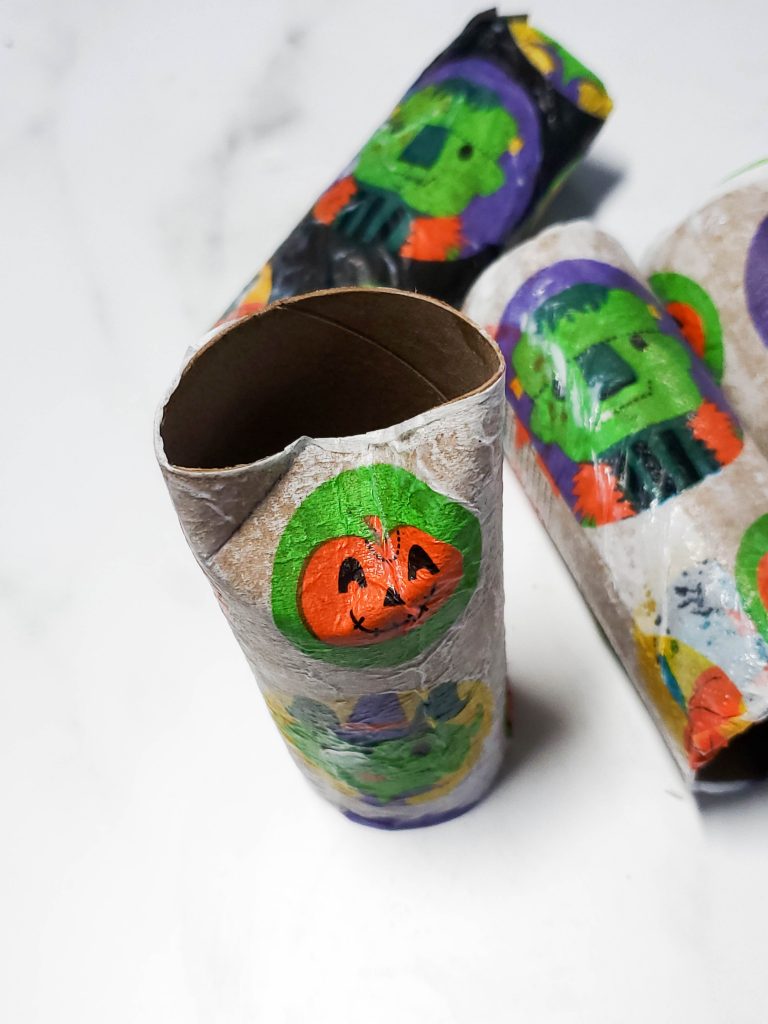
To close up the first side, take your thumb and gently press in the one side. It will naturally fold in easily.
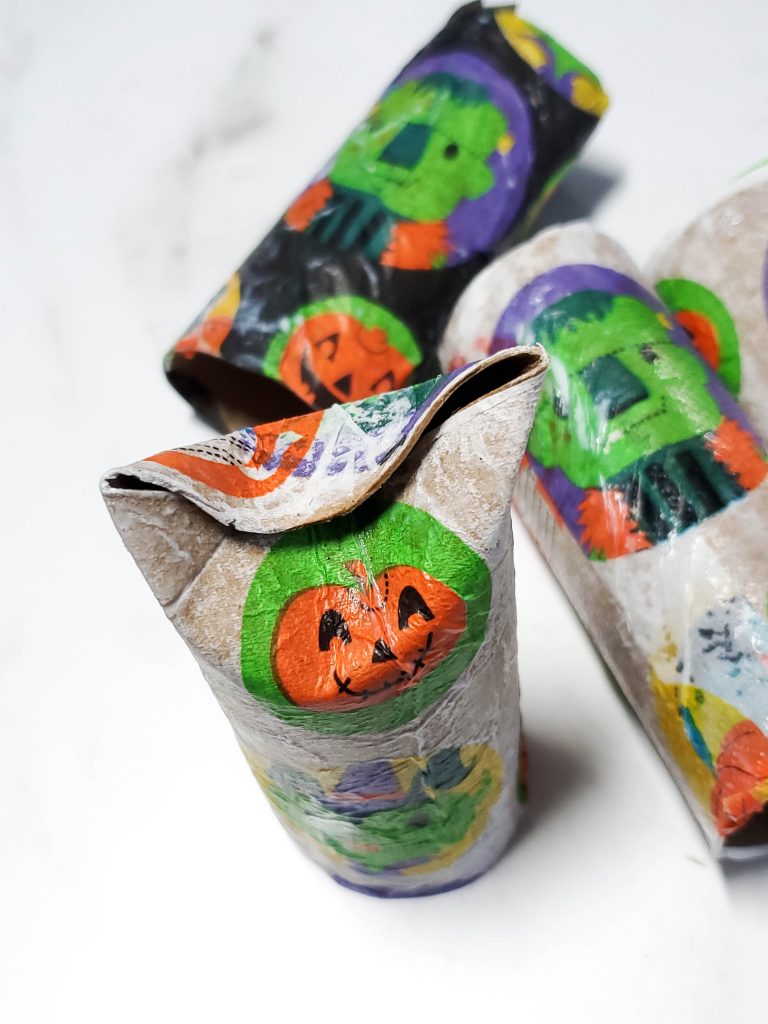
Then press in the opposite side. I like to fold them tightly and then squeeze the tops of the pointed sides, to make a crease.
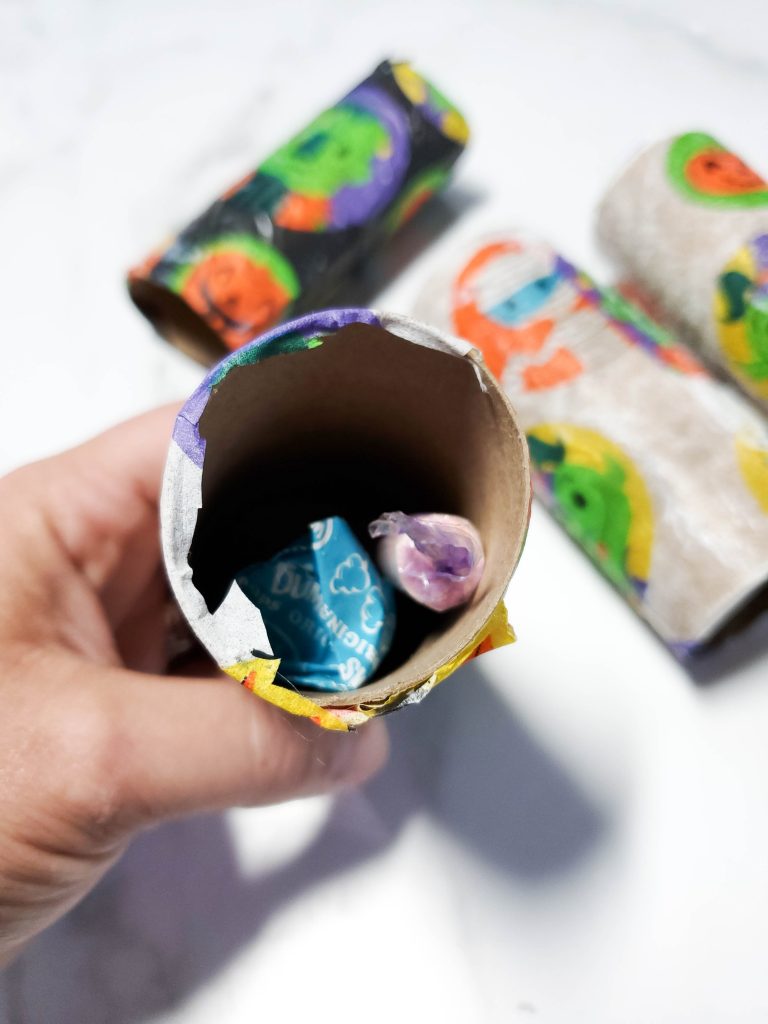
Flip the tube over and fill it with your goodies. Then close up that side the same way.
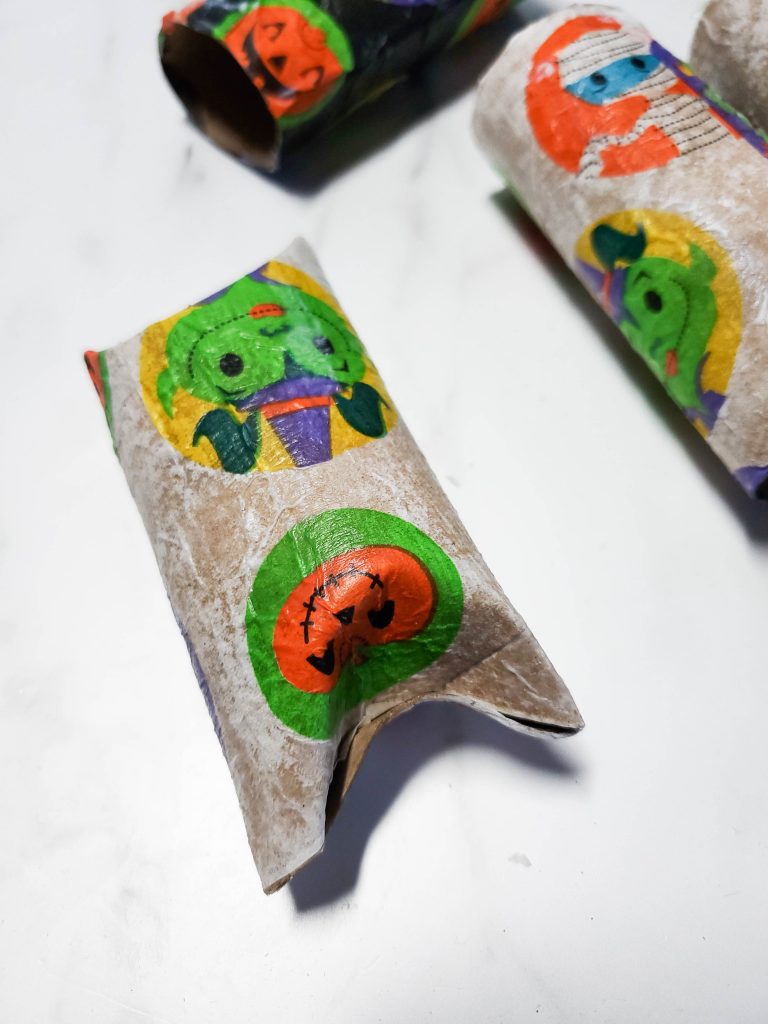
If you decide to add a handle on ours, so after folding in the first side, lay the pipe cleaner in, and fold the second side down over top of it.

Want More Simple Halloween Ideas
- Pompom Ghost| Halloween Ghost Craft
- Slime for Halloween
- Googly Eye Vase for Halloween
- Easy Halloween Pumpkin Cup Craft
- Creating TP Mummies for Halloween
- DIY Halloween Candle: Cheap, Easy and under $2

More Toliet Paper Craft Ideas
- How to Make Toilet Paper Roll Seed Starters
- Easy Thanksgiving Craft for Kids- Thankful Toilet Paper Turkey
- Easy DIY Treat Bag for Halloween
- Valentine’s Day Treat Holder | Homemade Valentine’s Crafts
- Create a DIY Mummy Halloween Door Decoration
- Recycled Bird Feeders using Toilet Paper Rolls
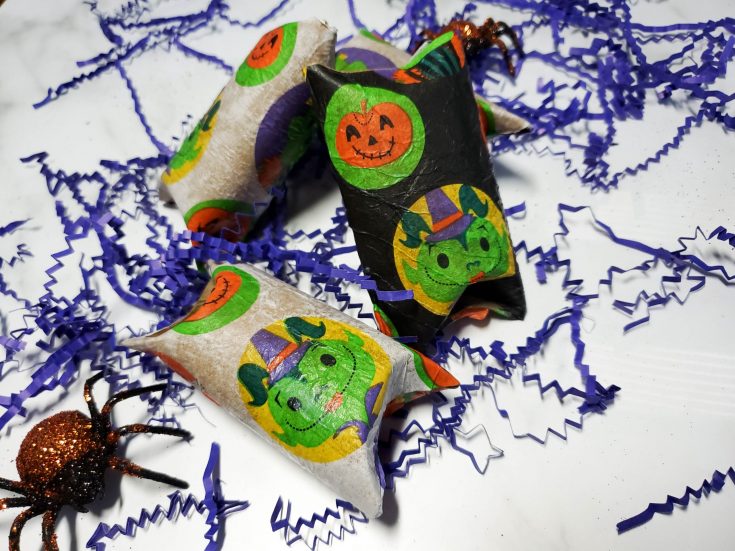
Easy DIY Treat Bag for Halloween
Looking for simple Halloween Treat Bag Ideas? These Halloween Treat Bags are easy to make and look adorable. Kids are going to love getting these DIY Halloween Treats Bags in their Halloween Trick or Treat Bags.
Materials
- Toilet Paper Rolls
- Modge Podge or Glue
- Sponge Paint Brush
- Decorative Napkins
- Pipe cleaners if you would like a handle
- Goodies for the bags
Instructions
- Optional: You can paint the toilet paper rolls first if you are concerned that the white napkins will let the brown of the toilet paper rolls.
- The first step is to get your napkins ready. Open them all the way up. Cut them into 4 squares.
- Depending on the size of the napkins, you might need to trim them down to fit the roll. It is easier to do this before it is on, but it can be done after. Then pull the napkin apart. When you look, it is actually 2 sheets in one and will pull apart easily.
- Next "paint" the rolls with glue. You want it to be completely covered but not too wet. If there is too much glue, the napkin will fall apart.
- Next lay the roll on the edge of the napkin and just roll it up.
- I like to also put the glue on the outside. This is optional. It helps to smooth it down and and hold it in place.
- Put it aside and let it dry completely.
- To close up the first side, take your thumb and gently press in the one side. It will naturally fold in easily.
- Then press in the opposite side. I like to fold them tightly and then squeeze the tops of the pointed sides, to make a crease.
- Flip the tube over and fill it with your goodies. Then close up that side the same way.
- If you decide to add a handle on ours, so after folding in the first side, lay the pipe cleaner in, and fold the second side down over top of it.

Ashley S
Those are absolutely adorable.
Bobbie
This is an awesome idea and so creative! All of these posts are making me wish I had little kids again, lol. I can’t even make them for trick or treaters because we live on a main road and don’t get any.
Melody
Those bags are absolutely adorable! What a great idea!
Sarah Welte
so cute and simple! thanks for sharing!
Anne
What a great idea, and so frugal too!
Have Sippy Will Travel Mommy Blogger
how cute! love it
Jeana
Cute! Thanks for the easy idea. This will be a great project to try with my toddler 🙂
Ronni Keller
So cute!! And, I think you’re right!! Halloween hitting starts all the holiday churning in my head as well!!
Tiffany Cruz
What a neat craft idea. Love Halloween! We were just at Walmart today in the Halloween aisle and I was trying to figure out a craft to do with my 5-year old. I like this a lot.
Motherhood on the Rocks
that is adorable! Love it
Emily
Such a simple craft to get the kids involved in. Thanks!
Mag
What a good idea.
Meagan Paullin
So much fun 🙂
Heather!
How cute and clever!
Shirley
The kids would love both the process and the end product!
Jacqui Odell
These are so cute!
Maryann D.
This is definitely a cute idea for recycling a used product. I would not have thought of this craft. It looks like a lot of fun for the kids at a fun time of year.
Meagan Michelle Greenan Liani
Cute idea! I love it- thank you! 🙂