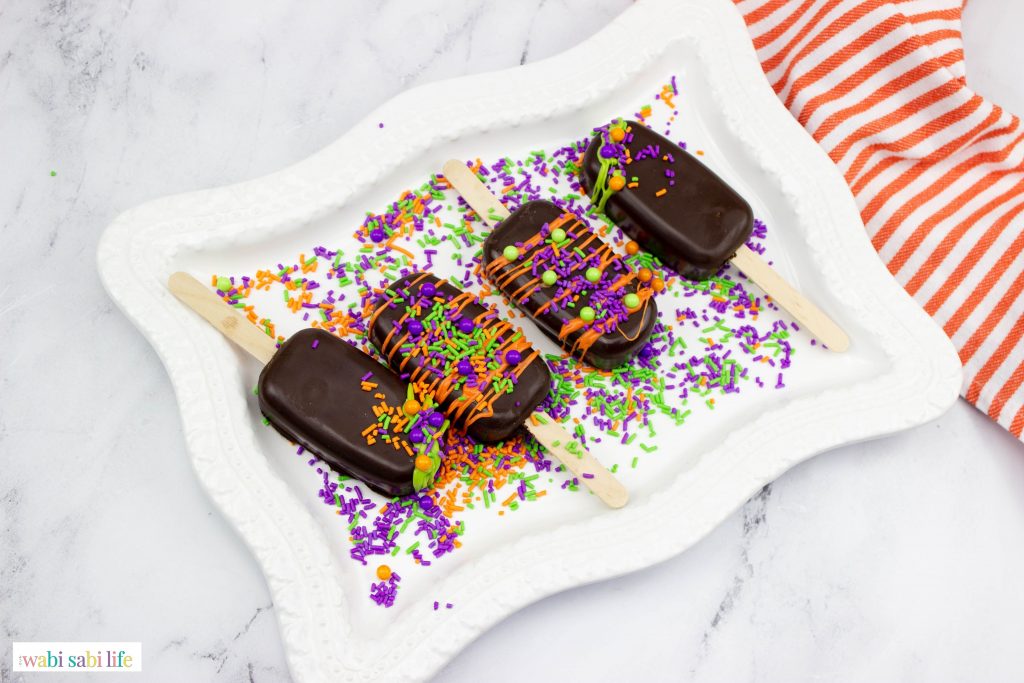
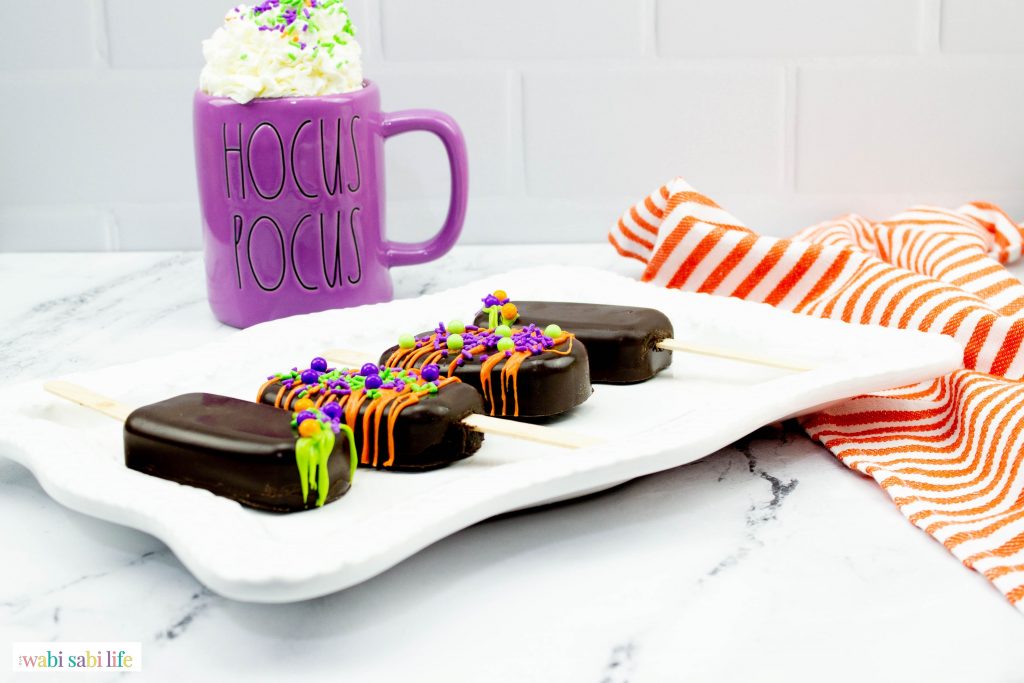
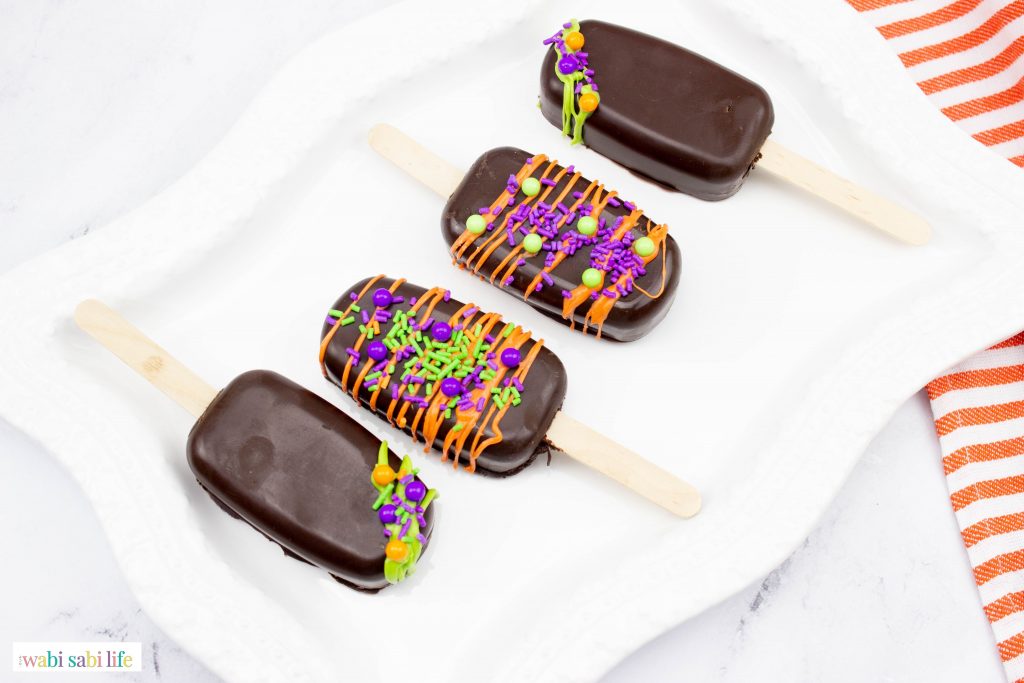
This is an easy and fun Hocus Pocus Cakesicles recipe for those who want to make them. This recipe will have your friends and family coming around for seconds! These Cakesicles may look hard to make, but once you master this Hocus Pocus recipe it will become so simple. This recipe will be the perfect treat for gatherings and/or special occasions.
Instagram is one of my favorite places to be. Join us as we share our Perfectly Imperfect Life with recipes, crafts, parenting, and fun! Be sure to check out our stories for real-time fun!
Amazing Hocus Pocus Cake Popsicle Recipe
This Hocus Pocus Cake Popsicle recipe is so delicious and delectable! This recipe was made using cake mix, however, you can use any of your favorite cake mixes for this recipe. If you can make a Hocus Pocus Cocoa Bomb, you can absolutely make these! This recipe will taste as if you bought them from a bakery! With a simple list of ingredients and a little bit of your time, you will have these amazing Cakesicles made in no time.
What is a Cakesicles?
Cakesicles are like the extended family of cake pops, except this type of recipe is so much easier to make. These Cakesicles in my opinion are even more satisfying to eat. They are a combination of melting chocolate and forming molds that contain cake and frosting.
How are They Different Than Cake Pops?
Cake Pops and Cakesicle are similar to each other in many ways, but they are made differently. Cake pops are cake that is crumbled up and mixed with frosting, then they are dipped in chocolate. Cakesicles are molds of chocolate that are filled with cake and frosting.
How Long do They Last?
Cakesicles are a great dessert that lasts a lot longer than other desserts. These Cakesicles if properly store can last between 7-10 days. If you have Cakesicles that contain butter, you may want to eat them within 3-5 days.
Should the Hocus Pocus Cake Pops be Refrigerated?
These Hocus Pocus Cakesicles can be placed into the fridge. When stored in the fridge in an airtight container, they can last up to 2 weeks. If stored in the freezer, they can last up to 3 months.
Can the Hocus Pocus Cakesicle Be Frozen?
Yes, these Hocus Pocus Cakesicles can be stored in the freezer. You will want to store the recipe in an airtight container. Storing correctly will allow the recipe to last for up to 3 months.
Can I Dip Cakesicles Instead of Coating Mold?
Yes, it is possible to dip the Cakesicles instead of coating a mold. The best way to do this is by pressing the cake and frosting it into the molds. Once they have been formed into the mold, you can place the Cakesicles into the freezer for 30 minutes. Once the time is up, you can take the Cakesicles out of the molds. Melt your chocolate or candy melts into a bowl and dip the Cakesicles, then allow them to set to harden. Although, one of the biggest reasons for me loving this Cakesicle recipe is because of how neat and smooth they look. I don’t prefer the mess of dipping the cake pops, but I do love that the Cakesicles don’t involve dipping.
What Type of Chocolate Should I use for the Coating?
You will want to use a chocolate that will be perfect for dipping. You will need to use chocolate chips or candy melts to melt in the microwave. Once melted, you can add into the molds and allow the chocolate to set and harden.
How Much Candy Melt Chocolate do I Need?
You will need to use candy melts as well as Chocodrizzler candy melts for this recipe. These candy melts are great for dipping and allow the Cakesicles to have a smooth finish. You need 12 ounces of candy melts to make 4 cakesicles plus the chocodrizzles, in whatever or however many colors you like. You need ness of the decorating colors than you do to coat the cakesicles.
How to Decorate the Tops of Your Cakesicles?
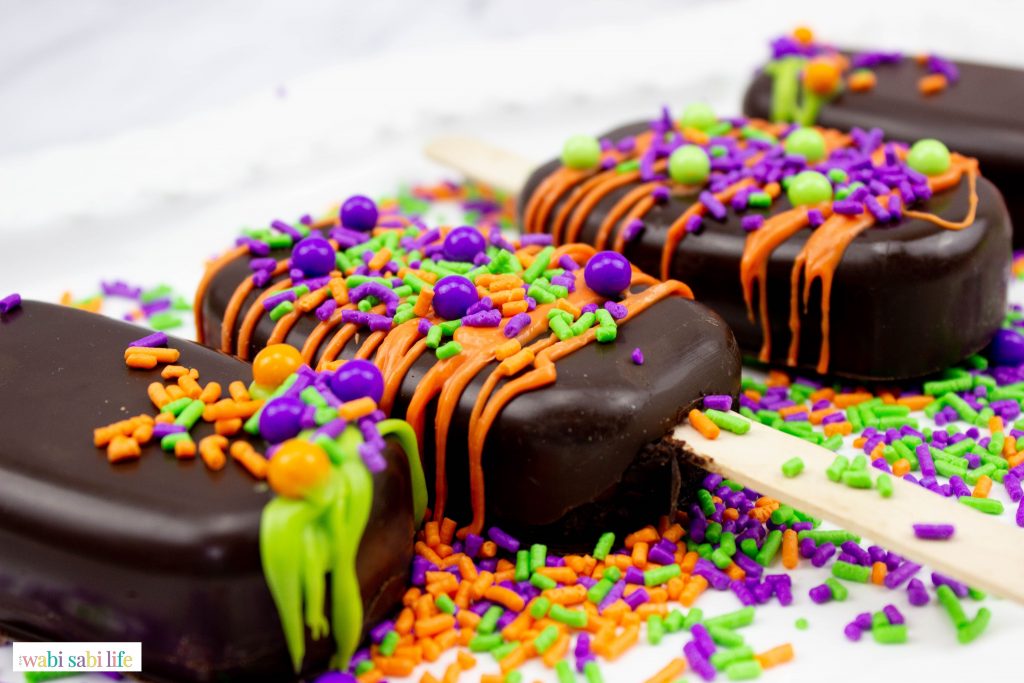
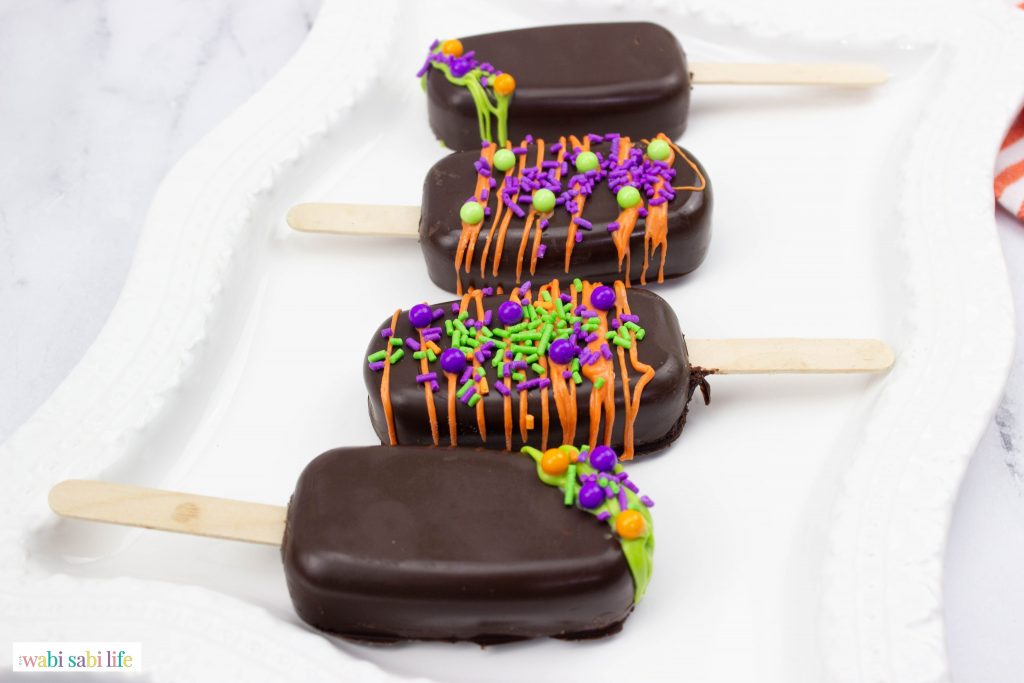
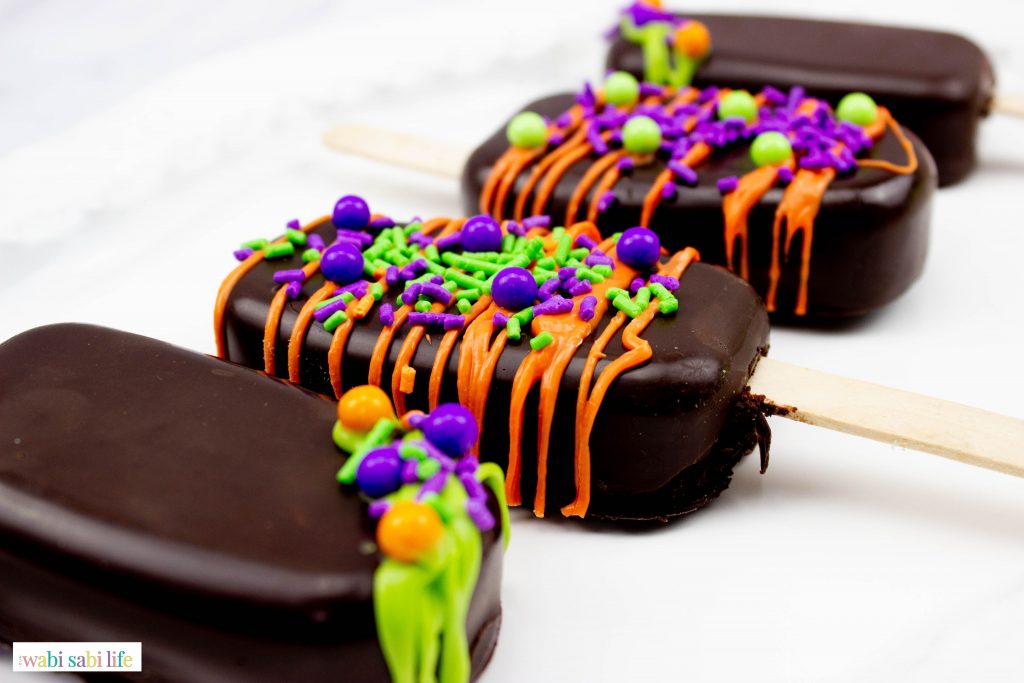
Decorating the Hocus Pocus cakesicles is super simple to do and super fun too. After you have covered the cakesicles, you can let your creativity fly. Decorate it simply with just the colorful drizzle or just adding some sprinkles. You can get more creative in order to bring in whatever look you want. You can be haphazard with the decorations or very specific. It all depends on what you are going for. I am using simple sprinkles for these, but you cna also use eyes to bring in “Booook! Oh Boook!”
What are Hocus Pocus Colors?
Colors that are associated with Hocus Pocus come from the outfits that the Sanderson Sisters wear in the movie. Each sister wears a distinct color throughout the film. Each of the colors is green, red, and purple. This translates into green, orange and purple when it comes to Hocus Pocus colors.
Tips and Tricks
My stick won’t stay in place
If you have trouble with the stick not staying in the dough, your will need to take it out of the mold. Once it’s removed, you can dip it in melted chocolate and push the stick into the pop. Allow it to stand for 10-15 minutes.
What do I do if my chocolate cracks when I remove the Cakesicle from the mold?
When removing the chocolate from the mold, it may get cracked. If so, you will need to remelt the chocolate and start over, but you will need to make sure that there isn’t any cake in the chocolate.
The sides of the Hocus Pocus Cakesicles are not fully covered. What should I do?
Sometimes there can be gaps in the molds or Cakesicles. If so, you will want to melt some chocolate and dab the areas that don’t have coverage, and allow it to dry.
Make sure not to add additional oil in the recipe even if the cake mix directions call for it. You will only need the water and eggs in the cake mix, so no need for additional moisture. Once you combine the frosting with the baked cake, you won’t need the oil.
Love Recipes? Join our Facebook Group, The Best Must Try Recipes, Easy Delicious Recipes for Everyone
Ingredients
- Cake Mix– Use Chocolate Cake mix or your favorite flavor.
- Frosting– Use a store-bought container of frosting.
- Candy Melts– Use Dark chocolate candy melts and orange candy melts for the best results (I used Merckens, however, any brand will do).
- Candy Sprinkles– Use Various candy sprinkles for this recipe.
- Chocodrizzler candy melts– Use these to create the molds for the Cakesicles.
How to Make Hocus Pocus Cakesicles
To start, set the oven to the temperature needed on the cake mix.
First, use either Baker’s Joy or your favorite Non-stick spray to grease a pan, then use flour to lightly dust.
Secondly, put the cake mix, eggs, and water into a large mixing bowl. (Include all ingredients used in the cake directions EXCEPT the oil). No excess oil is required because you are adding in the frosting.
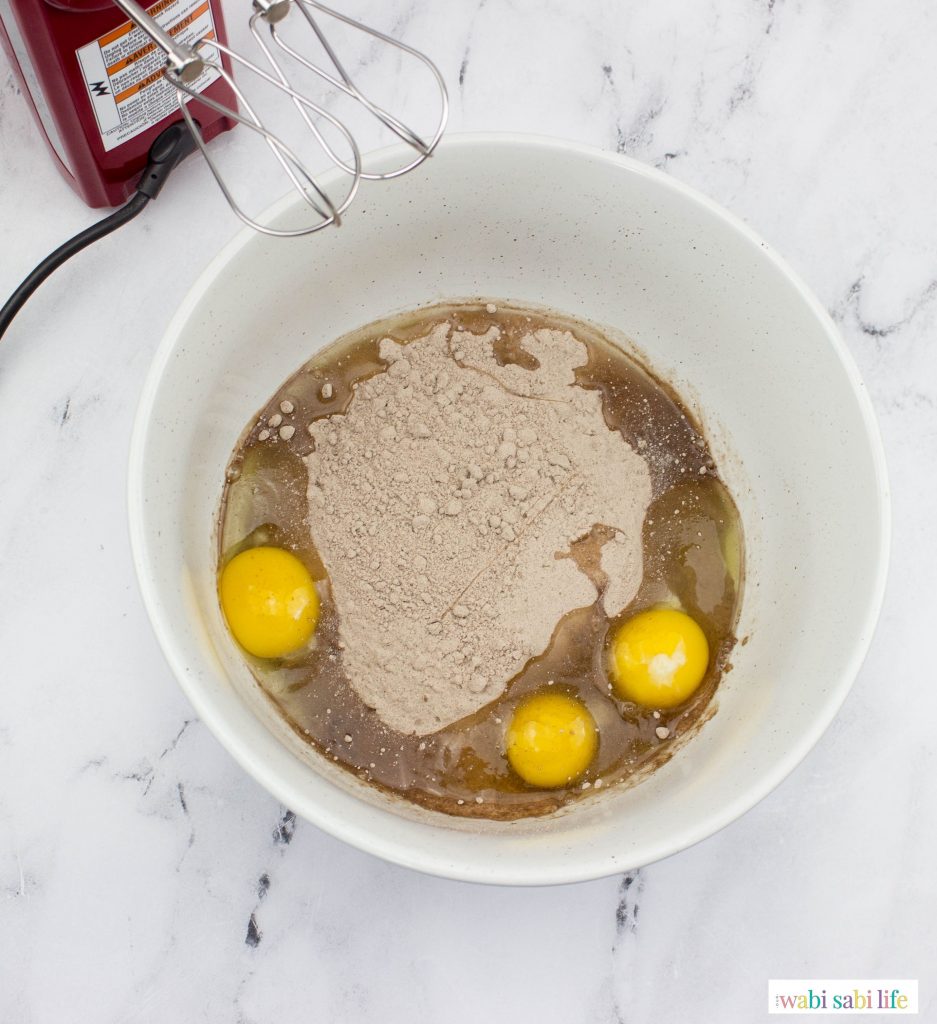
Thirdly, combine the ingredients at low speed at first, then combine a medium speed for an additional 2 minutes until fully incorporated.
Next, add the batter into the prepared pan and follow the directions on the cake box to bake.
In addition, use a toothpick to place into the center of the cake to test and make sure it comes out clean to tell if the cake is done. If the toothpick comes out runny, you need to bake it for an additional 5 mins at a time.
Furthermore, take the cake out of the oven when it is finally baked and allow it to cool thoroughly.
While the cake cools, put the Cakesicle molds into the freezer.
How to Remove Cakesicles from the Mold
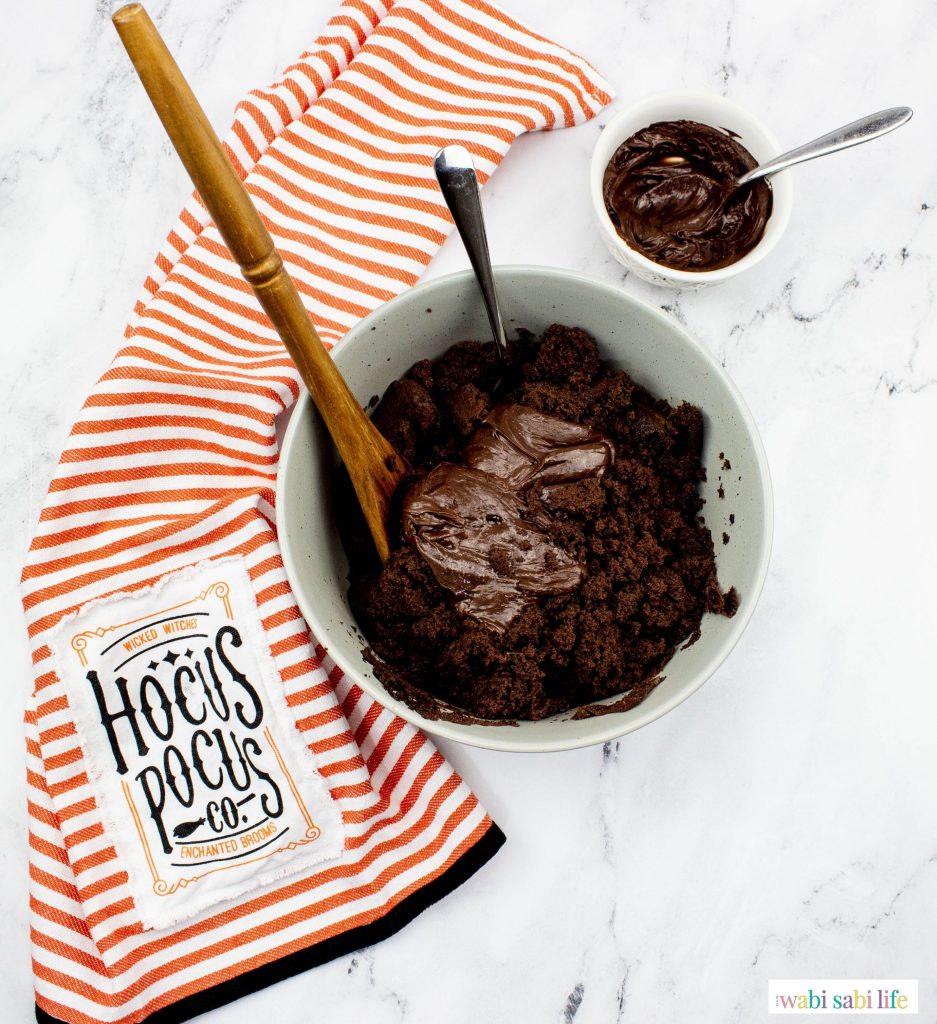
To begin, in a large bowl, combine the baked cake and frosting beginning with just 1 or 2 tablespoons of frosting. Next, use your fingers, a potato masher, hand mixer, or stand mixer to combine until smooth.
First, use a double boiler or in a heat-safe bowl to melt the chocolate when the cake is cooled thoroughly. Both methods of heating the chocolate work great, but I recommend using a double boiler. (the tempering is controlled a lot better when using the boiler. Don’t let the water boil, but keep it simmering)
Preparing the Molds:
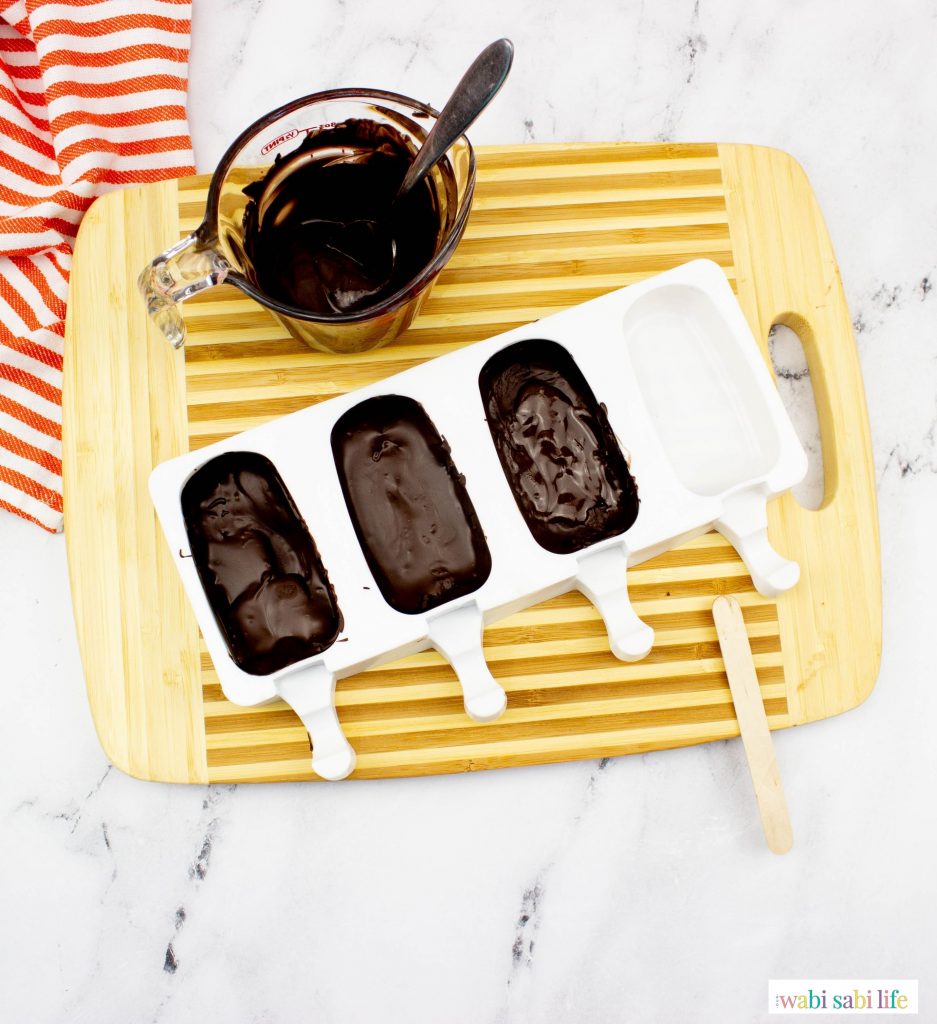
Secondly, add a teaspoon or tablespoon of the melted chocolate into each mold. Be sure to cover the bottom and sides and once you do, insert the popsicle sticks into the hole on the bottom of the molds and take it out. (This will create a hole in the bottom of the chocolate without having to keep the sticks in)
Thirdly, allow the chocolate to chill quickly by placing it in the freezer for 5 to 10 minutes.
Next, scoop the cake into the mold using a cookie scoop and press into the mold gently. Be sure to not press the cake too close to the sides. You will need the chocolate to run over the sides so it can meet up with the bottom of the chocolate you already poured in. Again, you will need to poke a hole in the bottom of the mold to create an opening, then remove the stick.
In addition, spoon the rest of the chocolate on top of the mold to cover the top of the Cakesicles. Allow the recipe to cover the top and go down the sides, then put the stick into the Cakesicles to create an opening, then take out the stick.
Furthermore, use your hands to gently tap and remove any air bubbles. Afterward, place the mold into the freezer until the chocolate is set.
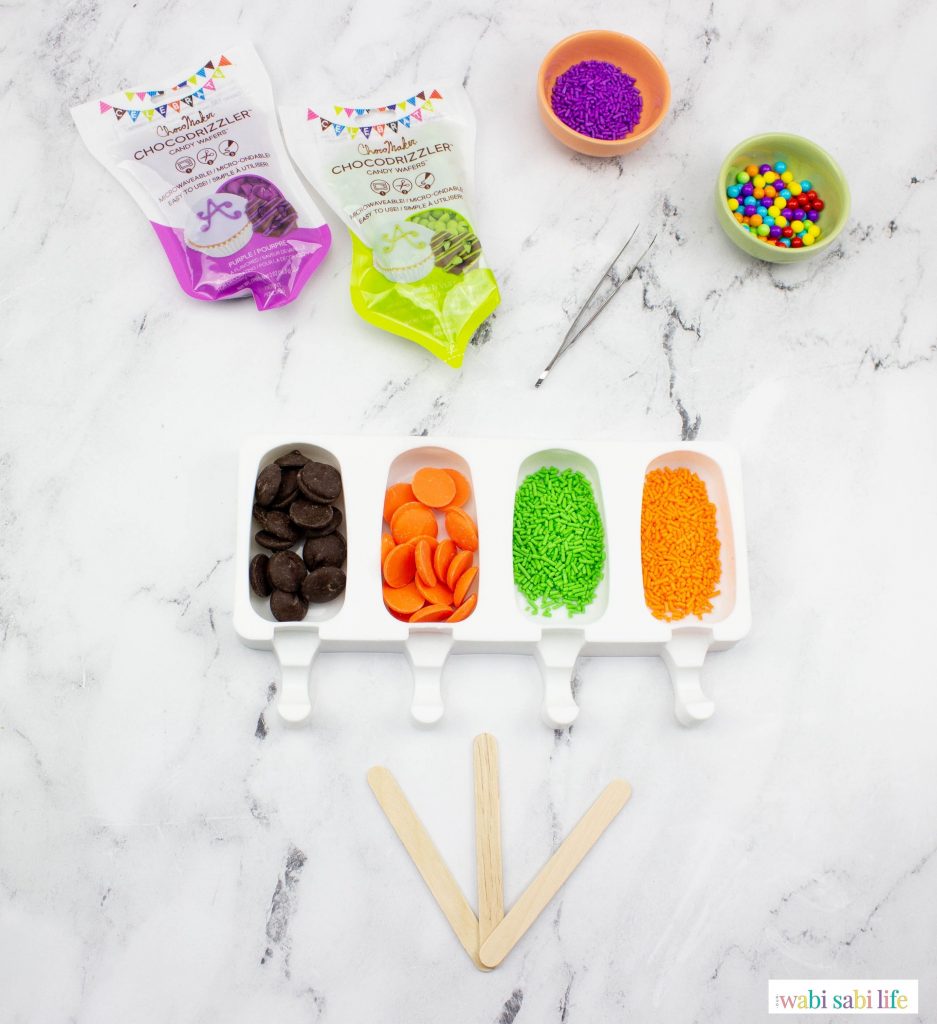
Finally, take the molds out of the freezer, and remove them gently from the molds, and put them in the sticks. Decorate the Cakesicles however you desire!
Instagram is one of my favorite places to be. Join us as we share our Perfectly Imperfect Life with recipes, crafts, parenting, and fun! Be sure to check out our stories for real-time fun!
Love Recipes? Join our Facebook Group, The Best Must Try Recipes, Easy Delicious Recipes for Everyone
Are you on Facebook? We are too. Join us as we share our Perfectly Imperfect Life with recipes, crafts, parenting, and fun!
Hocus Pocus Movie Night Ideas
- Hocus Pocus Pumpkin Vodka Cocktail
- The Best Hocus Pocus Hot Chocolate Bombs
- Copycat Starbucks Hocus Pocus Frappuccino – Sarah Sanderson Frap Recipe
- Easy Hocus Pocus Cocktail for Halloween
- Hocus Pocus Chocolate Cookies
- Hocus Pocus Halloween Alcoholic Punch
- Easy Witch Hat Cookies
- Hocus Pocus Cake
- Zombie Adult Pudding Cups, Graveyard Pudding or Halloween Dirt Pudding Cups
- The Best Hocus Pocus Cakesicles Recipe
- Hocus Pocus Drinking Game
- Hocus Pocus Movie Night with Hocus Pocus Printable Bingo Included
- Free Hocus Pocus Printable Popcorn Boxes
Hocus Pocus Cakesicles
Equipment
- Plastic squeeze bottle
- 9 x 13 cake pan
- Cakesicles mold –
- Cakesicles sticks – they will come with the mold
Ingredients
- hocolate cake mix or your favorite flavor
- Ingredients according to the back of the box except the oil
- Store-bought container of frosting
- Dark chocolate candy melts I used Merckens, however, any brand will do – You will use 12 oz per 4 Cakesicles –
- Various candy sprinkles
- Orange candy melts
- Chocodrizzler candy melts
Directions
- Preheat your oven according to the required temp on the box of cake mix.
- Spray your pan with either Baker’s Joy or your favorite non-stick spray then lightly dust with flour.
- In a large mixing bowl, add in the cake mix, the eggs, and water (or whatever ingredients the cake mix calls for EXCEPT THE OIL). Since you will be adding frosting to the cake after it’s baked, you do not need to add any oil to the cake mix.
- At low speed, mix the ingredients together slowly, then turn on medium speed and mix together for approximately two minutes until everything is incorporated.
- Pour the cake into the prepared pan and bake accordingly.
- Once the cake is done, test to make sure by inserting a toothpick or a cake tester into the middle of the cake. If it comes out clean, the cake is done. If it still is runny, place the cake back into the oven for five minutes at a time.
- When the cake has finished baking, remove it from the oven and let it cool completely.
- While the cake is cooling, place the Cakesicles mold into the freezer.
- Next, you will mix together the baked cake and the frosting in a large bowl. Start off with just a tablespoon or two of the frosting. You can either use your fingers, a potato masher, a handheld mixer, or a stand mixer. It’s totally up to you. I found that a handheld or stand mixer does the best job as it makes it perfectly smooth.
- Once the cake has completely cooled, melt the chocolate in a double boiler or in a microwave-safe bowl. Even though both methods work well. I highly recommend using a double boiler. I think you can control the tempering much better when you melt it with a double boiler. Make sure though to not let your water boil. Keep it simmering.
- When the chocolate has melted, use a teaspoon or tablespoon, and fill each mold with the melted chocolate. Making sure to cover the bottom and sides. As soon as you do that, insert one of the popsicle sticks into the hole at the bottom of the mold and remove it. That way, you are making the hole for the stick but you aren’t leaving it in so you can’t remove it. Let the chocolate set up. To quickly set the chocolate, place the mold back into the freezer for 5 to 10 minutes.
- Next, using a cookie scoop, add a scoop of the cake into the mold and press it gently. Make sure to not press it too close to the sides as you will want the chocolate to run over the sides so it can meet up with the bottom of the chocolate you have already poured. Once again, place a popsicle stick into the mold so that you already have an opening set. Then remove the stick.
- Take the remaining chocolate and spoon it on the top of the mold and make sure it covers the top of the Cakesicles mold. You want it to cover the top and go down the sides into each mold. Place a stick into each mold so that an opening is created and then remove the stick. Gently tap the mold on the counter to remove any air bubbles. Place the mold into the freezer so the chocolate can be set.
- Once the chocolate has set, remove the molds from the freezer, pop them gently from the molds, insert the popsicle sticks, and then decorate as desired.
Are you on Facebook? We are too. Join us as we share our Perfectly Imperfect Life with recipes, crafts, parenting, and fun!




Leave a Reply